Table of Contents
Ever scrolled through endless nail inspiration, only to feel like achieving those picture-perfect manicures is impossible? I get it. The world of nail art can seem overwhelming, filled with intricate designs that look like they belong in a salon, not on your kitchen table. But what if I told you that you could have stunning, **aesthetic easy nail designs** without needing a degree in fine art? This article is your guide to unlocking the secrets of chic, simple nail looks. We'll explore color palettes that scream elegance, share beginner-friendly techniques that even your non-dominant hand can handle, and draw inspiration from the changing seasons. You’ll also learn how to keep your nails looking fab for longer. Forget complicated tutorials; get ready to dive into a world where beautiful nails are not just achievable but also incredibly fun. We're about to prove that less can absolutely be more, and that your nails can be a stunning canvas, no matter your skill level. So, grab your polish, and let's get started!
Simple Color Palettes for Aesthetic Nails
Simple Color Palettes for Aesthetic Nails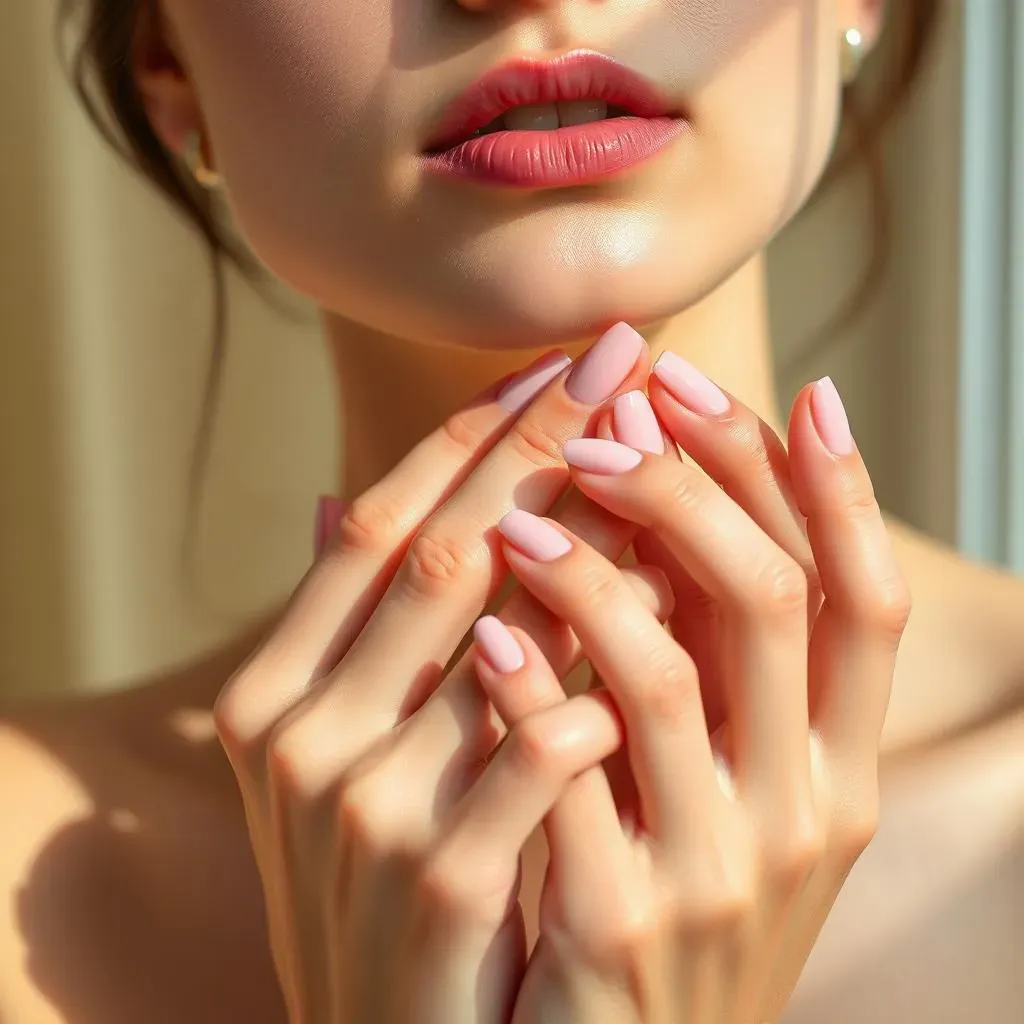
The Power of Neutrals
Let's be real, sometimes less is more, right? When it comes to **aesthetic easy nail designs**, you can't go wrong with a solid neutral base. Think creamy beiges, soft grays, and barely-there pinks. These aren't just boring colors; they're the foundation for a super chic look. They go with absolutely everything, from your comfy sweats to your fanciest dress. Plus, they make your nails look naturally elegant without even trying too hard. I remember this one time, I was rushing to get ready for a friend's wedding, and I just slapped on a coat of nude polish. It was the perfect blank canvas for my outfit, and it made me feel so put-together.
Neutrals are also fantastic because they're so forgiving. You don't need to be a pro to apply them evenly, and they hide minor imperfections like a champ. If you're a bit clumsy like me, this is a game-changer. Want to spice things up? Add a matte top coat for a modern twist or a subtle shimmer for a touch of glamour. It’s all about keeping it simple but effective.
Monochromatic Magic
Okay, so you're digging the idea of simplicity, but you want a bit more color? Monochromatic palettes are your best friend. This means sticking to different shades of the same color. Imagine a gradient of blues, from the palest sky blue to a deep navy. Or maybe a range of greens, from mint to emerald. It’s all about creating a cohesive, visually appealing look without making things complicated. I tried this with some pinks a while back, and it was surprisingly fun! It felt like a subtle statement without being over-the-top.
The best part? It's super easy to achieve. You can buy polishes in a set, or you can mix and match what you already have. Just make sure the shades complement each other. And if you’re feeling extra creative, you can even try an ombre effect, where the color gradually transitions from light to dark across your nails. It’s a simple technique that adds a touch of sophistication.
Color Palette | Description | Aesthetic Vibe |
|---|---|---|
Neutrals | Beiges, grays, light pinks | Elegant, timeless |
Monochromatic | Different shades of the same color | Cohesive, stylish |
Pastels | Soft, muted hues | Sweet, dreamy |
Pastel Dreams and Pops of Color
For those who crave a bit more whimsy, pastels are your go-to. Think soft pinks, baby blues, mint greens, and lavender purples. They're like a breath of fresh air, and they're especially perfect for spring and summer. I remember trying a pastel gradient once, and it was so dreamy. It's like having little candies on your fingertips, and who doesn't love that?
If you want to make a bolder statement, don't be afraid to add a pop of color. A single bright nail, like a vibrant yellow or a hot pink, can add a playful touch to your manicure. It's all about finding the right balance. The key to making these palettes work is to choose colors that make you feel good. After all, your nails are a reflection of your personality, so have fun with it!
Easy Nail Art Techniques for Beginners
Easy Nail Art Techniques for Beginners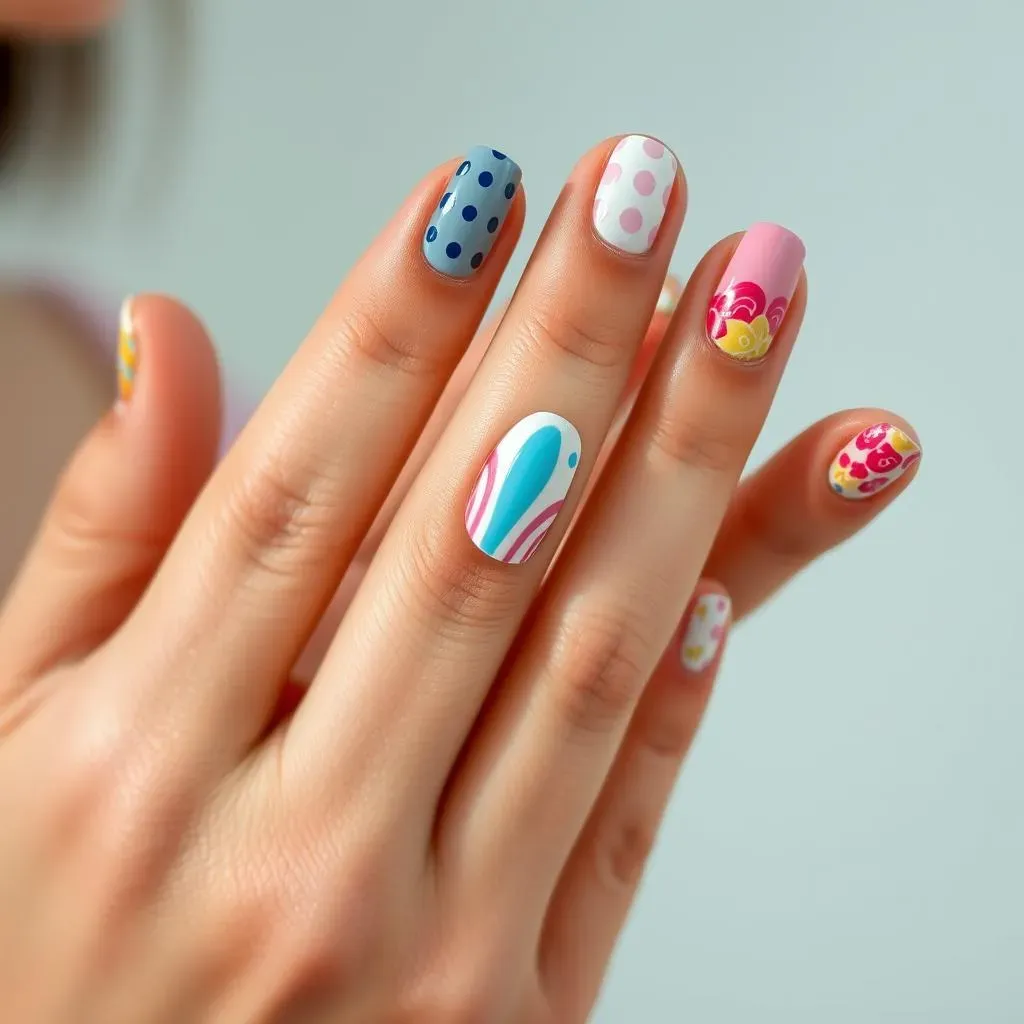
Dotting Tools: Your Best Friend
Okay, so you've got your colors sorted, but now what? Don't worry, you don't need fancy brushes to create cool designs. Dotting tools are seriously a beginner's best friend. They’re super cheap, easy to use, and can create a variety of looks. You can make polka dots, of course, which are always cute and classic. But you can also create floral patterns, abstract designs, or even just use them to add some subtle details. I remember the first time I tried using a dotting tool, I was amazed at how simple it was to make a cute daisy on my nail. It's all about experimenting and seeing what you can come up with!
You can find dotting tools at most drugstores or online, and they usually come in different sizes. This lets you make different sized dots, which can add more dimension to your nail art. Just dip the tool in your polish, and gently touch it to your nail. It’s really that easy. You can also use toothpicks or bobby pins in a pinch, if you don't have any dotting tools handy. It's about working with what you got, and making it look amazing. Trust me, you’ll be surprised at how versatile these little tools are.
The Magic of Striping Tape
Striping tape is another game-changer for easy nail art. This thin, sticky tape is perfect for creating straight lines, geometric shapes, and even cool patterns. It's like having a stencil for your nails! I use it all the time to make crisp, clean lines, which can be tricky to do freehand. Plus, it's super easy to use. Just stick the tape onto your nail, paint over it, and then peel it off while the polish is still a bit wet. Voila! You've got a perfect stripe or a cool geometric design.
You can find striping tape in various widths and colors, which opens up a world of design possibilities. Try creating a simple chevron pattern, a classic french tip with a twist, or even some cool abstract shapes. The key is to make sure the tape is firmly pressed down on your nail before you start painting. This helps prevent the polish from bleeding underneath. And don't be afraid to experiment with different tape placements and colors. It's all about pushing your creativity and seeing what you can achieve.
Tool/Technique | Description | Best For |
|---|---|---|
Dotting Tools | Small tools with rounded tips | Dots, florals, details |
Striping Tape | Thin, sticky tape | Straight lines, geometric shapes |
Sponges | Makeup sponges, cut into small pieces | Gradients, ombre effects |
Sponge It Up: Gradients and Ombre
Want to create a trendy gradient or ombre effect without any hassle? Sponges are the answer! You don't need any fancy equipment, just a regular makeup sponge cut into small pieces. Simply dab a little bit of different polish colors onto the sponge, and then gently dab it onto your nail. It's like magic how the colors blend together. I was so intimidated by ombre nails before I tried this method, but it's actually super easy. It's such a fun way to add a touch of drama without any complicated techniques.
You can use sponges to create all sorts of effects. Try a classic gradient with two or three shades of the same color, or go wild with a rainbow ombre. The key is to use a light hand and dab gently. It's also helpful to practice on a piece of paper first, just to get the hang of it. And don’t worry if you make a bit of a mess, that’s part of the fun! You can always clean up the edges with a cotton swab and some nail polish remover. The best part is that every sponge application is unique, so you'll always have a one-of-a-kind design.
Aesthetic Nail Designs Inspired by the Seasons
Aesthetic Nail Designs Inspired by the Seasons
Okay, so we've covered the basics, but let's talk about how to really make your **aesthetic easy nail designs** pop – by taking inspiration from the seasons! I love this, because it's like your nails are always in tune with what's going on around you. Think of the warm, earthy tones of autumn, the cool, crisp shades of winter, the vibrant pastels of spring, and the bright, sunny hues of summer. It's such a fun way to keep your nail game fresh and exciting. I remember when I first started doing this, I felt like my nails were a tiny piece of art that reflected the world outside. It's a small detail, but it makes a big difference.
For autumn, imagine deep reds, burnt oranges, and chocolate browns. Think cozy sweaters and falling leaves. You could even try some cute leaf designs using your dotting tool. Winter calls for icy blues, silvers, and whites – maybe even some glitter to mimic snow. Spring is all about those soft pastels, floral patterns, and maybe even a cute little ladybug or two. And for summer? It's time to go bold with bright pinks, yellows, and blues. Think beach vibes, sunshine, and maybe some fruity designs. It's like having a tiny vacation on your fingertips!
Season | Color Palette | Design Ideas |
|---|---|---|
Autumn | Deep reds, oranges, browns | Leaves, acorns, earthy tones |
Winter | Icy blues, silvers, whites | Snowflakes, glitter, minimalist designs |
Spring | Pastels, soft greens, pinks | Flowers, butterflies, light and airy |
Summer | Bright pinks, yellows, blues | Beaches, fruits, bold and playful |
Maintaining Your Aesthetic Easy Nail Designs
Maintaining Your Aesthetic Easy Nail Designs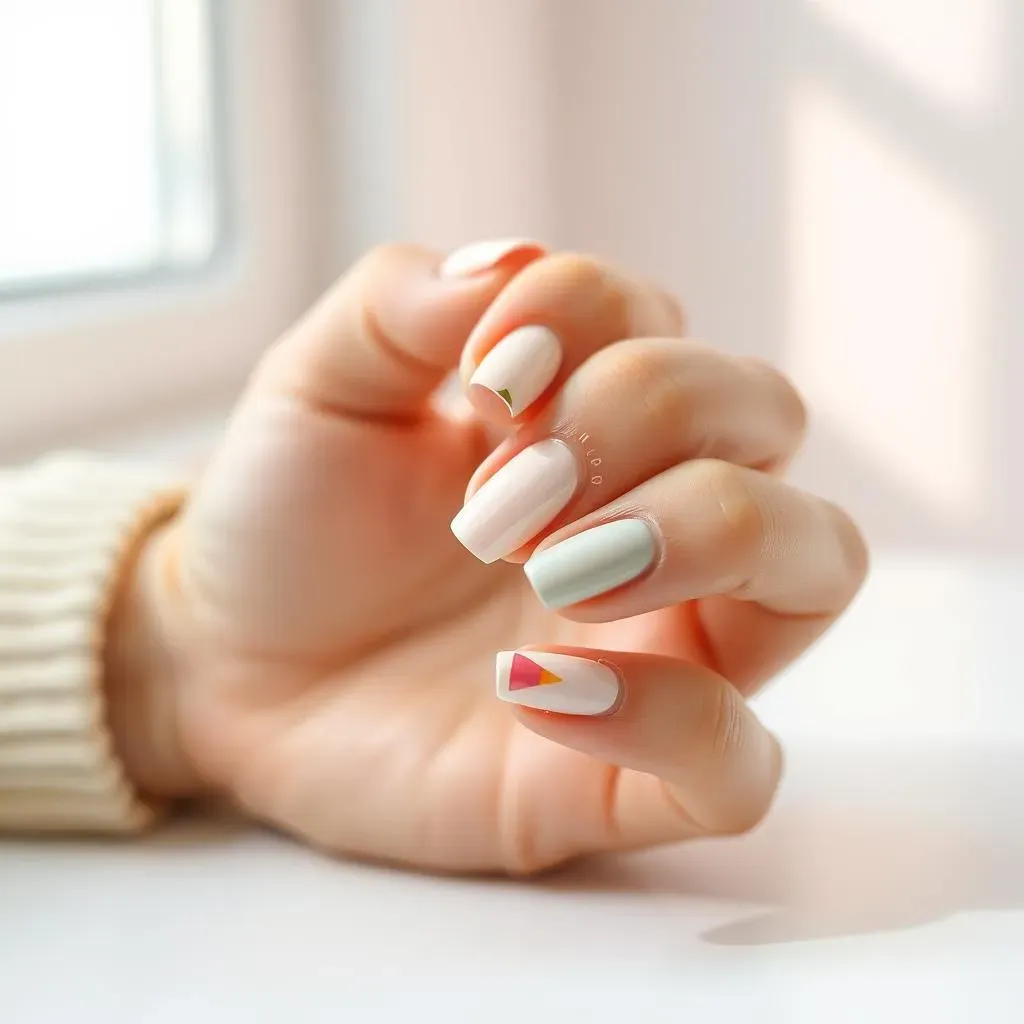
The Importance of a Good Top Coat
Okay, so you’ve spent time creating your perfect **aesthetic easy nail designs**, and now you want to make sure they last, right? That's where a good top coat comes in. It's like the superhero of your manicure, protecting your polish from chipping and adding a beautiful, glossy finish. I used to skip the top coat, thinking it wasn't that important, but oh boy, was I wrong! My manicures would chip within a day, and it was so frustrating. Now, I never skip this step. It’s like putting a protective shield on your nails, and it makes a world of difference.
A good top coat not only prevents chipping, but it also enhances the color of your polish, making it look even more vibrant. There are different types of top coats, like quick-drying ones, matte ones, and those with extra shine. I usually go for a quick-drying, high-gloss top coat, because I’m always in a hurry. Apply a thin, even layer over your design, making sure to seal the edges of your nails. This will help your manicure last longer and look freshly done for days. Trust me, a good top coat is a game-changer!
Daily Habits for Long-Lasting Nails
Beyond a top coat, there are some simple daily habits you can adopt to keep your **aesthetic easy nail designs** looking their best. First off, wear gloves when you’re doing chores, like washing dishes or cleaning. Water and harsh chemicals can really wreak havoc on your manicure. I learned this the hard way after spending hours on a detailed design, only to ruin it while doing the dishes. It’s a small change that makes a huge difference. Also, try to avoid using your nails as tools. I know it's tempting to use them to open a can or scrape something off, but this can lead to chipping and breakage. Instead, use the proper tools for the job. Your nails will thank you!
Another great tip is to keep your nails and cuticles moisturized. Dry cuticles can make your nails more prone to breakage, and they can also make your manicure look less polished. I like to apply cuticle oil or hand cream every night before bed. It's like giving your nails a little spa treatment. And finally, don't pick at your nails! I know it's a hard habit to break, but it can really damage your manicure and your nails. If you notice a chip, try to resist the urge to pick at it, and just touch it up with some polish. These small habits can make a huge difference in the longevity of your beautiful nail designs.
Habit | Why it helps | How to do it |
|---|---|---|
Top Coat | Protects against chipping, adds shine | Apply a thin, even layer |
Gloves for chores | Prevents damage from water and chemicals | Wear when washing dishes or cleaning |
Avoid using nails as tools | Prevents chipping and breakage | Use proper tools for tasks |
Moisturize nails and cuticles | Keeps nails strong and healthy | Apply cuticle oil or hand cream daily |
Don't pick at nails | Prevents damage and extends manicure life | Resist the urge to pick, touch up with polish |