Table of Contents
Ever looked down at your toes and thought they could use a little pizzazz? You're not alone! Big toe nails are like tiny canvases just waiting for a splash of creativity. Forget complicated salon visits; we're diving into the world of easy big toe nail designs that you can totally rock at home. This isn't about becoming a nail art pro overnight, it's about having fun and adding a little bit of 'wow' to your everyday look. In this article, we'll explore why focusing on your big toe is a game-changer, then we'll jump into some simple yet stunning design ideas that anyone can do. Think cute florals, bold stripes, and maybe even a touch of sparkle. We’ll also give you a step-by-step guide, so you’ll know exactly how to create these looks without any fuss. Get ready to transform your toes from 'meh' to 'marvelous' with these super simple and fun ideas. Let's get started and make those toes pop!
Why Big Toe Nail Art is a MustTry
Why Big Toe Nail Art is a MustTry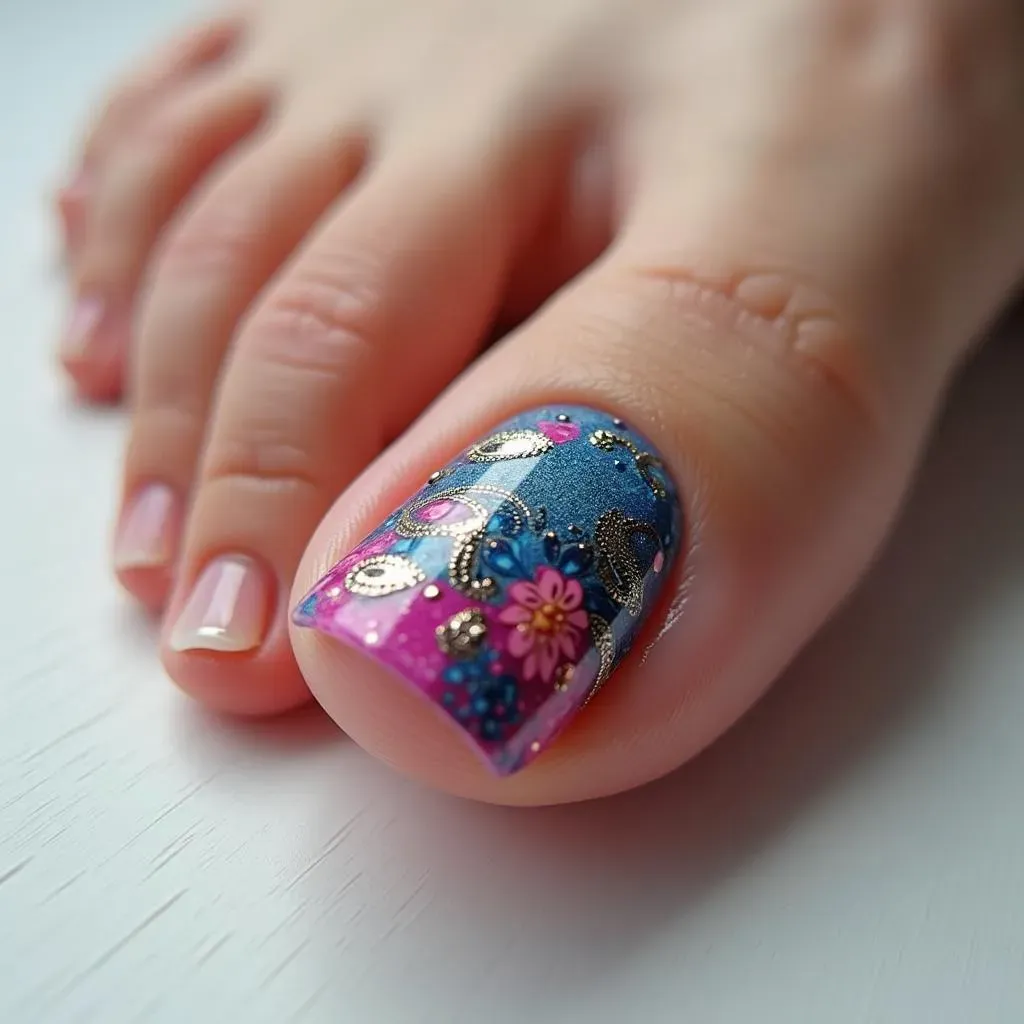
The Big Canvas Advantage
Let's be real, your big toe is like the VIP of your foot. It's the largest nail, and it's front and center, making it the perfect spot to showcase some nail art. Think of it as the main stage for your pedicure performance, while the other toes are just the backup dancers. Why not give it the attention it deserves? It's a great way to add a touch of personality without going overboard on all ten toes. I mean, who wants to spend hours on tiny details when you can make a statement with just one awesome nail?
Plus, a decorated big toe can seriously elevate your entire look. It's like adding a pop of color to an otherwise neutral outfit. It's that little detail that makes people say, "Hey, I like your style!". I once wore a simple black dress and sandals, but my big toes had these tiny, glittery flowers, and I got so many compliments. It's amazing how such a small thing can make a big impact, and it is also a fun way to express yourself.
It's All About the Focus
Focusing on your big toe also means you can experiment without committing to a full-on manicure. It’s like dipping your toes into the pool of nail art without diving headfirst. Want to try a bold color or a new technique? The big toe is your test subject. If you love it, great! If not, it’s just one nail, so no biggie. This approach is perfect if you're a bit indecisive or if you like to switch things up often. It’s all about having fun and playing around with different looks.
Another great thing? It's a real time-saver. Instead of spending an entire evening painting all your nails, you can create a stunning look on just your big toes in a fraction of the time. This is perfect for busy folks (like me!) who want to look put-together without spending ages on their beauty routine. It’s quick, easy, and makes a statement. What’s not to love?
"Life's too short to have boring toes."
Simple Yet Stunning Design Ideas for Your Big Toes
Simple Yet Stunning Design Ideas for Your Big Toes
Floral Fun
Okay, let's talk designs, and we’re starting with florals because who doesn't love a bit of flower power? Forget those intricate, impossible-looking designs you see online. We're going for simple, cute, and totally doable. Think tiny daisies, little roses, or even just a few strategically placed dots to create a flower effect. Use a toothpick or a dotting tool for precise placement, or just wing it—it's all about having fun! I find that a light base color really makes the flowers pop, like a baby pink or a soft pastel.
You can also try a floral accent on just the corner of your big toe for a subtle, elegant look, or add a few tiny leaves around your flower to make it look more realistic. The beauty of floral designs is that they are so versatile, you can mix and match colors and sizes to fit your mood. Remember, this isn't about perfection; it's about adding a little bit of spring to your step, or should I say, your toes!
Design | Description | Difficulty |
|---|---|---|
Tiny Daisies | Small white flowers with a yellow center. | Easy |
Simple Roses | Swirling red or pink lines to create a rose shape. | Easy |
Dot Flowers | Five dots around a center dot. | Very Easy |
Stripes and Geometry
Next up, let's get geometric! Stripes are a fantastic way to add a modern, chic touch to your big toes. Think thin vertical stripes, bold horizontal lines, or even diagonal patterns. You can use nail tape to create crisp, clean lines, or just go freehand for a more relaxed look. The key here is to play with color combinations. Black and white stripes are always a classic, but you could also try a mix of bright colors for a fun, summery vibe. I've been really into gold stripes on a nude base lately; it just looks so classy and effortless.
Don't stop at stripes though. Try some simple geometric shapes like triangles, squares, or even a cool chevron pattern. These designs are surprisingly easy to create, and they add a lot of visual interest. You can even combine stripes and shapes for a more complex design. The best part is that you don't need any special tools; just a bit of patience and a steady hand. Remember, it’s all about creating a look that's uniquely you, and geometric designs are perfect for that.
"Simplicity is the ultimate sophistication."
StepbyStep Guide to Easy Big Toe Nail Designs
StepbyStep Guide to Easy Big Toe Nail Designs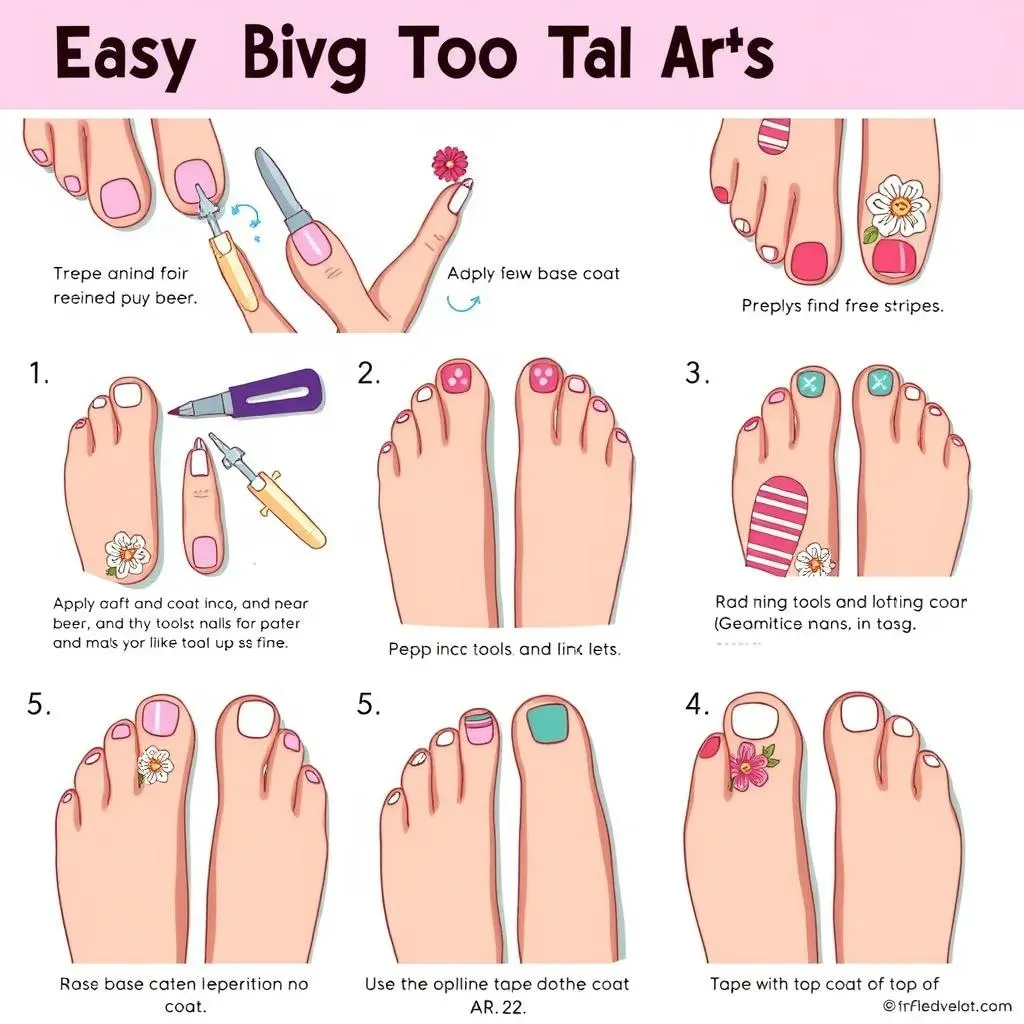
Prep Like a Pro
Alright, let's get down to business. Before you even think about polish, you gotta prep those toes. Start by soaking your feet in warm, soapy water for about 10 minutes. This softens the skin and makes it easier to push back your cuticles. Once you're done soaking, dry your feet thoroughly. Then, gently push back your cuticles with a cuticle pusher, and trim any hangnails. Don’t go overboard though, you’re not trying to give yourself a pedicure from a magazine, just a simple clean up. Next, file your nails to your desired shape. I prefer a slightly rounded edge, but you do you! Finally, use a cotton pad with nail polish remover to clean each nail, removing any oils and dirt. This will help your polish adhere better and last longer. Trust me, this step is key for a long-lasting and professional-looking pedicure, even if it’s a simple one.
Now that your toes are prepped, it’s time to get to the fun part: painting. First, apply a thin layer of base coat to protect your nails and prevent staining. Let it dry completely before moving on to the next step. For the base color, choose something that complements your design. I usually go for a nude or light color for floral designs, and a bolder color for geometric designs. Apply two thin coats of your base color, letting each coat dry completely. This prevents clumping and ensures even coverage. Remember, patience is key! Rushing this step can lead to a messy manicure and no one has time for that.
Step | Action | Why it Matters |
|---|---|---|
Soak Feet | Soak feet in warm, soapy water for 10 minutes. | Softens skin, makes cuticle care easier. |
Cuticle Care | Push back cuticles and trim hangnails. | Creates a clean nail base. |
File Nails | File nails to desired shape. | Shapes nails, prevents snags. |
Clean Nails | Clean nails with polish remover. | Removes oils, helps polish adhere. |
Base Coat | Apply a thin layer of base coat. | Protects nails, prevents staining. |
Base Color | Apply two thin coats of base color. | Provides even coverage. |
Design Time
Now for the moment you've been waiting for: creating your design! If you're going for floral, grab your dotting tool or toothpick. Dip it into your chosen color and create small dots to form flowers or petals. If you're doing stripes, use nail tape to create clean lines. Apply your polish over the tape, then carefully remove it while the polish is still slightly wet. For geometric shapes, you can use tape or freehand it if you're feeling brave. Remember, there are no mistakes in nail art, just happy accidents! If you mess up, just wipe it off and try again. The beauty of doing it yourself is that you can customize it to your liking. I once accidentally swiped a dot across my nail while trying to make a flower, and it ended up looking like a really cool abstract design, sometimes mistakes are good!
After you've finished your design, let it dry completely. Then, apply a top coat to seal in your design and make it last longer. A good top coat also adds shine and prevents chipping. And there you have it: a simple yet stunning big toe nail design that you created yourself! Don't forget to clean up any polish around your nails with a small brush dipped in polish remover. This will give your pedicure a polished, professional look. And just like that, you’ve gone from plain toes to fabulous toes, all without spending a fortune at a salon. Now you can show off your amazing nail art to the world.
"The best color in the whole world is the one that looks good on you."