Table of Contents
Ready to add some festive cheer to your holiday look? Forget complicated nail art tutorials and expensive salon visits! This guide is all about uncovering the secrets to achieving stunning, yet incredibly *easy Christmas nail designs*. Whether you're a nail art novice or simply short on time, we've got you covered. We'll explore a range of simple designs, from beginner-friendly techniques using basic tools to quick and chic options perfect for busy schedules. Learn how to effortlessly create festive looks using nail stickers and stencils, or unleash your inner artist with easy-to-master glitter and glam effects. We'll even show you how to adapt these easy Christmas nail designs for short nails, ensuring everyone can participate in the holiday nail fun. So, grab your favorite nail polish colors, gather your supplies, and let's get started on creating the perfect festive manicure for your holiday celebrations! Prepare to be amazed at how easy it is to achieve professional-looking results with our step-by-step instructions and inspiring ideas. Get ready to sparkle this season with our collection of easy Christmas nail designs!
Simple & Stunning: Easy Christmas Nail Designs for Beginners
Simple & Stunning: Easy Christmas Nail Designs for Beginners
Classic Red & Green
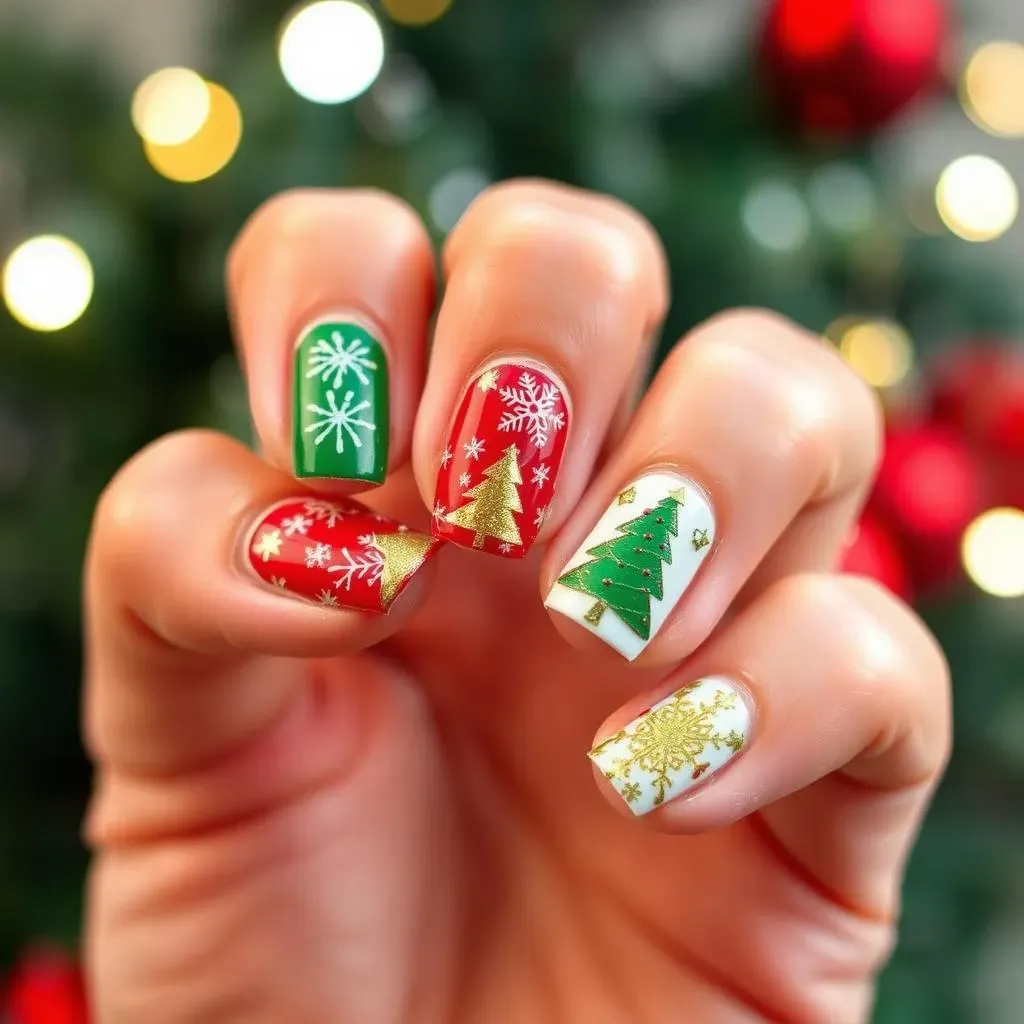
Let's start with a Christmas classic! A simple red and green design is surprisingly easy to achieve, even for beginners. Paint your nails with a base coat of your favorite color (maybe a creamy white or a soft nude). Then, using a thin nail art brush or even a toothpick, carefully paint some simple Christmas trees, candy canes, or holly leaves. Don't worry about perfect lines – a slightly imperfect, hand-painted look adds to the charm! Finish with a top coat for shine and longevity. You can find inspiration for simple patterns in our post on .
For a touch of extra sparkle, add some tiny glitter accents to your design. A simple glitter top coat or some strategically placed glitter dots can elevate your look without adding significant complexity. Remember, less is more when it comes to beginner-friendly nail art. A simple design executed well is always better than a complicated design that looks messy!
Step | Action |
|---|---|
1 | Apply base coat |
2 | Paint simple shapes |
3 | Add glitter (optional) |
4 | Apply top coat |
Sparkly Snowflake Magic
Snowflakes are another fantastically easy Christmas nail art idea for beginners. Start with a base coat of white or a pale pastel. Then, using a fine-tipped brush or a dotting tool, create simple snowflake designs. You don't need to be an artist! Simple six-pointed shapes with a few added lines or dots will look festive and elegant. Check out our guide on for more inspiration and techniques.
For a more whimsical look, experiment with different colors for your snowflakes! Silver, gold, or even a festive blue or purple can create a unique and beautiful manicure. Once again, a top coat seals the deal, protecting your masterpiece and adding a gorgeous shine. Don't be afraid to experiment – have fun with it!
- Choose a base color
- Create simple snowflake shapes
- Add a top coat for shine
Festive French Manicure
The classic French manicure is already elegant and timeless, but with a few simple additions, it can become a perfect Christmas manicure. Start with your usual French manicure technique, using a milky white or soft nude as your base and a crisp white for the tips. Once the white tips are dry, add a touch of festive flair! Use a thin brush or a striping tape to add thin lines of red and green to the white tips, resembling tiny candy canes.
Alternatively, you could add some tiny glitter to the tips or even use a festive-colored polish for the tips instead of white. A simple addition of a small Christmas-themed sticker on one nail can also add a touch of festive fun. For more ideas on easy nail designs, take a look at our selection of . This is a great way to add a festive touch without being too over the top.
Festive Flair: Easy Christmas Nail Designs Using Stickers & Stencils
Festive Flair: Easy Christmas Nail Designs Using Stickers & Stencils
Nail Stickers: Instant Festive Fun
Let's face it, not everyone's a skilled nail artist. That's where nail stickers come in! These little gems are a lifesaver for creating festive designs quickly and easily. You can find an incredible variety of Christmas-themed stickers – snowflakes, reindeer, Christmas trees, ornaments – the possibilities are endless! Simply apply your base coat, let it dry completely, then carefully peel and stick your chosen stickers onto your nails. Seal the deal with a top coat for a smooth, shiny finish. It's that simple!
For extra creativity, try layering stickers! Place a smaller sticker on top of a larger one, or combine different designs for a unique look. Don't be afraid to experiment with placement – sometimes, an off-center design looks even more charming. For more inspiration on using nail stickers, check out our guide on – the techniques are very similar!
- Apply base coat
- Apply Christmas nail stickers
- Seal with top coat
Stencils: Precise & Polished Designs
Nail stencils offer another fantastic way to achieve precise and polished Christmas nail designs without needing advanced painting skills. These thin, reusable templates come in a variety of festive shapes – snowflakes, stars, trees, and more. Simply place the stencil on your nail, apply your chosen polish color (red, green, gold, silver – the choice is yours!), and carefully remove the stencil once the polish is dry. For extra impact, use different colored polishes to layer and create depth to your design. This method offers a clean, crisp look that’s perfect for a sophisticated holiday manicure.
For some extra sparkle, use glitter polish with your stencils! Or, try layering a glitter top coat over your stenciled design for added shimmer. Don't forget to check out our page on for more stenciling ideas and techniques! You'll find plenty of inspiration there that you can easily adapt for Christmas.
Step | Action |
|---|---|
1 | Apply base coat |
2 | Position stencil |
3 | Apply polish |
4 | Remove stencil |
5 | Apply top coat |
Quick & Chic: Easy Christmas Nail Designs for Short Nails
Quick & Chic: Easy Christmas Nail Designs for Short Nails
Simple Solid Colors
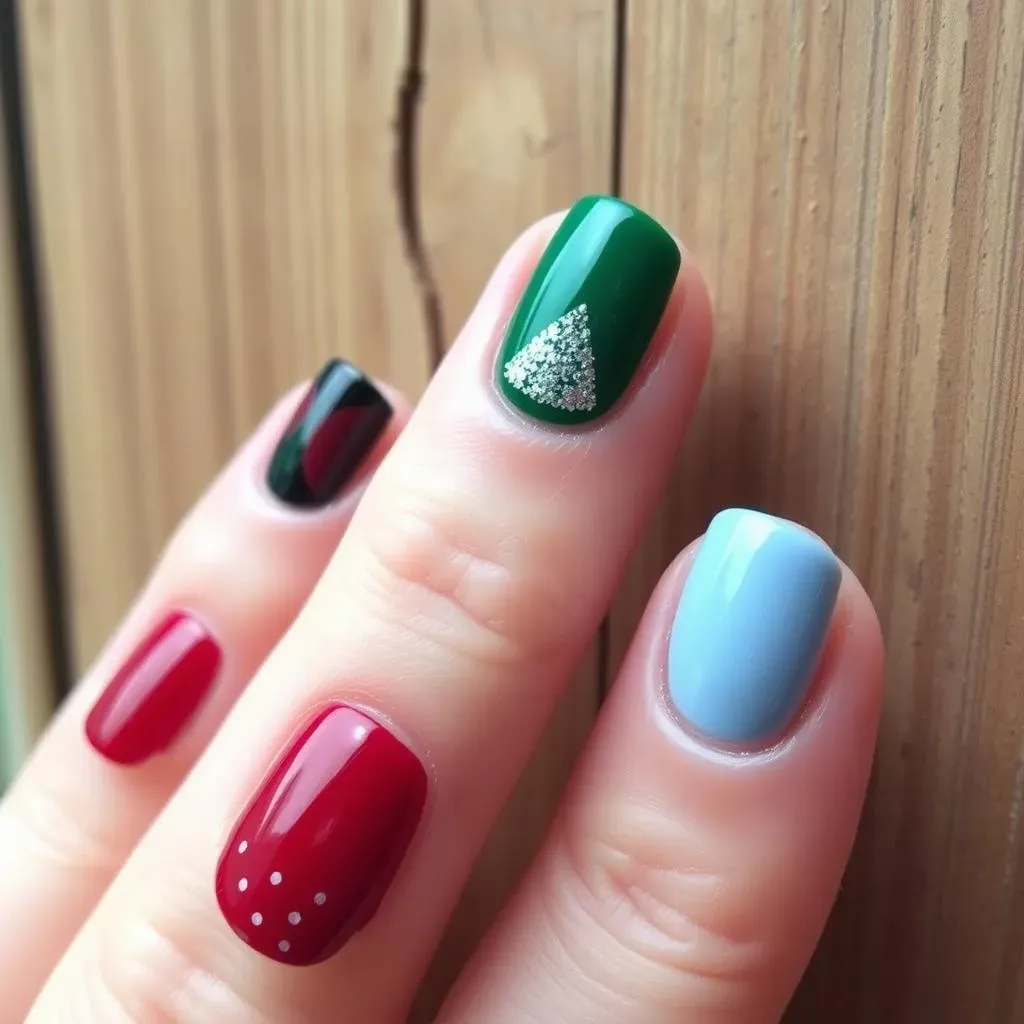
Short nails don't mean sacrificing festive fun! A simple coat of a rich, holiday-inspired color is both chic and quick. Think deep reds, emerald greens, or even a sophisticated icy blue. These classic shades instantly evoke the holiday spirit without requiring any extra effort. For extra shine, opt for a gel or high-gloss top coat. This look is perfect for those who prefer a minimalist approach or are short on time. It’s also a great base if you want to add some subtle embellishments later.
To add a touch of sparkle without making it too busy, consider adding some subtle glitter to just one or two nails. A single accent nail with a sparkly top coat can add just the right amount of festive flair. For more inspiration on simple and stylish nail looks, check out our post on . You'll find plenty of ideas that you can easily adapt for the holidays.
- Choose a festive color
- Apply two coats of polish
- Add a top coat for shine
Subtle Glitter Accents
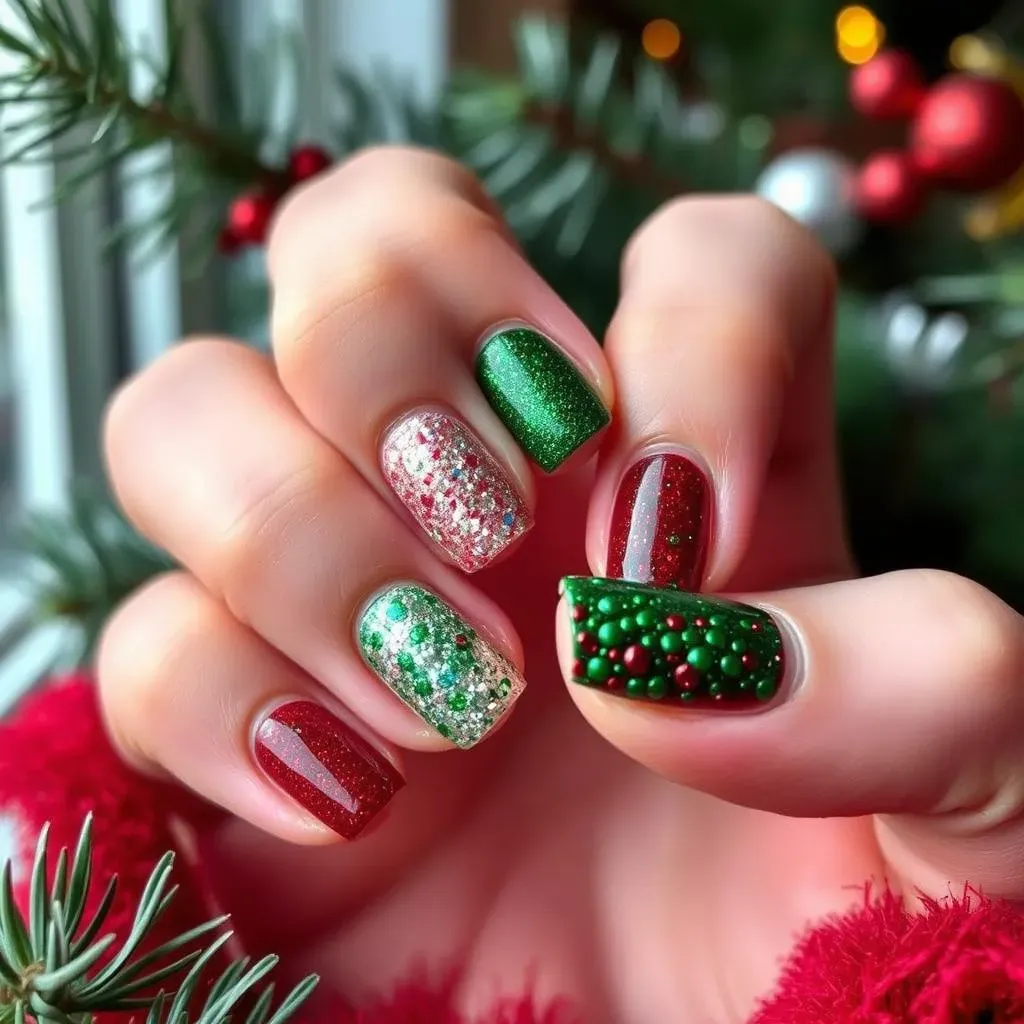
Glitter is a holiday staple, and it's incredibly easy to incorporate into your short nail designs. Instead of covering your entire nail in glitter, try adding subtle accents. A simple glitter gradient, where you apply more glitter towards the tips and less near the cuticle, creates a soft, understated look. This technique adds sparkle without overpowering your nails, especially if you have shorter nails. You can also use a fine glitter to create festive designs like snowflakes or tiny Christmas trees on a solid-colored base.
For a more unique look, try using different colors of glitter. For instance, a mix of silver and gold glitter on a red base can be incredibly festive. Remember, less is more! A few strategically placed glitter accents are far more impactful than a heavy application. For more ideas on using glitter creatively, take a look at our guide on , where we explore various glitter techniques.
Step | Action |
|---|---|
1 | Apply base coat |
2 | Apply glitter (gradient or accents) |
3 | Apply top coat |
Festive Half-Moon Manicure
The half-moon manicure is a trendy and easy design that works beautifully on short nails. Start with a base coat of your favorite holiday color (red, green, or white are all excellent choices). Then, using a small piece of tape or a half-moon manicure stencil, create a half-moon shape at the base of your nail, leaving it bare or applying a contrasting color. This creates a visually interesting effect without being overly fussy. The half-moon shape adds a touch of elegance and sophistication, making it perfect for festive gatherings.
For an extra touch of festivity, add a thin line of glitter or a different color along the edge of the half-moon, or try adding tiny Christmas-themed stickers to one or two nails. This design is incredibly versatile and allows for plenty of customization. For more ideas on creating chic manicures for short nails, check out our collection of .
Glitter & Glam: Easy Christmas Nail Designs with a Touch of Sparkle
Glitter & Glam: Easy Christmas Nail Designs with a Touch of Sparkle
Glitter Gradient Magic
Let's talk glitter! A glitter gradient is a super-easy way to add some serious sparkle to your Christmas manicure. Start with a base coat of a festive color – red, green, or even a deep blue work beautifully. Then, using a sponge or a small brush, apply glitter polish in a gradient effect. Apply more glitter towards the tips of your nails and less near the cuticle, creating a soft, shimmering effect. The gradient adds a subtle, yet impactful touch of sparkle.
For an even more dazzling effect, use multiple colors of glitter! Mix silver and gold, or try a mix of red and green glitter on a white base for a truly festive look. Don't forget to seal your masterpiece with a top coat to lock in the glitter and add extra shine. For more glitter inspiration, check out our ideas for – the glitter techniques are easily adaptable!
Step | Action |
|---|---|
1 | Apply base coat |
2 | Apply glitter gradient |
3 | Apply top coat |
Festive Glitter Accents
If a full-on glitter gradient feels a bit much, try adding some festive glitter accents instead! Start with a solid color base, then use a fine-tipped brush or a dotting tool to add small dots, lines, or shapes of glitter polish. Create simple snowflakes, stars, or Christmas trees. This allows for a bit more control and precision than a gradient, and it's a fantastic way to add a touch of sparkle without being overwhelming.
For a more unique look, experiment with different glitter colors and sizes. Mix fine glitter with chunky glitter for a multi-textured effect. Or, use different colored glitters to create a more complex design. For even more easy nail art ideas, check out our post on for tons of inspiration.
- Apply base coat
- Add glitter accents
- Seal with top coat
Glitter French Manicure
Give the classic French manicure a glamorous twist with glitter! Instead of using a solid white or cream color for the tips, use a glitter polish. This instantly elevates the look, making it perfect for Christmas. Choose a glitter color that complements your base coat – silver or gold glitter goes with almost anything, but you can also use colored glitter to match your holiday outfit or decorations.
For an extra touch of elegance, try using a thin brush to create a clean line of glitter at the tip of your nail, instead of just applying a thick coat. This creates a more refined look. And don't forget that top coat! It will protect your glitter and add extra shine. For more festive French manicure ideas, have a look at our guide on .