Table of Contents
Ready to transform your nails into adorable works of art without spending hours in a salon or needing expert skills? This article is your ultimate guide to the world of easy cute nail designs! Whether you're a complete beginner or just looking to refresh your nail routine, we've got you covered. We'll explore simple techniques that anyone can master, providing step-by-step tutorials and helpful tips to ensure your at-home manicure is a success. From classic polka dots and elegant stripes to trendy glitter accents and unique patterns, we'll showcase a range of easy cute nail designs to inspire your creativity. Get ready to unleash your inner nail artist and discover the joy of creating stunning manicures that perfectly complement your style, all while keeping things simple and fun. Prepare to be amazed by how easy it is to achieve professional-looking results with our collection of easy cute nail designs. Let's dive in and get your nails looking fabulous!
Easy Cute Nail Designs: Simple Techniques for Stunning Manicures
Easy Cute Nail Designs: Simple Techniques for Stunning Manicures
The Power of Prep: Setting the Stage for Success
Before you even think about picking up a nail polish brush, proper nail preparation is key! Think of it like prepping a canvas before painting a masterpiece. Start by gently pushing back your cuticles with a cuticle pusher – don't cut them! This helps keep your nails looking neat and prevents polish from chipping around the edges. Then, give your nails a quick buff to smooth out any ridges, creating a perfectly even surface for your polish to adhere to. This simple step makes a huge difference in how long your manicure lasts, and how professional it looks. Finish up by washing your hands to remove any dust or oils. Now you're ready to create your easy cute nail designs.
Once your nails are prepped, choosing the right base coat is crucial. A good base coat protects your nails from staining and helps the color pop! It also provides a smooth surface for your polish, preventing those annoying little bumps. There are tons of options out there, so do some research to find one that suits your nail type. For example, if you have brittle nails, look for a strengthening base coat. If you're prone to chipping, a base coat designed for that will be your best friend. A quality base coat is like the foundation of a house – you need a strong base to ensure everything else holds up! For more ideas on how to prepare your nails for nail art, check out our guide on easy nail art at home.
Step | Action | Tip |
|---|---|---|
1 | Push back cuticles | Use a cuticle pusher, not a cutter. |
2 | Buff nails | Smooth out ridges for even polish application. |
3 | Wash hands | Remove dust and oils for better adhesion. |
Mastering the Basics: Simple Nail Art Techniques
Now for the fun part! Let's explore some simple nail art techniques that even the most novice nail artist can master. Start with the classic polka dot design. All you need is a toothpick or a dotting tool and a contrasting polish color. Simply dip your tool into the polish and gently dab it onto your nails to create adorable dots. Experiment with different sizes and placements for a unique look. You can even try creating tiny hearts by making two dots next to each other! Another easy technique is using striping tape to create clean, straight lines. This is perfect for geometric designs or simple stripes. Just apply the tape to your nail, paint over it, and carefully peel it away once the polish is dry. For more inspiration, check out these awesome cute and easy nail art designs.
Don't underestimate the power of a good top coat! A top coat protects your beautiful creation from chipping and adds a beautiful shine. It's the final touch that takes your manicure from amateur to professional. Apply a thin, even coat and let it dry completely. For extra durability, you can apply two thin coats instead of one thick coat. This will help prevent smudging and extend the life of your manicure. Trust me, a top coat is your secret weapon for long-lasting easy cute nail designs. And remember, practice makes perfect! Don't be afraid to experiment and have fun with different colors and techniques. The more you practice, the better you'll become.
- Polka dots: Use a toothpick or dotting tool.
- Stripes: Use striping tape for clean lines.
- Top coat: Protects and adds shine.
Accessorize Your Mani: Embellishments and Stickers
Want to take your easy cute nail designs to the next level? Don't forget about embellishments! Nail stickers are a fantastic way to add a touch of flair without any complicated painting skills. There's a huge variety available, from tiny stars and hearts to intricate patterns and even 3D designs. Simply peel and stick them onto your nails, and seal them with a top coat to keep them in place. They're perfect for adding a bit of extra personality to your look, and they're super easy to use – even if you're a total nail art newbie! Consider using nail jewels or rhinestones for a touch of sparkle and glam. These can be applied with a little bit of nail glue and are perfect for adding a little extra pizzazz to a simple design. For some holiday inspiration, try our easy Christmas nail designs.
Remember, the beauty of easy cute nail designs is all about expressing your personality. Don't be afraid to mix and match different techniques and embellishments to create something unique. There are no rules when it comes to nail art! The most important thing is to have fun and create a manicure you love. Whether you opt for a minimalist look or go all out with embellishments, your nails should reflect your personal style. So get creative and show off your unique flair. Experiment with different colors, patterns, and techniques to find what works best for you. And most importantly, enjoy the process! After all, taking care of your nails should be a relaxing and fun experience.
Mastering Easy Cute Nail Designs: StepbyStep Tutorials and Tips
Mastering Easy Cute Nail Designs: StepbyStep Tutorials and Tips
Easy French Manicure
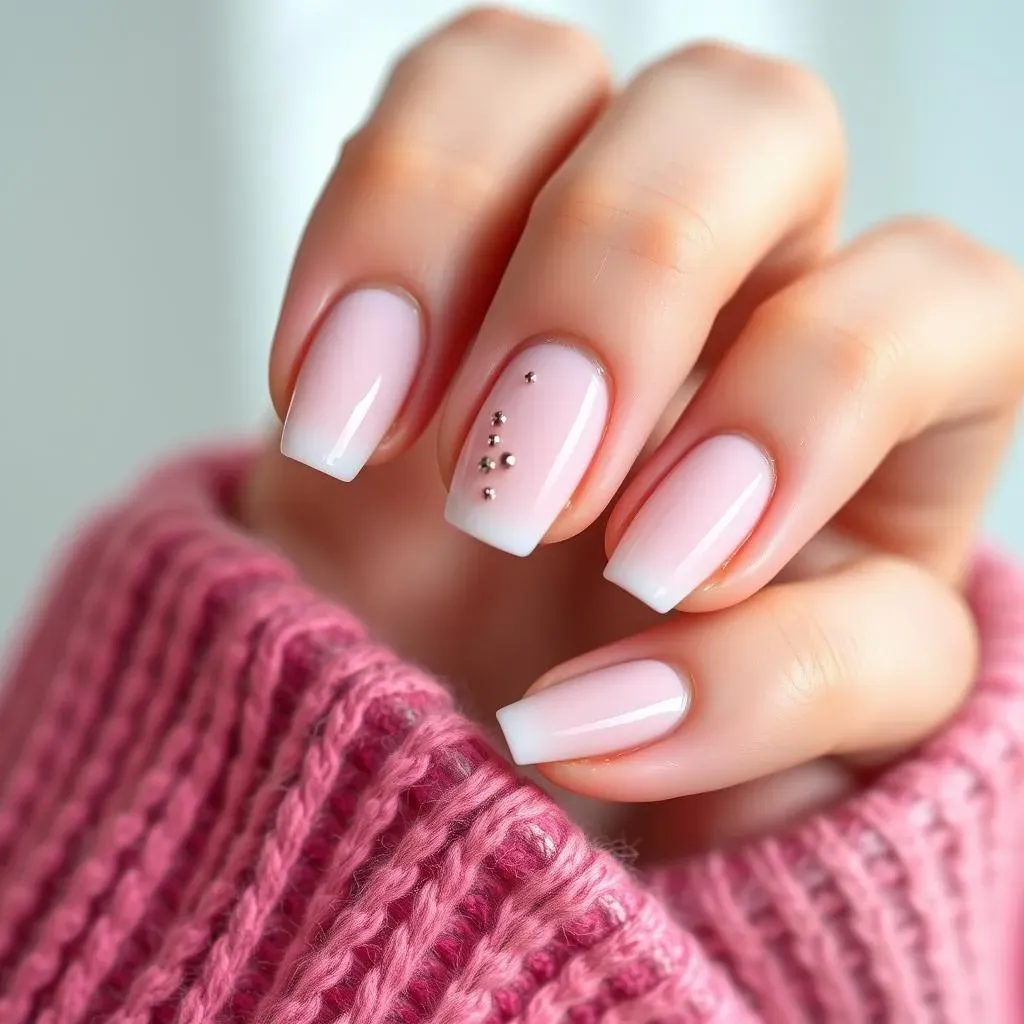
Let's start with a classic: the French manicure. It's timeless, elegant, and surprisingly easy to do at home! First, apply a base coat to protect your nails. Then, paint your entire nail with a nude or pale pink polish – this is your base color. Once it's dry, use striping tape to create a perfectly straight line across the tips of your nails. This tape acts as a stencil, so you can easily paint the white tips without any messy edges. Let the white polish dry completely before carefully removing the tape. Finish with a top coat for extra shine and protection. For a fun twist, try a colored French manicure using your favorite bright shades instead of traditional white! Check out these easy nail designs for special occasions for more inspiration.
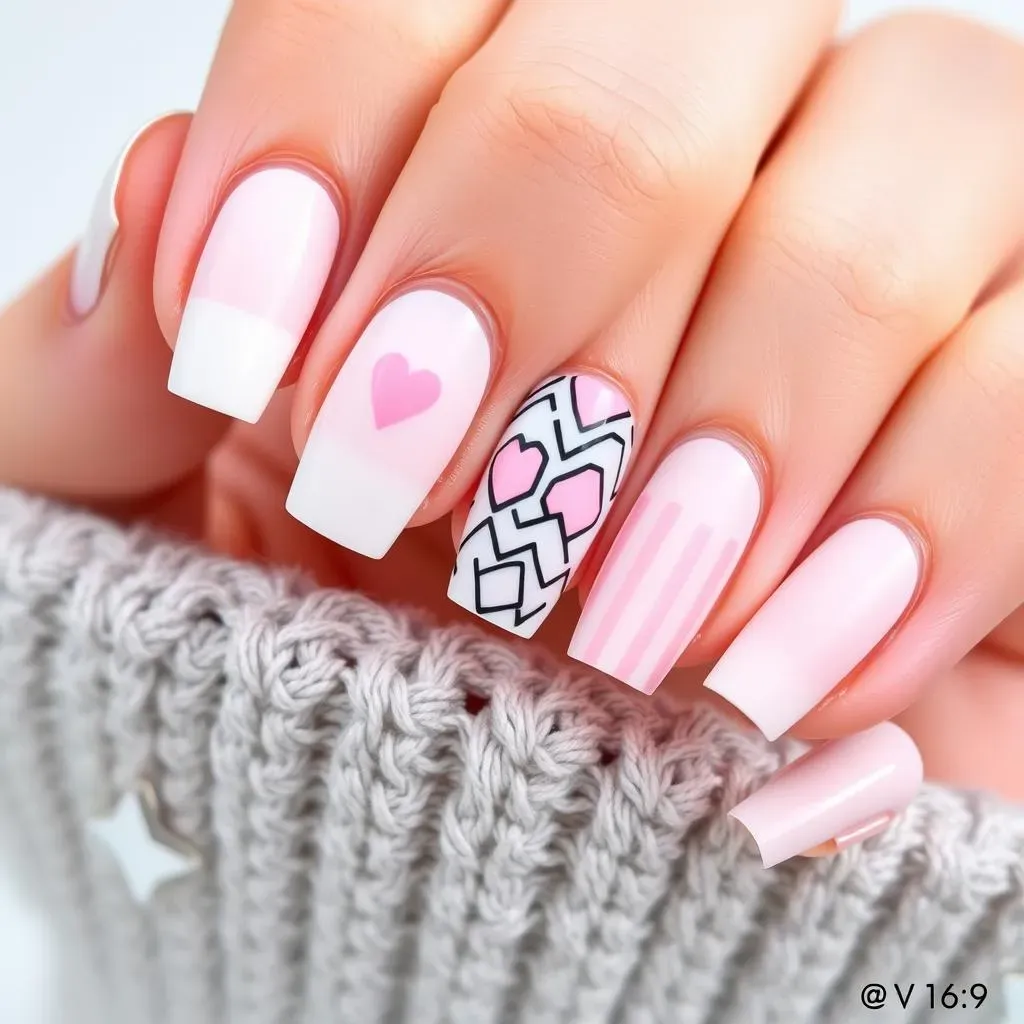
Next, let's tackle the adorable heart design. This one's perfect for adding a touch of romance or celebrating Valentine's Day. Start with a base coat, then apply your chosen background color. Once dry, use a thin nail art brush or even a toothpick to create two small, curved lines that meet at the bottom to form a heart. You can place the hearts anywhere on your nails – near the cuticle, at the tips, or scattered across the nail bed. Experiment with different sizes and placements for a unique look. Seal it all with a top coat. For more cute heart ideas, take a look at these simple red nail art designs.
- Apply base coat
- Paint base color
- Use striping tape for French tips
- Apply white or colored tips
- Remove tape and apply top coat
Simple Geometric Designs
Geometric designs are super trendy and surprisingly easy to create. Grab some striping tape again! This time, use it to create different shapes and patterns on your nails. For example, you can create stripes, chevrons, or even triangles. Get creative and experiment with different color combinations. Remember to apply a base coat first, then carefully place the tape on your nails to create your chosen pattern. Apply your chosen polish colors over the tape and carefully remove it once the polish is dry. Finish with a top coat. For more geometric inspiration, browse these cool and easy nail art designs.
Another fun and easy design is the ombre effect. This creates a gradual blend of two or more colors, giving your nails a soft, dreamy look. You can achieve this using a makeup sponge. Apply your chosen colors onto the sponge, then dab it onto your nails, blending the colors as you go. Start with a lighter shade near the cuticle and gradually transition to a darker shade towards the tip. For a more intense ombre effect, apply multiple layers. Remember to finish with a top coat. These easy nail art designs at home are perfect for beginners.
Design | Tools | Tip |
|---|---|---|
French Manicure | Base coat, nude polish, white polish, striping tape, top coat | Use thin coats of polish for best results. |
Hearts | Base coat, background color, nail art brush or toothpick, top coat | Practice your heart shapes on paper first! |
Geometric Designs | Base coat, various polish colors, striping tape, top coat | Experiment with different tape placements. |
Ombre | Base coat, various polish colors, makeup sponge, top coat | Use thin coats of polish for best results. |
Beyond the Basics: Creative Easy Cute Nail Designs to Inspire You
Beyond the Basics: Creative Easy Cute Nail Designs to Inspire You
Nature-Inspired Nail Art
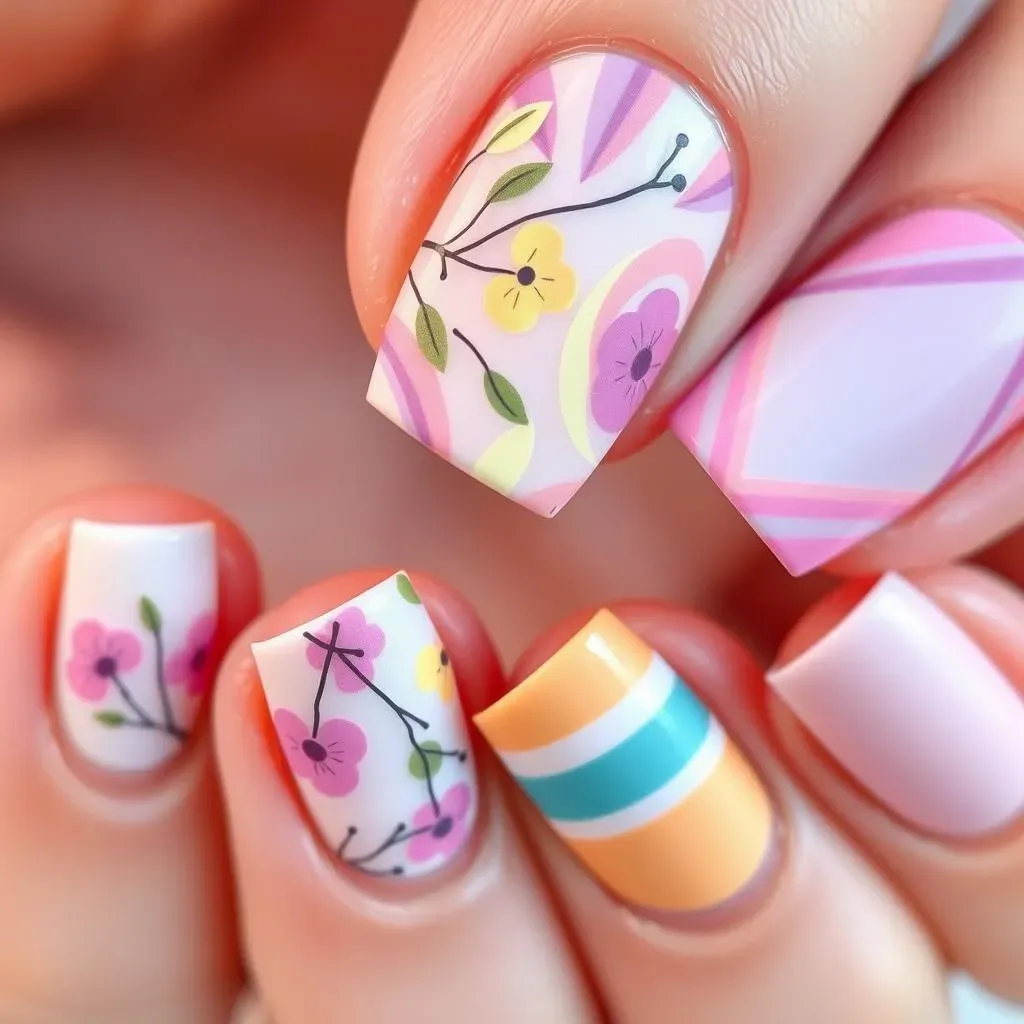
Let's explore some more advanced, yet still achievable, easy cute nail designs. Think about incorporating nature's beauty into your manicure! Delicate floral designs are always a hit. You can achieve this look using a thin nail art brush and various shades of pink, purple, or yellow. Practice creating small petals and leaves, then arrange them onto your nails to create a beautiful bouquet. Don't worry about perfection; a slightly imperfect, whimsical look is often the most charming! For more inspiration, check out these easy nail art pen designs.
Another option is creating a marble effect using water. This technique involves dropping different colored polishes into a bowl of water and then gently dipping your nails into the swirling colors to create a unique marble pattern. It sounds tricky, but with a little patience, you can create stunning results. Experiment with different color combinations and techniques to achieve a truly one-of-a-kind manicure. For some extra help, check out our guide on easy DIY nail designs.
- Floral designs: Use a thin brush and various shades.
- Water marble: Drop polishes into water and dip nails.
Geometric and Abstract Designs
Geometric designs offer endless possibilities for creative expression. Try combining different shapes and colors to create a striking abstract look. Experiment with stripes, dots, triangles, and squares—the possibilities are endless! Use striping tape to create clean lines and sharp edges, or go freehand for a more relaxed, artistic feel. Remember, there are no rules when it comes to abstract art, so let your imagination run wild! For some added sparkle, try incorporating glitter or metallic polishes into your geometric design. For some cool ideas, check out these cool easy nail art designs.
Negative space manicures are incredibly chic and surprisingly easy to create. This technique involves leaving parts of your nails unpainted, creating a visually interesting contrast. You can use striping tape to create clean lines or freehand the design for a more organic look. Try incorporating a simple geometric shape or a subtle pattern into your negative space design. This is a great way to add a touch of sophistication to your manicure without overwhelming your look. For more negative space inspiration, check out our post on easy nail designs for short nails.
Design Type | Technique | Tip |
|---|---|---|
Geometric | Stripping tape or freehand | Use a light hand for clean lines. |
Abstract | Freehand or use stencils | Don't be afraid to experiment with colors. |
Negative Space | Stripping tape or freehand | Less is more! |
Adding Personal Touches
Now let's talk about adding your own personal style to your easy cute nail designs. Think about incorporating your hobbies or interests into your manicure! Are you a bookworm? Try adding tiny book-shaped accents or quotes from your favorite authors. A music lover? Incorporate musical notes or instruments into your design. The options are endless! This is a perfect way to show off your unique personality through your nails. For some fun and quirky ideas, check out these easy nail art designs for toes (because why not?).
Don't be afraid to experiment with different color combinations. Try using complementary colors to create a harmonious look or contrasting colors to make a bold statement. Think about the season or the occasion when choosing your color palette. For example, you might use bright, cheerful colors for summer and darker, moodier shades for fall. The possibilities are endless! For some seasonal inspiration, check out our posts on easy summer nail designs and easy fall nail designs.