Table of Contents
Ready to ditch expensive salon visits and unleash your inner nail artist? This article is your ultimate guide to mastering easy DIY nail designs. Whether you're a complete beginner or just looking to refresh your skills, we've got you covered. We'll start by walking you through the essential tools and techniques needed for creating stunning manicures at home. No more shaky hands or frustrating mishaps – our step-by-step tutorials will teach you how to confidently execute various easy DIY nail designs, from classic French manicures to trendy polka dots and abstract swirls. We'll explore a wide range of creative ideas and provide inspiration for your next at-home nail art adventure. Get ready to explore the exciting world of easy DIY nail designs and discover how simple it is to achieve salon-worthy results in the comfort of your own home. Prepare to be amazed by how much you can create with just a few simple supplies and a little bit of patience! Let's dive in and transform your nails into masterpieces.
Mastering Simple Easy DIY Nail Designs: A Beginner's Guide
Mastering Simple Easy DIY Nail Designs: A Beginner's Guide
Essential Tools and Supplies
So, you're ready to dive into the world of easy DIY nail designs? Fantastic! First things first: gather your supplies. You don't need a mountain of expensive products. A good base coat, a couple of your favorite nail polish colors (start with 2-3 to avoid overwhelm!), and a top coat are essential. A simple nail file is crucial for shaping your nails neatly. For added flair, consider a dotting tool (you can even improvise with a bobby pin!) for creating polka dots or other fun details. And don't forget cuticle oil to keep your nails healthy and hydrated. Check out our post on awesome easy DIY nail designs for more inspiration!
Remember, practice makes perfect! Don't get discouraged if your first attempts aren't flawless. Start with simple designs and gradually increase the complexity as you gain confidence. Think of it as a fun creative outlet, not a high-stakes competition. The most important thing is to enjoy the process. And if you need some more ideas to get started, take a look at our article on easy nail designs for beginners. It's packed with super simple ideas.
Item | Purpose | Alternative |
|---|---|---|
Base Coat | Protects nails, improves polish adhesion | Clear nail polish |
Nail Polish | Adds color and design | - |
Top Coat | Seals design, adds shine and longevity | Clear nail polish |
Nail File | Shapes nails | - |
Dotting Tool | Creates dots and patterns | Bobby pin |
Nail Preparation: The Key to a Perfect Manicure
Before you even think about applying polish, proper nail prep is key. Think of it as laying the foundation for a beautiful house – you wouldn't skip the groundwork, would you? Start by gently pushing back your cuticles with a cuticle pusher. Avoid cutting them, as this can lead to infection. Then, shape your nails using a nail file, aiming for a consistent length and shape. Removing any old polish is also important. This ensures a smooth surface for your new manicure. A clean, even surface will make your design pop! Don't forget to moisturize your cuticles with cuticle oil. This will help keep them soft and prevent dryness.
Once your nails are clean and dry, apply a thin layer of base coat. This will prevent staining and help your polish last longer. Allow the base coat to dry completely before applying your chosen nail polish. If you are using multiple colors, wait for each layer to dry before applying the next one. This prevents smudging and ensures a crisp, clean look. Once your nail art is complete, finish with a top coat to protect your design and add shine. For extra longevity, consider a quick-drying top coat.
- Gently push back cuticles
- File nails to desired shape and length
- Remove old polish
- Apply cuticle oil
- Apply base coat
- Apply nail polish in thin coats
- Apply top coat
Stunning Easy DIY Nail Designs You Can Do at Home: StepbyStep Tutorials
Stunning Easy DIY Nail Designs You Can Do at Home: StepbyStep Tutorials
The Classic French Manicure: A Timeless Look
Let's start with a classic! The French manicure is surprisingly easy to achieve at home. Begin with a base coat, then apply two coats of a pale pink or nude polish. Once that's dry, use striping tape or a thin brush to create a neat white tip. Finish with a top coat for extra shine and longevity. This look is elegant, versatile, and perfect for any occasion. For more ideas on simple, everyday designs, check out our guide to easy nail designs for everyday wear.
Want to add a twist to the classic French manicure? Try using different colors! Instead of white, experiment with a bright pastel or a bold metallic. You can even create a half-moon manicure by painting a crescent shape at the base of your nail instead of the tip. The possibilities are endless! Don't be afraid to get creative and make it your own. For some festive ideas, check out our awesome easy Christmas nail designs.
- Apply base coat
- Apply 2 coats of nude/pale pink polish
- Use tape or brush to create white tip
- Apply top coat
Polka Dots and Stripes: Easy Patterns for Beginners
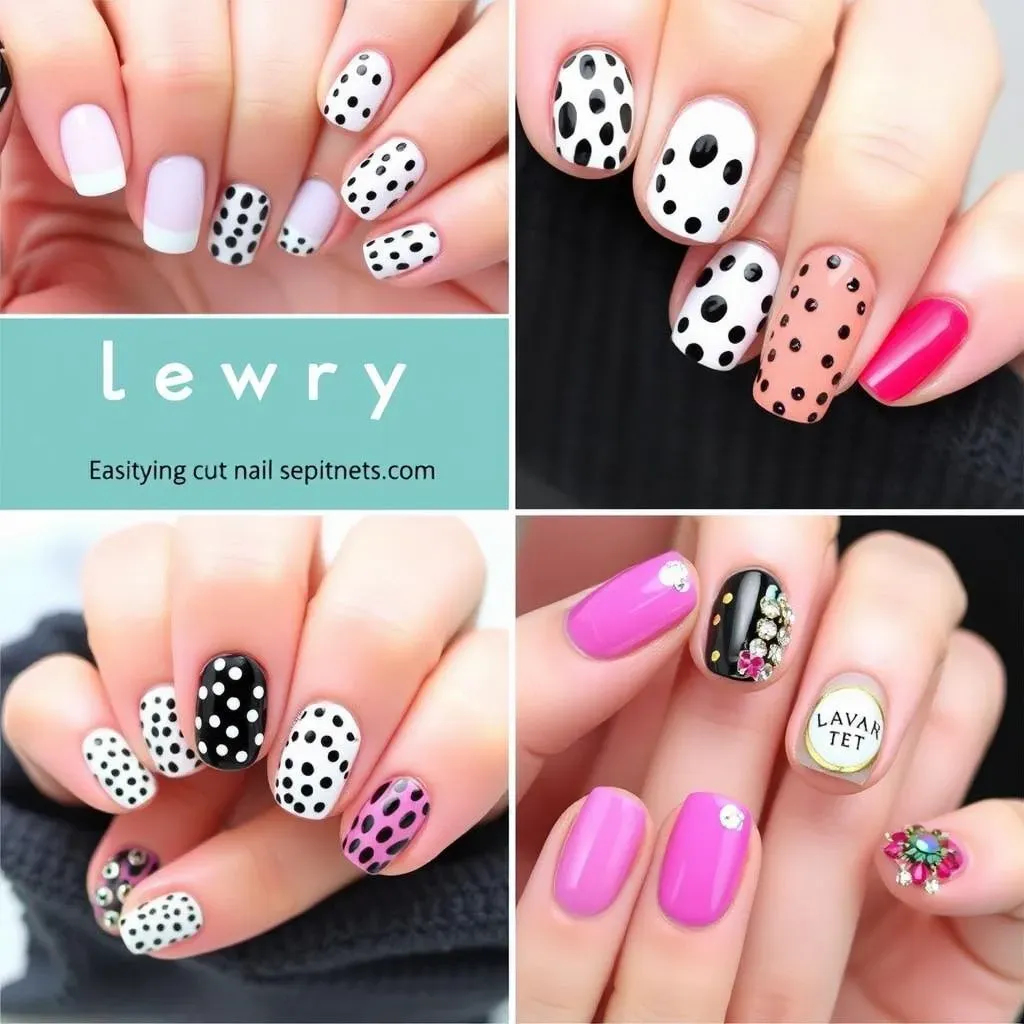
Polka dots and stripes are two of the easiest nail art patterns to master. For polka dots, use a dotting tool or a bobby pin dipped in nail polish to create evenly spaced dots. Experiment with different sizes and colors for a fun, playful look. Stripes are equally simple: use striping tape or a thin brush to create vertical, horizontal, or diagonal lines. Again, get creative with color combinations! For even more simple designs, check out our gallery of awesome easy nail art ideas.
Don't be afraid to mix and match these patterns! You can combine polka dots and stripes, or add them to a solid color base. You can also incorporate other simple elements, such as glitter or rhinestones, to add extra sparkle. The key is to have fun and experiment! Remember, there are no mistakes, only happy accidents. Need more inspiration for cute and easy nail art? Check out awesome cute easy nail designs!
Pattern | Tools | Tips |
|---|---|---|
Polka Dots | Dotting tool, bobby pin | Vary size and color |
Stripes | Striping tape, thin brush | Experiment with direction |
Negative Space and Accent Nails: Minimalist Chic
For a more minimalist look, try negative space nail art. This involves leaving parts of your nail unpainted, creating a chic and modern effect. You can simply paint a single color on half of your nail, or create more intricate shapes using striping tape. Accent nails are another simple yet effective technique. Choose one or two nails to feature a different color or design, while keeping the rest of your nails a solid color. This adds a touch of personality without being too overwhelming.
Negative space designs are incredibly versatile. They can be as simple or as complex as you like. A simple half-moon manicure is a great starting point, but you can also experiment with geometric shapes or abstract designs. Accent nails offer a similar level of flexibility. You can use different colors, textures, or patterns to create a unique look. For more ideas on how to style short nails, take a look at our easy nail designs for short nails.
- Choose a base color
- Leave parts of the nail unpainted
- Use tape to create shapes
- Add accent nails with different colors or designs
Elevate Your Style with Creative Easy DIY Nail Designs: Inspiration and Ideas
Seasonal Nail Art
Let's tap into the power of seasonal trends! Think vibrant summer hues like sunshine yellow, bright coral, and juicy watermelon pink for a cheerful, summery vibe. Or embrace the cozy autumnal tones – deep reds, burnt oranges, and warm browns – for a sophisticated fall look. For the festive winter season, consider glittery silver, snowy white, and deep emerald green for a touch of magic. And don't forget spring's pastel shades – soft pinks, lavenders, and mint greens – for a refreshing feel. Need some seasonal ideas? Check out our awesome easy fall nail designs for inspiration!
Beyond the obvious, think outside the box. For spring, consider delicate floral designs, while summer might inspire you to try bright tropical fruits or ocean-themed designs. Autumn brings rich foliage and pumpkin spice, while winter provides opportunities for snowflakes and cozy sweaters. The key is to align your nail art with the season's overall aesthetic, creating a cohesive and stylish look that reflects your personal style. For more ideas, you might enjoy our awesome easy spring nail art designs.
- Summer: Bright, vibrant colors
- Autumn: Warm, earthy tones
- Winter: Glittery, festive colors
- Spring: Pastel shades, floral designs
Incorporating Textures and Embellishments
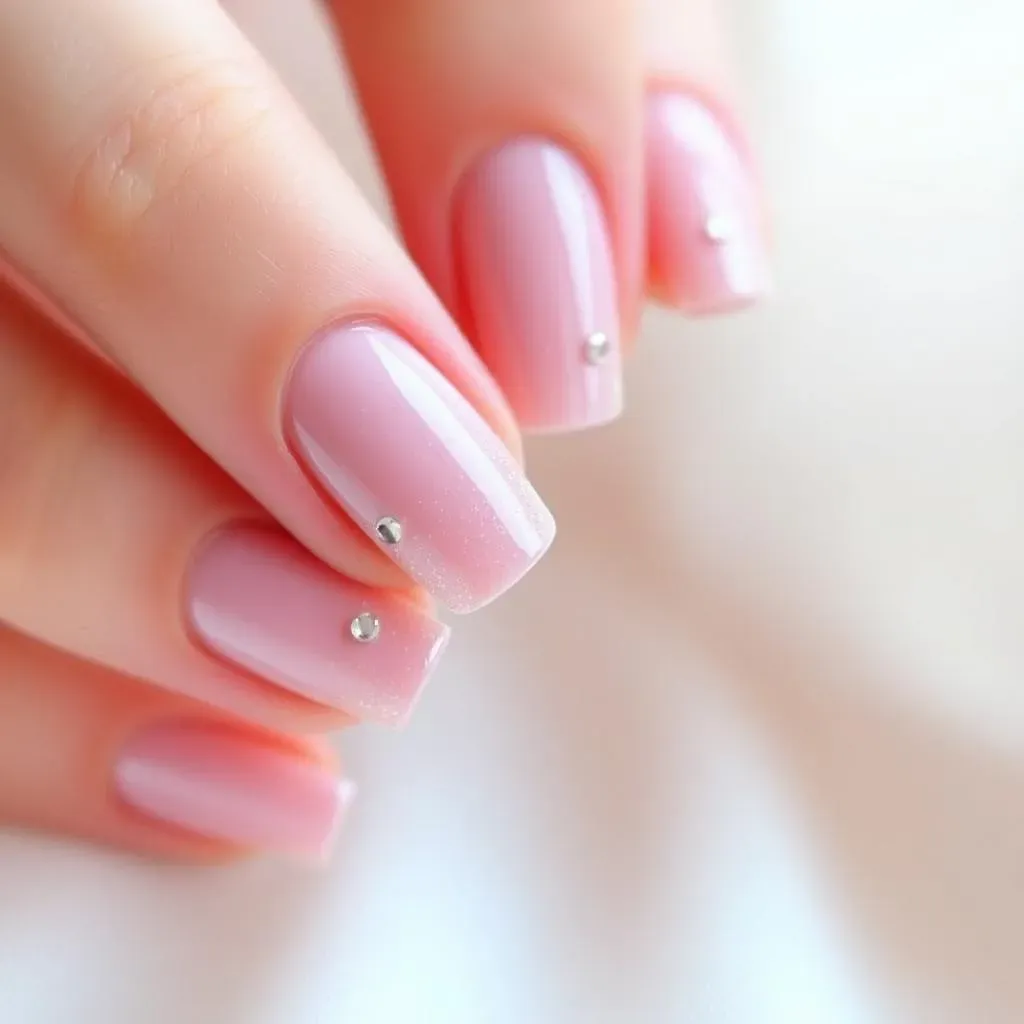
Want to add some extra dimension to your easy DIY nail designs? Experiment with textures! Matte top coats create a sophisticated, velvety finish, while glitter polishes add sparkle and shine. For a more unique look, consider using textured nail polishes that mimic the appearance of fabrics like suede or velvet. These textured polishes can add a luxurious touch to your manicure without needing advanced nail art skills. Don't forget about embellishments! Small rhinestones, glitter, or even tiny charms can elevate a simple design to the next level.
Adding embellishments can be as easy as carefully placing a few rhinestones on a solid color base. Or get creative by using them to outline a design, create patterns, or add a touch of sparkle to an accent nail. The possibilities are endless! Remember, less is often more. Start with a small number of embellishments and gradually increase the amount as you gain confidence. Overdoing it can make your design look cluttered and less polished. For more ideas on adding embellishments, check out our awesome easy at-home nail art designs.
Texture | Effect | Application |
|---|---|---|
Matte | Velvety finish | Apply matte top coat |
Glitter | Sparkle and shine | Apply glitter polish |
Textured | Fabric-like appearance | Apply textured nail polish |