Table of Contents
Ever looked at your dog and thought, "Man, they're cute, but their nails could use some sparkle?" Well, you're not alone! Turns out, dog-themed nail art is a thing, and it's way easier to pull off than you might think. Forget complicated salon visits; we're talking about easy dog nail designs you can totally do at home. Whether you're a total beginner or just looking for some fresh ideas, this article is your guide to creating adorable dog-inspired manicures. We'll start with the simplest paw print designs, then move onto some quick breed-inspired styles, and finally, I'll share my favorite tools and tricks to make the whole process a breeze. Think of this as your personal dog nail art playground, where you can unleash your creativity without needing a degree in fine art. So, grab your polish, maybe a picture of your favorite furry friend, and let's get started!
Simple Paw Print Nail Art for Beginners
Simple Paw Print Nail Art for Beginners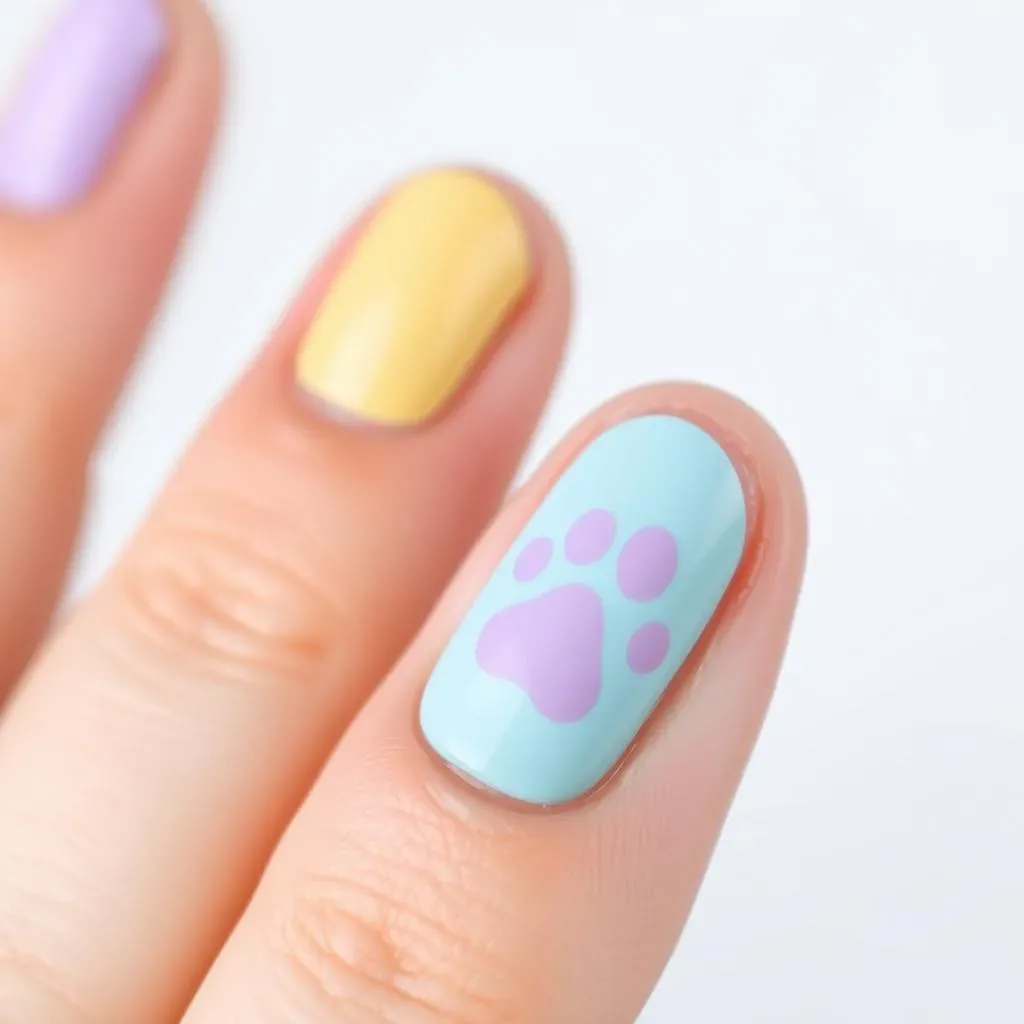
The Easiest Paw Prints Ever
Okay, so you wanna rock some cute paw prints, but you're not exactly Picasso with a nail brush? No sweat! We’re going for simple here, think less “art gallery” and more “adorable doodle.” The trick is to start with a solid base color – any color you like, really. I'm partial to a nice pastel, but a bright color can also make the paw prints really pop. Once your base is completely dry (patience is key, my friend!), grab a dotting tool or even a toothpick. Seriously, a toothpick works wonders. We're going to make the paw by doing one big dot for the pad, and four smaller dots around it for the toes. Easy peasy, right?
Step-by-Step Paw Perfection
Now that you've got your tools, let’s get down to business. I like to start with the main pad of the paw. Dip your dotting tool or toothpick into your chosen color (black is classic, but white or even a glitter polish can be fun too), and make a single dot in the middle of your nail. Not too big, not too small, just right. Then, with the same tool, create four smaller dots above the main dot, arranging them in a little semi-circle. It should look like a tiny paw print. Don’t worry if they’re not perfect, that’s part of the charm. It’s supposed to look like a dog’s paw, not a robot’s. If you mess up, just wipe it off with nail polish remover and try again. It’s not rocket science, it’s just nail art!
Step | Action |
|---|---|
1 | Apply base coat and color. |
2 | Make the big pad dot. |
3 | Add four toe dots around the pad. |
Adding Your Own Flair
Once you’ve mastered the basic paw print, feel free to play around with different colors and patterns. Maybe try a rainbow paw, or do different color paws on each nail. You can also add a top coat to seal in your design and make it last longer. I once tried using a super sparkly top coat and it looked like my nails were covered in tiny disco balls, which, let's be honest, was pretty awesome. Don't be afraid to experiment and have some fun with it, it’s your nails after all! Remember, there's no right or wrong way to do this. If it makes you smile, then you’ve nailed it (pun intended!).
Cute and Quick Dog Breed Inspired Designs
Cute and Quick Dog Breed Inspired Designs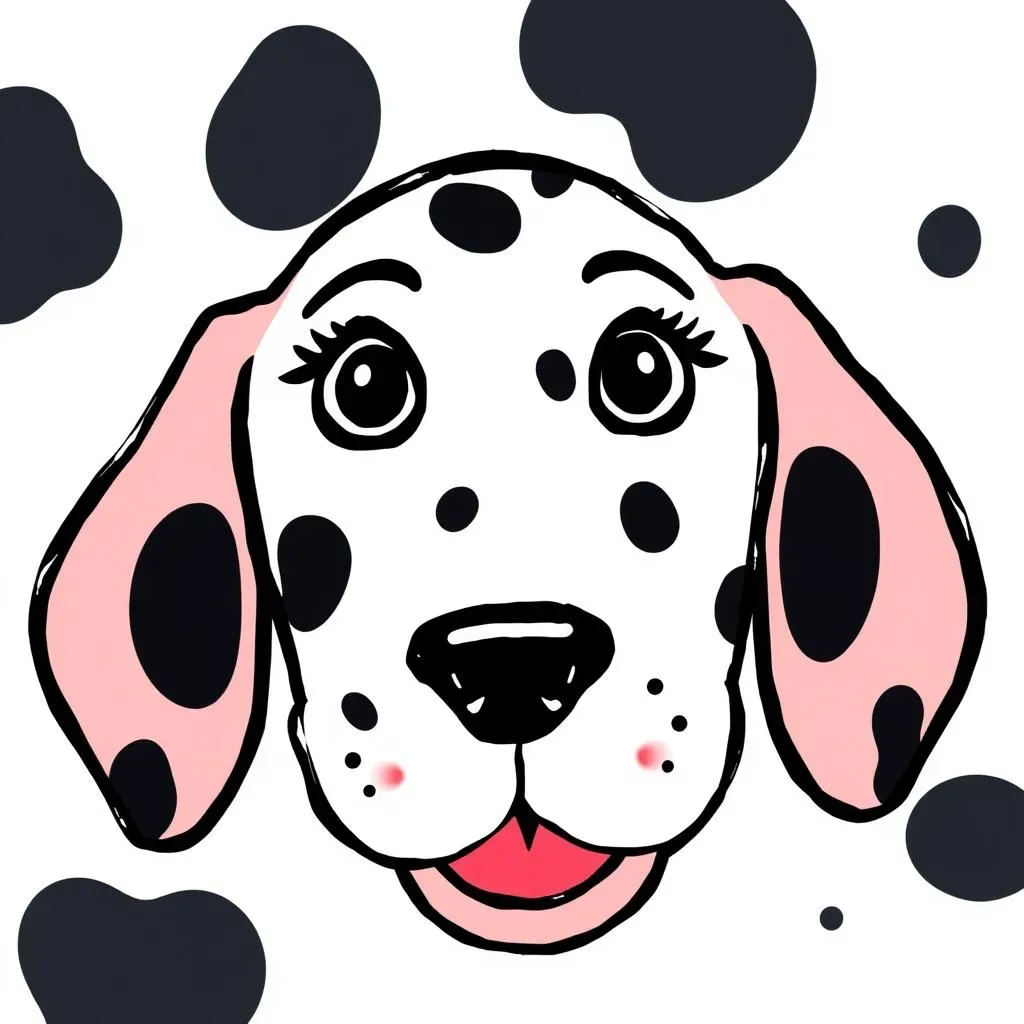
Dalmatian Dots: Simple and Chic
Alright, so paw prints are cute, but what if you want to take it up a notch? Let's talk dog breeds! One of the easiest and most recognizable designs is the Dalmatian. Seriously, it’s just dots, and who doesn't love a good dot? Start with a white base coat, let it dry completely, then grab a black polish and a small dotting tool or brush. It doesn’t have to be perfect, the beauty of a Dalmatian is in its random spots. Think of it like you’re flicking tiny bits of paint onto your nails, but with a bit more control. Don't overthink it; just have fun.
I remember the first time I tried this, I went a little overboard with the dots, and it looked like my nails had caught some sort of polka-dot disease, but hey, it was a learning experience. Now, I'm a dotting pro!
Pug Perfection: The Wrinkle Effect
Okay, this one might sound a bit tricky but trust me, it's easier than it looks. For a pug-inspired design, we're going for the signature wrinkle look. Start with a beige or light tan base, then use a thin brush and a darker brown to create short, slightly curved lines across your nail. Think of it like drawing tiny, squiggly lines, not perfectly straight. The key is to make them uneven and slightly overlapping. It’s not about perfection, it’s about capturing the lovable, wrinkly charm of a pug. You can even add a tiny black dot for the nose at the base of your nail if you're feeling extra fancy.
This design always gets a laugh when I show it off, and it's a great conversation starter. Plus, who doesn’t love a pug?
Breed | Design | Difficulty |
|---|---|---|
Dalmatian | Black dots on white base | Easy |
Pug | Brown wrinkle lines on beige base | Medium |
Frenchie Flair: Minimalist and Modern
If you're after a more minimalist look, let's go for a French Bulldog vibe. This design is all about clean lines and subtle details. Start with a light grey or nude base color. Then, using a thin brush, draw two small, rounded "ears" at the top of your nail, like little triangles with rounded edges. You can fill them in with the same color or use a slightly darker shade for a bit of contrast. Add a tiny black dot for the nose at the base of your nail to complete the look. It's simple, chic, and totally captures the essence of a Frenchie without being too over the top.
This is my go-to design when I want something cute but not too fussy. It’s like the little black dress of dog nail art – always stylish and always appropriate.
EasytoUse Tools and Tricks for Dog Nail Art
EasytoUse Tools and Tricks for Dog Nail Art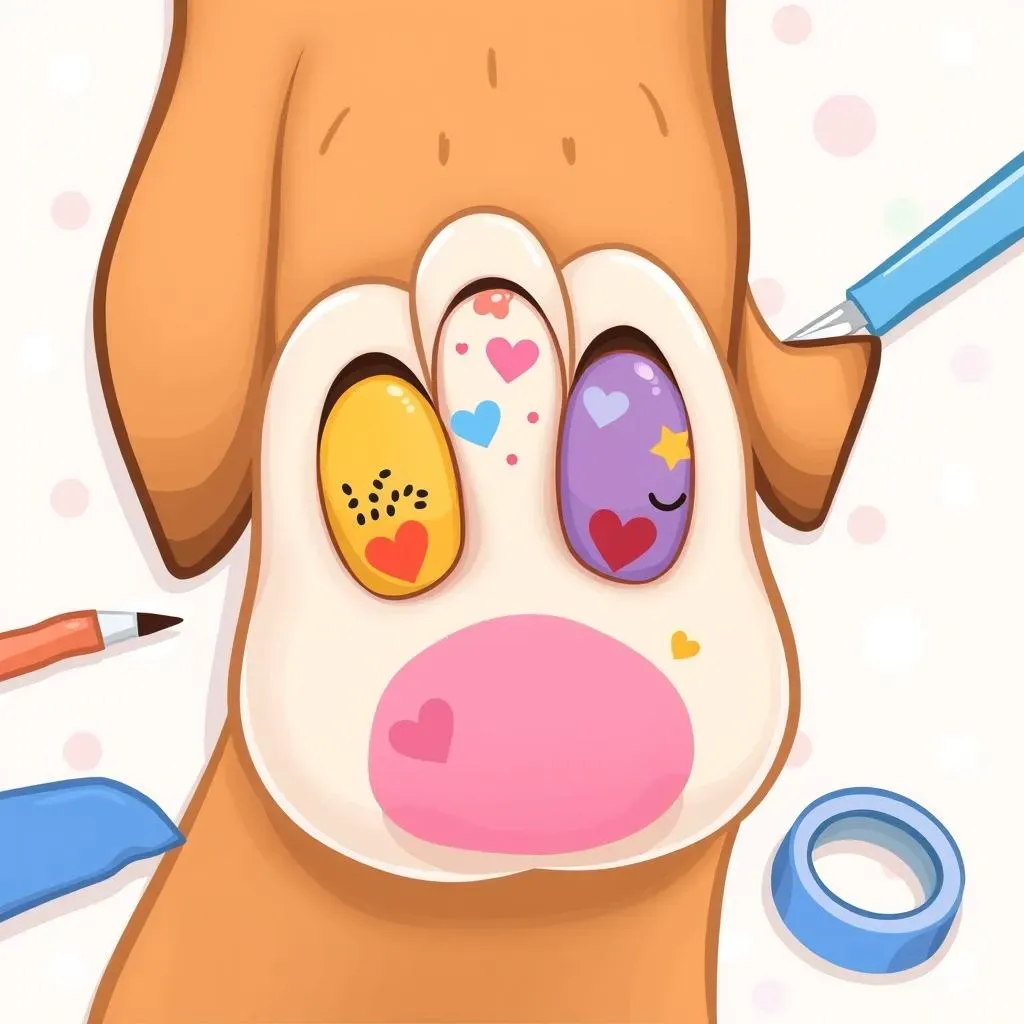
Dotting Tools: Your Best Friend
Alright, let's talk tools. You don't need a fancy art kit to create awesome dog nail designs. A set of dotting tools is a game-changer, seriously. They come in various sizes, which is perfect for making different-sized dots for paws, Dalmatian spots, or even tiny noses. If you don't have dotting tools, toothpicks or even the end of a bobby pin work just as well. I've used all three and honestly, the results are pretty much the same. The key is to have something small and round that you can dip into your nail polish and create those perfect little dots.
I remember when I first started, I tried using a regular brush for dots and it was a total mess. I ended up with these weird, blobby shapes that were definitely not paws. Dotting tools are where it's at!
Thin Brushes: For the Finer Details
Okay, so dots are covered, but what about those finer lines? That's where thin brushes come in. You can find them in most nail art kits, or you can even use a fine-tipped eyeliner brush (just make sure it’s clean!). These brushes are perfect for creating the wrinkles of a pug, the ears of a Frenchie, or even just outlining your designs. I find that using a brush with a bit of flexibility helps with those curved lines. Don’t be afraid to practice on a piece of paper first until you get the hang of it. No one’s born a nail art master. It takes a little practice, and a whole lot of patience.
Tape and Stencils: For Crisp Lines
If you're looking for super crisp lines, especially for those minimalist Frenchie designs, tape and stencils are your secret weapon. You can use regular Scotch tape, just make sure it’s not too sticky, or you can buy special nail art tape. Place the tape where you want a straight line, paint over it, and then carefully peel it off. You'll be left with a clean, crisp edge. For stencils, you can find all sorts of designs online, or you can even make your own with some cardstock and scissors. It’s like having a little cheat sheet for your nail art. I’ve even used those little reinforcement stickers for binder holes as stencils, and they work like a charm!
Tool | Use | Alternative |
|---|---|---|
Dotting Tools | Creating dots | Toothpicks, bobby pins |
Thin Brushes | Fine lines and details | Clean eyeliner brush |
Tape/Stencils | Crisp lines and shapes | Reinforcement stickers |