Table of Contents
Think having short nails means boring manicures? Think again! I used to believe that too, until I discovered the magic of gel polish. Turns out, short nails are the perfect canvas for some seriously stunning, yet incredibly easy gel nail designs. We're not talking about complicated salon techniques here. Forget those intricate designs that take hours and a steady hand. We're all about quick, cute, and totally achievable looks that anyone can master at home. This article will guide you through why short nails are actually ideal for gel polish, share the essential techniques to get started, and give you a bunch of super easy gel nail designs for short nails that you can try today. Get ready to transform your nails into mini masterpieces without any hassle or frustration. Let's get started!
Why Short Nails are Perfect for Gel Designs
Why Short Nails are Perfect for Gel Designs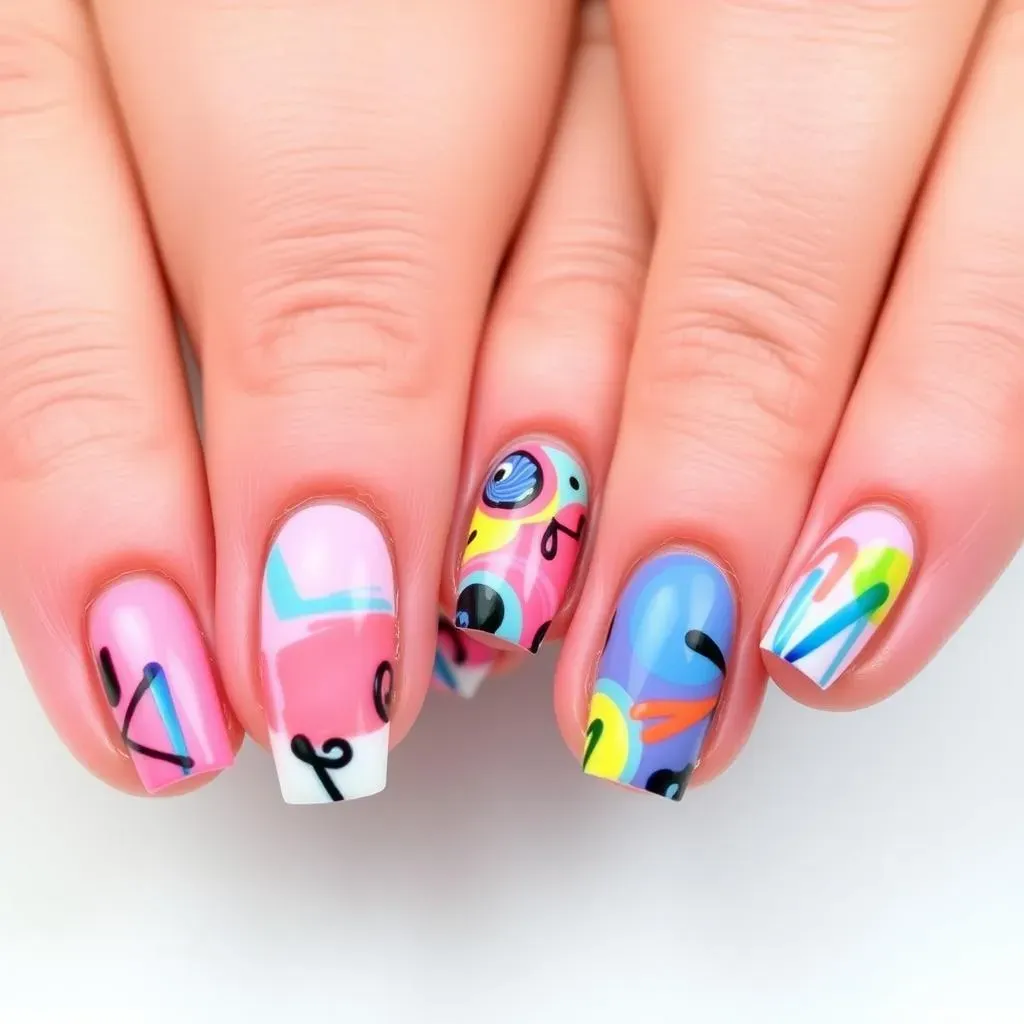
Let's be real, long nails are beautiful, but they're not always practical. They can get in the way, break easily, and are just generally a pain to maintain. That's where short nails come in! They are the unsung heroes of the manicure world. And guess what? They're actually amazing for gel designs. First off, think about it, less nail means less space to mess up, right? It's a smaller canvas, which makes applying gel polish a whole lot easier, especially if you're just starting out. Plus, short nails are way less prone to chipping or breaking, which means your gel mani will last longer. I always found my long nails would chip the same day I painted them, it's just frustrating. They’re also super versatile – you can rock any color, any design, and it just looks effortlessly chic.
Simple Gel Polish Techniques for Short Nails
Simple Gel Polish Techniques for Short Nails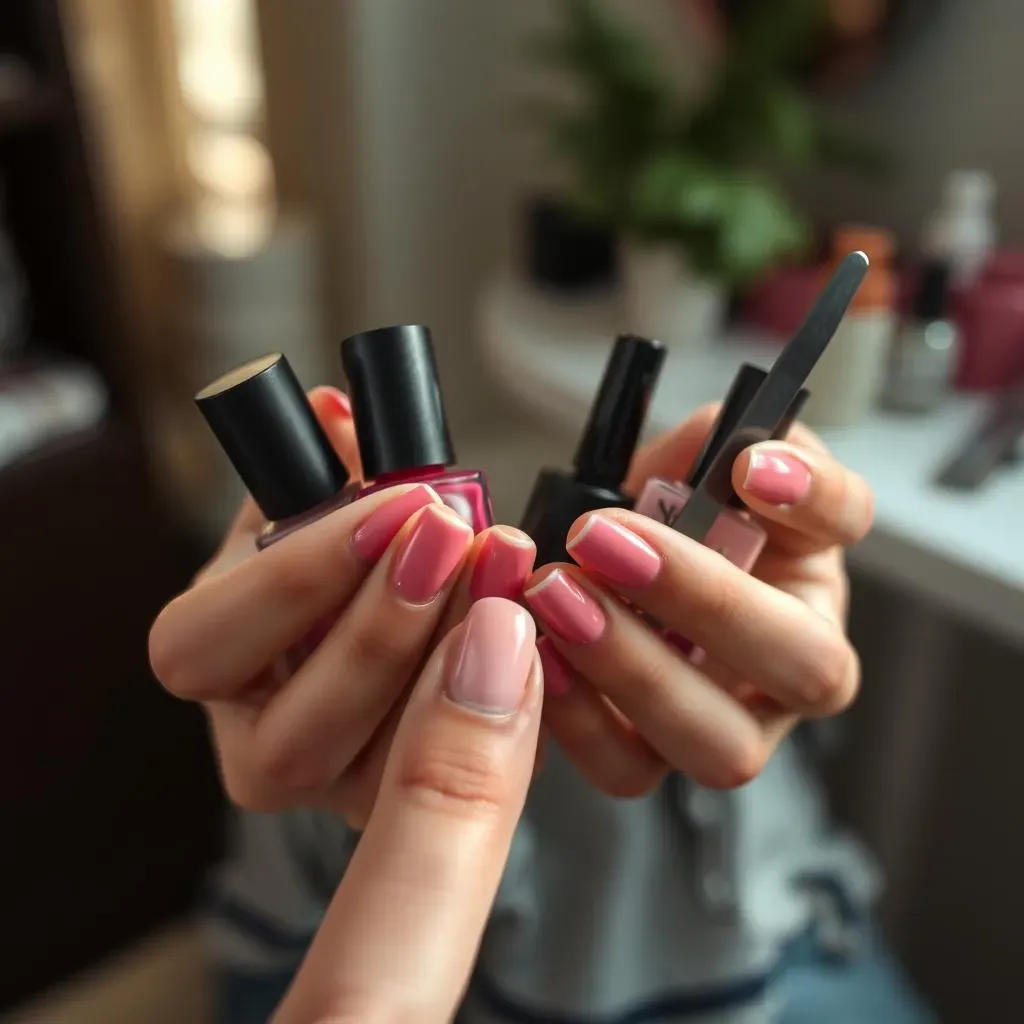
Prep is Key
Okay, so you're ready to rock some gel polish on those cute short nails? Awesome! But before you even think about color, you gotta prep. It's like building a house, you need a solid foundation, right? I used to skip this step, and let me tell you, my manicures paid the price – they chipped within days. Start by gently pushing back your cuticles. Don't go crazy, just a little nudge. Then, lightly buff the surface of your nails. This creates a slightly rough texture that helps the gel adhere better. Finish with a swipe of nail cleanser to remove any oils or dust. Trust me, this prep work makes a HUGE difference in how long your manicure lasts.
Application Made Easy
Now for the fun part – applying the gel! The trick here is thin layers. Seriously, thin! It's like painting with watercolors, not house paint. One thick layer is a recipe for disaster – it won't cure properly and will probably peel off in a hot minute. Apply your base coat in a thin layer and cure it under your UV/LED lamp, then apply your color, again in a thin layer, and cure it. Repeat the color layer for more intensity if needed. I always do two coats, but sometimes three if I'm using a lighter color. Don’t forget to seal it all with a top coat for that glossy finish and cure it again. Remember to cap the edges of your nail with each coat, this helps prevent chipping.
Step | Action | Why? |
|---|---|---|
1 | Push back cuticles | Creates a clean nail bed |
2 | Lightly buff nails | Improves gel adhesion |
3 | Cleanse nails | Removes oils and dust |
4 | Apply thin base coat | Prepares nails for color |
5 | Apply thin color coat(s) | Builds up color intensity |
6 | Apply top coat | Adds shine and protection |
Curing and Care
Curing is the magic part, but you've got to do it right. Make sure you are following the curing times recommended for your lamp and gel polish. Undercuring can lead to stickiness and peeling, and overcuring can damage your nails. It’s like baking a cake – you can't just pull it out whenever you feel like it. Once you're all done with curing, wipe the sticky layer with a lint-free wipe and some rubbing alcohol or nail cleanser. And there you have it, a perfect gel manicure. To keep your mani looking fresh, avoid harsh chemicals and wear gloves when doing household chores. Oh, and cuticle oil is your best friend, use it daily to keep your nails and cuticles moisturized. I always have some in my bag.
"The key to a great gel manicure is patience and thin layers" - My mom
Easy Gel Nail Design Ideas for Short Nails
Easy Gel Nail Design Ideas for Short Nails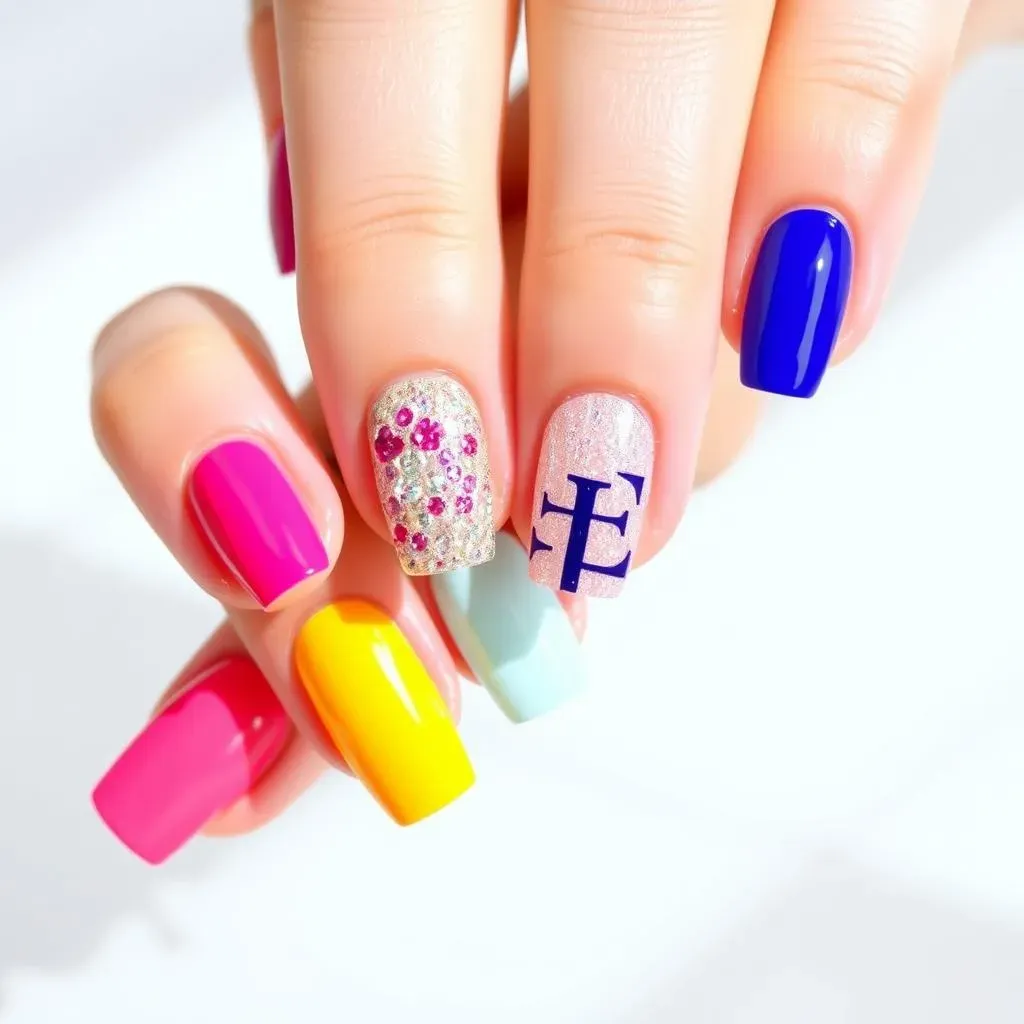
Alright, let's get to the fun part – the designs! You don't need long nails to have amazing nail art, trust me. Short nails are like tiny canvases just waiting for some creativity. Think simple, chic, and totally doable. We're talking designs that look impressive but are actually super easy to create. One of my go-to's is a classic solid color. A bold red, a soft nude, or a pretty pastel, they all look fantastic on short nails. But if you're feeling a bit more adventurous, a simple glitter accent nail can elevate your whole look in seconds, it adds that extra sparkle. I mean, who doesn't love a bit of sparkle?
Another super easy idea is using nail stickers. They are a lifesaver when you're short on time, or if you have shaky hands like me, and the options are endless! You can find everything from tiny flowers to geometric shapes, and they just stick right on, then you seal them with your top coat. Another great idea for short nails are minimalist designs. Think thin lines, tiny dots, or simple shapes. These are easy to achieve with a thin brush or even a toothpick. Don't overthink it, sometimes less is more. And remember, practice makes perfect. The more you experiment, the more confident you'll become, and it's totally okay to mess up sometimes.
- Solid Colors: Classic and chic.
- Glitter Accent: Adds sparkle.
- Nail Stickers: Quick and easy designs.
- Minimalist Art: Thin lines, dots, shapes.
If you're feeling a little more daring, try a french manicure with a twist. Instead of the classic white tip, use a metallic color or a fun pastel. It’s a subtle way to add some personality without going overboard. You can also try creating a simple geometric pattern using striping tape, it looks complicated but it's really not. And for those who love a bit of color, why not try a gradient effect? You can achieve this by using a makeup sponge to blend two or three colors together. It's surprisingly easy and looks super cool.
"Don't be afraid to experiment with different colors and designs – it's all about having fun!" - Me
For a super quick and easy design, try using dotting tools. You can create cute polka dots, flowers, or even abstract patterns in minutes. And if you're into texture, try adding a matte top coat over your design. It gives a totally different look and feels really sophisticated. The key is to have fun and not take it too seriously. Nail art is a form of self-expression, and short nails are the perfect canvas to show off your style. So go ahead, grab your gel polishes, and get creative. You might be surprised at what you can create.
Design | Description | Difficulty |
|---|---|---|
Solid Color | One color all over | Easy |
Glitter Accent | One nail with glitter | Easy |
Nail Stickers | Pre-made designs | Easy |
Minimalist Art | Lines, dots, shapes | Easy |
French Twist | Colored or metallic tips | Medium |
Geometric | Stripes and shapes | Medium |
Gradient | Blended colors | Medium |
Dotting Tools | Dots and patterns | Easy |