Table of Contents
Ready to elevate your nail game without spending hours at the salon or needing advanced nail art skills? Then you've come to the right place! This article is your ultimate guide to "easy line designs for nails," offering a treasure trove of simple yet stunning nail art ideas perfect for beginners. We'll walk you through easy-to-follow techniques, showing you how to master basic line designs using readily available tools. Get ready to be inspired by a gallery of chic and modern designs, from classic stripes and elegant curves to playful dots and geometric patterns. We'll also share expert tips and tricks to help you achieve salon-worthy results from the comfort of your own home, ensuring your DIY manicure is flawless and long-lasting. So grab your favorite nail polish and let's dive into the world of effortless nail art! Prepare to discover how easy it is to create professional-looking manicures with simple line designs that will turn heads. Get ready to unleash your inner artist and create nails that express your unique style with minimal effort and maximum impact. This article is broken down into three key sections: mastering techniques, exploring design inspiration and perfecting your DIY skills. Let's get started!
Mastering Easy Line Designs for Nails: Simple Techniques and Tools
Mastering Easy Line Designs for Nails: Simple Techniques and Tools
Essential Tools for Easy Line Nail Art
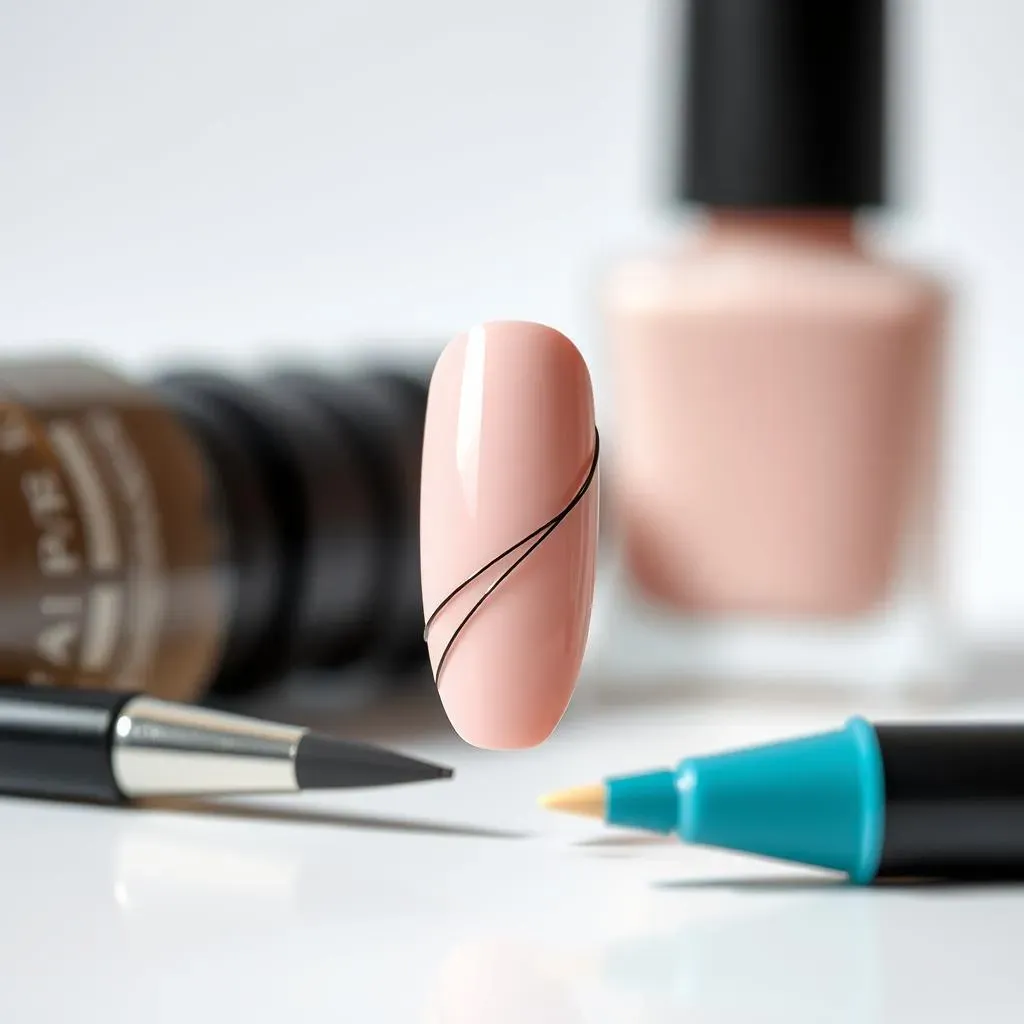
First things first: gather your supplies! You don't need a ton of fancy equipment. A good base coat is crucial for even application and longevity. For those lines, thin brushes are your best friends. A detail brush or striping brush will give you the precision you need for those crisp, clean lines. Nail art pens are also a great option, especially for beginners, as they offer more control. Don’t forget a top coat to seal in your masterpiece and protect it from chips. And if you're feeling adventurous, nail stickers can add some extra flair to your designs. For removing mistakes, keep some nail polish remover and cotton swabs handy. Remember, practice makes perfect; even the most experienced nail artists started somewhere!
Choosing the right polish is key too. Thicker polishes can be harder to control for thin lines, so opt for polishes with a thinner consistency. If you're working with multiple colors, make sure they're all from the same brand to ensure consistent drying time and adhesion. For a really professional look, consider using a good quality base coat. This will not only protect your nails, but also create a smooth surface for your line art, making it easier to create crisp, clean lines. Check out our post on easy nail art designs at home for more inspiration.
Tool | Purpose |
|---|---|
Base Coat | Protection and smooth surface |
Detail Brush/Striper Brush | Precise line application |
Nail Art Pens | Easy control for beginners |
Top Coat | Protection and shine |
Simple Techniques for Creating Perfect Lines
Start with a clean, dry nail. This is essential for a smooth and even finish. Apply your base coat and let it dry completely before starting your design. Next, carefully apply your chosen polish to your thin brush, making sure there's not too much or too little. A good amount is key to achieving a smooth and even line. Practice makes perfect, so don't be afraid to try a few test strokes on a piece of paper or a spare nail before you start on your actual manicure. If you make a mistake, don't panic! Nail polish remover and a cotton swab can easily clean up any smudges or stray strokes. Once you've mastered straight lines, you can move on to more intricate designs. Curved lines, zigzags, and even simple geometric shapes are all within reach!
For perfectly straight lines, try using a piece of tape as a guide. Place the tape on your nail to create a border, and carefully paint your line along the edge. Remove the tape while the polish is still wet for a clean, crisp finish. Another helpful tip is to use short, controlled strokes rather than one long stroke. This will help you maintain a consistent line thickness and prevent smudging. For achieving fine lines, you can use a dotting tool or a toothpick to create a series of tiny dots, which you can then connect to create a line. This technique is great for creating delicate and intricate designs. Remember to let each coat dry thoroughly before applying the next one. This will prevent smudging and ensure a long-lasting manicure. Explore some easy nail design ideas to get started.
- Start with a clean, dry nail.
- Use short, controlled strokes.
- Let each coat dry completely.
- Use tape as a guide for straight lines.
- Don't be afraid to practice!
Stunning Easy Line Nail Art Designs: Inspiration for Your Next Manicure
Stunning Easy Line Nail Art Designs: Inspiration for Your Next Manicure
Simple yet Chic Line Designs
Let's dive into some seriously inspiring nail art ideas! Think classic French manicures, but with a twist. Instead of a solid line, try a series of thin, parallel lines for a modern, geometric look. Or, how about a half-moon design at the base of your nail, created with delicate lines instead of a solid block of color? These simple variations instantly upgrade your look.
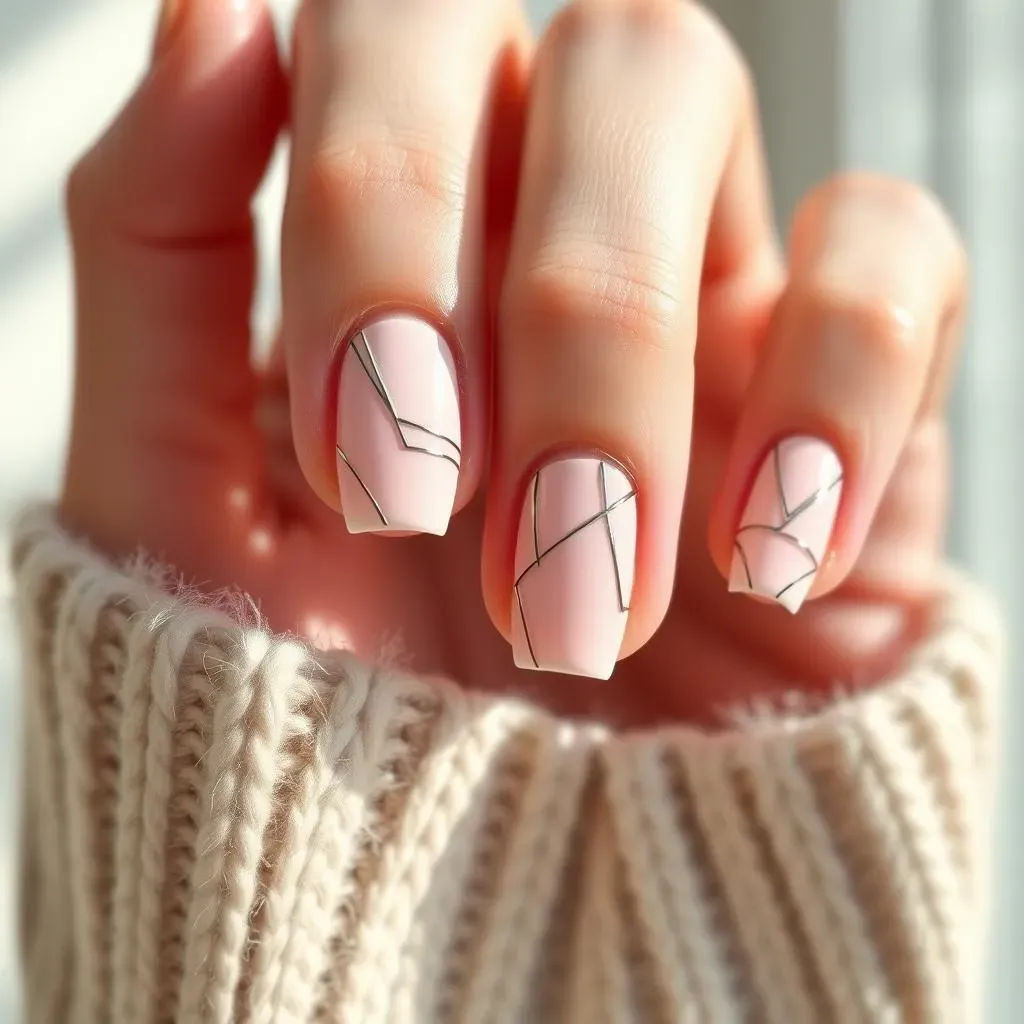
For a touch of whimsy, consider incorporating dots and lines together. Create a playful polka dot pattern using dots of various sizes, then add thin lines to connect them in unexpected ways. You can also use lines to create simple geometric shapes, such as triangles, squares, or even chevrons, for a more structured and artistic feel. Don't be afraid to experiment with different color combinations. A subtle nude base with bold black lines creates a dramatic effect, while pastel shades with metallic lines add a touch of elegance. Check out these awesome easy DIY nail designs for more ideas.
- Classic French manicure with multiple thin lines
- Half-moon design using delicate lines
- Polka dots connected with thin lines
- Geometric shapes created with lines
- Nude base with black lines
- Pastel shades with metallic lines
Adding Flair with Color and Texture
Once you've mastered basic lines, it's time to experiment with color and texture! Think about adding a pop of color to your design. A single accent nail with a bold color and a simple line design can make a big difference. Or, try using multiple colors to create a striped effect, or even an ombre look with gradually changing shades. Remember that the possibilities are endless.
You can also add texture to your designs using glitter, metallic polishes, or even small embellishments. A simple glitter accent can add a touch of sparkle, while a metallic polish can create a more luxurious look. Small studs or rhinestones can also be used to add a touch of glamour. Check out our collection of awesome easy summer nail art designs for additional inspiration.
Technique | Effect |
|---|---|
Accent nail with bold color | Adds a pop of color |
Multi-colored stripes | Creates a vibrant look |
Ombre effect | Adds a gradient of color |
Glitter accent | Adds sparkle |
Metallic polish | Creates a luxurious look |
Easy Line Designs for Nails: Tips and Tricks for a Perfect DIY Manicure
Easy Line Designs for Nails: Tips and Tricks for a Perfect DIY Manicure
Prep Work for Flawless Lines
Before you even think about picking up a brush, prepping your nails is key! Start with clean, dry nails. Gently push back your cuticles – don't cut them, you might regret it! Then, give your nails a light buff to create a smooth surface for better polish adhesion. A good base coat is like the foundation of a house; it's essential for a long-lasting and even finish. Let it dry completely before applying color. This step prevents smudging and ensures your beautiful line work lasts longer.
Consider your nail shape. Long, pointy nails are great canvases for intricate lines, while shorter nails might suit simpler designs. Experiment with different shapes to find what works best for you. Don't forget to choose your colors wisely! Complementary colors can create a sophisticated look, while contrasting colors provide a bold statement. For more inspiration, check out our guide to easy nail designs for everyday.
- Clean and dry nails are a must.
- Gently push back your cuticles.
- Buff your nails for a smooth surface.
- Apply a base coat and let it dry completely.
- Consider your nail shape and color choices.
Maintaining Your Manicure: Tips and Tricks
So, you've created your masterpiece – congratulations! Now, let's talk about keeping it looking fabulous. A top coat is your best friend. It protects your nail art from chips and scratches and adds a beautiful shine. Apply it carefully, avoiding smudging your fresh design. Let each coat dry completely to prevent those annoying smudges. This is especially important for intricate designs with multiple layers.
Avoid harsh chemicals and prolonged water exposure. Wearing gloves while doing dishes or cleaning can save your manicure from premature wear and tear. To keep your nails strong and healthy, moisturize regularly. Dry, brittle nails are more prone to breakage and chipping. Consider using a cuticle oil to keep the area around your nails hydrated and healthy. For more ideas on nail care, check out our selection of awesome easy at-home nail art designs.
Tip | Benefit |
|---|---|
Apply a top coat | Protection and shine |
Avoid harsh chemicals | Prevent premature wear |
Moisturize regularly | Stronger, healthier nails |
Use cuticle oil | Hydration and healthy cuticles |