Table of Contents
Hey there, nail art enthusiasts! Are you 12 and looking to jazz up your nails without needing a pro? You've landed in the right spot! This article is your go-to guide for all things easy nail art for 12 year olds. Forget complicated techniques and expensive tools; we're talking simple, fun, and totally doable designs that will make your nails pop. We’ll start with some super simple ideas, perfect if you're just starting out, then move to cool designs you can create using stuff you already have at home. Finally, we'll walk through some step-by-step guides, so you can nail these looks every time. Get ready to unleash your creativity and transform your nails into mini masterpieces. It's time to get started, so grab your favorite polishes, and let’s get painting!
Simple Nail Art Ideas for Beginners
Simple Nail Art Ideas for Beginners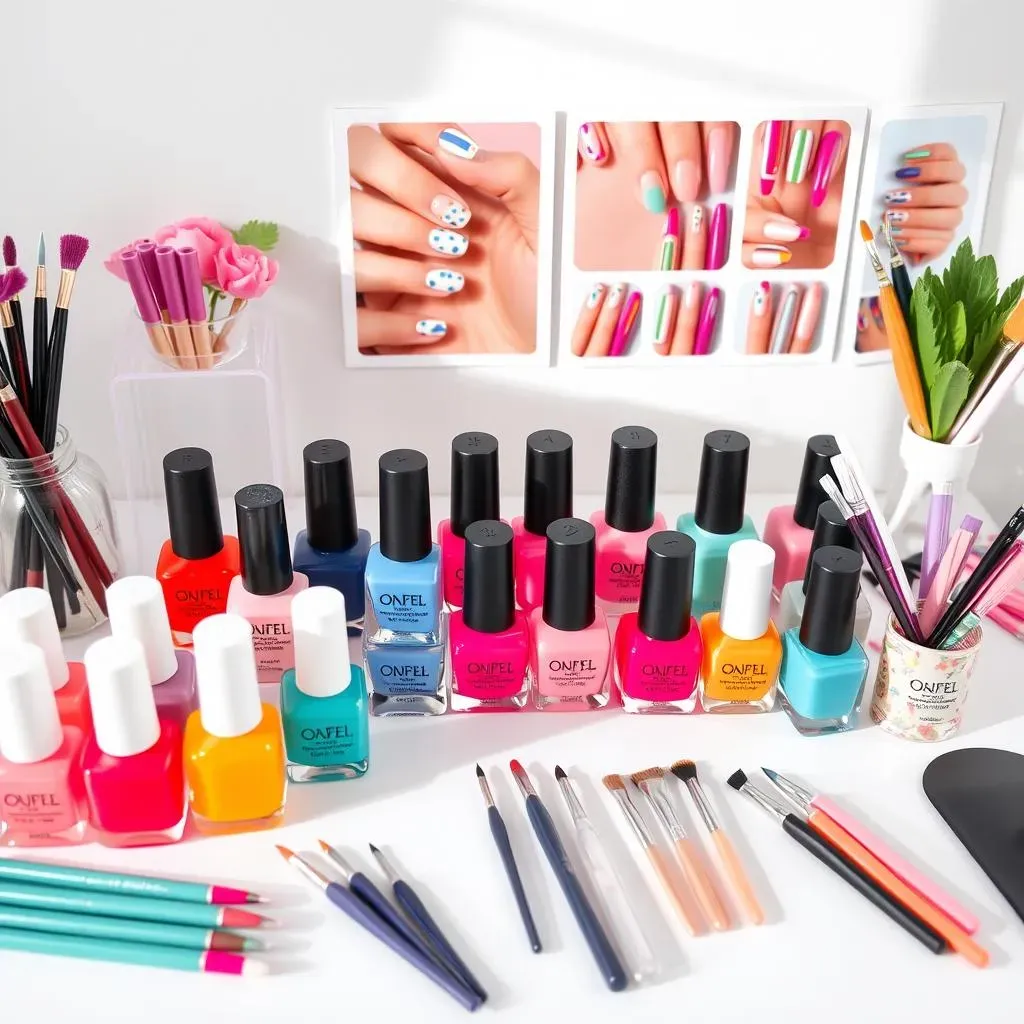
The Dotting Tool Magic
Okay, let's kick things off with dots! Seriously, they are the easiest way to make your nails look super cute. You don't need any fancy tools, just grab a toothpick or a bobby pin. Dip the tip into your favorite nail polish and then gently dot it onto your nail. You can make a single dot, a line of dots, or even a pattern. It's like playing connect-the-dots, but on your nails! I remember the first time I tried it, I was amazed at how something so simple could look so cool.
The best part is that you can use any color combination you want. Try a white base with colorful dots for a fun, confetti look. Or go for a classic black base with white dots. It's all about experimenting and seeing what you like. Don't worry about making them perfect, the slightly uneven dots sometimes look even more charming!
Stripes: Simple Yet Stylish
Next up, let's talk stripes. They are another fantastic option for beginners. You can use thin nail art brushes if you have them, but masking tape works just as well. Paint your base color, let it dry completely, then stick thin strips of tape on your nail where you want the stripes to be. Now, paint over the whole nail with your stripe color. Once it's almost dry, carefully peel off the tape. Boom! Perfect stripes every time. I once spent an hour trying to freehand stripes, then discovered the tape trick, and it was a game changer!
You can go with classic vertical stripes, horizontal stripes, or even diagonal stripes, just play around and see what you like. Try using contrasting colors for a bold look, like black and white, or go for a more subtle look with different shades of the same color. It's so versatile, it never gets old!
Design | Tools Needed | Difficulty |
|---|---|---|
Polka Dots | Toothpick or bobby pin | Very Easy |
Stripes | Masking tape | Easy |
Color Blocking: Bold and Beautiful
Finally, let’s try color blocking. It's a great way to create a modern and chic look without any complex techniques. Just paint your nail with one color, let it dry, and then use tape again to block off a section. Paint the unblocked section with another color, and you're done. You can create all sorts of geometric shapes. I was really surprised at how easy it was to get such a clean look with just a little bit of tape.
Think about using three or four different colors to make it really interesting. You can also try diagonal blocks, or even create small squares and triangles. The key is to make sure the base color is fully dry before you apply the tape, otherwise, you’ll end up with a smudgy mess. It's a fun and easy way to make your nails look like they belong on a runway, and it is perfect for beginners.
Cool Nail Designs Using Everyday Tools
Cool Nail Designs Using Everyday Tools
The Sponge Technique for Gradients
Alright, let's talk about gradients. They look super fancy, but guess what? You can create them using a kitchen sponge! Yep, that's right. Just dab a little bit of nail polish on the corner of a sponge and gently press it onto your nail. You can layer different colors to get a really cool blended effect. I remember trying this for the first time and thinking, "Wow, that was way easier than I thought it would be!"
You can use any colors you want, but I find that using similar shades of the same color works best. For example, try using light blue, medium blue, and dark blue. Or go for something a bit more vibrant, like pink, purple, and orange. Don't be afraid to experiment. The best part about this technique is that no two nails will ever look exactly the same. It’s all about embracing the randomness.
Creating Patterns with a Plastic Bag
Okay, this one is a bit out there, but trust me, it works. Grab a plastic grocery bag, scrunch it up, and then dip a corner into some nail polish. Now, gently dab the bag onto your nail. This creates a really cool, textured effect that looks like marble or even animal print. I saw this trick online and thought it was too crazy to work, but it totally does!
You can use one color, or you can layer a couple of colors for a more complex look. It really adds a unique twist to your usual manicure. This is great for when you want something a little bit different. The plastic bag technique is one of those that you have to try to believe, and it's perfect for when you want a look that’s truly unique. Just remember to let your base coat dry before you try this.
Technique | Tool | Effect |
|---|---|---|
Gradients | Kitchen Sponge | Blended colors |
Textured patterns | Plastic Bag | Marble or animal print |
Using a Makeup Brush for Fine Lines
Finally, let's talk about fine lines. Instead of buying expensive nail art brushes, grab an old makeup brush. The thin, angled brushes work great for creating detailed designs, like swirls, zigzags, or even tiny hearts. Just dip the brush into some nail polish and carefully draw your designs onto your nails. I find that an eyeliner brush is the perfect tool. I was surprised at how precise I could be with something I already had in my makeup bag.
You can use this for all kinds of designs, from simple geometric shapes to more intricate patterns. It's all about controlling the amount of polish on the brush and using light strokes. Don't worry if you don't get it perfect the first time. Practice makes perfect. It’s a great way to elevate your nail art game using tools that are already in your house!
Easy Nail Art for 12 Year Olds: StepbyStep Guides
Easy Nail Art for 12 Year Olds: StepbyStep Guides
Polka Dot Perfection: A Step-by-Step Guide
Okay, let's get into the nitty-gritty with a step-by-step guide for polka dots. First, you'll want to start with a clean base. Apply a base coat to protect your nails and let it dry completely. Then, choose your base color and apply two coats, letting each coat dry fully. Once that's done, grab your dotting tool—a toothpick or bobby pin works great. Dip the tip into your dot color and gently apply it to your nail. Start with one dot, then add more to create your pattern. I usually start with the center dot and then work my way out. Remember, it's all about having fun, so don't stress about perfect spacing. To finish, once the dots are dry apply a top coat to seal everything in.
To make your polka dots really pop, try using contrasting colors. For example, a light pink base with dark purple dots looks super cute, or a navy blue base with white dots is always a classic. You can also try doing different sizes of dots for a more playful look. Just vary the amount of polish you put on your dotting tool. And don’t forget to clean your tool after each color so you don’t mix them up. I like to use a cotton ball with some nail polish remover for that. It's all about making the most of simple tools, and when you’ve got the basics down, you can really start experimenting.
Tape Tricks: Mastering Stripes Step-by-Step
Alright, let's move on to stripes, another easy design that looks super impressive. Start with a clean base, just like with polka dots. Apply your base coat and then two coats of your base color, letting each layer dry. Once your base is completely dry, it’s time for the tape. Cut thin strips of masking tape and place them on your nail where you want your stripes to be. Make sure the tape is firmly pressed down to prevent any polish from seeping underneath. Now, paint over your entire nail with your stripe color. Let it dry for a minute or two, and then carefully peel off the tape. Boom, perfect stripes! I was so happy when I finally got this method down, and the clean lines always look so professional.
You can play around with the width of the tape to create different styles of stripes – thin, thick, or even a combination of both. Try using metallic shades for a glamorous touch, or go for neon colors for a bold, fun look. You can also try doing different patterns, like horizontal, vertical, or diagonal stripes. The possibilities are endless! Just make sure your base coat is completely dry, otherwise, the tape can pull off some of the polish. A little patience goes a long way, and this technique is definitely worth it for the amazing results you get. And if you make a mistake, don’t worry, it’s easy to just fix it with a bit of nail polish remover and a cotton swab.
Design | Steps |
|---|---|
Polka Dots | Base coat, two coats of base color, dots with tool, top coat |
Stripes | Base coat, two coats of base color, tape, stripe color, peel tape |
Sponge Gradients: A Simple How-To
Now, let's try a gradient using a sponge, it's super easy, I promise. Start with a base coat to protect your nails. Then, paint your nails with the lightest color you're going to use for your gradient. Let it dry. Next, take a small piece of your kitchen sponge and put a little bit of each color you want to use on the corner of the sponge. You want to put the colors right next to each other. Then, gently dab the sponge onto your nail. You might need to dab it a couple of times to get the colors to blend nicely. Be sure to use a light touch and don't press too hard. You can also use a clean-up brush to remove any excess polish around the nail. Once it’s dry, apply a top coat to make your gradient last longer. I remember the first time I tried this, it looked so cool, like the colors were melting into each other.
You can use any colors you want, but I find that using similar shades of the same color works best. For example, try using light blue, medium blue, and dark blue. Or go for something a bit more vibrant, like pink, purple, and orange. Don't be afraid to experiment. You can even add glitter on top for some sparkle. The best part about this technique is that no two nails will ever look exactly the same. It’s all about embracing the randomness. This technique is great for when you want a look that’s both easy and eye-catching, and it’s a fun way to get creative with your nail art. Just remember to let your base coat dry before you try this.