Table of Contents
Ready to ditch the boring manicures and unleash your inner artist? This article is your ultimate guide to the world of easy nail art ideas. Whether you're a complete beginner or just looking to refresh your nail game, we've got you covered. We'll start by exploring simple techniques and stunning results you can achieve with minimal effort, perfect for those first steps into the creative world of nail art. Next, we'll arm you with the essential tools, tips, and tricks to master easy nail art ideas at home, transforming your bathroom into your personal nail salon. Then, get ready to be inspired! We'll showcase the hottest trends in easy nail art ideas, drawing inspiration from top nail artists and influencers. Finally, we'll go beyond the basics, exploring creative and unique easy nail art ideas to help you elevate your style and express your personality. So, grab your favorite nail polish, and let's dive into a journey of creativity and self-expression with these amazing easy nail art ideas!
Easy Nail Art Ideas for Beginners: Simple Techniques & Stunning Results
Easy Nail Art Ideas for Beginners: Simple Techniques & Stunning Results
Simple Stripes and Dots
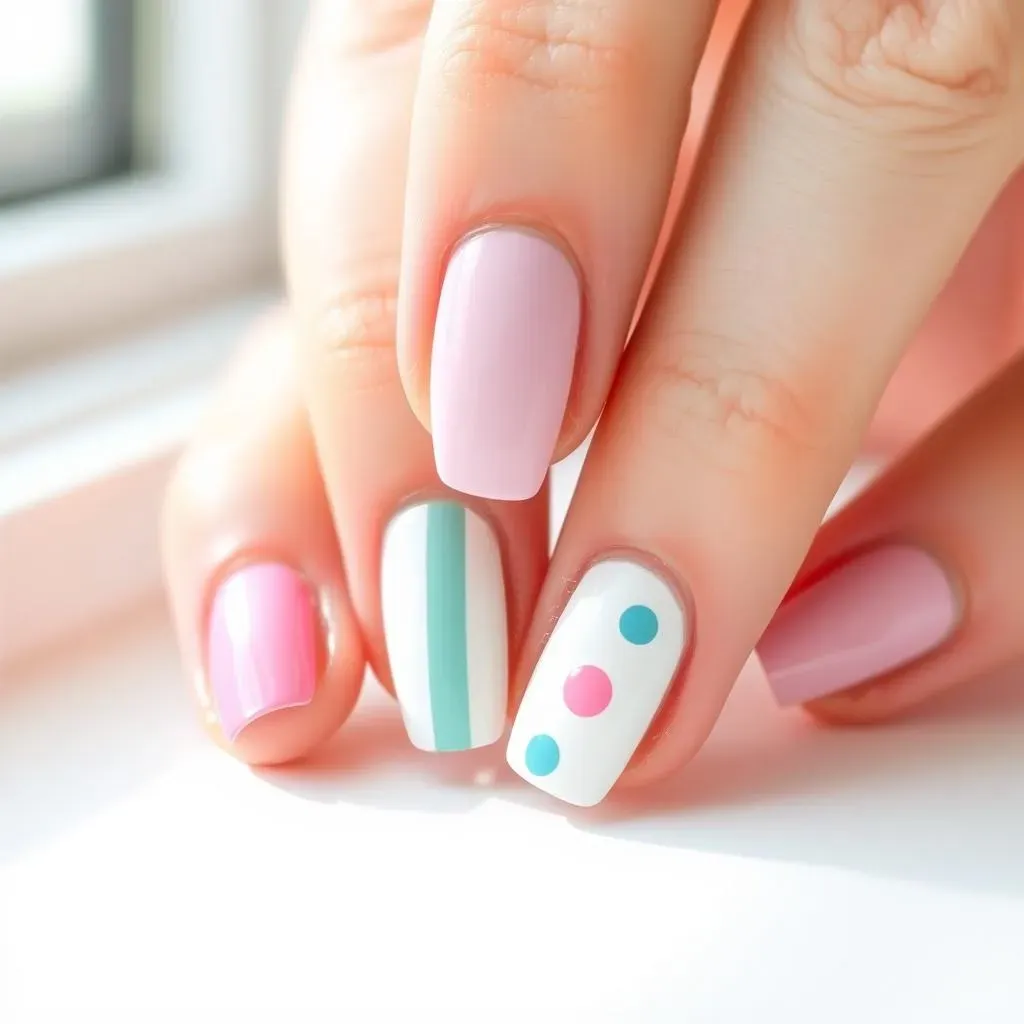
Let's start with the absolute easiest nail art techniques: stripes and dots! All you need is a few nail polishes in coordinating colors and a thin brush or even a toothpick. For stripes, simply paint thin lines onto your nails, varying the thickness and spacing for a unique look. Check out our post on for more inspiration! Experiment with different colors and patterns – horizontal, vertical, diagonal – the possibilities are endless.
For dots, use a toothpick or a dotting tool (you can even use the end of a bobby pin in a pinch!) to create tiny dots or larger polka dots across your nails. You can arrange the dots in neat rows, create a random scattering, or even use them to form simple shapes. Want more ideas? See our for more adorable inspiration!
Technique | Tools | Tip |
|---|---|---|
Stripes | Thin brush, nail polish | Use thin coats to avoid smudging. |
Dots | Toothpick, dotting tool, nail polish | Vary dot sizes for visual interest. |
Negative Space Magic
Negative space nail art is all the rage, and it's surprisingly easy to achieve! The concept is simple: leave parts of your nail bare, using the empty space to create a design. This is perfect for beginners because it doesn't require intricate painting skills. You can create simple half-moon manicures, leaving the base of the nail unpainted, or try a more modern take with geometric shapes or abstract designs. For more seasonal ideas, have a look at our designs.
Another fun way to incorporate negative space is by using nail tape to create clean lines and geometric patterns. Simply apply the tape to your nail before painting, then peel it off once the polish is dry to reveal a sharp, defined design. For a date night, check out our for some extra sparkle!
- Half-moon manicure
- Geometric shapes
- Abstract designs
Mastering Easy Nail Art Ideas at Home: Tools, Tips, and Tricks
Mastering Easy Nail Art Ideas at Home: Tools, Tips, and Tricks
Essential Tools for Success
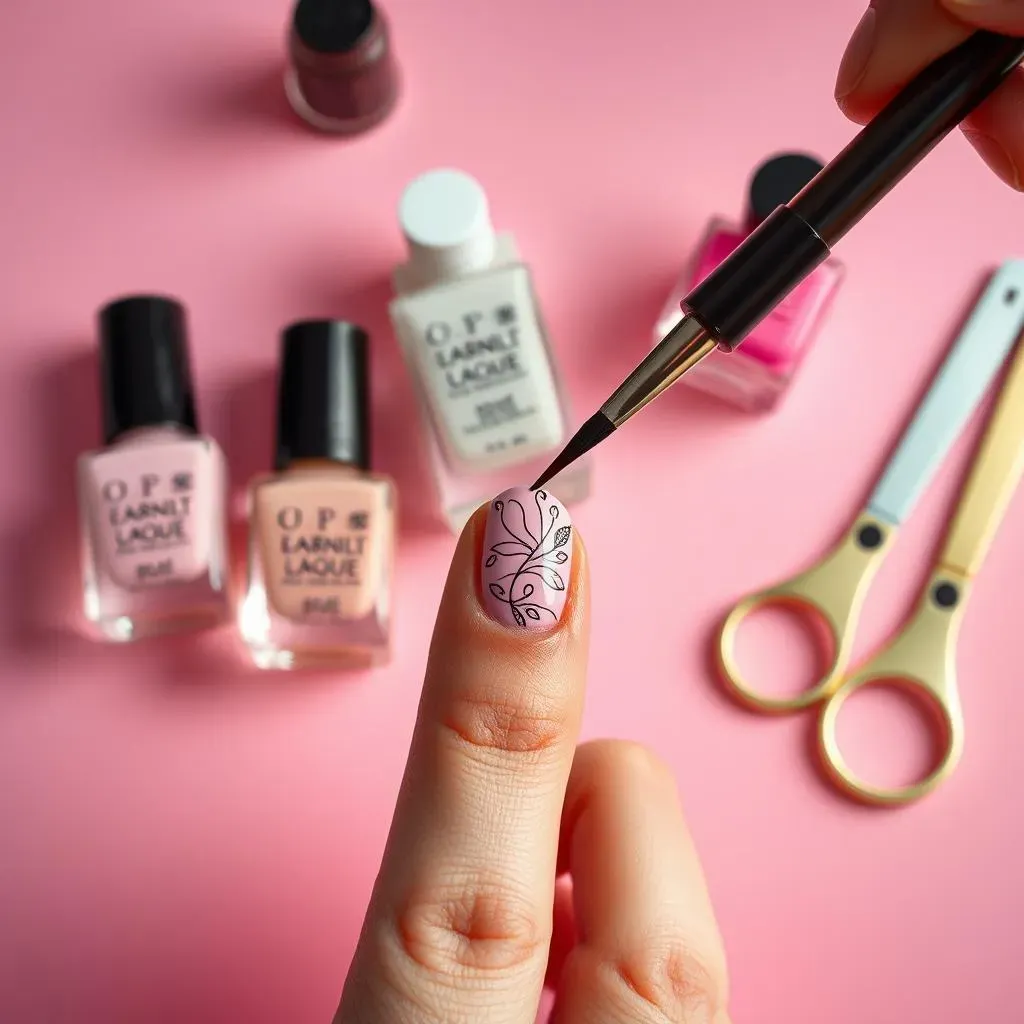
Let's be honest, having the right tools makes all the difference when it comes to achieving professional-looking nail art at home. You don't need a ton of fancy equipment, but a few key items will elevate your game. A good quality nail polish is a must – opt for polishes known for their smooth application and vibrant colors. A thin detail brush is essential for creating precise lines and intricate designs. If you're into dots, a dotting tool is a game-changer, but as mentioned earlier, a toothpick or even a bobby pin can work in a pinch! Finally, don't underestimate the power of a good top coat – it seals your masterpiece, preventing chips and adding a beautiful shine. For more advanced techniques, consider investing in striping tape for sharp lines and stencils for intricate patterns. Looking for more simple designs? Check out our post on .
Beyond the basics, there are a few other tools that can make your nail art journey even more enjoyable. A UV lamp is a must-have if you're using gel polishes. Nail polish remover and cotton swabs are essential for cleaning up any mistakes. And finally, a comfortable workspace with good lighting is crucial for precision and accuracy. For even more tips and tricks, check out our guide on .
Tool | Purpose | Alternative |
|---|---|---|
Detail Brush | Precise lines & designs | Toothpick |
Dotting Tool | Creating dots & polka dots | Bobby pin |
Top Coat | Protection & shine | N/A |
Tips and Tricks for Perfect Application
Now that you have your tools, let's talk technique! Proper nail preparation is key – start with clean, dry nails. Apply a base coat to protect your nails and help the polish adhere better. When painting, use thin coats to avoid smudging and allow each coat to dry completely before applying the next. Don't rush the process; patience is key to achieving a flawless finish. For intricate designs, use a steady hand and don't be afraid to practice! If you make a mistake, don't panic; simply use nail polish remover and a cotton swab to clean it up. Remember, practice makes perfect, and even the most experienced nail artists started somewhere. Here's a little secret: for super smooth application, keep your nail polish in the fridge for a few minutes before use – this thickens the polish and prevents it from running. To see some more seasonal ideas, have a look at our designs.
Another helpful tip is to use painter's tape to create clean lines and geometric patterns. Simply apply the tape to your nail before painting, then carefully peel it away once the polish is dry. For added flair, consider using nail decals or stickers to add intricate details to your designs. These are especially helpful for beginners who might not feel completely confident with freehand painting. And don't forget the importance of a good top coat – it not only protects your design but also adds a beautiful shine. Finally, remember to take care of your cuticles. Push them back gently before starting your manicure to prevent polish from smudging. For inspiration for a special occasion, check out our .
- Thin coats for even application
- Patience is key!
- Use tape for clean lines
- Don't forget the top coat
Trending Easy Nail Art Ideas: Inspiration from Top Nail Artists
Trending Easy Nail Art Ideas: Inspiration from Top Nail Artists
Minimalist Chic
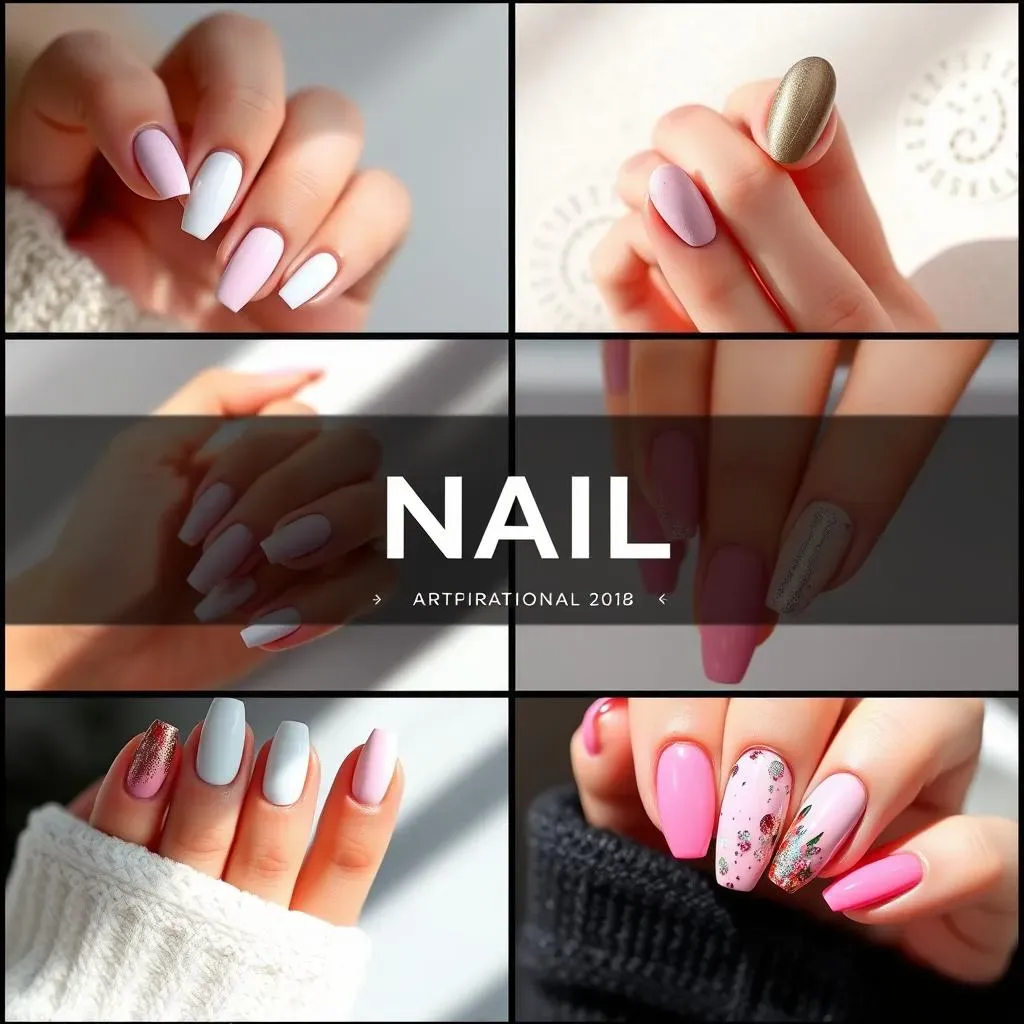
Let's dive into the world of minimalist nail art, a trend that's all about understated elegance. Think simple lines, subtle color blocking, or delicate negative space designs. Many top artists are showcasing these looks, proving that sometimes less is truly more. For example, a single, perfectly placed metallic stripe down the center of a nude nail can make a huge statement. Or, try a simple geometric design using just two colors – the contrast can be surprisingly striking! Looking for more simple designs? Check out our post on simple nail designs 2024.
Another popular minimalist trend is the use of delicate textures. Think barely-there glitter, a subtle matte finish, or a touch of fine shimmer. These subtle details can elevate a simple design to the next level. These designs are incredibly versatile and can be adapted to any season or occasion. For instance, a simple white line on a neutral base can be just as chic for a day at the office as it is for a night out. For more sophisticated ideas, explore our easy nail designs for date night.
Design Element | Description | Tip |
|---|---|---|
Single Stripe | Metallic stripe on nude nail | Use a thin brush for precision |
Geometric Design | Two colors, simple shapes | Use painter's tape for sharp lines |
Subtle Texture | Glitter, matte, shimmer | Less is more! |
Bold and Bright
On the other end of the spectrum, we're seeing a huge surge in bold and bright nail art. Think vibrant colors, playful patterns, and eye-catching designs. Many top nail artists are incorporating unexpected color combinations and playful elements, such as tiny cartoon characters or whimsical illustrations. For a festive look, explore our easy Christmas nail designs. This is a great way to add a fun and quirky touch to your look. These designs are perfect for those who want to make a statement and aren't afraid to experiment with color and creativity.
Another popular trend in bold nail art is the use of unique textures and finishes. Think glossy chrome, a 3D effect, or even a cracked glass finish. These special effects can add depth and dimension to your designs, making them even more eye-catching. When creating bold designs, don't be afraid to mix and match different techniques. You could combine bright colors with intricate patterns or add a touch of sparkle to an already vibrant design. For more ideas, check out our awesome cute easy nail designs.
- Vibrant colors
- Playful patterns
- Unique textures & finishes
Beyond the Basics: Creative Easy Nail Art Ideas to Elevate Your Style
Beyond the Basics: Creative Easy Nail Art Ideas to Elevate Your Style
Embracing Intricate Designs
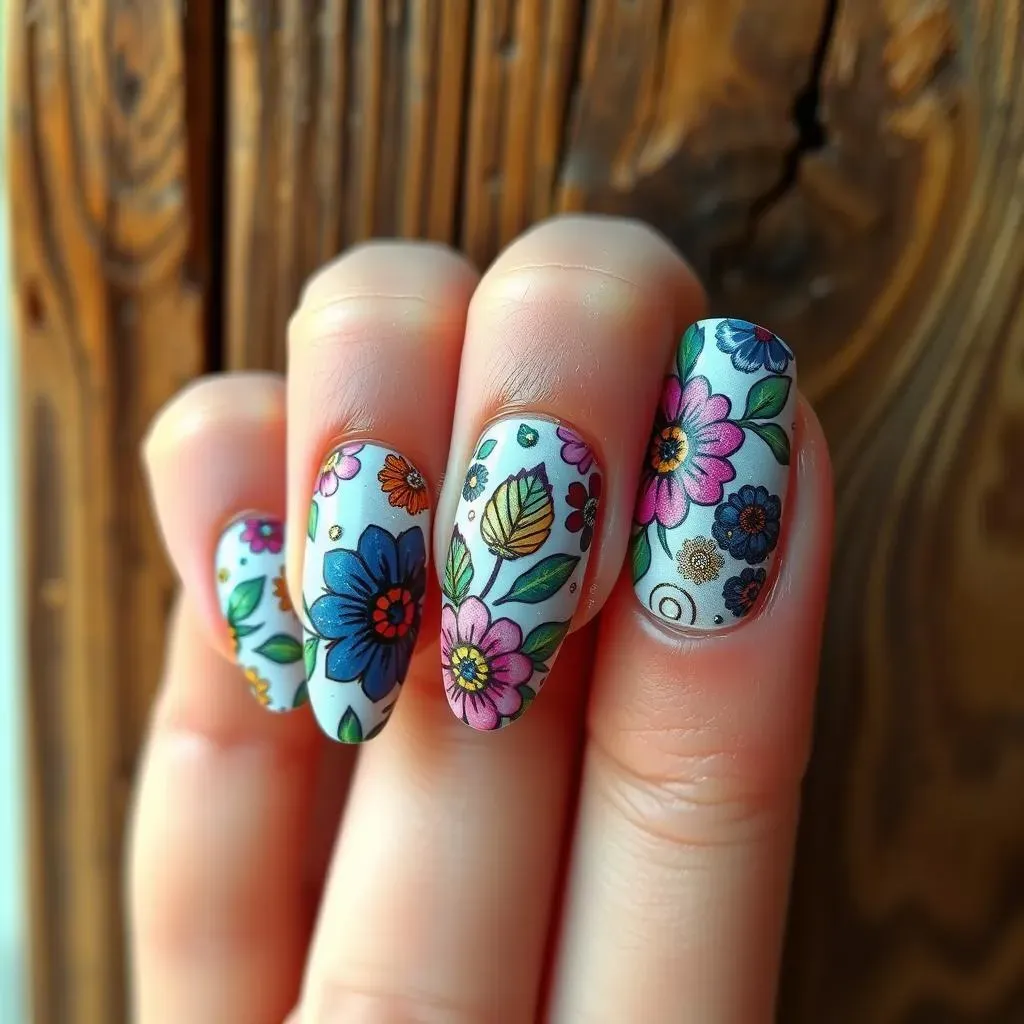
Once you've mastered the basics, it's time to explore more intricate nail art designs! Think delicate floral patterns, elegant geometric shapes, or even tiny, detailed illustrations. This is where you can really let your creativity shine. Start by practicing on paper or using a nail art practice pad before applying your designs to your actual nails. This will help you get a feel for the techniques and avoid making mistakes on your real nails. Remember, there's no need to be perfect; the beauty of nail art lies in its imperfections. For inspiration, explore some more advanced techniques in our guide to .
Don't be afraid to experiment with different tools and techniques. You can use a thin brush for fine details, a dotting tool for creating textures, or even a sponge for creating ombre effects. You can also incorporate different finishes, such as matte, glossy, or shimmer, to add depth and dimension to your designs. Consider using nail stencils or decals to create intricate patterns or designs that might be challenging to freehand. And remember, the best designs often come from unexpected combinations of techniques and colors. For some festive ideas, check out our post.
Design Type | Tools | Tip |
|---|---|---|
Floral patterns | Thin brush, dotting tool | Use light hand for delicate details |
Geometric shapes | Stripping tape, stencils | Practice clean lines |
Illustrations | Thin brush, nail art pens | Start with simple designs |
Adding Unique Textures and Finishes
To take your nail art to the next level, explore different textures and finishes. A simple matte top coat can transform a design from ordinary to extraordinary. Similarly, a glossy top coat can add a luxurious shine, while a shimmery top coat can create a dazzling effect. Consider incorporating metallic accents, such as gold leaf or chrome powder, to add a touch of glamour. These details can completely change the look and feel of your design, adding a professional touch to even simple nail art. For more inspiration, see our post on .
Another way to add texture is by using different types of nail polish. Experiment with textured polishes, such as crackle or sugar effect polishes, to create unique and eye-catching looks. You can also try using glitter polishes to add sparkle and shine. Remember, the key to successful nail art is to have fun and experiment. Don't be afraid to try new things and push your creative boundaries. For some seasonal inspiration, have a look at our designs.
- Matte top coat
- Glossy top coat
- Shimmery top coat
- Metallic accents
- Textured polishes
- Glitter polishes