Table of Contents
Spring has sprung, and it's time to ditch those dark winter nails for something fresh and fun! This article is your ultimate guide to easy spring nail art designs, perfect for beginners and busy individuals alike. Whether you're looking for simple, elegant styles or want to try something more trendy, we've got you covered. We'll start by exploring a range of straightforward designs that are incredibly easy to recreate at home, even if you've never attempted nail art before. Then, we'll dive into some of the hottest spring nail trends, showing you how to achieve those stylish looks without the salon price tag or hours of practice. Finally, we'll provide step-by-step tutorials and helpful tips to make your at-home manicure a breeze. Get ready to discover the world of easy spring nail art designs and unleash your inner artist! Prepare to be amazed by how simple it is to create beautiful, eye-catching manicures that perfectly capture the essence of spring. Let's get started on finding the perfect easy spring nail art designs for you!
Simple Easy Spring Nail Art Designs for Beginners
Simple Easy Spring Nail Art Designs for Beginners
Pastel Power
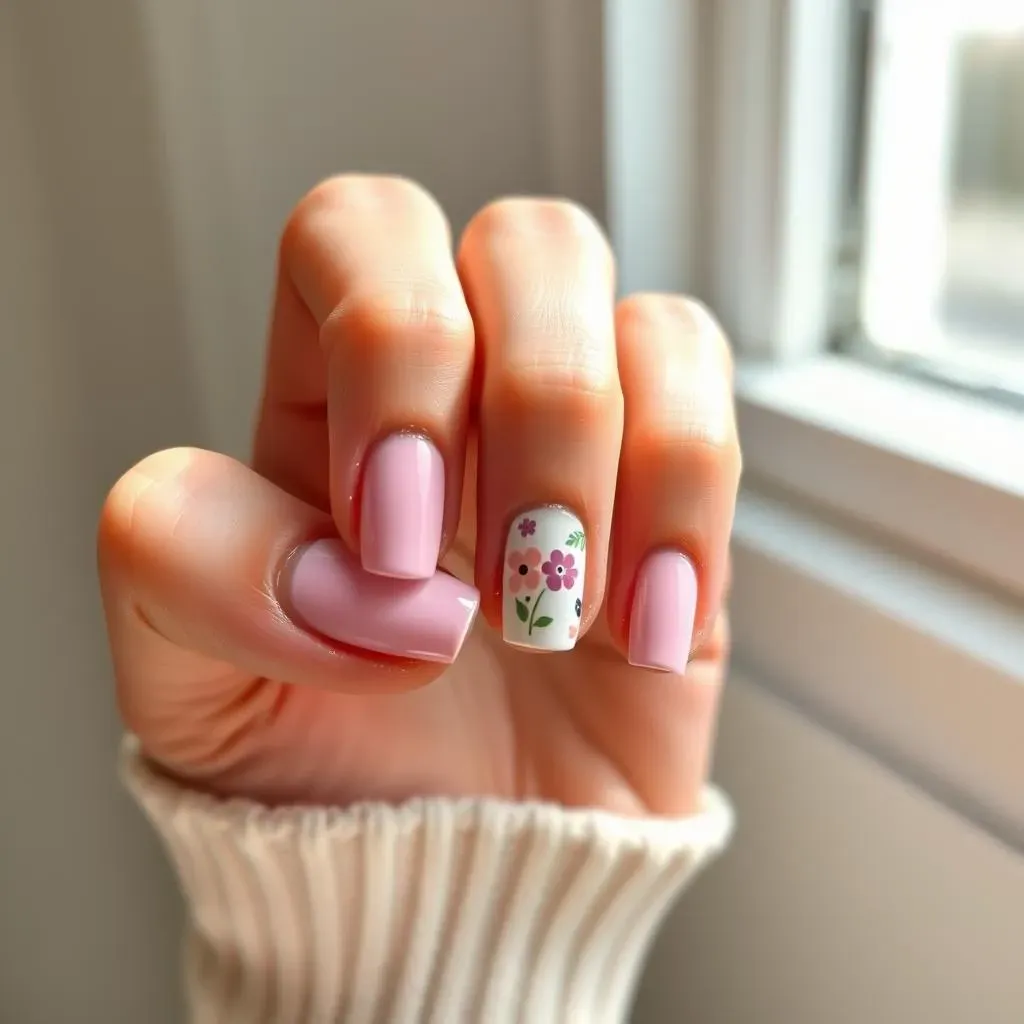
Let's kick things off with the easiest spring nail art designs: pastels! Think soft pinks, pretty lavenders, and dreamy baby blues. These shades are inherently spring-like and look gorgeous on their own. Simply apply two coats of your favorite pastel polish for a polished and effortlessly chic look. Want to add a little something extra? Try a simple accent nail – paint one nail a slightly different pastel shade or add a tiny, delicate flower sticker. It’s so easy! Check out our post on amazing simple nail designs for more inspiration.
For a slightly more advanced look, consider a simple ombre effect. You can achieve this by blending two pastel shades using a makeup sponge. Apply one color to the base of your nail, then dab on the second color towards the tip. Blend gently for a soft, gradual transition. This technique creates a beautiful, subtle gradient that's perfect for a spring day. Don't be afraid to experiment with different color combinations!
Pastel Shade | Accent Idea |
|---|---|
Baby Pink | Silver Glitter |
Mint Green | Small Flower Decal |
Lavender | White Dots |
Floral Fun
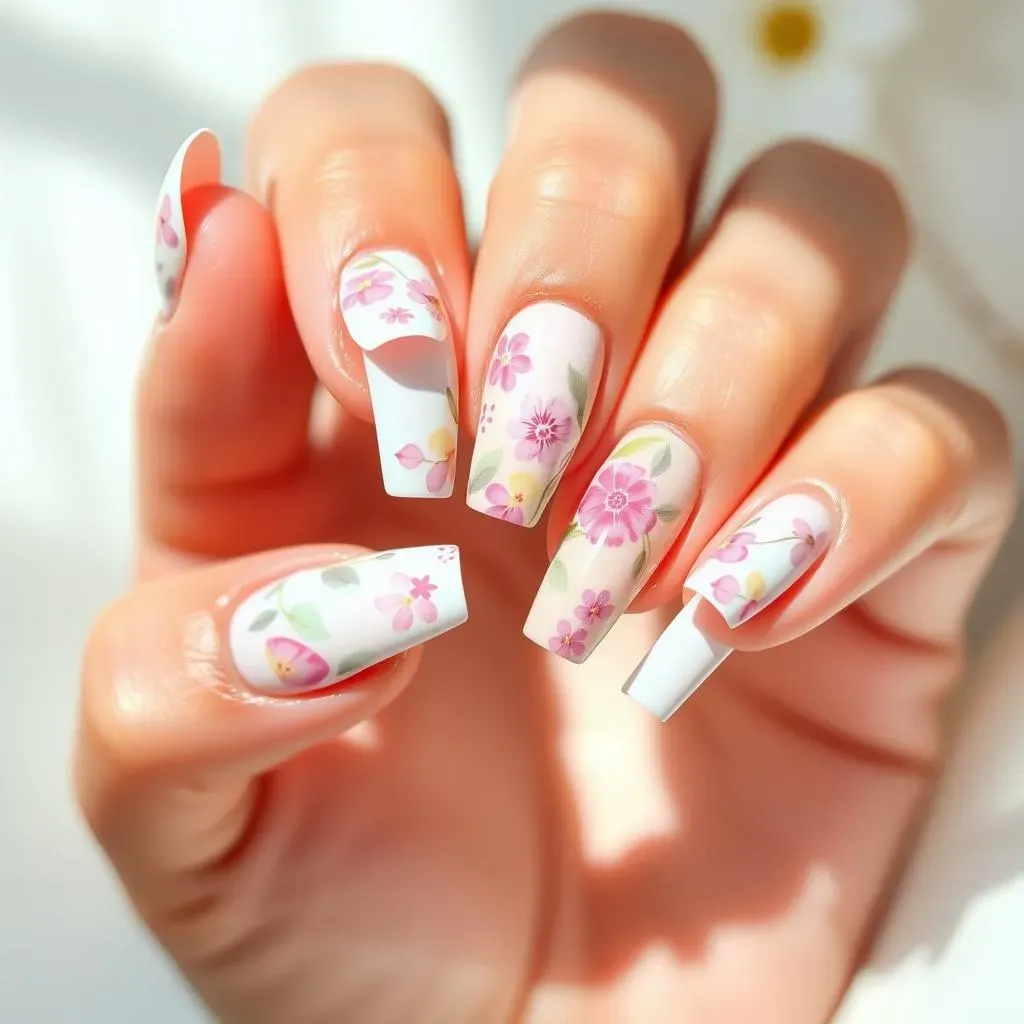
Florals are a classic spring choice, and you don't need advanced skills to create a beautiful floral design. Start with a base coat of your favorite light color, like a creamy white or soft yellow. Then, use a dotting tool or even a toothpick to create tiny dots in different colors to make simple flowers. Arrange the dots to mimic petals and leaves. For even easier floral designs, consider using nail stickers. There are tons of adorable floral designs available that are super easy to apply and look incredibly professional. For more DIY nail art ideas, see our guide on DIY nail designs.
Another simple floral idea is to create a single, dainty flower on just one or two nails. This adds a touch of springtime whimsy without overwhelming the look. You can use a fine brush to paint delicate petals and leaves, or use tiny nail art gems to add sparkle to your floral creations. Remember, less is more. Keep your designs simple and elegant for an effortlessly chic manicure.
- Use a dotting tool for easy petal creation.
- Try nail art stickers for quick and easy designs.
- Add a few gems for extra sparkle.
Geometric Glam
Geometric designs are incredibly trendy and surprisingly easy to create. Start with a solid base coat. Use striping tape to create clean lines and shapes. Experiment with different combinations of colors and patterns for a look that's both stylish and unique. For example, try creating simple stripes, chevrons, or even polka dots. These designs can be done using nail polish, striping tape, or even nail art pens. If you're looking for something fun and easy to do at home, check out our awesome easy at-home nail art designs.
Another simple geometric idea is to use negative space. This involves leaving parts of your nail unpainted to create interesting shapes and patterns. For example, you could paint half of your nail one color and leave the other half bare. Or you could create a half-moon design at the base of your nail. This technique is super easy and creates a modern, minimalist look that's perfect for spring. Remember to always finish with a top coat to protect your beautiful creations.
Trendy Easy Spring Nail Art Designs to Try This Season
Trendy Easy Spring Nail Art Designs to Try This Season
French Manicure Remix
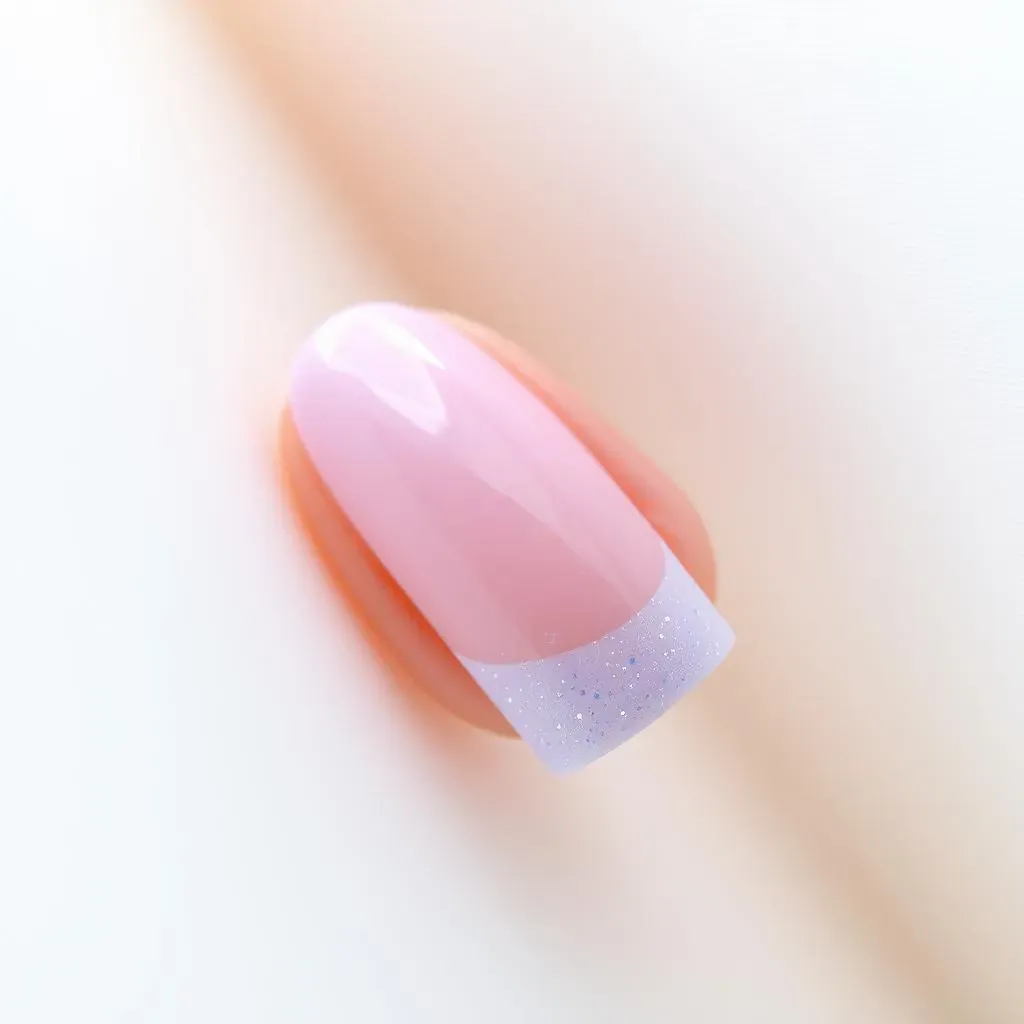
The classic French manicure gets a spring makeover! Instead of the traditional white tip, try pastel shades like soft pink, mint green, or lavender. You can also add a touch of whimsy with a thin line of glitter or a delicate floral design at the base of the nail. For a more modern twist, try a reverse French manicure, where the color is applied to the base of the nail instead of the tip. This creates a fresh and unexpected look that's perfect for spring. If you're looking for more date night nail ideas, see our post on easy nail designs for date night.
Another trendy take on the French manicure is the "baby boomer" design. This involves a soft gradient between a nude or light pink base and a white tip, creating a seamless and elegant look. It's a subtle yet sophisticated choice that's perfect for any occasion. This style is incredibly versatile and can be easily adapted to match any outfit or personal style. For more inspiration on easy nail designs, check out our article on easy nail designs for beginners.
Base Color | Tip Color | Accent |
|---|---|---|
Nude | Lavender | Glitter |
Light Pink | Mint Green | Small Flowers |
Creamy White | Baby Blue | None |
Jelly Nails
Jelly nails are a fun and trendy way to embrace the spring season. These translucent nails create a dreamy, ethereal look, and they're surprisingly easy to achieve. Simply apply one or two coats of a sheer, pastel polish. You can choose a single color or mix and match shades for a fun, colorful effect. For extra impact, add some glitter or small embellishments to your jelly nails. This adds some extra sparkle and elevates the look.
To make your jelly nails truly pop, try adding a subtle design like a small flower or a simple geometric pattern. You can also create a unique ombre effect by layering different shades of jelly polish over each other. Experiment with different combinations to create a truly one-of-a-kind manicure. If you're short on time but still want gorgeous nails, check out our post on awesome easy acrylic nail designs for quick and easy options.
- Use sheer pastel polishes.
- Add glitter or embellishments for extra sparkle.
- Experiment with ombre effects.
Easy Spring Nail Art Designs: StepbyStep Tutorials and Tips
Easy Spring Nail Art Designs: StepbyStep Tutorials and Tips
Easy Spring Nail Art Designs: Step-by-Step Tutorials and Tips
Let's get practical! This section is all about walking you through creating some of the easy spring nail art designs we've discussed. We'll break down each step, providing clear instructions and helpful tips to ensure your at-home manicure is a success. Think of this as your personal nail art tutor!
First, prep your nails. This means cleaning them, pushing back your cuticles, and applying a base coat. A good base coat protects your nails and helps your polish last longer. Next, choose your design and gather your supplies – this might include nail polish, striping tape, dotting tools, and nail art stickers. It's amazing what you can create with simple tools!
- Clean and prep your nails.
- Apply a base coat.
- Gather your supplies.
- Follow step-by-step instructions carefully.
For pastel designs, start with two coats of your chosen pastel shade. Let each coat dry completely before applying the next. For a simple accent nail, use striping tape to create a clean line, then add a contrasting color or glitter.
Floral designs are best created using a dotting tool or a fine brush. Practice your dots on a piece of paper before applying them to your nails. For a simple flower, create a small circle in the center and surround it with five smaller dots to mimic petals. Nail stickers can make this even easier!
Design | Tools Needed | Tips |
|---|---|---|
Pastel Accent Nail | Pastel polishes, striping tape | Use a steady hand and let each coat dry completely. |
Simple Flower | Nail polish, dotting tool or fine brush | Practice your dots on paper first! |
Geometric Designs | Nail polish, striping tape | Use painter's tape for crisp lines. |
Remember, practice makes perfect! Don't be discouraged if your first attempt isn't flawless. Keep practicing, and you'll soon be creating beautiful, professional-looking nail art in no time. For more inspiration and tutorials on achieving a salon-worthy manicure from home, check out our guide to easy nail art designs for toes – many of the same techniques apply!
Finally, always finish with a top coat. This protects your nail art and helps it last longer. A good top coat will also add shine and give your manicure a professional finish. With a little patience and practice, you'll be creating stunning easy spring nail art designs in no time!