Table of Contents
Ready to transform your nails into a blossoming garden? This guide is your passport to the exciting world of flower nail art for beginners! Forget the intimidation factor; we'll break down everything you need to know, from simple designs to mastering essential techniques. Whether you're a complete novice or just looking to refresh your skills, this article is packed with easy-to-follow tutorials and inspiring ideas. We'll cover simple flower nail art designs perfect for first-timers, teaching you how to use basic tools and create stunning effects. Get ready to discover the secrets to achieving professional-looking floral nail art at home. Prepare to be amazed by the beautiful and surprisingly simple flower nail art designs you can create. By the end, you'll be confident enough to experiment with colours, styles, and techniques, turning your nails into a unique canvas for your creativity. Let's get started on your journey to beautiful, blooming nails!
Easy Flower Nail Art Designs for Beginners
Easy Flower Nail Art Designs for Beginners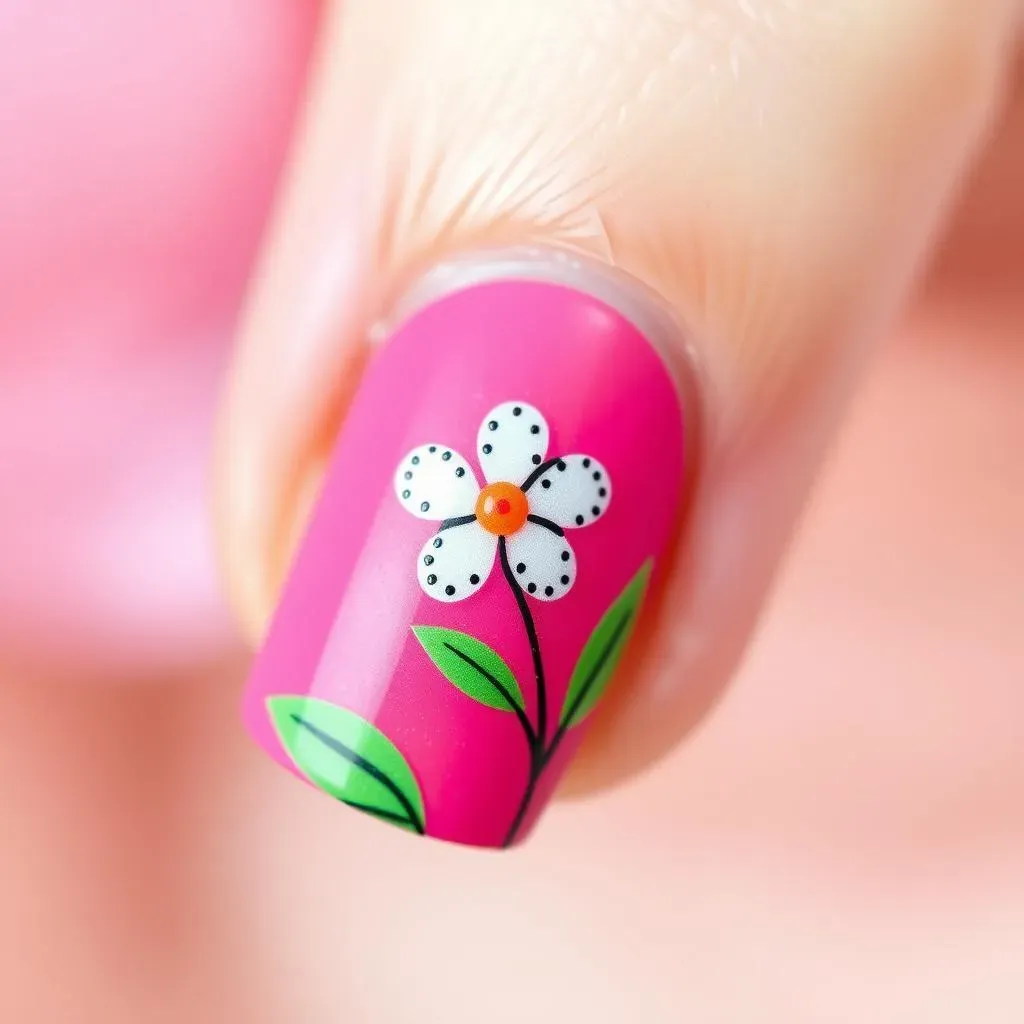
Simple Dotted Flowers
Let's start with the easiest flower nail art design: dotted flowers! All you need is a few nail polishes in contrasting colors and a dotting tool (or even a bobby pin in a pinch!). Start with a base coat of your favorite color. Once it's dry, use the dotting tool to create small dots in a circular pattern to form the flower's petals. Add a smaller dot in the center for the flower's middle. It's that simple! Experiment with different sizes of dots and colors to create unique looks. Don't worry about perfection; a slightly imperfect look adds charm.
For a touch of extra flair, add tiny leaves using thin lines painted with a fine brush. You can also use glitter polish to add sparkle to the centers of your flowers or to outline the petals for a more glamorous touch. Remember, practice makes perfect! The more you try, the better you’ll get at controlling the dotting tool and creating consistent flower shapes.
Color | Dot Size | Placement |
|---|---|---|
Bright Pink | Small | Clustered |
Light Yellow | Medium | Spaced |
Deep Purple | Large | Single |
Easy Daisy Designs
Daisies are another fantastically easy flower to recreate on your nails. Again, you'll need a base coat and a few nail polishes, and you can use a dotting tool or a thin brush. Start by painting a small circle in the center of your nail with a contrasting color. This is the center of your daisy. Then, create small petals around the center using either dots or small, slightly curved strokes. Keep the petals evenly spaced for a neat look. You can use white for a classic daisy look or experiment with vibrant colors for a bolder effect.
To make your daisies even more realistic, use a slightly darker shade of your base color to add subtle shadows to the base of the petals. This technique adds depth and dimension. Try adding some small green dots around the base of the flower to create a few leaves. Remember, don't stress over making your daisies perfectly symmetrical. A touch of imperfection gives them character and a more natural feel.
- Apply a base coat
- Paint a small circle in the center
- Add evenly spaced petals around the circle
- Optional: Add leaves and shading
Simple Floral Stripes
If dots aren’t your thing, try creating simple floral stripes! This design is super easy and requires minimal tools. Start with a base coat of your favorite color. Then, use thin nail art brushes or even the fine tip of a toothpick to paint thin vertical stripes across your nails. Use different colors for a rainbow effect or stick to two or three complementary colours for a more subtle look. The stripes can be straight, wavy, or zig-zagged, depending on the look you’re going for.
Once the stripes are dry, add small dots or tiny flower shapes along the lines to give the simple stripes a floral feel. You can add tiny leaves or other decorative elements to enhance the design. Keep the design simple and avoid overcrowding the nails. Less is often more when it comes to nail art, especially when you are just starting out.
Mastering Essential Techniques for Flower Nail Art
Mastering Essential Techniques for Flower Nail Art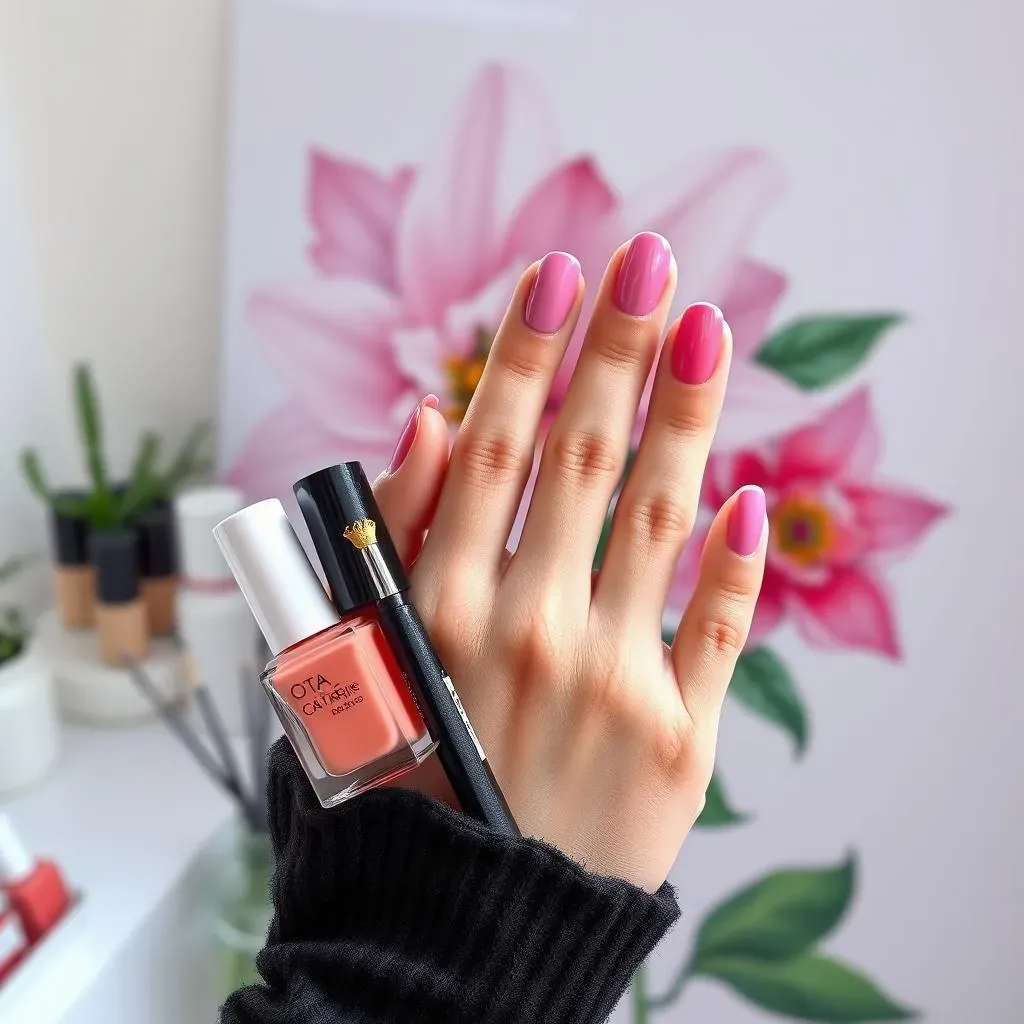
Nail Prep: The Foundation of Fabulous Flowers
Before you even think about picking up a brush, proper nail prep is crucial. Think of it like preparing a canvas for a masterpiece – a smooth, clean surface is essential for a flawless finish. Start by gently pushing back your cuticles (never cut them!), then shape and file your nails to your desired length and shape. A good base coat is your best friend; it protects your nails from staining and helps your polish adhere better. Choose a base coat that's specifically designed for nail art, as some are formulated to create a better surface for intricate designs.
Once your base coat is dry, apply two thin coats of your chosen background color. This ensures even coverage and prevents the flower designs from looking patchy or uneven. Allow each coat to dry completely before moving on to the next step. Patience is key here; rushing the drying process can lead to smudges and ruined designs. Remember, a well-prepped nail is the foundation for stunning flower nail art.
- Gently push back cuticles
- Shape and file nails
- Apply a base coat
- Apply two thin coats of background color
- Allow each coat to dry completely
Mastering the Tools of the Trade
Having the right tools makes all the difference in the world. A good quality dotting tool is your best friend for creating those perfectly sized petals and centers. Experiment with different sizes to see which ones work best for you. If you don't have a dotting tool, don't despair! A bobby pin, the back of a pen, or even a toothpick can work in a pinch. Thin brushes are also invaluable for creating delicate lines, leaves, and stems. Invest in a few different sizes to create a variety of floral elements.
Beyond the basic tools, consider investing in some nail art stripers. These thin brushes with a pointed tip allow for precise lines and details, creating more intricate designs. Clean-up brushes are also incredibly helpful for tidying up any mistakes or spills. You can use a small detailing brush dipped in nail polish remover to carefully remove any excess polish. Remember, having the right tools not only makes the process easier but also allows you to create more detailed and professional-looking flower designs.
Tool | Use |
|---|---|
Dotting tool | Creating petals and centers |
Thin brushes | Delicate lines, leaves, stems |
Nail art stripers | Precise lines and details |
Clean-up brush | Removing excess polish |
Stunning Flower Nail Art Ideas & Inspiration for Beginners
Stunning Flower Nail Art Ideas & Inspiration for Beginners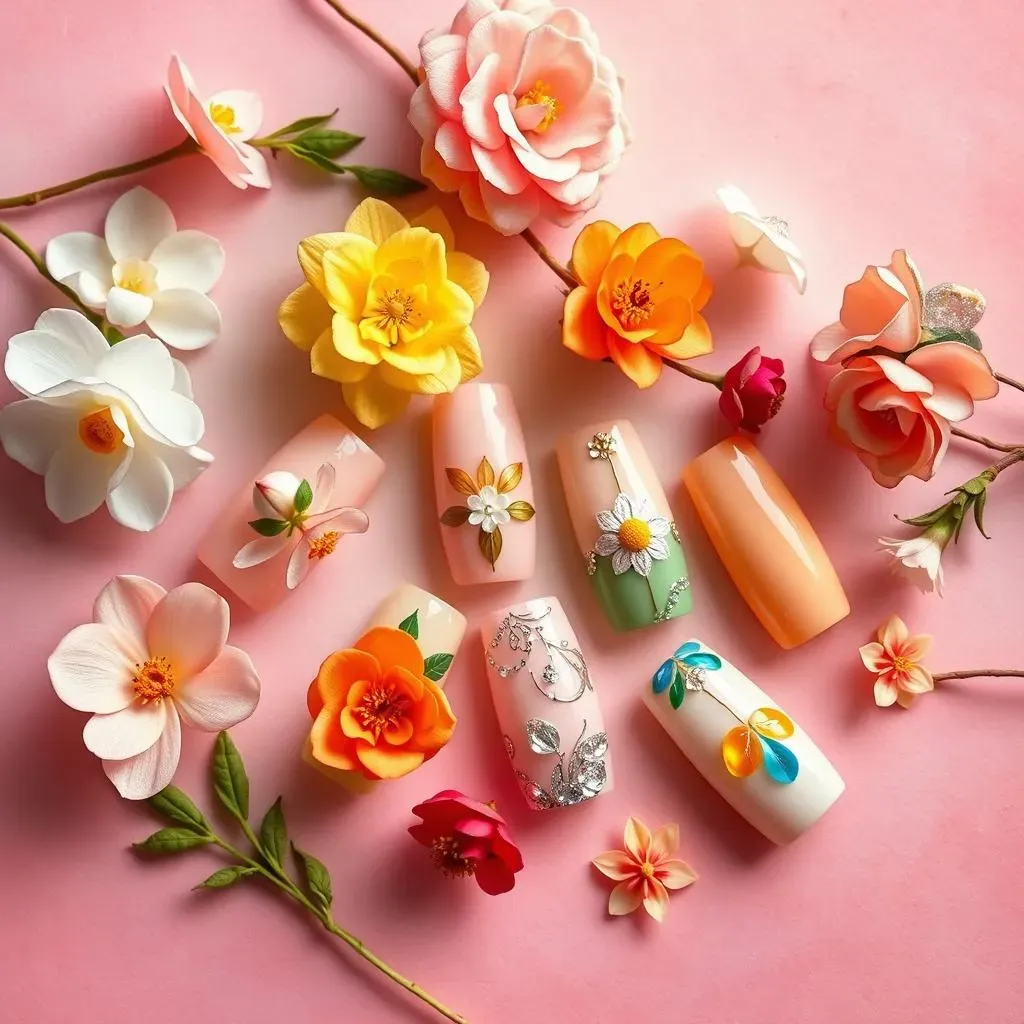
Floral Nail Art Inspiration: From Simple to Stunning
Let's dive into some seriously inspiring flower nail art ideas! Think beyond simple daisies and dots. Imagine delicate watercolor blooms, intricate 3D flowers, or even a whimsical garden scene across all ten nails. The possibilities are endless! For a touch of elegance, try a minimalist design, featuring a single, perfectly formed flower on each nail. Or, go bold with a vibrant mix of colors and textures. Consider adding some metallic accents like gold or silver leaf for a touch of luxury. You can also incorporate different textures, such as glitter or matte polishes, to add depth and dimension to your designs. Don't be afraid to experiment with color combinations, blending shades to create soft ombre effects or contrasting bright hues for a pop of personality.
One great way to find inspiration is by browsing Pinterest or Instagram. Search for hashtags like #floralnails, #nailart, and #beginnernailart. You'll find a treasure trove of stunning designs to spark your creativity. Don't feel pressured to replicate designs exactly; use them as a springboard for your own unique creations. Remember, the most important thing is to have fun and let your personality shine through in your nail art. Even a simple design can look incredible with a unique twist, such as an unexpected color combination or a playful addition of glitter.
- Minimalist designs
- Vibrant color combinations
- Metallic accents
- Textured polishes
- Ombre effects
Seasonal Flower Nail Art
Consider the season when choosing your flower nail art design. Spring is all about soft pastels, delicate blossoms, and fresh greens. Think delicate cherry blossoms or dainty forget-me-nots. Summer calls for bright, bold colors and tropical flowers like hibiscus or orchids. Autumn brings warm, earthy tones and designs inspired by sunflowers, chrysanthemums, or maple leaves. Winter allows for a more elegant, subdued palette, with designs featuring snowflakes, poinsettias, or frosted flowers. The possibilities are endless! Let the season inspire your colour palette and design choices.
To make your seasonal flower nail art even more special, you can incorporate elements that reflect the season. For example, you could add glitter to your summer designs to evoke the sparkle of sunlight on the water. For autumn, you could use a mix of matte and shimmer polishes to create a textured, fall-like effect. In winter, you might add some tiny silver or white glitter to give your designs a frosty look. By keeping the season in mind, you can create nail art that's both beautiful and relevant to the time of year.
Season | Color Palette | Flower Inspiration |
|---|---|---|
Spring | Pastel pinks, yellows, greens | Cherry blossoms, daffodils |
Summer | Bright reds, oranges, yellows | Hibiscus, sunflowers |
Autumn | Reds, oranges, browns | Maple leaves, sunflowers |
Winter | Whites, silvers, blues | Snowflakes, poinsettias |