Table of Contents
Ever scrolled through Instagram and been hypnotized by those super cute flower nail art designs? I know I have! They look amazing, but can seem tricky. Good news! You don't need to be a pro to create stunning floral nails. This "flower nail art tutorial step by step" guide is designed for everyone, even if you've never picked up a nail art brush before. We're breaking down the process into super easy-to-follow steps, so you can achieve salon-worthy results at home. First, we'll explore some simple flower designs perfect for beginners. Then, I'll walk you through a detailed, step-by-step tutorial on painting your own floral masterpieces. Finally, I'll share some pro tips and tricks to elevate your DIY nail art game. So, grab your favorite polishes and let's get started! Get ready to unleash your inner nail artist and create gorgeous flower nail art that will wow everyone. Trust me, it's easier than you think!
Simple Flower Nail Art Designs for Beginners
Simple Flower Nail Art Designs for Beginners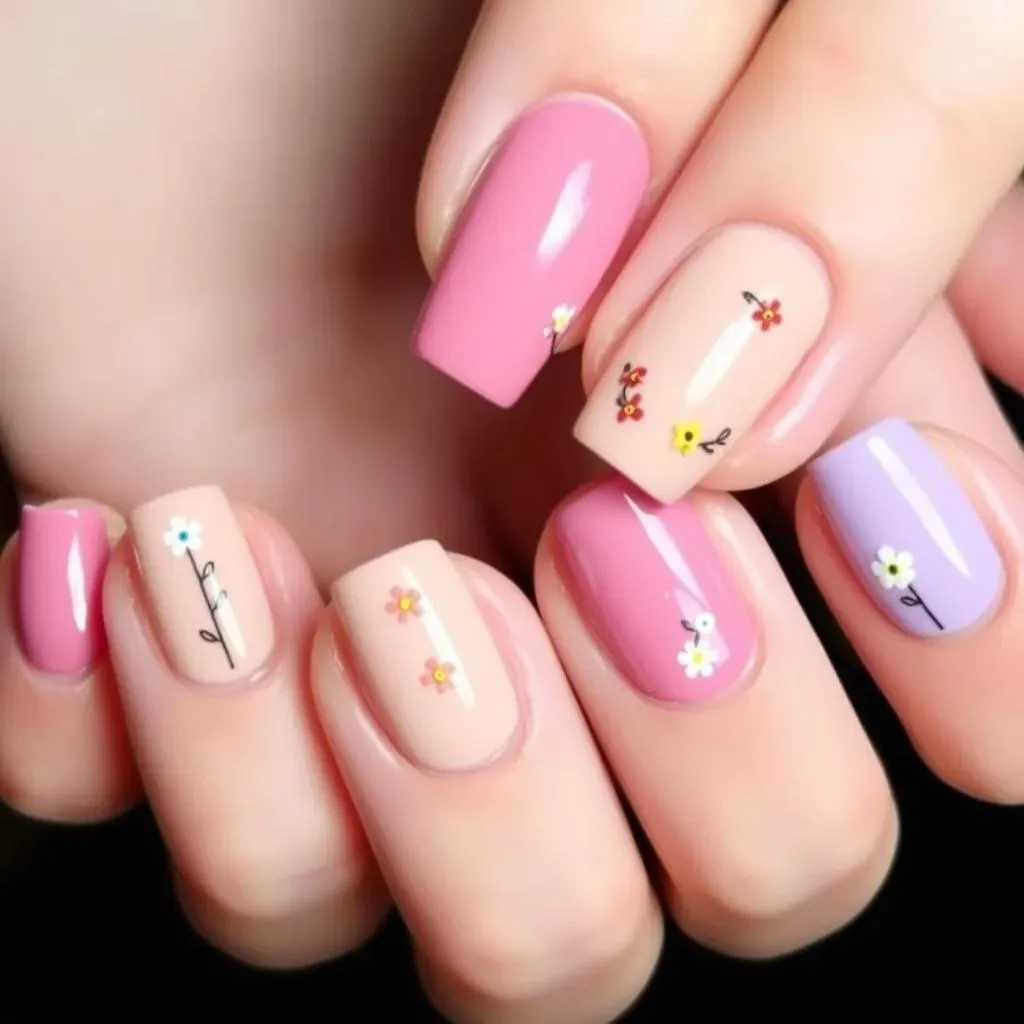
Alright, so you wanna rock some flower nails but you're just starting out? No problem! Forget those super detailed, intricate designs you see online for now. We're talking easy peasy, lemon squeezy flowers that anyone can do. Think simple dots, lines, and maybe a few strategically placed petals. The goal is to get comfortable with the tools and techniques without getting frustrated. Start with one flower on each nail, or even just one flower on an accent nail. Less is more when you're learning! You'll be surprised how much a simple design can pop.
- Dotting Tool Flowers: Just use a dotting tool to create a circle of dots, then add a different color in the center.
- Daisy Chains: Use a thin brush to draw small daisies along the edge of your nail.
- Floral Accent Nail: Paint all your nails one color, then add a single flower design to just one nail.
StepbyStep Guide to Painting Flower Nail Art
StepbyStep Guide to Painting Flower Nail Art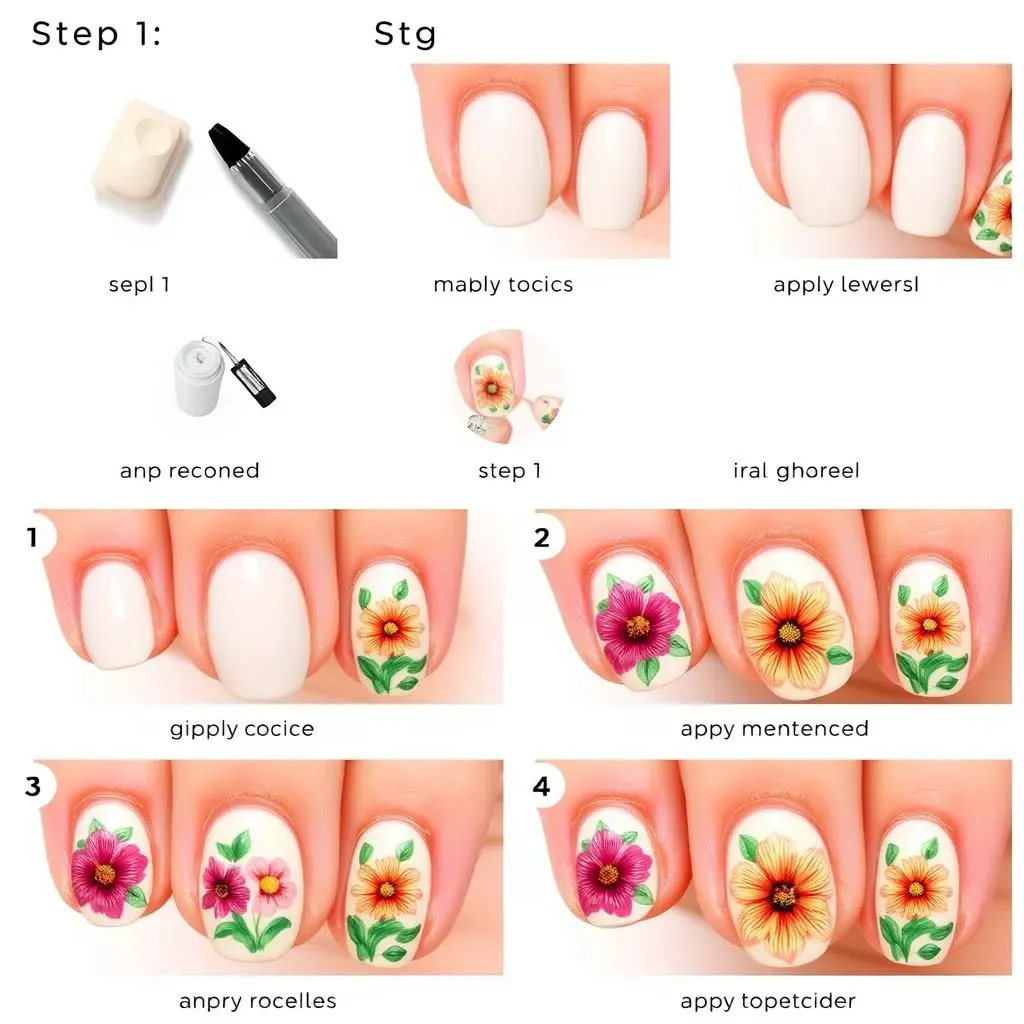
Ready to take it up a notch? Let's get into a "Step-by-Step Guide to Painting Flower Nail Art". First things first, gather your supplies. You'll need a base coat, your favorite nail polish colors, a thin nail art brush (or even a toothpick!), a dotting tool (optional, but helpful), and a top coat. Start with a clean, dry nail and apply a base coat. This protects your nails and helps the polish adhere better. Once the base coat is dry, apply two coats of your chosen base color. Make sure each coat is completely dry before moving on to the next step. Patience is key here; rushing can lead to smudges and a less-than-perfect finish.
Now comes the fun part: painting the flowers! Dip your thin brush into your chosen flower color and start creating petals. For a simple five-petal flower, create five small strokes radiating from a central point. Don't worry if they're not perfect; flowers in nature aren't always symmetrical either! Use a dotting tool or the tip of your brush to add a contrasting color to the center of the flower. Let the flower design dry completely before applying a top coat. This seals in your design and adds a glossy shine.
Step | Description |
|---|---|
1 | Apply Base Coat |
2 | Apply 2 Coats of Base Color |
3 | Paint Flower Petals |
4 | Add Flower Center |
5 | Apply Top Coat |
DIY Flower Nail Art Tutorial: Pro Tips & Tricks
DIY Flower Nail Art Tutorial: Pro Tips & Tricks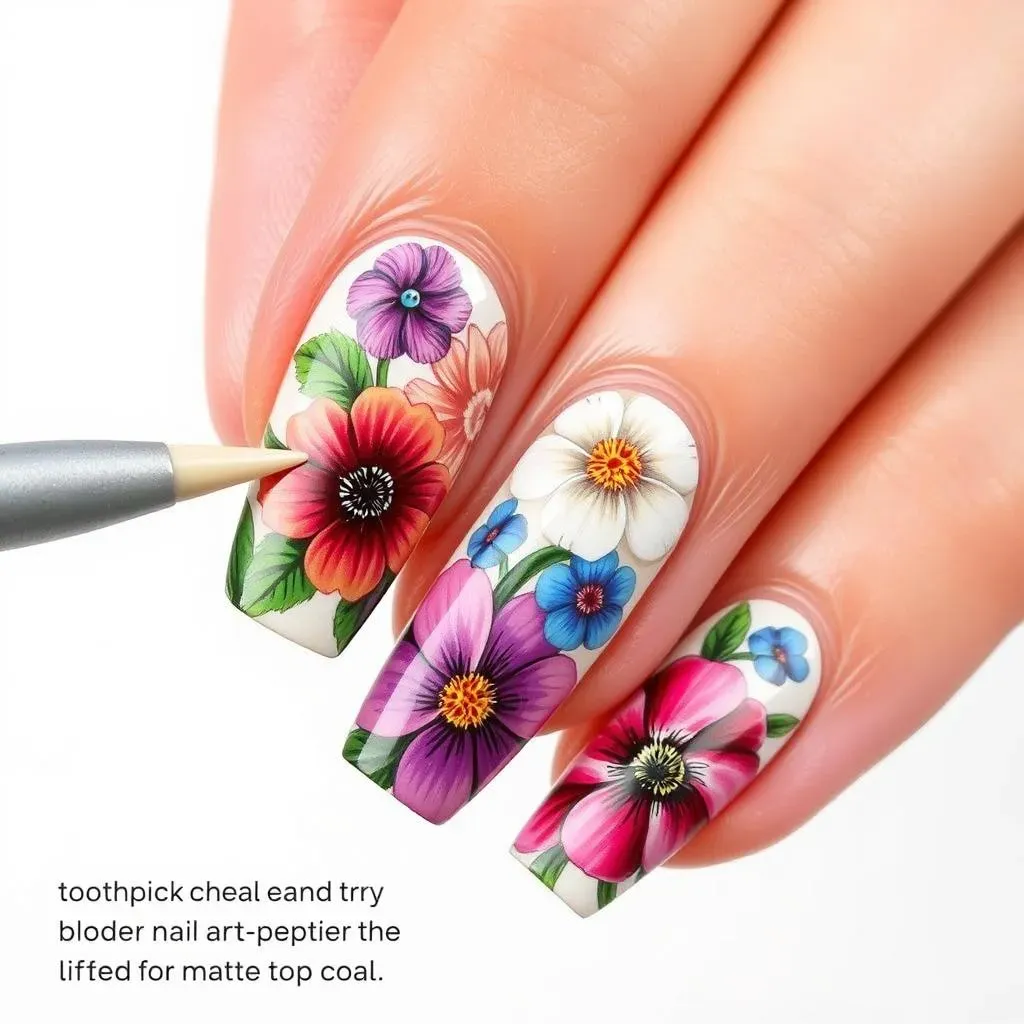
Want to seriously up your flower nail art game? I've got some "DIY Flower Nail Art Tutorial: Pro Tips & Tricks" that'll make you feel like a total pro. First off, invest in some good quality nail art brushes. A super fine-tipped brush is a game-changer for creating delicate petals and intricate details. Also, practice makes perfect! Don't get discouraged if your first few attempts aren't flawless. Just keep practicing, and you'll see improvement in no time. Another tip? Use a toothpick to clean up any mistakes or stray polish around your nails. It's way easier than trying to use a cotton swab and getting fuzz everywhere!
And here's a secret weapon: matte top coat! Applying a matte top coat over your flower design can create a cool, trendy look. Plus, it can hide any minor imperfections. Finally, don't be afraid to experiment with different color combinations and flower types. Try mixing and matching different shades of polish, or creating your own unique floral designs. The possibilities are endless! Remember, nail art is all about having fun and expressing your creativity. So, go wild and see what you can create!
- Invest in Quality Brushes: Fine-tipped brushes are key for details.
- Practice Regularly: Don't get discouraged, keep at it!
- Use a Toothpick for Clean-Up: Precise and easy correction.
- Experiment with Matte Top Coat: Adds a trendy, forgiving finish.
- Don't Be Afraid to Experiment: Try new colors and designs!
Blooming Beautiful Nails: Your Flower Art Journey Continues
So, you've reached the end of our flower nail art tutorial! I hope you're feeling inspired and ready to create your own unique floral designs. Remember, practice makes perfect, so don't be discouraged if your first attempt isn't flawless. The most important thing is to have fun and let your creativity blossom. Experiment with different colors, flower types, and techniques to discover your signature style. And who knows, you might just become the next big thing in nail art!