Table of Contents
Ready to take your nails from simple to stunning? Then you've come to the right place! Glitter white nail designs are the perfect way to add a touch of elegance and sparkle to any look. Whether you're after a subtle shimmer or a full-on glitter explosion, white provides the perfect canvas to showcase your creativity. This article will be your ultimate guide to exploring the dazzling world of glitter white nail designs. We'll dive into classic and simple styles, explore how to incorporate a French twist, and unleash some creative glitter placement ideas. From special occasions to everyday wear, we’ll cover designs that will make your nails the star of the show. Plus, we'll share tips and tricks to keep your glitter white nail designs looking flawless for longer. So, get ready to be inspired and discover your next favorite manicure!
Classic & Simple Glitter White Nail Designs
Classic & Simple Glitter White Nail Designs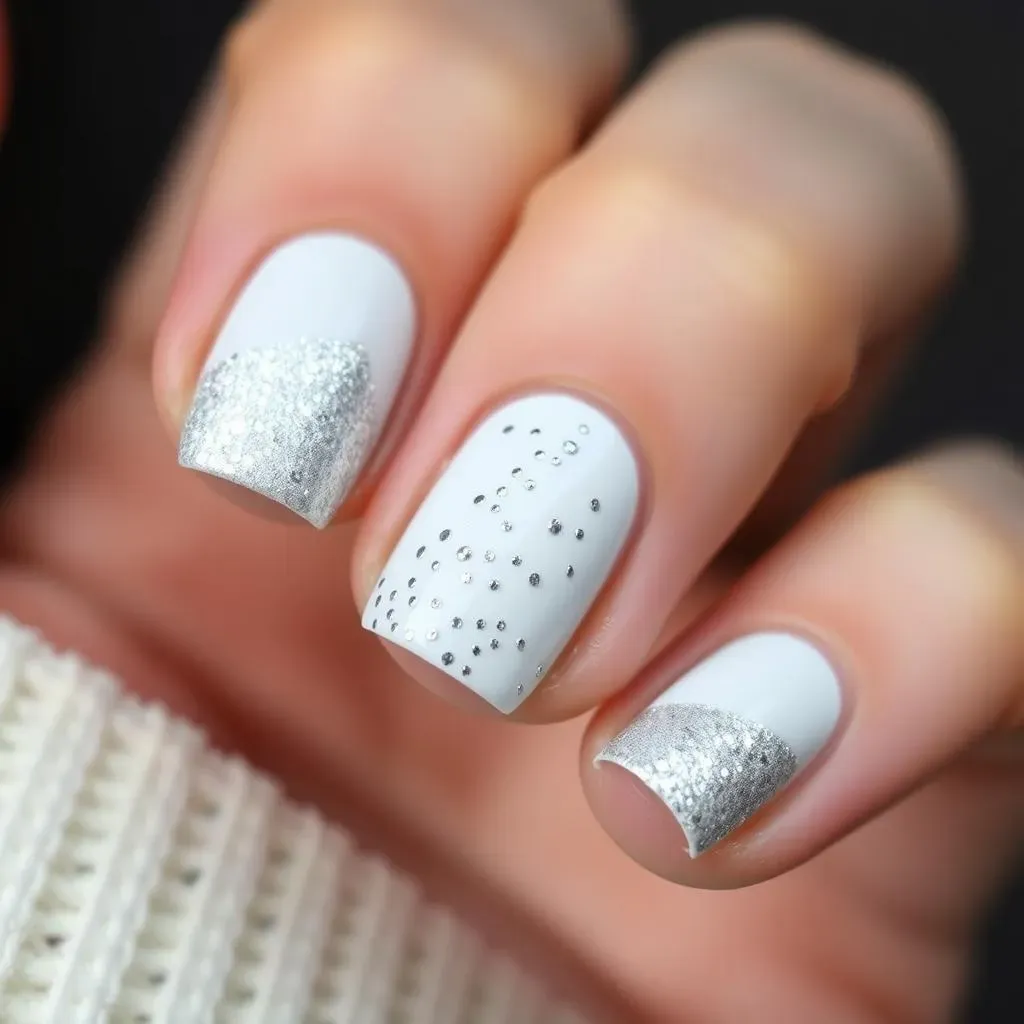
Subtle Shimmer: A Touch of Magic
Sometimes, less is more. For a classic and simple look, consider a subtle shimmer of glitter on a white base. This design is perfect for everyday wear and adds a touch of magic without being over the top. You can achieve this by using a white nail polish as your base color and then applying a thin layer of glitter topcoat. The key is to choose a glitter that complements the white, such as silver, iridescent, or even a soft gold. This creates an understated elegance that's both chic and versatile.
I remember when I was first experimenting with nail art, I was intimidated by complex designs. This subtle shimmer technique was my go-to because it was easy to achieve and always looked polished. It's a great starting point for anyone new to glitter nails!
All-Over Glitter: A Bold Statement
If you're feeling a bit bolder, an all-over glitter design can make a stunning statement. Start with a solid white base coat to ensure the glitter pops. Then, apply a generous layer of glitter polish, making sure to cover the entire nail. For a more uniform look, you can use a glitter polish with fine particles. If you prefer a more textured effect, opt for chunky glitter. This design is perfect for parties, holidays, or any occasion where you want to add a touch of glamour.
Pro Tip: To avoid a clumpy finish, apply the glitter polish in thin layers, allowing each layer to dry before applying the next. This will help distribute the glitter evenly and create a smooth, dazzling effect.
Glitter Cuticles or Tips: A Modern Twist
Want to add a modern twist to your classic white nails? Try applying glitter only to the cuticles or tips. This creates a unique and eye-catching effect that's both stylish and sophisticated. For glitter cuticles, carefully apply a thin line of glitter polish along the base of your nails. For glitter tips, create a glittery French manicure by applying glitter polish to the tips of your nails. This design is perfect for those who want to experiment with glitter without committing to a full-on glitter manicure.
I've seen some amazing variations of this design where people use different colors of glitter for the cuticles and tips, creating a gradient effect. It's a fun way to personalize your nails and express your creativity!
Glitter White Nail Designs with a French Twist
Glitter White Nail Designs with a French Twist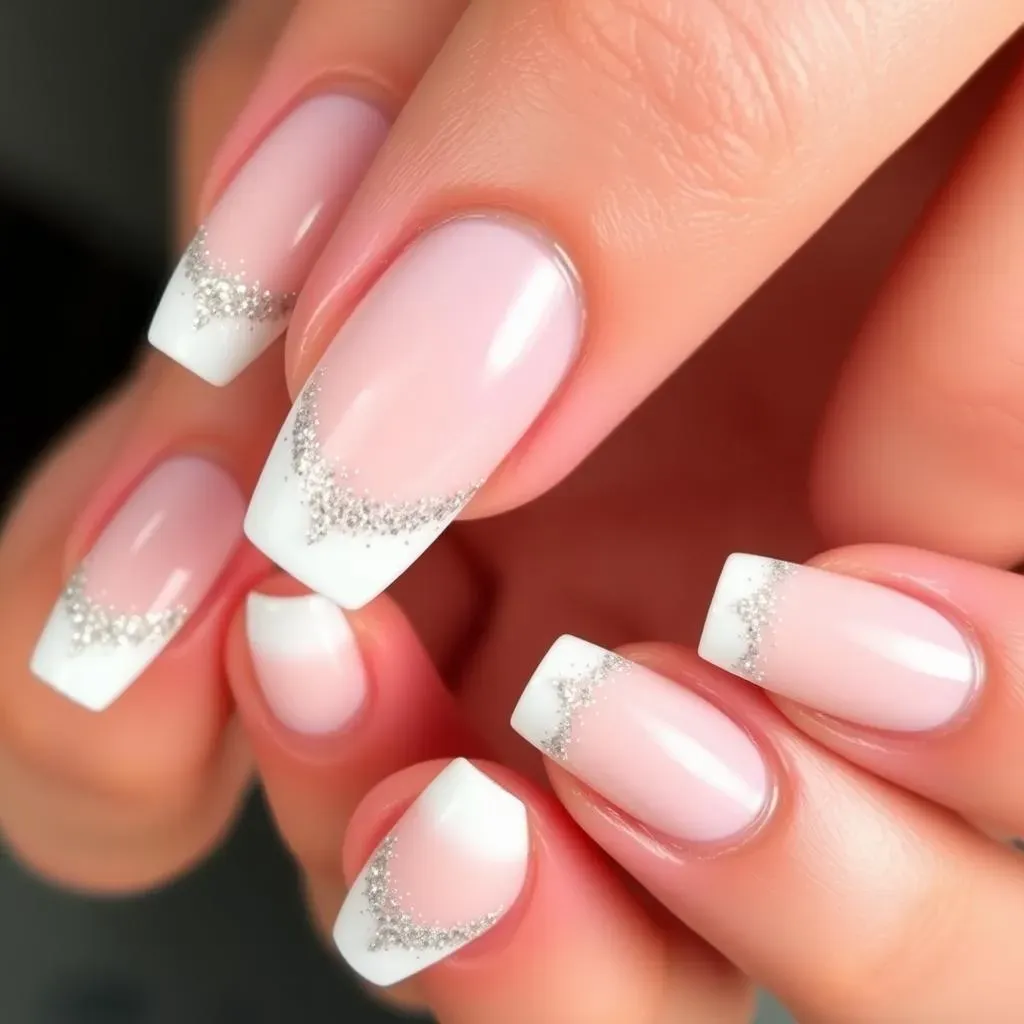
Classic White French with Glitter Tips
Elevate the timeless French manicure by adding glitter to the tips! Instead of the traditional white, use a glitter white polish for the tips, maintaining the nude or pale pink base. This is a subtle yet glamorous upgrade that works for any occasion. You can choose a fine glitter for a delicate shimmer or a chunkier glitter for a bolder statement. Either way, it's a chic way to incorporate glitter into your nail design.
I've found that using a nail stencil can help create a crisp, clean line for the French tip. It's especially useful when working with glitter, which can be a bit messy. Plus, there's something so satisfying about peeling off the stencil to reveal a perfect glittery tip!
Reverse French with Glitter Accent
Take the French manicure concept and flip it on its head! Instead of glitter on the tips, apply it to the cuticle area in a crescent shape. This "reverse French" design is modern and eye-catching. Use a fine brush or a nail art pen to carefully apply the glitter along the cuticle line. You can also experiment with different glitter colors to create a unique and personalized look. This design is perfect for those who want to stand out from the crowd.
Pro Tip: Use a toothpick or a small brush dipped in nail polish remover to clean up any stray glitter around the cuticle area. This will ensure a clean and professional-looking finish.
Ombre Glitter French
Combine the ombre trend with the classic French manicure for a truly stunning effect. Start with a nude or pale pink base, then gradually blend glitter white polish onto the tips, creating a seamless transition. This design adds depth and dimension to your nails, making them look longer and more elegant. You can use a makeup sponge to blend the glitter polish for a smooth and even ombre effect. This design is perfect for special occasions or any time you want to add a touch of sophistication to your look.
I remember trying this technique for the first time and being amazed at how easy it was to achieve a professional-looking ombre effect. It's all about blending, blending, blending!
Creative Glitter Placement Ideas for White Nails
Creative Glitter Placement Ideas for White Nails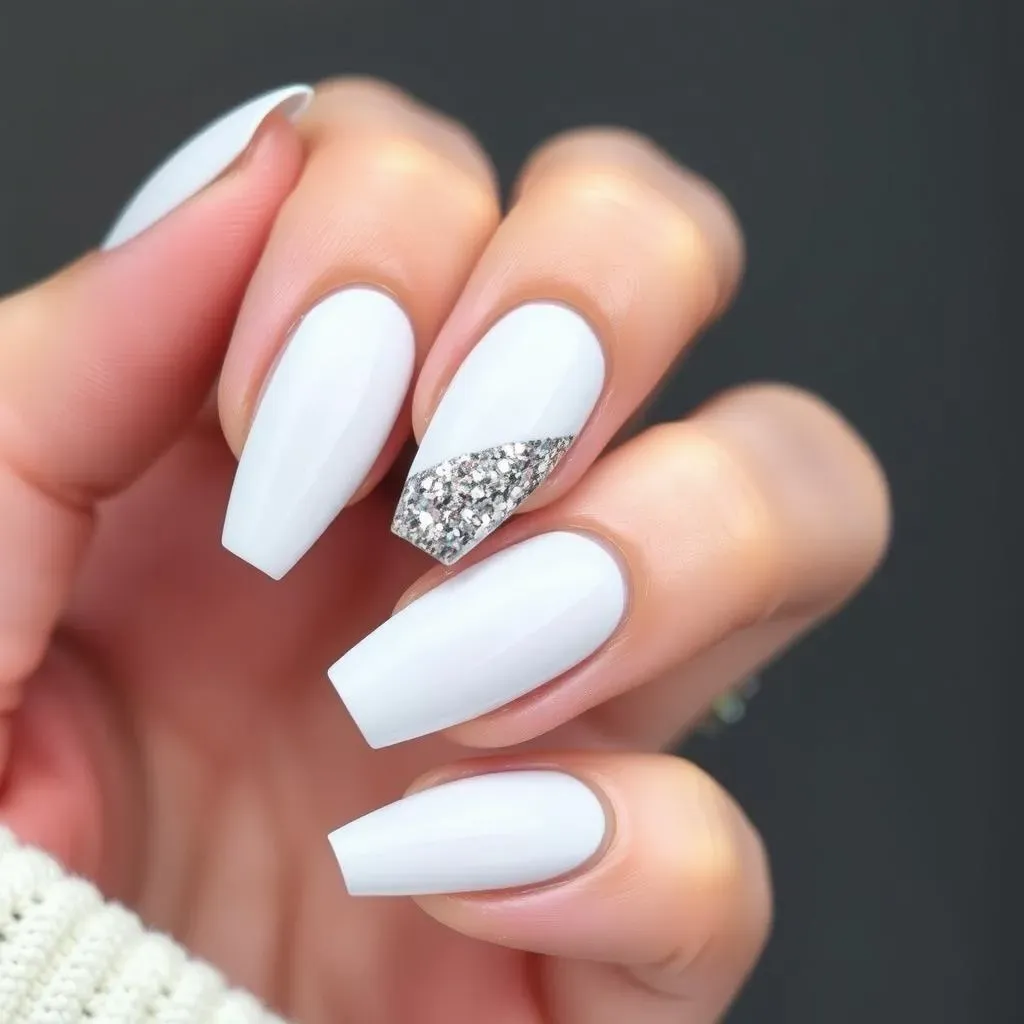
Asymmetrical Glitter Accent
Forget symmetry! An asymmetrical glitter accent is a fantastic way to add a modern and edgy touch to your white nails. Instead of evenly distributing the glitter, concentrate it on one side of the nail, creating a visually interesting and unique design. You could apply a cluster of glitter near the cuticle on one side, or create a diagonal swipe of glitter across the nail. The key is to play with balance and create a design that feels intentional yet effortlessly cool.
I love this technique because it allows for so much freedom and experimentation. There are no rules – just have fun and see what you can create!
Negative Space with Glitter Outlines
Negative space nail art is all the rage, and combining it with glitter can create a truly mesmerizing effect. Start by painting your nails white, then use tape or stencils to create geometric shapes or patterns, leaving some areas of your nail bare. Next, carefully apply glitter around the edges of the shapes, creating a sparkling outline. When you remove the tape, you'll be left with a stunning design that combines the clean simplicity of negative space with the dazzling sparkle of glitter.
Pro Tip: Use a fine-tipped brush to apply the glitter with precision. This will help you create crisp, clean lines and avoid getting glitter where you don't want it.
Scattered Glitter Constellations
Imagine your nails as a night sky, with tiny glitter particles representing stars. This scattered glitter constellation design is both whimsical and elegant. Apply a white base coat, then use a dotting tool or a toothpick to randomly place small pieces of glitter across your nails. Vary the size and density of the glitter to create a more natural and organic look. This design is perfect for those who want to add a touch of sparkle without being too flashy.
I've seen some variations of this design where people use different colors of glitter to represent different constellations. It's a fun way to personalize your nails and show off your love for astronomy!
Glitter Type | Application Method | Effect |
|---|---|---|
Fine Glitter | Dotting Tool | Subtle sparkle, delicate constellations |
Chunky Glitter | Tweezers | Bold accents, prominent stars |
Iridescent Glitter | Brush | Multi-dimensional shimmer, ethereal effect |
Glitter White Nail Designs for Special Occasions
Glitter White Nail Designs for Special Occasions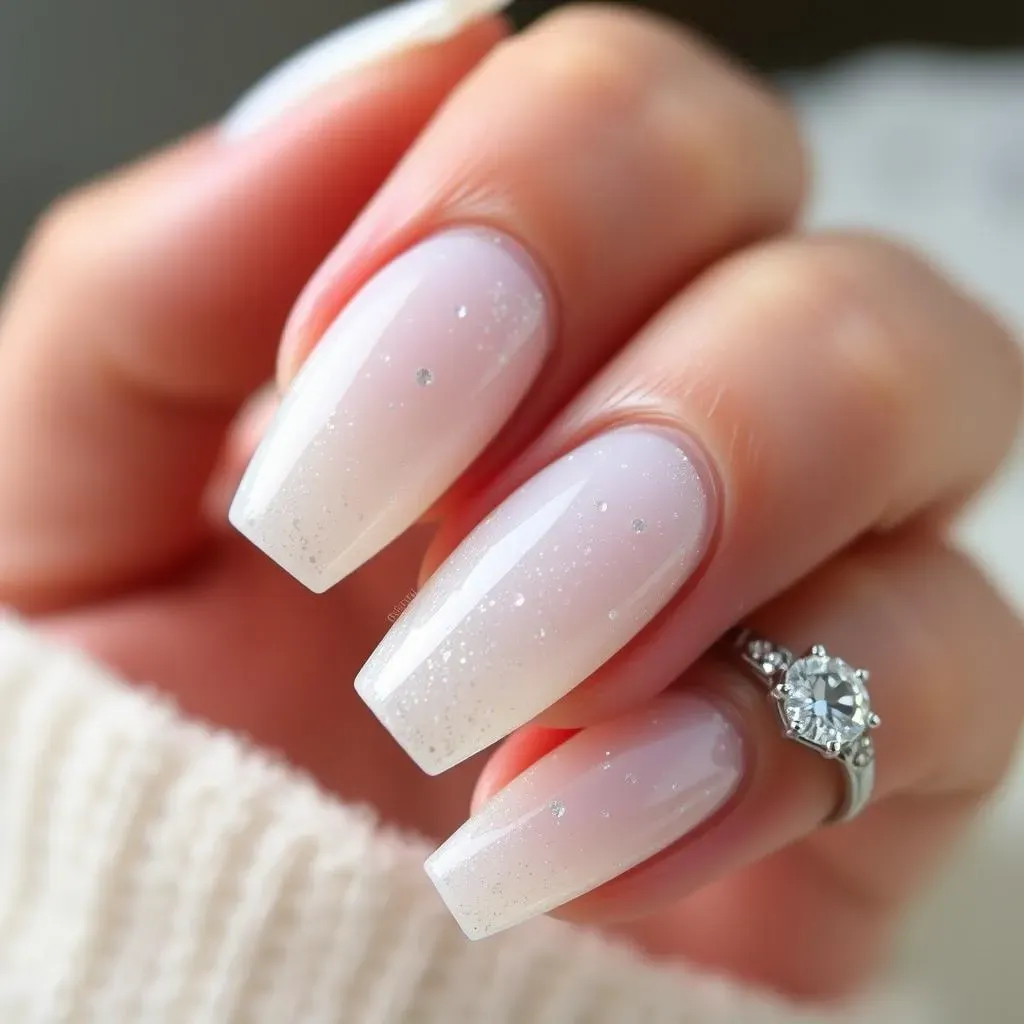
Weddings: Elegant and Refined
For weddings, glitter white nail designs can be the perfect complement to a bridal gown or bridesmaid dress. Think delicate shimmer and refined elegance. A classic white base with a subtle dusting of silver or gold glitter is a timeless choice. You could also opt for a French manicure with glitter tips for a touch of sophistication. The goal is to enhance, not overpower, the overall look. Consider the theme and color palette of the wedding when choosing your glitter color. Soft, iridescent glitters work beautifully for a romantic, ethereal vibe, while bolder golds can add a touch of glamour to a more modern affair.
When my best friend got married, she chose a simple white dress with delicate lace detailing. Her glitter white nail designs were a subtle nod to the sparkle in her eyes. She went with a sheer white polish and a light dusting of iridescent glitter. It was the perfect finishing touch!
Holidays: Festive and Fun
Holidays are the perfect excuse to go all out with your glitter white nail designs! Whether it's Christmas, New Year's Eve, or the Fourth of July, there are endless possibilities for creating festive and fun nail art. For Christmas, try a white base with red and green glitter accents, or create a snowflake design using silver glitter. For New Year's Eve, go bold with an all-over glitter design in gold or silver. And for the Fourth of July, create a patriotic look with red, white, and blue glitter. Don't be afraid to experiment with different colors and textures to create a truly unique and eye-catching design.
Pro Tip: Use nail stickers or stencils to create intricate holiday-themed designs. This will save you time and effort while still achieving a professional-looking result.
Holiday | Glitter Color Palette | Design Ideas |
|---|---|---|
Christmas | Red, Green, Silver, Gold, White | Snowflakes, Candy Canes, Glitter Gradient |
New Year's Eve | Gold, Silver, Black, Champagne | All-Over Glitter, Confetti, Starbursts |
Fourth of July | Red, White, Blue | Stripes, Stars, Glitter Ombre |
Maintaining Your Glitter White Nail Designs
Maintaining Your Glitter White Nail Designs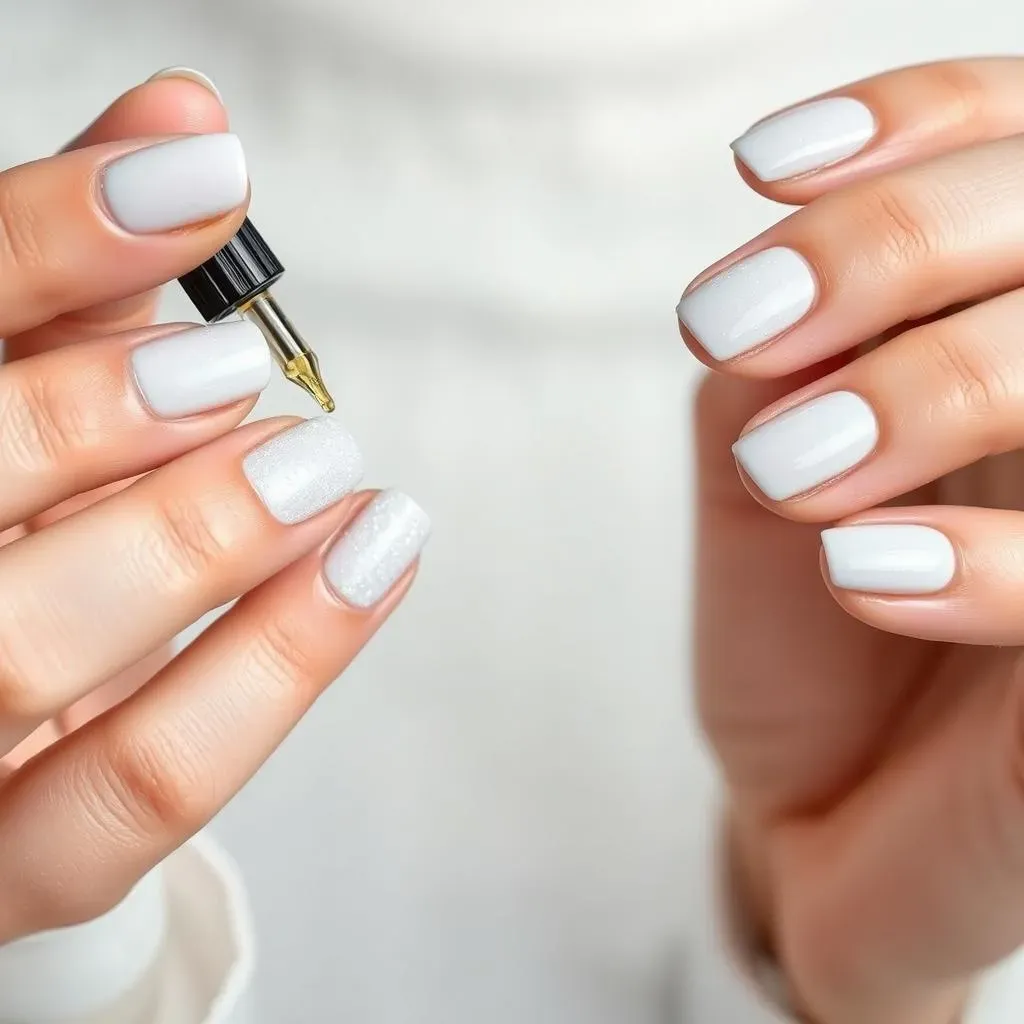
Protecting Your Polish: Top Coat is Key
So, you've got your dazzling glitter white nail designs, and you want them to last, right? The secret weapon here is a good top coat. Apply a generous layer of top coat every two to three days to seal in the glitter and protect the polish from chipping. Look for a top coat specifically designed for glitter nails, as these tend to be thicker and more durable. Trust me, this little step makes a huge difference in the longevity of your manicure.
I've learned the hard way that skipping the top coat is a recipe for disaster. My glitter nails would start chipping within a day or two, and all my hard work would go down the drain. Now, I'm religious about my top coat routine!
Hydration is Essential: Cuticle Oil to the Rescue
Dry cuticles can ruin even the most stunning glitter white nail designs. Keep your cuticles hydrated by applying cuticle oil at least once a day, preferably before bed. This will not only keep your cuticles looking healthy but also prevent the polish from lifting and chipping. Healthy nails are happy nails, and happy nails mean a longer-lasting manicure!
Pro Tip: Massage the cuticle oil into your nails and surrounding skin for a few minutes to promote circulation and stimulate nail growth. This is a great way to pamper yourself and keep your nails looking their best.
Gentle Removal: Avoid Harsh Chemicals
When it's time to remove your glitter white nail designs, be gentle! Avoid harsh acetone-based removers, as these can dry out your nails and damage them. Instead, opt for an acetone-free remover or try the soak-off method. Soak a cotton ball in nail polish remover, place it on your nail, and wrap it in foil. Let it sit for a few minutes, then gently remove the cotton ball and wipe away the polish. This method is less harsh on your nails and helps prevent damage.
I used to rush through the removal process and end up with dry, brittle nails. Now, I take my time and use gentle products, and my nails are so much healthier as a result.
Removal Method | Pros | Cons |
|---|---|---|
Acetone-Free Remover | Gentle on nails, less drying | May take longer to remove glitter |
Soak-Off Method | Effective for removing glitter, less harsh than direct wiping | Requires more time and materials |
Acetone-Based Remover | Fast and efficient | Can be drying and damaging to nails |
Conclusion: Shine Bright with Glitter White Nails
From subtle accents to bold statements, glitter white nail designs offer endless possibilities for expressing your personal style. Whether you opt for a classic French manicure with a glittery twist or a creative, free-flowing design, the key is to have fun and let your imagination run wild. Remember the tips we've shared on application and maintenance to keep your nails looking their best. So go ahead, embrace the sparkle and let your glitter white nails shine!