Table of Contents
Ready to take your nail game to the next level? Forget basic manicures, because we're diving headfirst into the mesmerizing world of holographic glitter nail designs! These aren't your grandma's sparkly tips. We're talking about a dazzling, multidimensional shimmer that shifts and changes with the light, creating an effect that's pure magic. Ever wondered how to achieve that salon-worthy holographic sparkle at home? Or maybe you're searching for fresh, creative ideas to express your unique style? You're in the right place. This guide breaks down everything you need to know, from the essential tools and products to step-by-step application techniques. We'll explore a spectrum of design ideas, from subtle accents to full-on holographic glam. Plus, we'll tackle common problems and share tips for keeping your shimmering masterpieces looking flawless. Get ready to unleash your inner nail artist and create holographic glitter nail designs that will turn heads and spark envy wherever you go!
Unveiling the Magic: What are Holographic Glitter Nail Designs?
Unveiling the Magic: What are Holographic Glitter Nail Designs?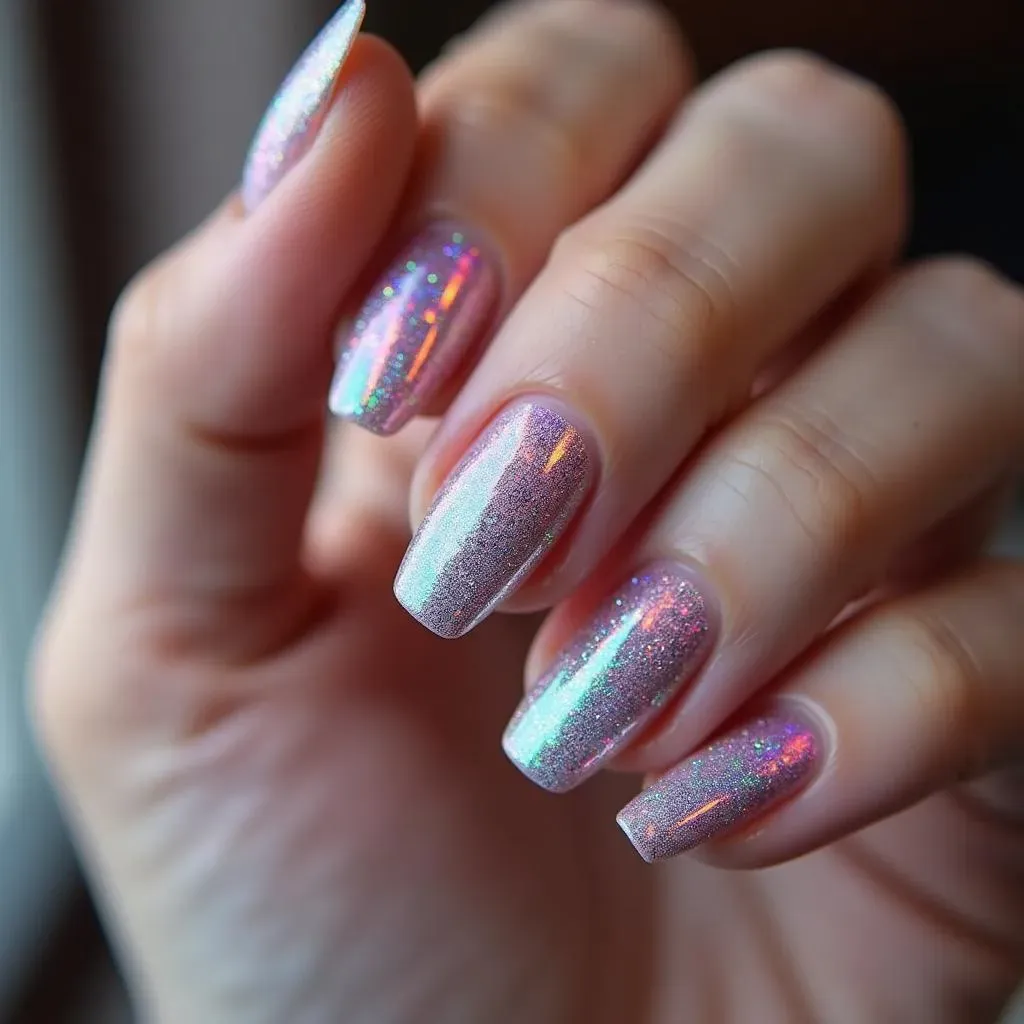
so you're curious about holographic glitter nail designs? Imagine capturing a rainbow and shrinking it down to fit on your fingertips. That's essentially what we're talking about! Holographic glitter isn't just your run-of-the-mill sparkle; it's infused with micro-prisms that refract light, creating an iridescent, color-shifting effect. Think of it like a tiny disco ball for your nails, reflecting a spectrum of colors with every movement. These designs utilize this special glitter, often combined with base colors and topcoats, to create stunning, eye-catching manicures. It's a way to add a touch of futuristic glam and individuality to your style.
Essential Tools and Products for Perfect Holographic Glitter Nails
Essential Tools and Products for Perfect Holographic Glitter Nails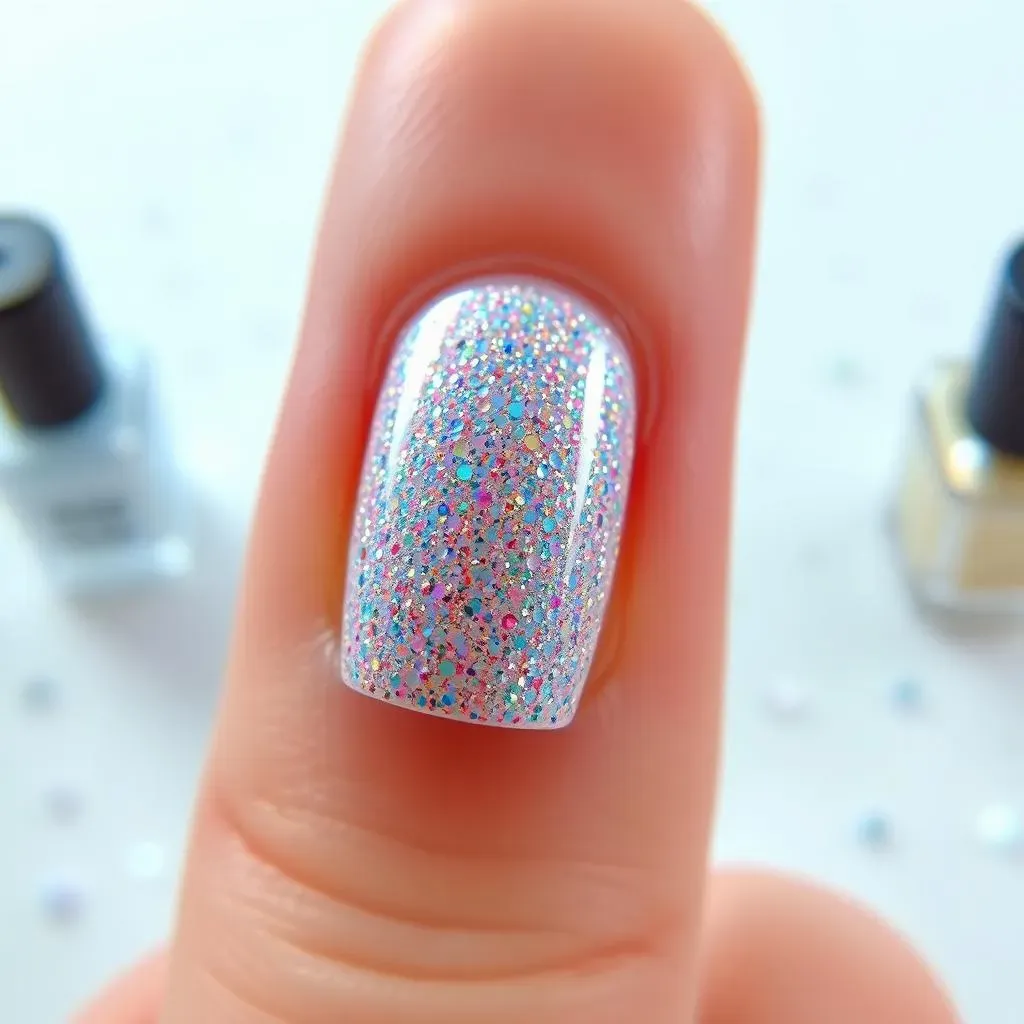
The Glitter Itself: Choosing Your Holographic Weapon
First things first, you can't create holographic glitter nail designs without the star of the show: holographic glitter! Now, glitter isn't just glitter. You'll find it in various forms, from fine powders to chunky flakes. Fine holographic glitter is fantastic for creating a smooth, even shimmer, while larger flakes can add texture and dimension. Consider the base color you'll be using, too. A silver holographic glitter will pop on a dark base, while a lighter, iridescent glitter might shine best over a nude or pastel shade. Don't be afraid to experiment with different types and sizes to see what effects you love best. You can find them at any beauty supply store such as ULTA, Sephora, or even on Amazon.
Beyond just the type of glitter, you'll also want to think about the quality. A higher-quality holographic glitter will have a more intense, vibrant shimmer and will be less likely to dull or fade over time. Read reviews and look for glitters specifically designed for nail art. Trust me, the difference is noticeable! Also, consider the application of the glitter. Do you want to sprinkle it on? Pat it on? Mix it into the gel? Each of these questions will change the type of glitter you want to use. For example, if you want to sprinkle it on, you will need a very very fine glitter.
Glitter Type | Best For | Application Tips |
|---|---|---|
Fine Holographic Powder | Smooth, even shimmer, blending | Apply with a brush over a tacky base coat. |
Chunky Holographic Flakes | Adding texture, bold designs | Place individually with a dotting tool or tweezers. |
Holographic Glitter Mixes | Variety of sizes and shapes, unique effects | Carefully consider the base color. |
The Supporting Cast: Base Coats, Top Coats, and More
you've got your holographic glitter. But a flawless holographic glitter nail designs manicure requires more than just sparkle! A good base coat is essential for protecting your natural nails and providing a smooth surface for the glitter to adhere to. It also helps prevent staining, especially if you're using a dark-colored polish. I highly recommend investing in a quality base coat; it really does make a difference in the longevity of your manicure. On top of that, you will need a top coat to seal everything in.
Beyond the base and top coats, consider investing in a few other helpful tools. A dotting tool can be incredibly useful for precisely placing larger glitter flakes or creating intricate designs. A small, angled brush is great for cleaning up any stray glitter around your cuticles. And of course, don't forget your favorite nail polish remover for those inevitable mistakes! With the right tools and products, you'll be well on your way to creating stunning holographic nail art.
- Base Coat: Protects nails, smooths surface.
- Top Coat: Seals glitter, adds shine, extends wear.
- Dotting Tool: Precise glitter placement, intricate designs.
- Angled Brush: Cleaning up stray glitter.
StepbyStep Guide: Achieving SalonWorthy Holographic Glitter Nail Designs at Home
StepbyStep Guide: Achieving SalonWorthy Holographic Glitter Nail Designs at Home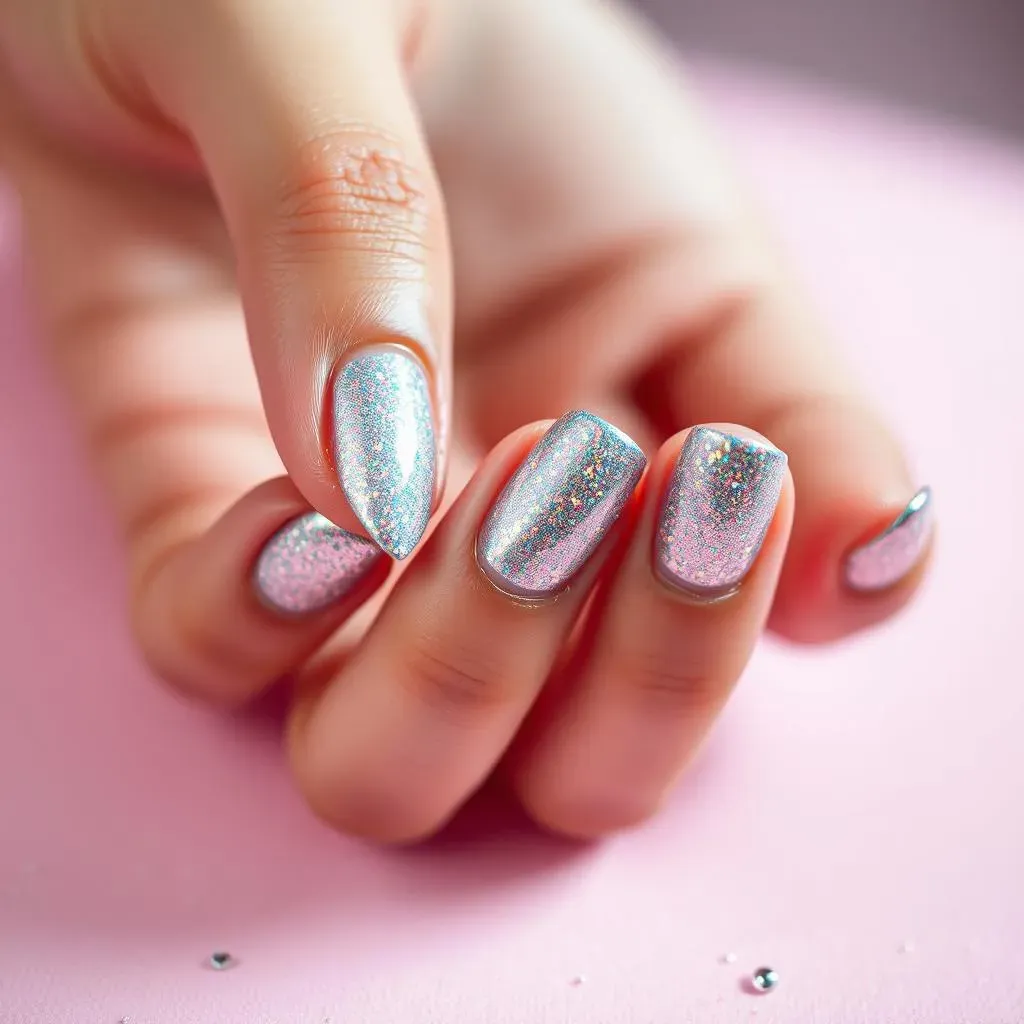
Prep is Key: Laying the Foundation
Alright, let's get down to business! Before you even think about glitter, you need to prep your nails properly. This is crucial for a long-lasting and professional-looking manicure. Start by removing any old polish and gently pushing back your cuticles. Then, lightly buff the surface of your nails to create a smooth canvas. This will help the base coat adhere better and prevent any lifting. Finally, cleanse your nails with rubbing alcohol or a nail cleanser to remove any oils or residue. Trust me, taking the time to prep properly will make a world of difference in the final result.
Think of it like prepping a wall before painting – you wouldn't just slap paint on a dirty, uneven surface, would you? The same principle applies to your nails. A little bit of prep work goes a long way in ensuring a flawless and long-lasting manicure. Plus, it's a great opportunity to give your nails some extra TLC. Consider using a cuticle oil or a nourishing nail cream to keep your nails healthy and hydrated. Healthy nails are happy nails, and happy nails make for beautiful holographic glitter designs!
Glitter Application: Mastering the Sparkle
Now for the fun part: applying the holographic glitter! There are a few different methods you can use, depending on the type of glitter you're working with. If you're using a fine holographic powder, the easiest way is to apply a thin layer of a tacky base coat or a glitter adhesive. Then, using a small brush or a sponge applicator, gently pat the glitter onto the nail. Make sure to cover the entire surface evenly. For larger glitter flakes, you can use a dotting tool or tweezers to carefully place each flake individually. This method allows for more control and precision, especially if you're creating a specific design.
Another technique is to mix the holographic glitter directly into a clear nail polish or a gel polish. This is a great option if you want a more subtle shimmer or if you're working with a chunky glitter that might be difficult to apply evenly otherwise. Just be sure to mix the glitter thoroughly to ensure it's evenly distributed throughout the polish. Regardless of the method you choose, work in thin layers to avoid clumping or bubbling. And don't be afraid to experiment with different techniques to find what works best for you. The key is to have fun and embrace the sparkle!
Sealing the Deal: Top Coat and Finishing Touches
Once you're happy with your holographic glitter application, it's time to seal everything in with a top coat. This is crucial for protecting your design, adding shine, and preventing the glitter from chipping or flaking off. Apply a generous layer of a high-quality top coat, making sure to cover the entire surface of the nail. If you're using a regular nail polish, you might need to apply two coats of top coat to fully encase the glitter. For gel polish, cure the top coat under a UV or LED lamp according to the manufacturer's instructions.
After the top coat is dry, inspect your nails for any imperfections. Use a small, angled brush dipped in nail polish remover to clean up any stray glitter around your cuticles. You can also use a nail file to smooth any rough edges. Finally, apply a cuticle oil to keep your cuticles hydrated and healthy. And that's it! You've successfully created a salon-worthy holographic glitter nail design at home. Now go show off your dazzling digits!
Step | Description |
|---|---|
1: Prep Nails | Clean, buff, and cleanse nails. |
2: Apply Glitter | Pat on glitter with brush or dotting tool. |
3: Seal with Top Coat | Apply generous layer of top coat. |
4: Clean Up | Remove stray glitter, hydrate cuticles. |
Creative Ideas: Exploring Unique Holographic Glitter Nail Designs
Creative Ideas: Exploring Unique Holographic Glitter Nail Designs
Holographic Accent Nails: Subtle Sparkle
Not ready for a full-on holographic explosion? No problem! You can still incorporate this dazzling trend with subtle accent nails. Try painting all your nails a solid color, like a deep navy or a classic black, and then adding a single holographic glitter accent nail on each hand. This is a great way to add a touch of sparkle without being too overwhelming. You could also try creating a holographic glitter gradient, where the glitter fades from the tip of your nail towards the base. This creates a soft, ethereal effect that's perfect for everyday wear.
Another fun idea is to use holographic glitter to create a French manicure. Instead of the traditional white tip, use a holographic glitter polish or apply holographic glitter to the tips of your nails. This adds a modern twist to a classic look and is sure to turn heads. Don't be afraid to experiment with different colors and glitter types to create your own unique holographic accent nail designs. The possibilities are endless!
Holographic Ombre: Blending the Rainbow
Want to take your holographic nail game to the next level? Try creating a holographic ombre effect! This involves blending holographic glitter with another color to create a gradient effect. Start by painting your nails with your base color of choice. Then, using a sponge or a small brush, apply holographic glitter to the tip of your nail, gradually blending it towards the base. You can use multiple colors of holographic glitter to create a rainbow effect, or stick to a single color for a more subtle gradient. The key is to blend the colors seamlessly to create a smooth transition.
For a more dramatic effect, try creating a reverse holographic ombre. Start by applying holographic glitter to the base of your nail and blending it upwards towards the tip. This creates a bold, eye-catching look that's perfect for special occasions. You can also experiment with different textures by adding chunky holographic glitter or mixing in other embellishments like rhinestones or studs. Just remember to seal everything in with a top coat to protect your design and add shine. With a little bit of practice, you'll be creating stunning holographic ombre nail designs in no time!
Design Idea | Description | Best For |
|---|---|---|
Holographic Accent Nail | Single nail with holographic glitter. | Subtle sparkle, everyday wear. |
Holographic French Manicure | Holographic glitter tips. | Modern twist on a classic. |
Holographic Ombre | Blending holographic glitter with another color. | Dramatic effect, special occasions. |
Troubleshooting and Maintenance: Keeping Your Holographic Glitter Nail Designs Flawless
Troubleshooting and Maintenance: Keeping Your Holographic Glitter Nail Designs Flawless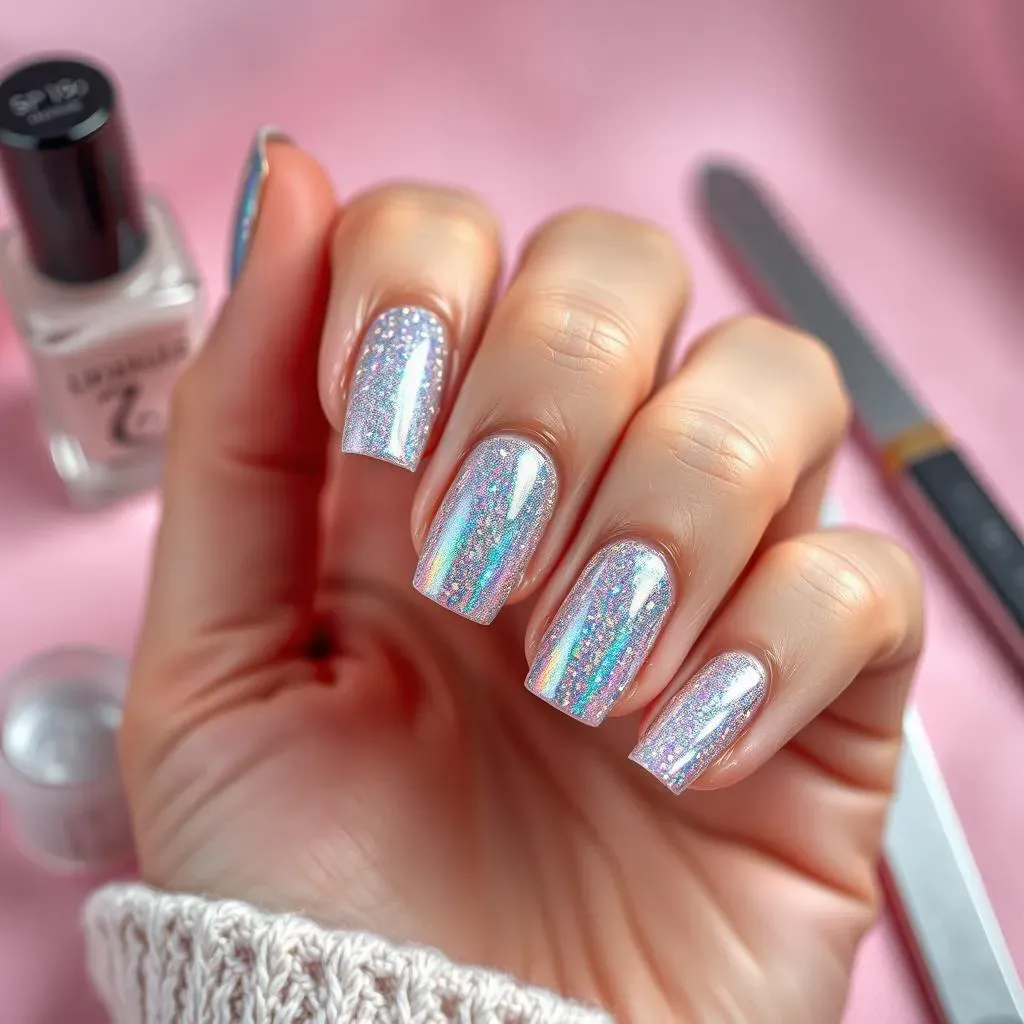
Alright, you've spent the time, effort, and maybe a few stray glitter flakes to create your dazzling holographic glitter nail designs. Now, how do you keep them looking fresh and fabulous? First off, moisture is the enemy! Excessive exposure to water can cause your polish to lift and chip, so wear gloves when doing dishes or any other water-intensive activities. Also, be mindful of your nails – avoid using them as tools to open packages or scrape things, as this can damage the polish and the glitter. With a little bit of care and attention, you can extend the life of your holographic masterpieces and keep them sparkling for days.
Another common issue with holographic glitter nail designs is chipping. To prevent this, make sure you're applying thin, even layers of polish and top coat. Thick layers are more prone to chipping and peeling. You can also try wrapping the tips of your nails with each layer of polish to create a seal that will help prevent chipping. If you do notice a chip, don't panic! You can often repair it by carefully applying a small amount of polish to the chipped area and then sealing it with a top coat. And of course, regular reapplication of top coat every few days can help keep your nails looking fresh and prevent further damage. It’s also important to ensure that you are using high quality products. Poor quality top coats will lead to chipping and faster wear.
- Wear Gloves: Protect nails from water damage.
- Avoid Using Nails as Tools: Prevent chipping and damage.
- Apply Thin Layers: Reduce chipping and peeling.
- Reapply Top Coat: Maintain shine and prevent damage.
Conclusion: Unleash Your Inner Sparkle with Holographic Glitter Nail Designs
From understanding the basics of holographic glitter to mastering intricate designs, you're now equipped to create stunning nail art that reflects your unique personality. Remember, the key to dazzling holographic glitter nail designs lies in quality products, careful application, and a touch of creativity. Don't be afraid to experiment with different colors, techniques, and embellishments to discover your signature style. Whether you're aiming for subtle shimmer or full-blown holographic glam, let your nails be a canvas for self-expression. So go ahead, embrace the sparkle and shine, and let your holographic glitter nail designs light up the world, one dazzling manicure at a time!