Table of Contents
Ever looked at those amazing nail art designs and thought, "No way, I could never do that"? Well, think again! This guide is your ticket to the world of quick and easy nail designs for beginners. We're not talking about needing a steady hand or years of practice. We're diving into simple techniques, using everyday tools, and loads of inspiration to help you create stunning nail art right at home. Forget complicated steps and expensive salon visits; we'll show you how to achieve fantastic results with just a little know-how. From basic lines and dots to creative sticker placement, this article will break down the process, making nail art fun and accessible. Get ready to transform your nails into a work of art, one easy step at a time! Whether you're into classic looks or something a bit more trendy, we've got you covered, so let's get started!
Simple Tools for Stunning Nails
Simple Tools for Stunning Nails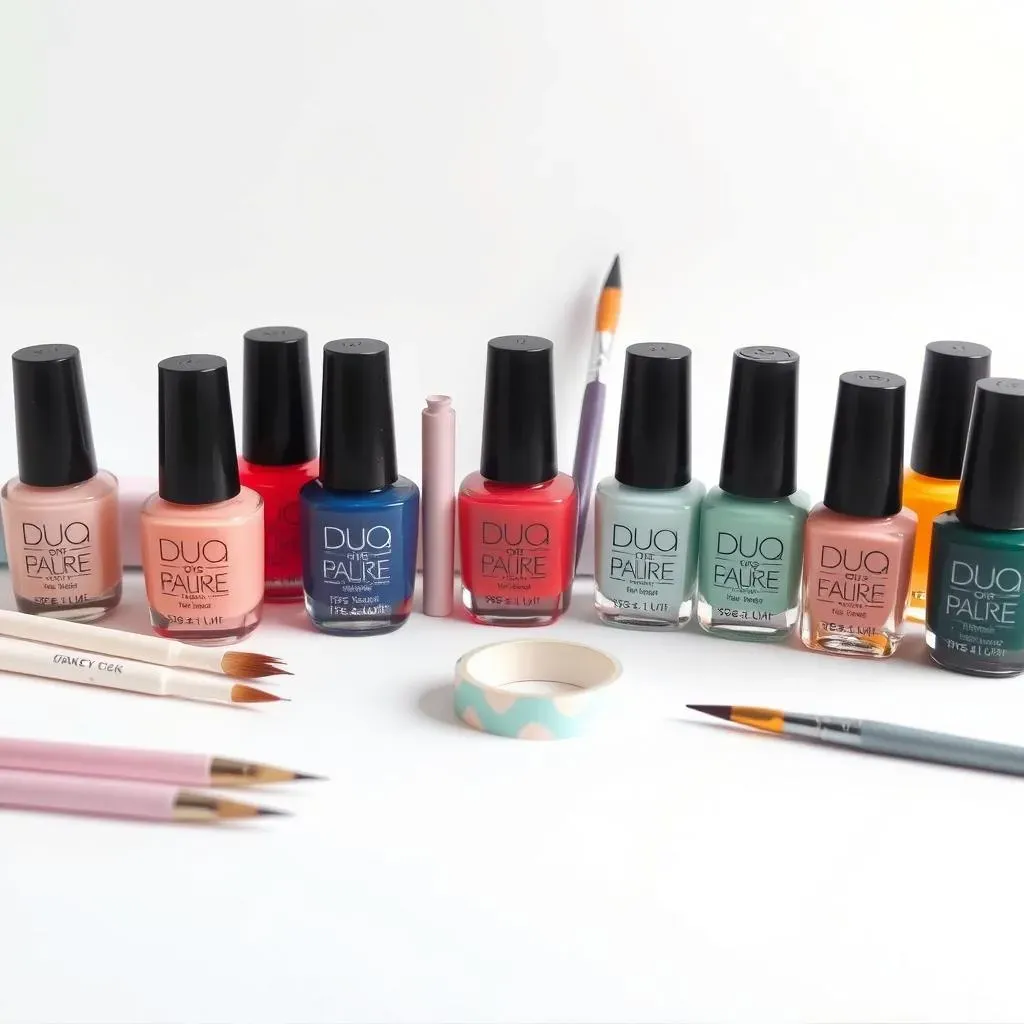
Your Essential Nail Kit
Okay, so you wanna create some awesome nail designs, huh? You don't need a fancy salon setup. Trust me, I started with just a few basics. It's all about having the right tools to make things easier. Think of it like cooking; you wouldn't try to bake a cake without a pan, right? Same goes for nails! A good base coat, a top coat, your favorite nail polishes, and a few other bits can get you a long way.
Don't go buying everything at once. Start simple, and slowly add to your collection as you get more comfortable. You might already have some of these things at home! It's amazing how much you can achieve with a little resourcefulness.
The Must-Have Tools
Let's talk specifics. First off, you will need a good set of nail brushes. These are not just for applying polish, but for creating lines and dots. You also need a dotting tool, which can be a toothpick, a bobby pin, or an actual nail dotting tool. I find a toothpick works wonders for beginners. Next up, you will need some striping tape. This is a game-changer for creating clean lines and geometric designs. I remember when I first started using it, my nail art went from messy to "wow" overnight!
Tool | Why You Need It | Beginner Tip |
|---|---|---|
Nail Brushes | For applying polish, lines, and details | Start with a fine brush |
Dotting Tool | For creating dots and other small details | Toothpicks work great! |
Striping Tape | For clean lines and geometric designs | Apply firmly for sharp lines |
Bonus Tools and Helpful Hints
Okay, so now that you have the basics, here are some extras that can make your life easier. Nail polish remover, of course, is a must for fixing any mistakes. I have a lot of mistakes, so I always have it on hand. Cotton swabs are also helpful for cleaning up around the edges. A small dish of water is great to dip your dotting tool or brush in. This keeps the polish from getting too clumpy. And finally, patience is the most important tool of all, because we all mess up sometimes.
Remember, the goal is to have fun with it. Don't stress if it's not perfect the first time. Nail art is all about practice and experimenting. You'll be surprised at how quickly you improve.
StepbyStep Guides to Easy Nail Art
StepbyStep Guides to Easy Nail Art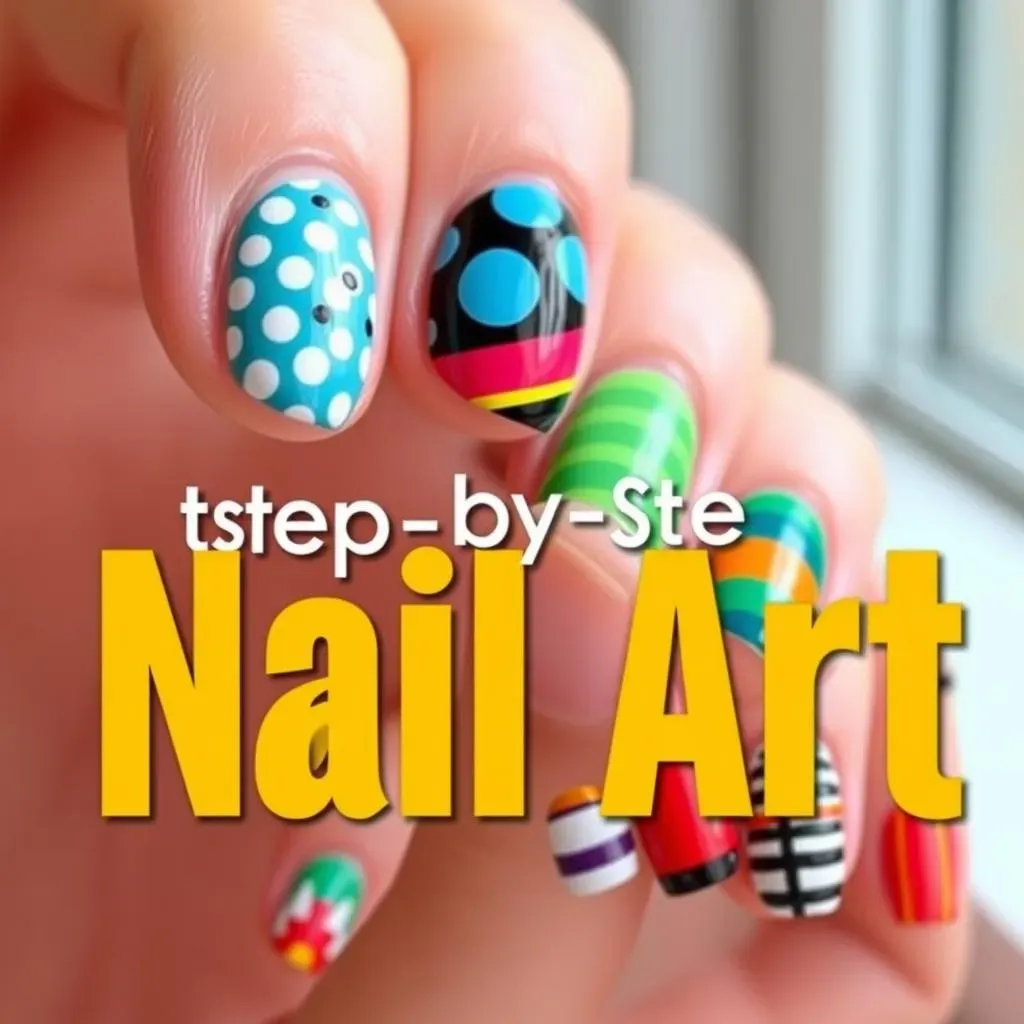
The Classic Polka Dot
Alright, let's get into some real designs! Polka dots are the perfect place to start because they're super easy and always look cute. First, apply your base coat and let it dry completely. Then, pick your main color and apply two coats. Again, let it dry. Now, grab your dotting tool (or toothpick), dip it in your dot color, and start placing dots all over your nail. You can make them big or small, close together or far apart, it's all up to you! I love how playful polka dots are, it reminds me of a retro vibe.
Don't worry about perfection; the charm of polka dots is in their slightly imperfect look. Once you're happy with your dots, let them dry, and then seal everything with a top coat. This will make your design last longer. I remember the first time I tried this, I was surprised how fast and easy it was. You can even use different colors for the dots to make it even more fun.
Stripes with Striping Tape
Ready to step it up a notch? Stripes are another great design for beginners. They can look really professional, but are actually quite simple to create with striping tape. Start with a base coat and your main color, just like with the polka dots. Make sure it's completely dry before you move on. Now, carefully apply the striping tape to your nail. You can make vertical, horizontal, or even diagonal stripes. Press the tape down firmly to get clean lines, and paint over your nail.
Once your design coat is dry, carefully peel off the striping tape. You'll be amazed at how crisp and clean the lines look. If you have any little mistakes, just use a small brush dipped in nail polish remover to clean them up. Finally, apply a top coat to seal in your design and add some shine. I love experimenting with different tape widths and colors to create unique striped looks.
Design | Steps | Tips |
|---|---|---|
Polka Dots | Base coat, main color, dots, top coat | Vary dot sizes and colors |
Stripes | Base coat, main color, tape, paint, remove tape, top coat | Press tape firmly for clean lines |
Simple Color Blocking
Color blocking is a fancy term for painting different sections of your nail with different colors. It's easy to do, and it can create a very modern and stylish look. Start with your base coat, of course. Then, apply one color to one part of your nail, like the tip or half of it. Let that dry. Now, use a different color to fill in the rest of your nail. You can use tape to create a super clean line, or just freehand it for a more relaxed look.
The key to color blocking is to choose colors that look good together. I personally love using contrasting colors for a bold look. You can also use similar shades for a more subtle design. Again, apply a top coat to seal everything in and give it a nice shine. This is a great way to use up all those colors you have sitting around. Don't be afraid to try something new and different with your color combinations.
Creative Ideas and Inspiration for Your Nails
Creative Ideas and Inspiration for Your Nails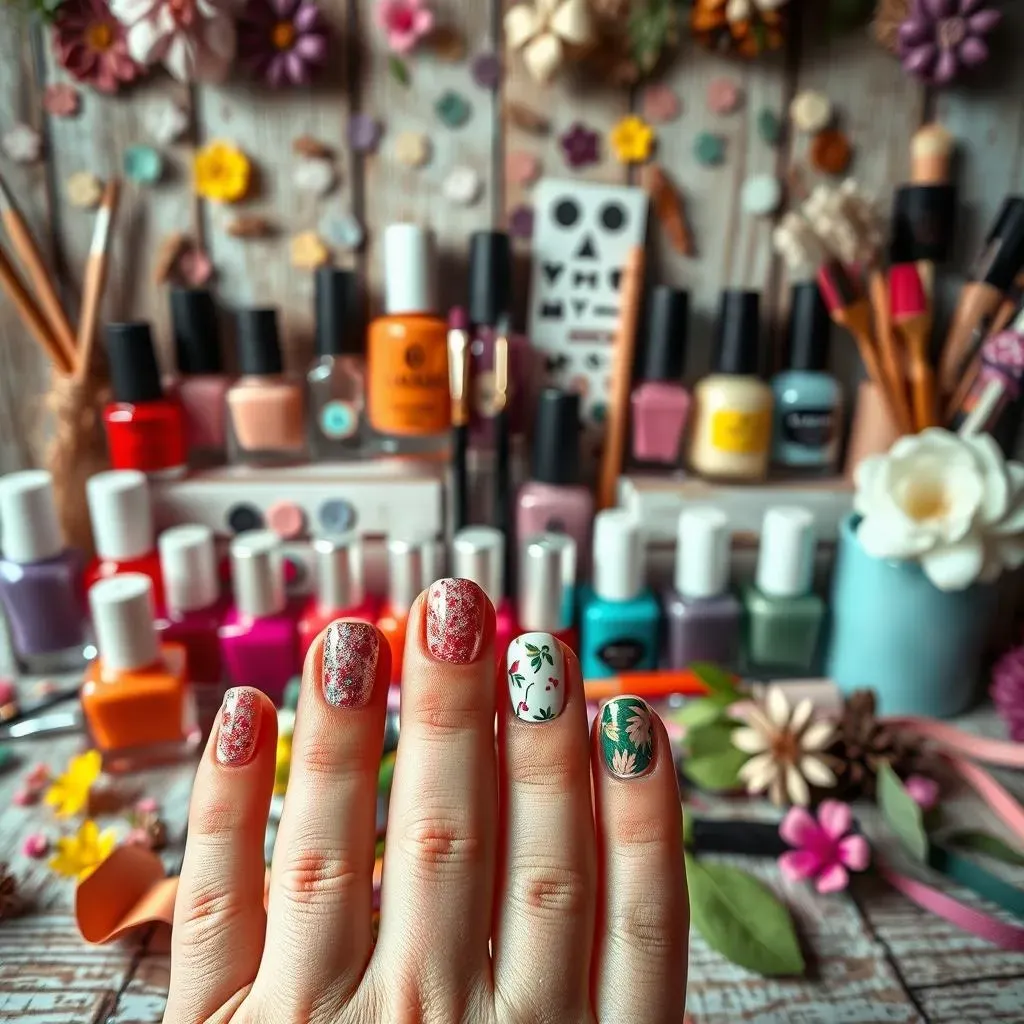
Embrace the Sparkle: Glitter and Shimmer
Alright, let’s talk about adding some serious pizzazz! Glitter is like the confetti of the nail world – it instantly makes everything more fun. You can use a glitter top coat over any base color for an easy sparkly look. Or, if you’re feeling a bit more adventurous, try applying glitter to just the tips of your nails for a glittery French mani. I remember the first time I tried a glitter gradient; I felt like a total nail art pro! You can also use loose glitter, just sprinkle it over wet polish, and then seal it with a top coat. It’s a little messy, but totally worth it. Shimmer polishes are also a great way to add some subtle shine. They’re perfect for when you want something a bit more sophisticated than full-on glitter.
Don’t be afraid to mix and match different glitter colors and sizes. A chunky glitter over a fine glitter can create a really interesting texture. And if you’re worried about glitter everywhere, use a small brush to clean up any stray pieces. A little bit of sparkle can go a long way in elevating your nail game. I find that a glitter accent nail is a great way to add a touch of glam without going overboard. You can also use glitter to create fun shapes or patterns. For example, use tape to create a triangle and fill it with glitter. The possibilities are endless!
Technique | Description | Beginner Tip |
|---|---|---|
Glitter Top Coat | Apply over any base color for sparkle | Use a thin layer to avoid clumping |
Glitter Tips | Apply glitter only to the tips of your nails | Use a small brush for precise application |
Loose Glitter | Sprinkle over wet polish, seal with top coat | Use a small dish to catch excess glitter |
Sticker Magic: Easy Nail Art
If you want to take a break from painting, nail stickers are your best friend. They’re super easy to use and come in all kinds of designs, from cute little flowers to geometric shapes. You can find them at most drugstores or online. Start with a dry base coat, then carefully peel the sticker off the sheet and place it on your nail. Press it down firmly to get rid of any bubbles. Then, seal it with a top coat to make it last longer. I love using nail stickers because they make it easy to get a professional-looking result without any actual nail art skills.
You can use stickers to create a full nail design, or just add a few as accents. For example, a small floral sticker on one nail can look really cute. Or, you can use geometric stickers to create modern patterns. The best thing about nail stickers is that they are so quick and easy to apply. You can change up your nail look in just a few minutes. And when you’re ready for something new, just peel them off. It’s like having a new set of nails every day! I always keep a stash of stickers on hand for when I need a quick and easy nail art fix.
Nature-Inspired Designs
Let’s bring a little bit of nature to our nails. Think about simple leaf designs, cute little flowers, or even a sky full of clouds. You can use a thin brush to create simple leaf shapes, or even just a few lines to make it look like a branch. For flowers, try using your dotting tool to create little petals. It doesn’t have to be perfect, just have fun with it. I find that nature-inspired designs are so calming and beautiful, and they’re a great way to express your creativity. And don’t worry if you’re not an artist, just keep it simple and let your imagination guide you.
Cloud designs are also fun and easy to do. Start with a light blue base, then use a white polish and a small brush to make fluffy cloud shapes. You can make them big or small, and place them randomly on your nails. It’s like having a little piece of the sky right on your fingertips. And if you’re feeling extra creative, you can add a tiny sun or a few little birds. It's amazing how you can turn simple shapes into something beautiful. Remember, nail art is all about having fun and experimenting, so don’t be afraid to try something new.
- Leaf designs using a thin brush.
- Flowers using a dotting tool for petals.
- Cloud designs with light blue and white polish.