Table of Contents
Ever caught a glimpse of nails that seem to shimmer and sparkle with an almost otherworldly glow? That's the magic of reflective glitter nail designs! This isn't your average glitter; it's a whole new level of shine, designed to catch the light and turn heads. If you're tired of the same old manicures and crave something that truly stands out, you've come to the right place. In this article, we'll be diving into the world of reflective glitter, exploring everything from the different types available to the best techniques for achieving that dazzling effect. We'll also uncover some of the most inspiring design ideas trending right now, ensuring your nails are always on point. Whether you're a nail art novice or a seasoned pro, get ready to unlock the secrets of stunning, light-catching manicures. Get ready to transform your nails from drab to fab with these amazing reflective glitter nail designs. Let's get started and make your nails shine bright like a diamond!
The Sparkle Factor: Understanding Reflective Glitter Nail Designs
The Sparkle Factor: Understanding Reflective Glitter Nail Designs
What Makes Reflective Glitter Different?
Okay, so you've seen glitter before, right? The kind that sparkles when the light hits it? Well, reflective glitter is like that, but on steroids. It's designed with tiny, mirror-like particles that bounce light back directly, creating a super intense, almost diamond-like shine. It's not just about the color; it's about how it interacts with light. Normal glitter scatters light, but reflective glitter throws it right back at you, making it incredibly eye-catching. Think of it like the difference between a regular flashlight and a spotlight – both give off light, but one is way more focused and powerful.
The Science of Shine
This isn't just some random magic; there's actual science behind it. The tiny particles in reflective glitter are usually made from materials like finely ground glass or metallic flakes. These materials are cut and shaped to create a surface that acts like a miniature mirror. When light hits these surfaces, it reflects off at the same angle, which is why it looks so bright and sparkly. The size and shape of these particles also play a big role in how the glitter looks. Smaller particles tend to create a more subtle, shimmering effect, while larger ones can look more like tiny disco balls on your nails. It's all about the way these tiny surfaces play with light.
Glitter Type | Light Reflection | Appearance |
|---|---|---|
Standard Glitter | Scatters light | Subtle sparkle |
Reflective Glitter | Reflects light directly | Intense, diamond-like shine |
Why the Buzz Around Reflective Glitter Nails?
So, why are reflective glitter nails all the rage? It's simple: they're impossible to ignore! In a world full of ordinary manicures, reflective glitter is a way to make a statement. Whether you're going to a party, a wedding, or just want to add some sparkle to your everyday look, these nails have you covered. They're also incredibly versatile. You can use them in a full glitter design, create a glitter gradient, or just add a touch of sparkle as an accent. The possibilities are endless, and that's what makes them so much fun. Plus, who doesn't love a little extra sparkle in their life?
Choosing Your Reflective Glitter: Colors, Shapes, and Effects
Choosing Your Reflective Glitter: Colors, Shapes, and Effects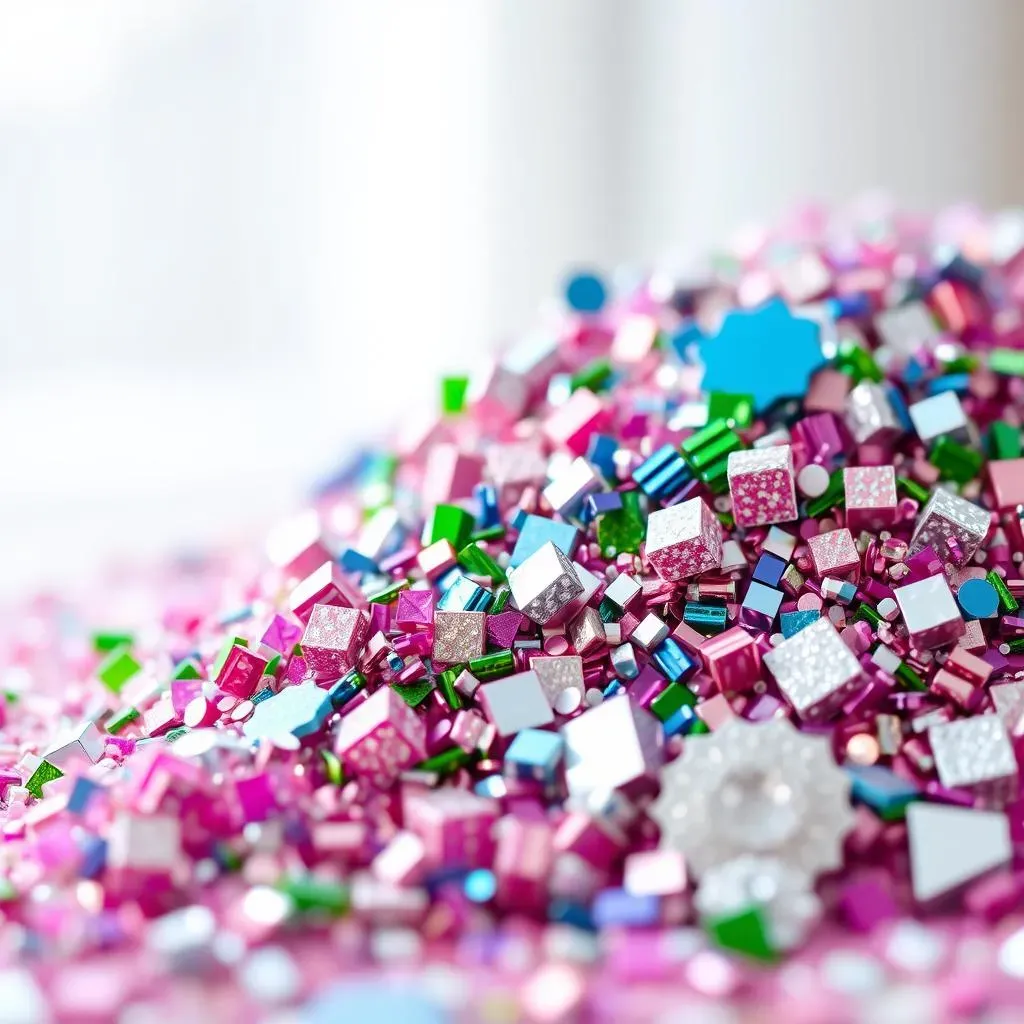
The Rainbow at Your Fingertips: Reflective Glitter Colors
Okay, let's talk colors! Reflective glitter comes in pretty much every shade you can imagine. You've got your classic silvers and golds, which are always a safe bet for that elegant, timeless look. Then there are the holographic glitters that shift colors depending on the light, which are super fun and attention-grabbing. Don't forget about the vibrant colors like pinks, blues, and greens – they can add a real pop to your nails. When picking colors, think about what you're wearing and the occasion. A subtle silver might be perfect for a formal event, while a bold holographic glitter is amazing for a night out. Don't be afraid to experiment and mix colors, that's where the real magic happens!
Shapes and Sizes: The Glitter Details
Beyond color, the shape and size of the glitter particles also play a major role in the final look. You'll find glitter in everything from fine dust to larger flakes and even in fun shapes like stars and hearts. Fine glitter is great for creating a smooth, all-over shimmer, while larger flakes will give you a more textured, dimensional effect. The shape of the glitter also changes the way it reflects the light. Hexagon glitter is a classic, but you can also find squares, circles, and even irregular shapes, each giving a unique shine. Consider the effect you're aiming for, and don't be scared to mix different sizes and shapes for a custom look! It's like being a tiny architect, building a sparkly masterpiece on your nails.
Glitter Size | Effect | Best Use |
|---|---|---|
Fine Glitter Dust | Smooth, even shimmer | Full nail coverage, subtle sparkle |
Medium Glitter Flakes | Textured, dimensional shine | Accents, glitter gradients |
Large Glitter Shapes | Bold, eye-catching | Statement nails, unique designs |
Playing with Effects: Beyond Basic Glitter
Now, let's get into some of the cool effects you can achieve with reflective glitter. You're not just stuck with a single layer of glitter, oh no! You can create glitter gradients by fading the glitter from the base of your nail to the tip. You can also use glitter to create negative space designs, where the glitter is only applied to certain areas. And don't forget about encapsulating glitter in clear gel for a smooth, long-lasting finish. You can also try layering different types of glitter to create a custom look that's all your own. The possibilities are endless, and it's all about experimenting and finding what works best for you. So, go ahead, get creative and let your nails shine!
StepbyStep Guide: Applying Reflective Glitter for Stunning Nails
StepbyStep Guide: Applying Reflective Glitter for Stunning Nails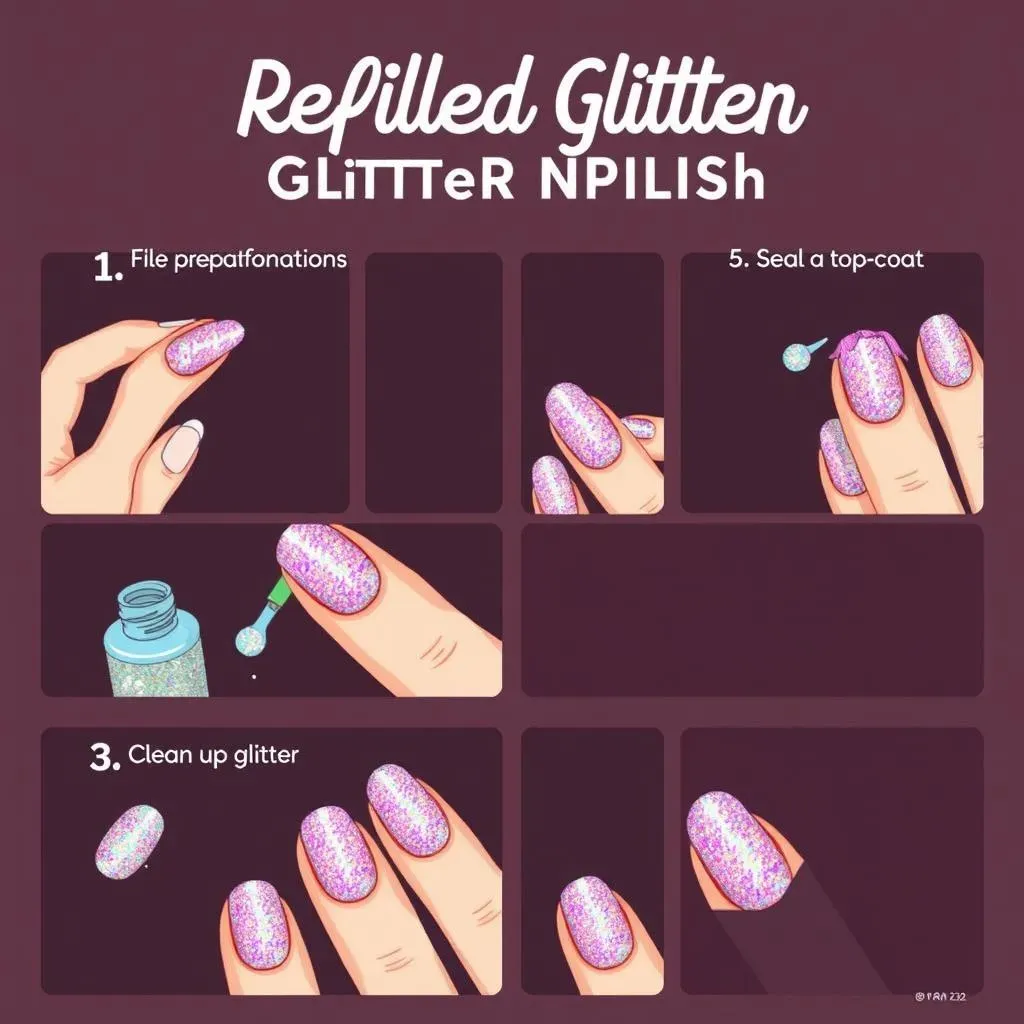
Prep Like a Pro: Getting Your Nails Ready
Alright, before we even think about glitter, we need to prep those nails! This is like laying the foundation for a skyscraper; if it's not solid, everything else will crumble. Start by removing any old polish – nobody wants a glittery mess on top of a chipped manicure. Next, gently file your nails to your desired shape. Push back those cuticles, because we need a clean canvas to work with. Now, lightly buff the surface of your nails; this helps the polish adhere better. Finally, wipe your nails with a lint-free wipe and some nail cleanser to remove any dust or oils. This prep work might seem boring, but trust me, it makes a world of difference in the final result.
Base Coat Magic: The Secret to Long-Lasting Glitter
Now for the secret weapon: the base coat. Don't skip this step, seriously! A good base coat creates a smooth surface and helps the glitter polish stick around longer. Apply a thin, even layer of your favorite base coat and let it dry completely. This is super important, if it's still tacky, the glitter will stick unevenly. Some people prefer a sticky base coat for glitter application, but I find a regular one works just as well. While that's drying, get your glitter ready, maybe pour a little into a small dish or onto a piece of paper, just to have it ready to go. It’s like organizing your ingredients before cooking a fancy meal.
"The key to a perfect glitter manicure is all in the preparation and the application." - Nail Art Expert
Glitter Application: The Fun Part
Okay, here's where the magic happens! There are a few ways to apply reflective glitter, and it really depends on the look you're going for. For a full glitter nail, you can use a small brush or a sponge to dab the glitter onto your nail while the polish is still slightly wet. If you prefer a gradient effect, start at the base of the nail and gradually fade it out. Another method is to dip your finger directly into the glitter (carefully, of course!) and press it onto your nail. This gives a more dense, packed look. You can also sprinkle glitter over the wet polish for a more textured, scattered effect. Experiment with each method and see which one you like the best. Remember, less is more to start, you can always add more layers.
Sealing the Deal: Top Coat and Clean Up
Once your glitter is perfectly applied, let it dry completely before applying a generous layer of top coat. This is essential to seal the glitter and give your nails a smooth, glossy finish. A good top coat will also prevent the glitter from chipping or falling off. Apply two layers if you want extra protection. Once the top coat is dry, grab a small brush dipped in nail polish remover to clean up any stray glitter around your cuticles. And there you have it, sparkly, reflective glitter nails that are ready to shine! Don't be afraid to go back and add more glitter or top coat if needed. It's all about getting the look you want.
Step | Description | Tip |
|---|---|---|
Prep | Clean, file, and buff nails | Don't skip this step! |
Base Coat | Apply thin, even layer | Let it dry completely |
Glitter | Apply using your chosen method | Experiment and have fun! |
Top Coat | Seal with a generous layer | Apply two layers for extra protection |
Clean Up | Remove any stray glitter | Use a small brush and remover |
Reflective Glitter Nail Design Ideas: Inspiration and Trends
Reflective Glitter Nail Design Ideas: Inspiration and Trends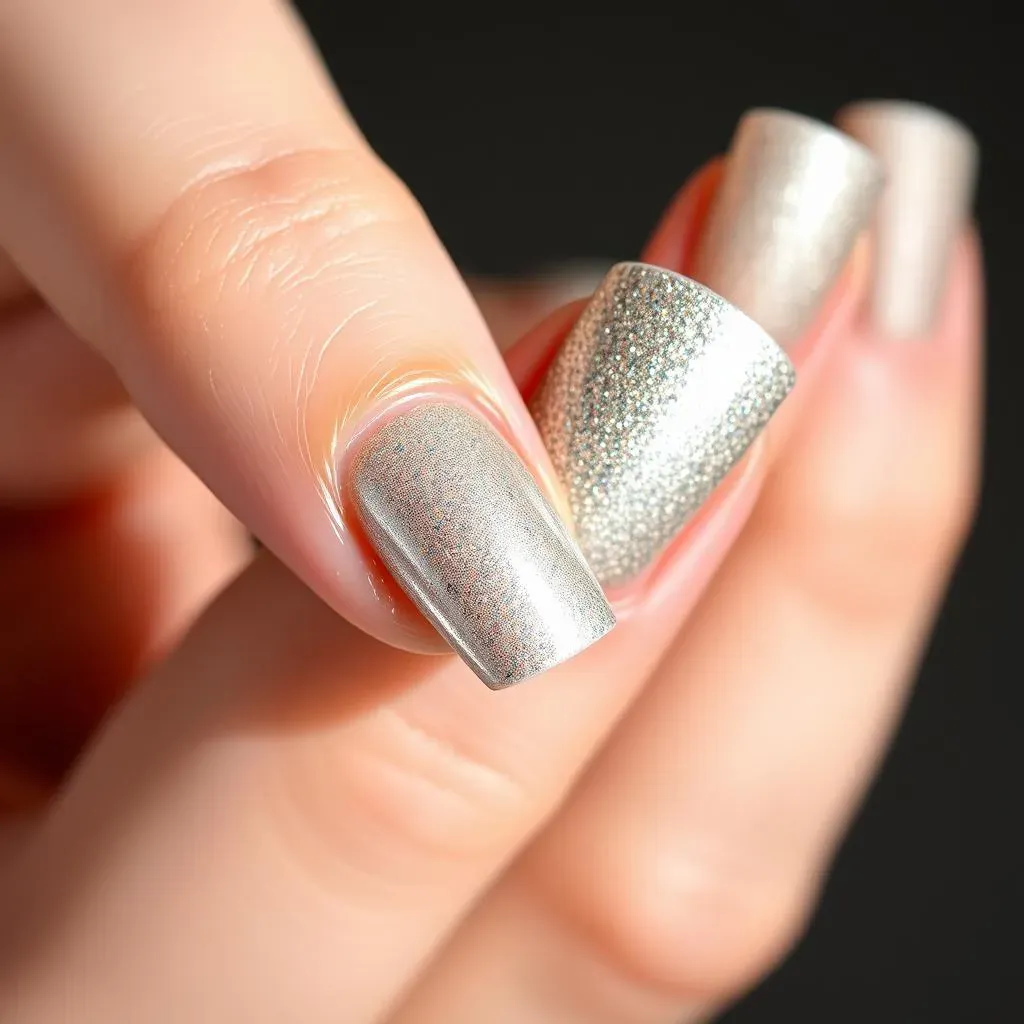
Classic Glam: Timeless Reflective Glitter Looks
When in doubt, go classic! A full nail of silver or gold reflective glitter is always a winner. It's elegant, it's timeless, and it goes with everything. You can rock this look at a fancy dinner, a wedding, or even just a casual day out. It's the equivalent of a little black dress for your nails – always chic, always appropriate. Another classic idea is a French manicure with a reflective glitter tip. It's a subtle twist on a classic style that adds a touch of sparkle without being over the top. If you're new to glitter, these classic looks are a great starting point, they're easy to do and always look amazing.
Bold and Beautiful: Trendy Reflective Glitter Designs
Ready to step up your nail game? Let's talk trendy designs! Holographic reflective glitter is having a major moment right now. The way it shifts colors in the light is just mesmerizing. You can use it for a full nail, or create a cool ombre effect by fading it into a solid color. Another hot trend is using reflective glitter to create geometric patterns on your nails. Think stripes, triangles, or even intricate designs. It's like having tiny pieces of art on your fingertips! Don't be afraid to experiment with different color combinations and shapes to create something truly unique. This is where you really let your personality shine through.
Design Trend | Description | Best For |
|---|---|---|
Holographic Glitter | Color-shifting, mesmerizing effect | Making a statement, parties |
Geometric Patterns | Stripes, triangles, intricate designs | Unique, modern look |
Glitter Ombre | Fading glitter effect | Subtle sparkle, stylish |
Creative Sparkle: Unique Reflective Glitter Ideas
Alright, let's get creative! Why not try using reflective glitter to create a galaxy-inspired manicure? Use a dark base color and then layer different shades of holographic glitter to create a sparkly, celestial effect. Another fun idea is to use reflective glitter as an accent on a single nail, while keeping the rest of your nails a solid color. You can also try mixing different sizes and shapes of glitter to create a textured, 3D effect. And don't forget about nail stickers or decals that can be paired with reflective glitter for a truly unique look. The sky's the limit here, so let your imagination run wild and create something that's totally you. Remember, nail art is all about expressing yourself, so have fun with it and don't be afraid to try new things!
"Nail art is a form of self-expression, so don't be afraid to experiment and try new things!" - Famous Nail Artist