Table of Contents
Ready to get groovy? Retro flower nail designs are blooming back into fashion, bringing a touch of vintage charm to your fingertips. From the psychedelic 70s to modern interpretations, these floral patterns are a fun way to express your personality and add a pop of color to any outfit. Whether you're a seasoned nail art pro or a DIY newbie, there's a retro flower design out there for you. In this guide, we'll explore the resurgence of retro flower nail designs and why they're so popular. We'll dive into iconic 70s styles, offering inspiration for your next manicure. If you're feeling crafty, we'll provide easy-to-follow tutorials to create your own flower power nails at home. Plus, we'll show you how to blend retro elements with contemporary nail art trends for a unique look. Finally, we'll share essential tips to keep your retro flower nail designs looking fresh and fabulous for longer. So, grab your polish and let's get blooming with these retro flower nail designs!
Digging the Trend: Why Retro Flower Nail Designs Are Back
Digging the Trend: Why Retro Flower Nail Designs Are Back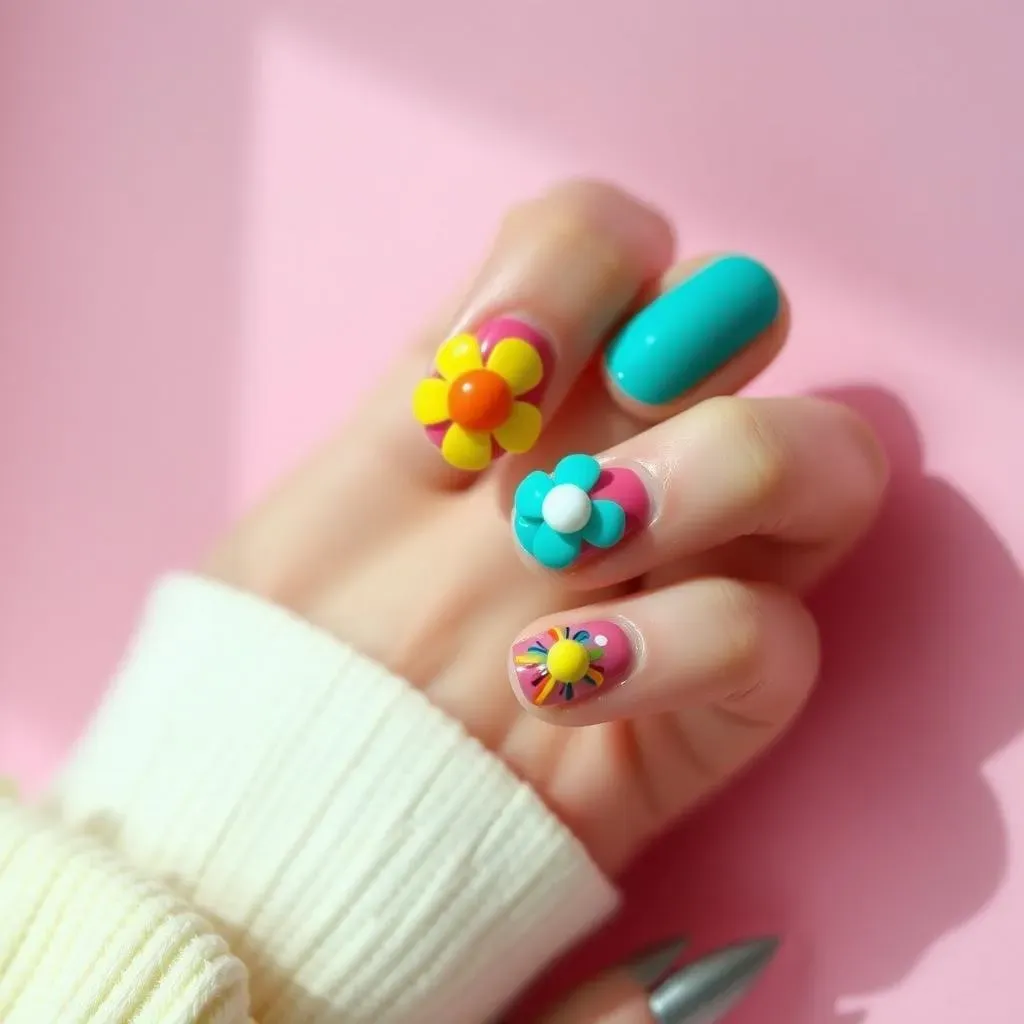
Nostalgia's in Bloom
Ever notice how fashion trends have a funny way of circling back? Retro flower nail designs are no exception! These groovy patterns, reminiscent of the 60s and 70s, are making a major comeback. It's all part of a larger wave of nostalgia influencing everything from clothing to home decor. People are craving the comfort and carefree vibes of the past, and what better way to express that than through your fingertips?
Think about it: the bright, bold colors, the whimsical flower shapes – it's an instant mood booster! In a world that often feels chaotic and overwhelming, these designs offer a sweet escape to simpler times. Plus, they're just plain fun! Who can resist a little flower power?
Self-Expression and Individuality
In today's world, expressing yourself is key. And retro flower nail designs offer a fantastic canvas for showcasing your unique style! Whether you're drawn to vibrant, psychedelic hues or prefer a more muted, earthy palette, there's a floral design to match your vibe.
What's also cool is that you can customize these designs to really make them your own. Add glitter, experiment with different textures, or incorporate other retro elements like swirls and geometric shapes. The possibilities are endless! It's all about letting your creativity bloom (pun intended!).
Social Media and Pop Culture Influence
Let's be real: social media plays a huge role in shaping trends these days, and retro flower nail designs are no exception. Instagram, Pinterest, and TikTok are flooded with stunning floral nail art, inspiring people to try out the trend themselves. Celebrities and influencers have also been spotted rocking these designs, further fueling their popularity.
The beauty of social media is that it allows trends to spread like wildfire. One minute, you're scrolling through your feed, and the next, you're booking an appointment with your nail tech to get your own retro flower manicure! It's all about seeing what's hot and wanting to get in on the fun.
Key Influencers
- Robin Moses (Flower nail art master)
- Nail salons showcasing retro designs on Instagram
- Fashion bloggers featuring 70s-inspired looks
FarOut Florals: Iconic 70s Retro Flower Nail Design Ideas
FarOut Florals: Iconic 70s Retro Flower Nail Design Ideas
Daisy Chains and Sunshine Hues
When you think of 70s flower power, daisies are probably the first bloom that comes to mind! These cheerful flowers were everywhere, from clothing to accessories, and they look absolutely adorable on nails. Picture this: a creamy white base coat with bright yellow daisies scattered across each nail. It's like a little burst of sunshine right at your fingertips!
To really capture that 70s vibe, don't be afraid to use bold, contrasting colors. Think sunshine yellow, groovy orange, and earthy brown. You can also add some fun details like tiny dots or swirls around the daisies to make them pop even more.
Psychedelic Swirls and Abstract Blooms
The 70s were all about pushing boundaries and experimenting with new ideas, and that spirit definitely extended to nail art! Psychedelic swirls and abstract floral patterns were super popular, and they're a fantastic way to add a touch of edginess to your retro flower nail designs.
Instead of painting realistic-looking flowers, try creating swirling patterns with bright, contrasting colors. Think hot pink, electric blue, and lime green. You can also add some abstract floral shapes within the swirls to give it that extra 70s flair. Don't be afraid to get a little messy – the more abstract, the better!
Earthy Tones and Muted Florals
While bold colors were definitely a staple of 70s fashion, earthy tones and muted florals were also a big trend. Think warm browns, burnt oranges, and avocado greens. These colors create a more subtle and sophisticated retro look that's perfect for everyday wear.
To achieve this look, try painting your nails with a base coat in one of these earthy tones. Then, add delicate floral patterns using a slightly lighter or darker shade. You can also incorporate other natural elements like leaves or vines to complete the look. It's all about creating a harmonious and organic design that feels both retro and modern.
Design Element | Color Palette | Key Features |
|---|---|---|
Daisy Chains | White, Yellow, Orange | Simple, Cheerful, Iconic |
Psychedelic Swirls | Pink, Blue, Green | Abstract, Bold, Edgy |
Earthy Florals | Brown, Orange, Green | Muted, Sophisticated, Organic |
DIY Retro Flower Power: Easy Nail Art Tutorials
DIY Retro Flower Power: Easy Nail Art Tutorials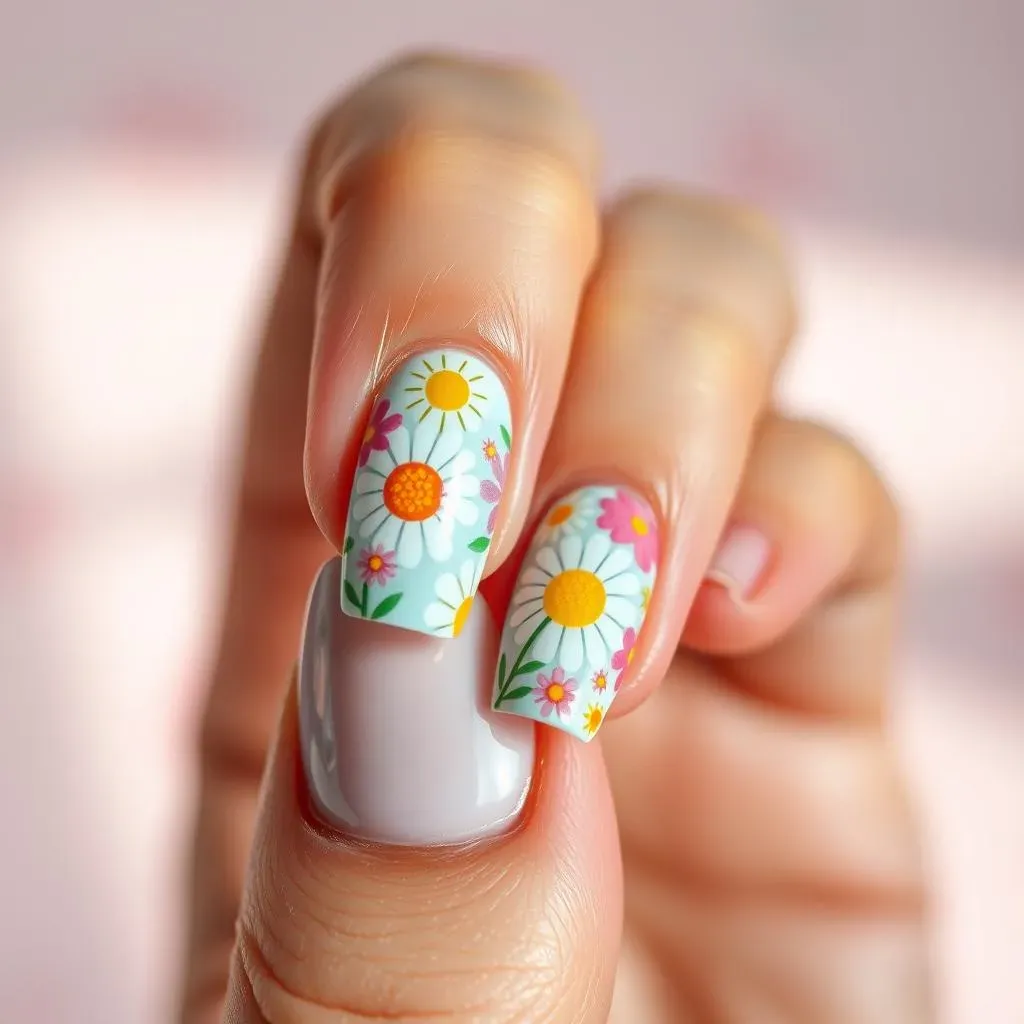
Gather Your Groovy Gear
Alright, future nail art maestros, before we dive into the designs, let's make sure you're stocked with the essentials. You'll need a base coat, your favorite nail polish colors (think those 70s hues we talked about!), a top coat, and some fine-tipped nail art brushes. A dotting tool can also come in handy for creating those perfect little flower centers. Don't forget nail polish remover and cotton swabs for any oops moments – we all have them!
Optional but awesome: nail art sponges for creating ombre effects, striping tape for clean lines, and glitter because, well, why not?
Simple Daisy Delight: A Step-by-Step
Let's start with a classic: the daisy! It's surprisingly easy to create, even if you're a beginner. First, apply a base coat to protect your nails. Once dry, paint your nails with a base color – a creamy white or pastel shade works great. Next, using a dotting tool or a fine-tipped brush, create a circle of dots in yellow or orange for the center of the flower. Then, using a smaller brush and white polish, create the petals around the center. Don't worry about making them perfect – a little asymmetry adds to the retro charm!
Finish with a top coat to seal in your design and add shine. Voila! You've got a daisy-licious manicure that's sure to turn heads.
Abstract Blooms: Unleash Your Inner Artist
Feeling a little more adventurous? Let's try some abstract floral designs! This is where you can really let your creativity shine. Start with a base coat and your favorite 70s-inspired colors. Then, using a variety of brushes and tools, create swirling patterns, geometric shapes, and abstract floral elements on your nails. Don't be afraid to mix and match colors, textures, and techniques. The goal is to create a unique and eye-catching design that reflects your personal style.
If you're not sure where to start, try looking at some 70s artwork or fashion for inspiration. Think psychedelic posters, groovy patterns, and bold color combinations. And remember, there are no rules in art – just have fun and see what you can create!
Tutorial | Difficulty | Key Supplies |
|---|---|---|
Simple Daisy | Beginner | Dotting tool, white/yellow polish |
Abstract Blooms | Intermediate | Fine brushes, various colors |
Earthy Florals | Intermediate | Thin brush, earthy tone |
Level Up Your Look: Combining Retro Flowers with Modern Nail Art
Level Up Your Look: Combining Retro Flowers with Modern Nail Art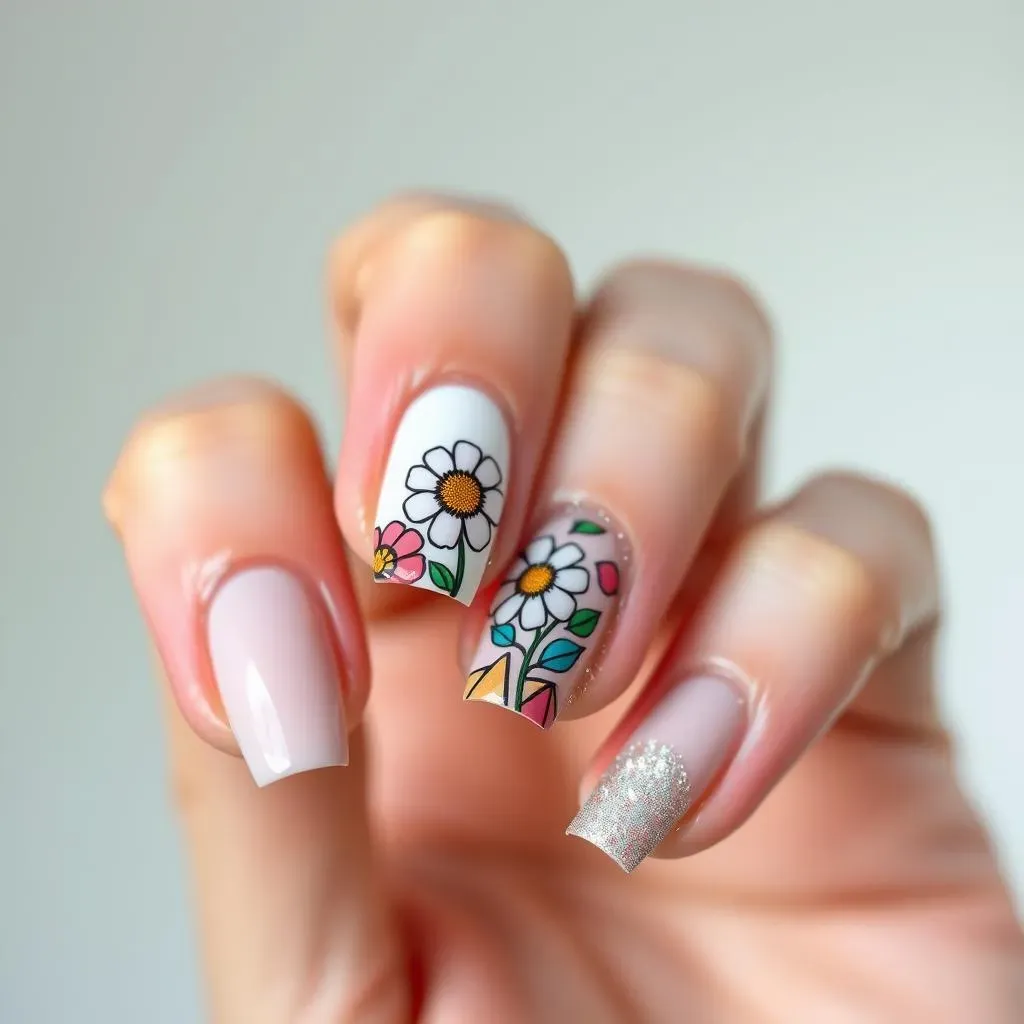
Geometric Glam: Flowers Meet Modern Shapes
Want to give your retro flower nail designs a contemporary edge? Try pairing those groovy florals with modern geometric shapes! Think clean lines, bold triangles, and edgy hexagons. This creates a cool contrast between the organic curves of the flowers and the structured forms of the geometric elements. For example, you could paint a single geometric shape on each nail and then add a tiny retro flower inside. Or, you could create a geometric background and then paint a larger floral design on top.
This combo works best with a minimalist color palette. Stick to black, white, and a pop of your favorite retro hue for a look that's both stylish and sophisticated.
Negative Space Magic: Let Your Nails Shine Through
Negative space nail art is all the rage right now, and it's a fantastic way to update your retro flower designs. The idea is to leave some areas of your nail unpainted, allowing your natural nail color to peek through. This creates a cool, minimalist effect that's both eye-catching and modern. Try painting a retro flower design on only part of your nail, leaving the rest bare. Or, you could create a negative space outline around your floral design to make it pop even more.
Experiment with different shapes and placements to find a look that's uniquely you. This technique is perfect for those who want to make a statement without going overboard.
Glitter and Chrome: Adding a Futuristic Flair
Ready to take your retro flower nail designs to the next level? Add some glitter or chrome accents for a futuristic flair! Glitter can add a touch of sparkle and glam to any design, while chrome creates a sleek, metallic effect that's perfect for those who want to stand out from the crowd. Try adding glitter to the center of your flowers or creating a chrome outline around your floral design. You can also use glitter or chrome polish as a base coat and then paint your retro flowers on top.
Just be careful not to overdo it – a little goes a long way! The goal is to enhance your retro flower designs, not overwhelm them. When done right, this combination is sure to turn heads and make a bold fashion statement.
Modern Element | Description | How to Combine |
|---|---|---|
Geometric Shapes | Lines, triangles, hexagons | Paint shapes around or inside flowers |
Negative Space | Unpainted areas of the nail | Leave parts of nail bare around design |
Glitter/Chrome | Sparkly or metallic accents | Add to flower centers or as outlines |
Staying Power: Tips for LongLasting Retro Flower Nail Designs
Staying Power: Tips for LongLasting Retro Flower Nail Designs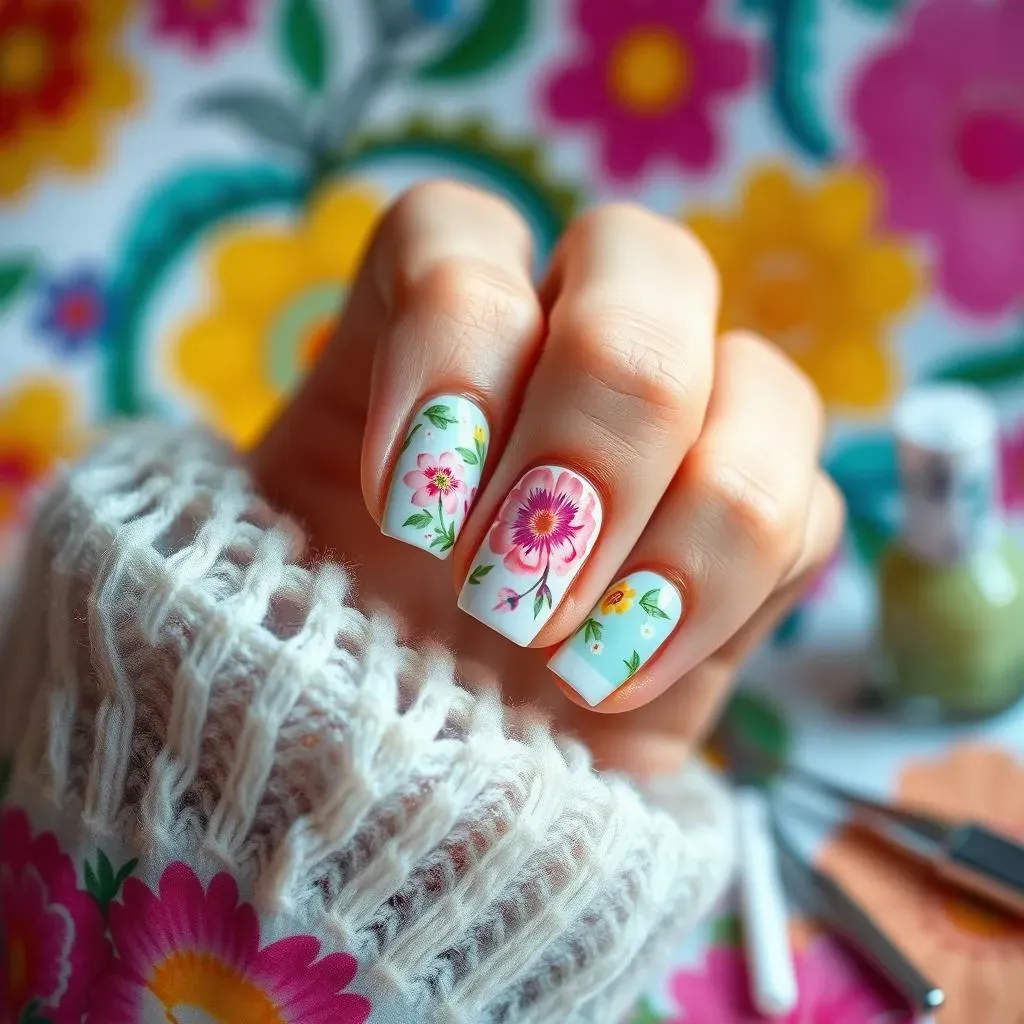
Prep Like a Pro: The Foundation for Longevity
Alright, let's talk about making those retro flower nail designs last! It's not just about the pretty colors and groovy patterns; it's about the prep work. Think of it like building a house – you need a solid foundation before you can start decorating. Start by gently pushing back your cuticles and buffing the surface of your nails to create a smooth canvas. This helps the polish adhere better and prevents chipping. Dehydrate your nails with alcohol or nail dehydrator. And for the love of all that is holy, don't skip the base coat! It acts like a primer, protecting your nails from staining and providing a sticky surface for the polish to grip onto. Trust me, this step is a game-changer!
Sealing the Deal: Top Coat is Your BFF
you've got your retro flower design looking fly, but the job's not done yet! A top coat is essential for sealing in your design and protecting it from the elements. It's like a shield against chipping, fading, and everyday wear and tear. Apply a generous layer of top coat, making sure to cover the entire nail surface. And here's a pro tip: reapply top coat every other day to keep your manicure looking fresh and vibrant. It's a small effort that makes a big difference!
Handle with Care: Protecting Your Masterpiece
Listen up, butterfingers! Even the most durable manicure is no match for harsh chemicals and rough handling. Wear gloves when doing dishes, gardening, or any other activity that could damage your nails. Avoid using your nails as tools – seriously, stop opening packages with them! And be mindful of your surroundings – bumping your nails against hard surfaces can cause chips and cracks. Treat your nails like the precious works of art they are, and they'll reward you with long-lasting beauty!
Tip | Description | Why it Works |
|---|---|---|
Prep Nails | Buff, push cuticles, base coat | Creates smooth, adhesive surface |
Top Coat | Apply and reapply | Seals and protects design |
Wear Gloves | Protect from chemicals/damage | Prevents chipping and fading |
Embrace the Bloom: Your Retro Flower Nail Journey
From far-out florals to modern mashups, retro flower nail designs offer a vibrant canvas for self-expression. Whether you're channeling the free-spirited vibes of the 70s or adding a touch of vintage to contemporary styles, these designs are sure to turn heads. So, go ahead, experiment with colors, techniques, and embellishments to create your own unique retro flower nail masterpiece. With a little practice and a lot of creativity, you'll be rocking flower power at your fingertips in no time!