Table of Contents
Ready to dive into the world of effortlessly chic nail art? This article is your ultimate guide to achieving stunning results with simple blue nail designs. Whether you're a seasoned nail artist or a complete beginner, we've got you covered. We'll explore a range of easy-to-follow designs, perfect for busy schedules and those who prefer a minimalist approach. From classic solid shades to subtle yet stylish nail art, we'll showcase the versatility of blue – a color that complements every skin tone and season. Get ready to discover the perfect simple blue nail designs to elevate your look without the fuss. We'll start with beginner-friendly options, progressing to more intricate yet still manageable designs. Finally, we’ll provide a step-by-step guide, ensuring you can recreate these looks at home. So, let's get started and unlock your inner nail artist with these simple blue nail designs!
Simple Blue Nail Designs for Beginners
Simple Blue Nail Designs for Beginners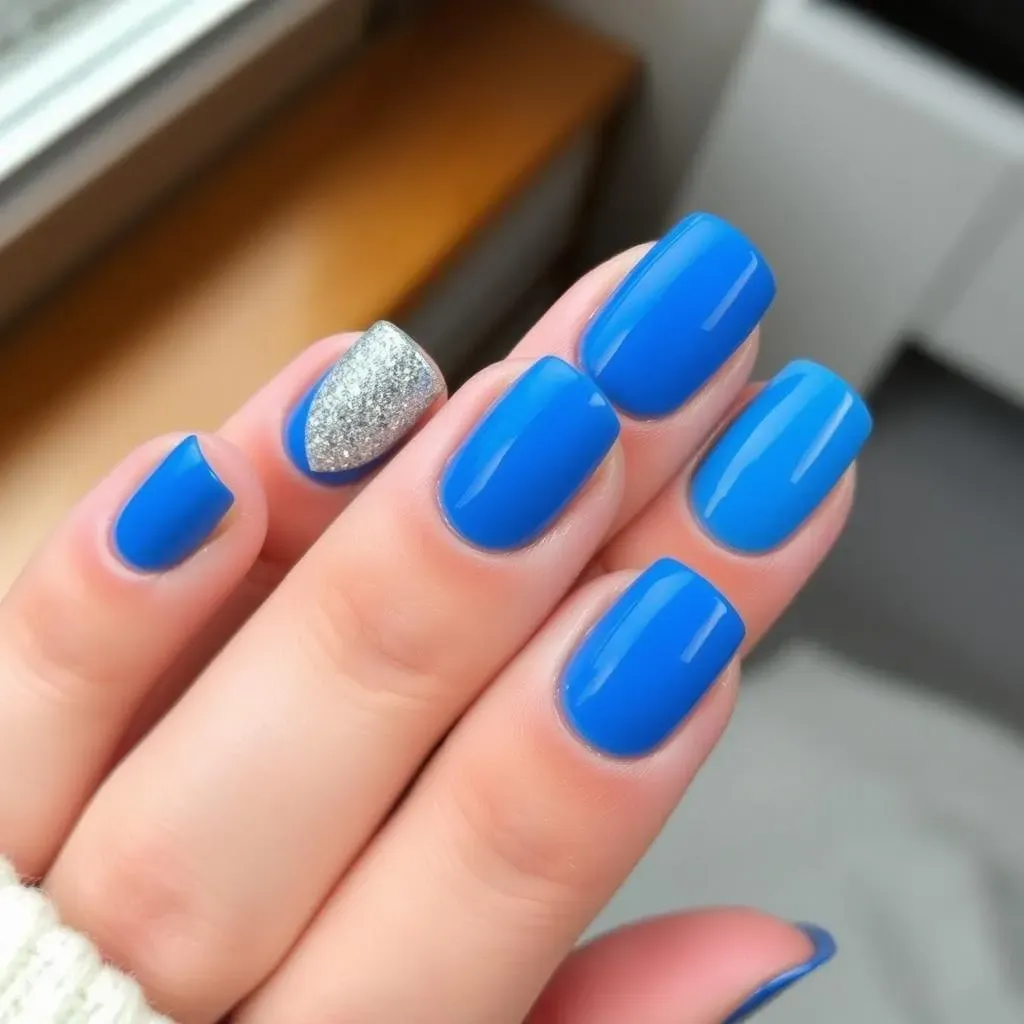
Let's start with the absolute basics! Think of simple blue nail designs as your blank canvas. A single coat of a beautiful blue polish is already a chic and effortless look. You can choose from a vast spectrum of blues – a soft baby blue for a delicate touch, a vibrant sky blue for a pop of color, or a deep navy blue for a sophisticated feel. Don't forget a good base coat to protect your nails and a top coat for that glossy finish that makes all the difference! For extra flair, consider adding a simple accent nail – perhaps a sparkly glitter top coat on your ring finger for a touch of glamour. It’s all about keeping it simple, yet making a statement.
Need some inspiration? Check out these simple nail designs: simple pink nail designs for a color palette that's just as easy to work with. Or if you’re feeling more adventurous, explore some easy nail art designs for beginners to add a little something extra to your manicure. Remember, even the simplest designs can look amazing with a little care and attention to detail!
Blue Shade | Nail Shape | Extra Detail |
|---|---|---|
Baby Blue | Round | None |
Sky Blue | Oval | One accent nail with glitter |
Navy Blue | Square | None |
One thing I always tell my friends is to start simple. Mastering the basics is key before moving on to more complex designs. Think of it like learning to walk before you run – you'll appreciate the foundation you build! Plus, sometimes the simplest designs are the most elegant and timeless.
For those who prefer a bit more pizzazz without the complexity, consider a subtle gradient effect using two shades of blue. A simple ombre from a lighter to a darker blue creates a beautiful, professional-looking finish. It looks much more complicated than it actually is! Or, try adding some tiny, delicate silver or gold studs to one or two nails for a touch of sparkle. You can even try easy nail designs with rhinestones for a little extra bling.
- Choose a high-quality nail polish.
- Apply thin coats for a smooth finish.
- Use a top coat for lasting shine and protection.
Trending Simple Blue Nail Art Ideas
Trending Simple Blue Nail Art Ideas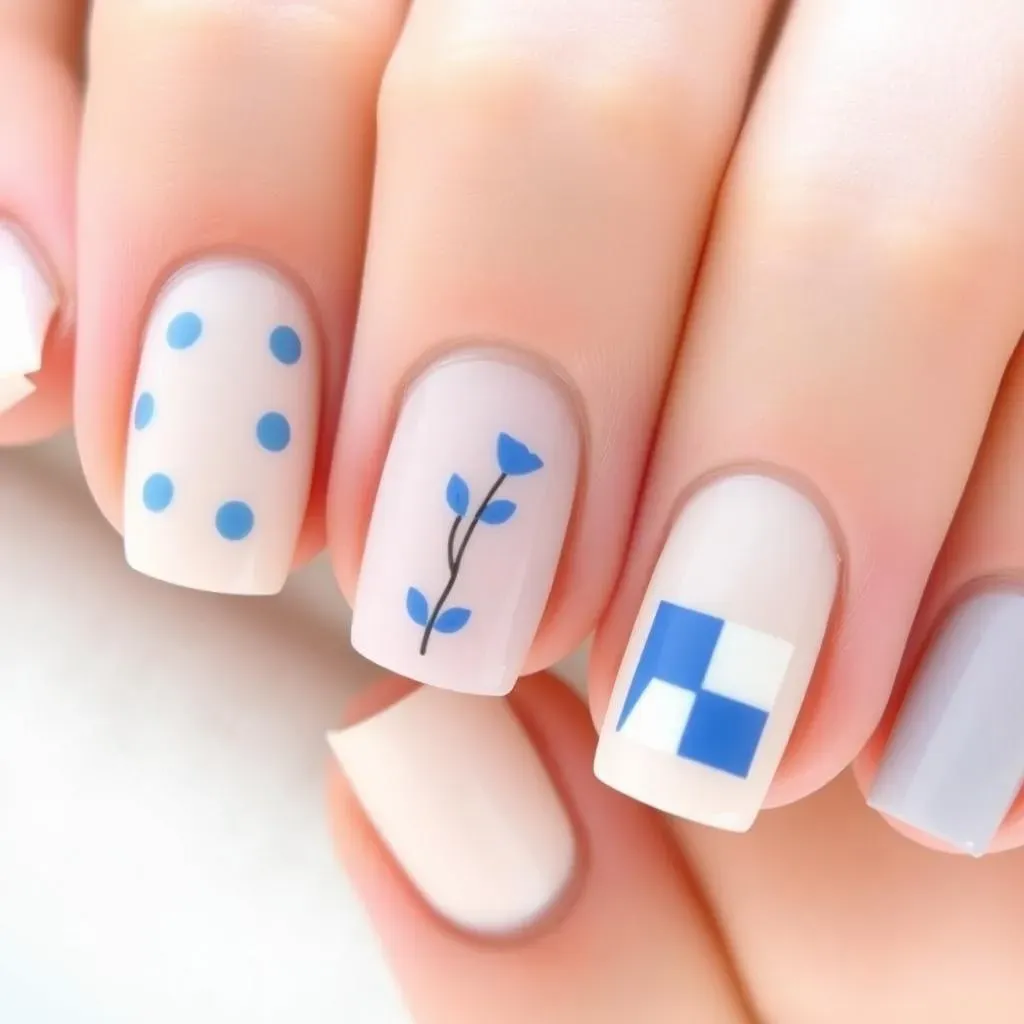
Subtle Blue Nail Art
Let's move beyond solid colors and explore some subtly stylish nail art! Think delicate blue accents. A few tiny blue dots or stripes on a neutral background can add a touch of personality without being overwhelming. This is perfect for those who want a hint of design without a full-blown manicure. You can use a thin striping brush or even a toothpick for super precise application. For a touch of whimsy, try adding a few tiny, carefully placed blue flowers. Remember, less is more when it comes to subtle nail art. It's about enhancing your natural nails with a hint of color and design.
Feeling inspired? Check out some easy floral nail designs for additional inspiration. Or, if you want something different, explore simple nail art designs for more ideas.
- Use a fine-tipped brush for precision.
- Practice your design on paper first.
- Use a dotting tool for perfect dots.
Geometric Blue Nail Designs
Geometric patterns are huge right now, and they're surprisingly easy to achieve on your nails, even with simple blue nail designs. Think simple shapes like stripes, triangles, or squares in various shades of blue. You can use painter's tape to create crisp lines or freehand it for a more relaxed, artistic feel. A combination of light and dark blues can create a striking contrast, while sticking to a single shade creates a cohesive look. Don't be afraid to experiment with different shapes and sizes to find a pattern you love.
For more ideas on simple designs, browse these cool and easy nail art designs. Or, if you're looking for something festive, check out our selection of easy Christmas nail designs for inspiration.
Pattern | Blue Shades | Tools |
|---|---|---|
Stripes | Light and dark blue | Striper brush or tape |
Triangles | One shade of blue | Freehand or stencil |
Squares | Two shades of blue | Tape or dotting tool |
StepbyStep Guide: Creating Simple Blue Nail Designs at Home
StepbyStep Guide: Creating Simple Blue Nail Designs at Home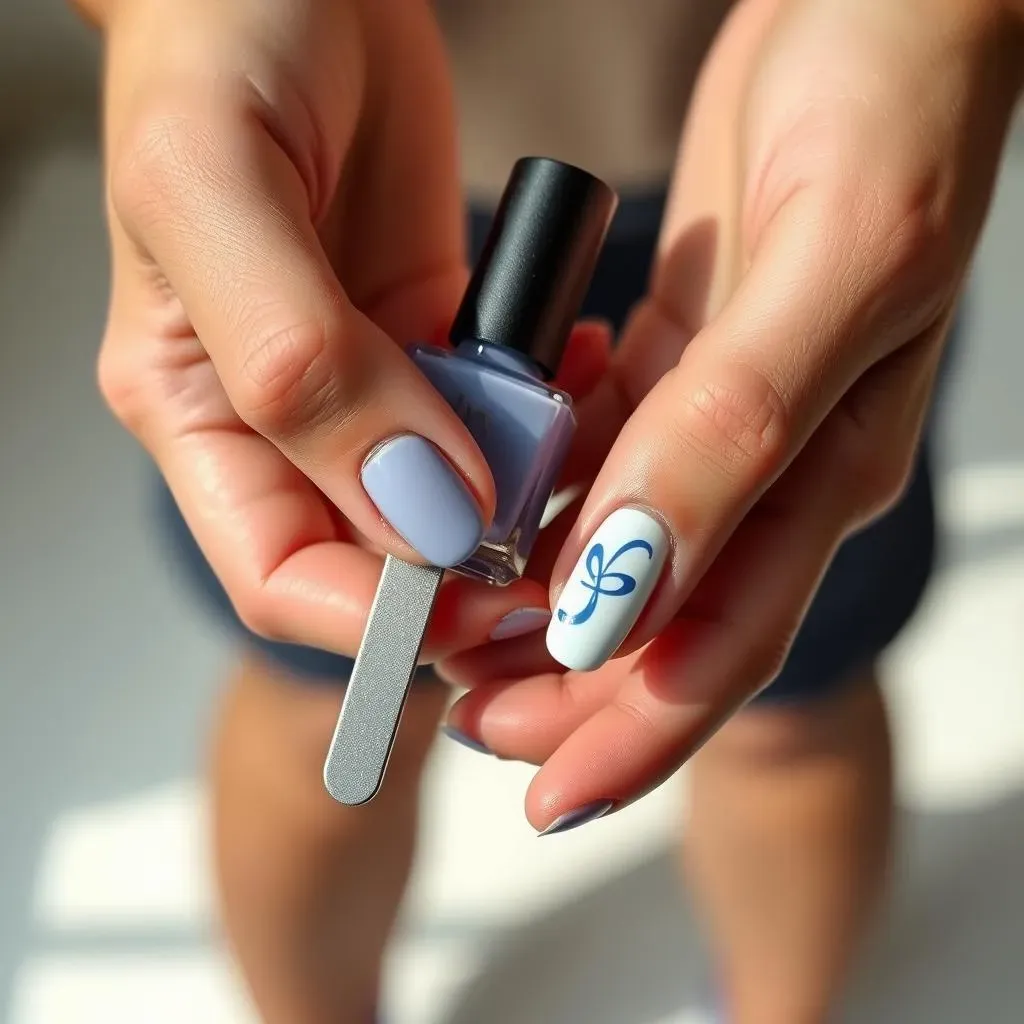
Prep Your Nails
First things first: prep those nails! Start by cleaning your nails with nail polish remover to remove any old polish and excess oils. Then, gently push back your cuticles using a cuticle pusher. This helps create a smooth surface for your polish to adhere to, preventing chipping and giving you a more professional-looking finish. Next, shape your nails using a nail file. Round, square, or oval – the choice is yours! Finish this step by buffing your nails gently to smooth out any ridges.
Need some ideas for nail shapes? Check out our post on easy short nail designs for inspiration, or if you're feeling fancy, take a peek at our easy wedding nail designs for some extra glam!
- Use a gentle nail polish remover.
- Avoid aggressive cuticle pushing.
- File your nails in one direction.
Applying the Base Coat
Now for the base coat! A good base coat protects your nails from staining and helps your polish last longer. Apply a thin, even layer of base coat to each nail, making sure to get right to the edges. Let it dry completely before moving on to the next step. This prevents smudging and ensures a smooth, even finish for your beautiful blue polish. Don't rush this step; patience is key for a perfect manicure!
Want to explore other base coat options? Check out our guide to easy gel nail designs for more information on base coats for gel manicures, or explore some DIY nail designs for more at-home techniques.
Step | Description | Tip |
|---|---|---|
1 | Apply thin coat to each nail | Avoid thick coats |
2 | Let dry completely | Wait at least 2 minutes |