Table of Contents
Ready to ditch the salon and unleash your inner artist? This article is your passport to a world of stunning nails, without the complicated techniques or expensive tools. We're diving headfirst into the exciting realm of "super easy nail art designs," perfect for beginners and anyone short on time. Forget those intimidating tutorials and complex patterns; we're focusing on simple yet stylish designs that you can easily recreate at home. Get ready to explore a variety of techniques, from basic dots and stripes to more creative looks, all achievable with minimal effort. We’ll guide you through each step, providing clear instructions and helpful tips along the way. Whether you're a complete novice or just looking to refresh your nail game, this guide is packed with inspiration and practical advice. Prepare to be amazed at how much you can achieve with just a few simple tools and a little bit of creativity. Let's get started on your journey to fabulous, flawlessly executed super easy nail art designs!
Mastering Super Easy Nail Art Designs for Beginners
Mastering Super Easy Nail Art Designs for Beginners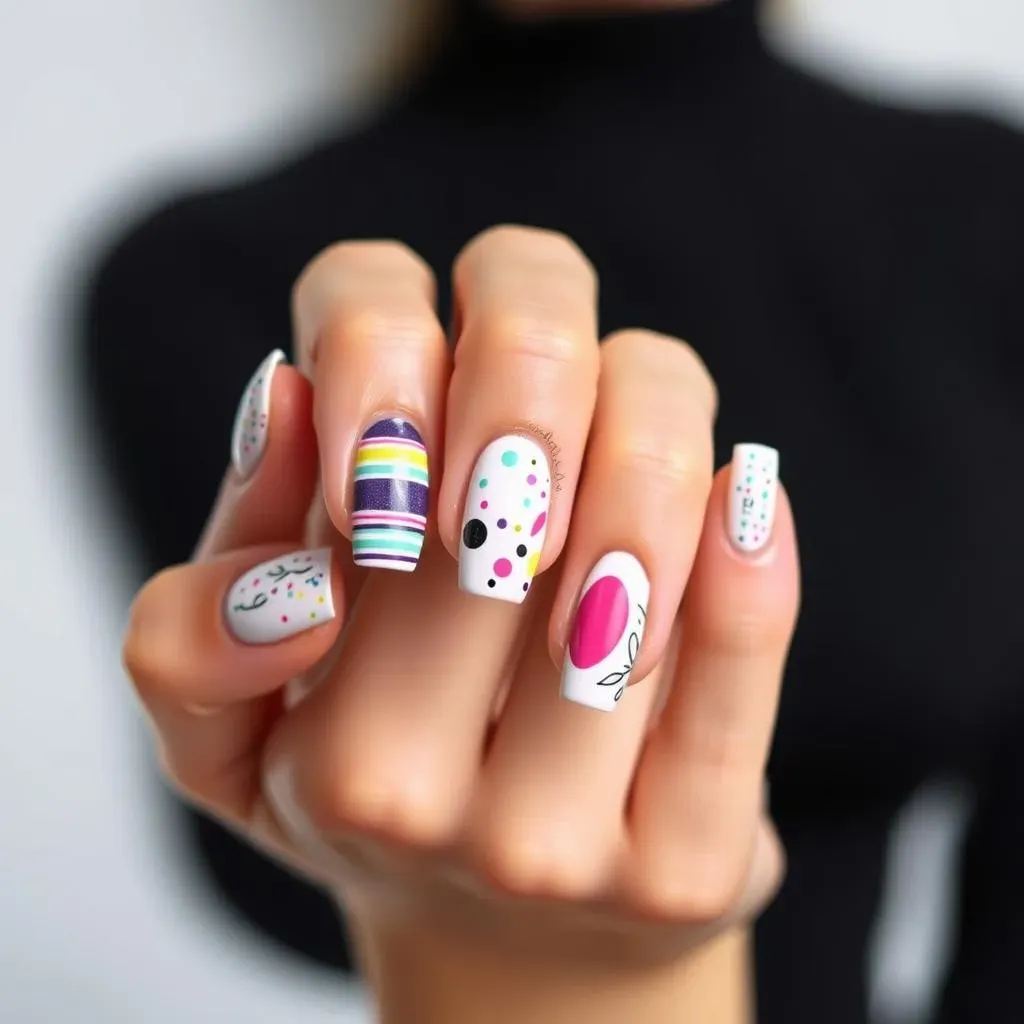
Getting Started: The Essential Tools
Let's be honest, you don't need a whole nail salon's worth of equipment to create amazing nail art. For super easy designs, you'll mostly need a few basic polishes in colors you love, a good top coat to seal in your masterpiece (and make it last longer!), and some simple tools. A dotting tool is fantastic for adding those cute little polka dots, but even a toothpick can work in a pinch! Don't forget some nail polish remover for those inevitable little mistakes – we’ve all been there!
Think of it like this: It's like baking a cake. You don't need a fancy stand mixer for a simple chocolate cake, right? The same applies here. Start with the basics, master those techniques, and then you can graduate to fancier tools as your confidence grows. You'll be surprised at how much you can achieve with minimal supplies.
Essential Tool | Alternative | Purpose |
|---|---|---|
Dotting Tool | Toothpick | Creating dots and small details |
Fine-tipped Brush | Old nail polish brush | Painting thin lines and details |
Scotch Tape | Nail Strips | Creating clean lines and shapes |
Simple Techniques: Stripes, Dots, and More
Once you've gathered your supplies, it's time to unleash your inner artist! Start with the simplest techniques. Stripes are incredibly easy to create; just use a thin brush or even a piece of tape to create perfectly straight lines. Polka dots are another classic; you can vary the size and spacing for different effects. Experiment with different colors and patterns – don’t be afraid to get creative!
Remember, practice makes perfect. Don't get discouraged if your first attempts aren't flawless. Keep practicing, and soon you'll be creating stunning nail art effortlessly. Think of it as a fun, relaxing activity, a chance to express yourself, one perfectly placed dot at a time. It’s like learning to ride a bike; you might wobble at first, but eventually, you'll be cruising along!
- Practice makes perfect!
- Start with simple designs.
- Don't be afraid to experiment.
Nail Art Inspiration: Finding Your Style
The internet is a treasure trove of nail art inspiration! Pinterest, Instagram, and even TikTok are filled with amazing designs, many of which are super easy to recreate. Browse through different styles, find what speaks to you, and adapt those ideas to your own skill level and available supplies. Don't feel pressured to copy designs exactly; let them inspire you to create your own unique look.
Think of it like finding your personal style in clothing. You might love certain colors or patterns, and you can incorporate those preferences into your nail art. The key is to have fun and express your individuality. Your nails are your canvas; go wild and create something truly you. And remember, even the simplest designs can look amazing when you put your own personal touch on them!
Super Easy Nail Art Designs: Simple Techniques for Stunning Results
Super Easy Nail Art Designs: Simple Techniques for Stunning Results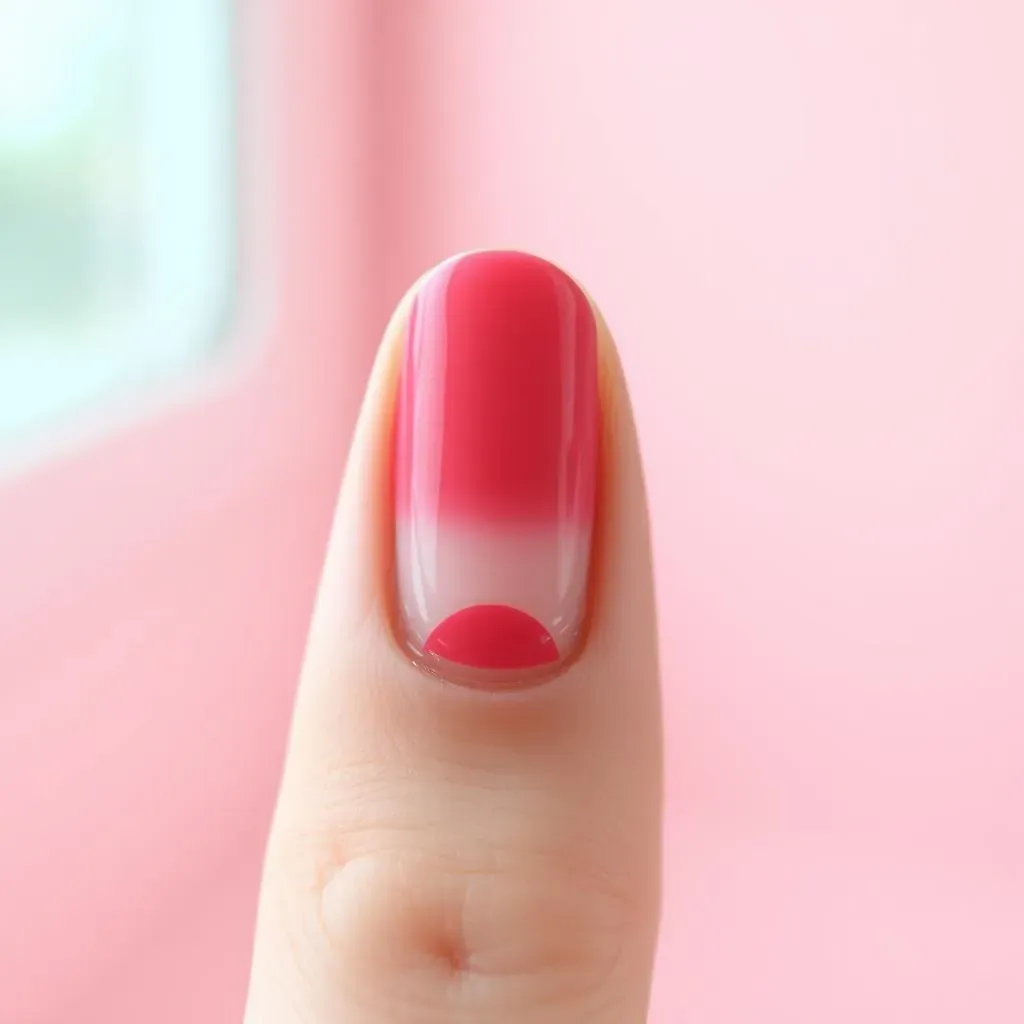
The Magic of Negative Space
Sometimes, less is more! Negative space nail art is incredibly chic and surprisingly easy to achieve. This technique involves leaving parts of your nail bare, creating a visually interesting contrast with your chosen polish color. For example, you could paint a half-moon shape at the base of your nail, leaving the rest bare, or create a simple geometric pattern by leaving certain sections unpainted. The key is to keep the design clean and simple; intricate negative space designs can be tricky for beginners.
Think of it like minimalist fashion: a few well-chosen elements create a powerful statement. Negative space nail art is all about highlighting the shape and form of your nails, adding a touch of sophistication without overwhelming the look. It's effortlessly elegant and perfect for those who prefer a subtle yet stylish manicure. You can even use tape to create perfectly straight lines for a flawlessly sharp finish.
Design | Description | Difficulty |
|---|---|---|
Half-moon manicure | Leave the base of the nail unpainted | Easy |
Geometric shapes | Create simple shapes by leaving sections unpainted | Easy-Medium |
Accent nail | Decorate only one nail, leaving the rest plain | Easy |
Embracing the Power of Stickers and Stencils
Let's be honest, sometimes you want a stunning manicure without the fuss. Nail art stickers and stencils are your secret weapon for creating professional-looking designs in minutes. There's a huge variety available, from delicate floral patterns to bold geometric shapes. Simply apply them to your nails and seal with a top coat. It's that easy! No shaky hands, no hours of painstaking detail work – just instant nail art perfection.
Think of it as using pre-cut cookie cutters for baking – it makes the process much faster and easier, while still allowing for creative expression. Experiment with different sticker and stencil designs to find your favorite styles. You can even layer them for a more complex look. The possibilities are endless, and the results are always impressive. It’s a great way to add a touch of flair without investing hours in intricate painting techniques. Plus, it's super fun!
- Floral patterns
- Geometric shapes
- Animal prints
- Solid colors
From Basic to Bold: Exploring More Super Easy Nail Art Designs
From Basic to Bold: Exploring More Super Easy Nail Art Designs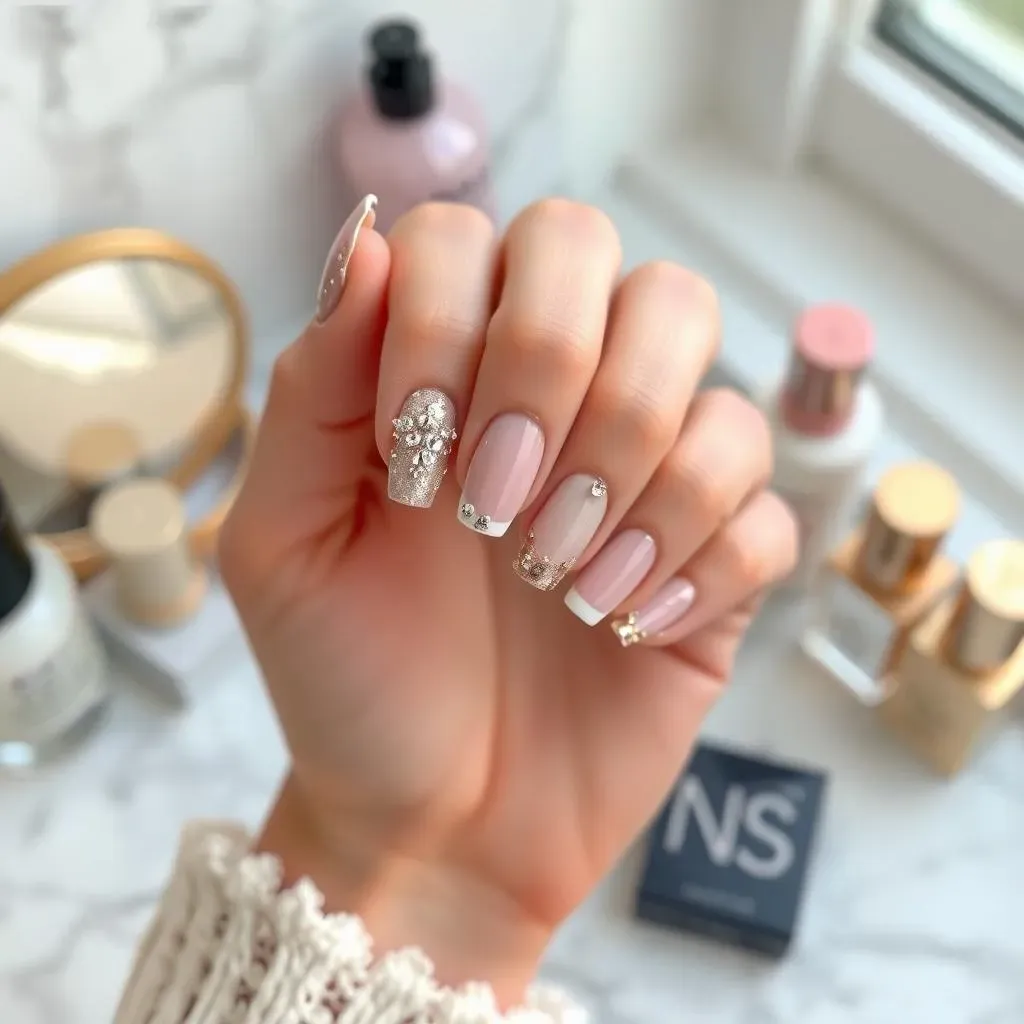
Adding Accents and Details
Once you've mastered the basics, it's time to add some flair! Think about incorporating small details to elevate your super easy nail art designs. A tiny accent nail with a different color or pattern can make a big difference. You can also add small details like glitter, rhinestones, or even tiny charms for a touch of sparkle. These additions don't require advanced skills, but they can significantly enhance the overall look. Remember, it’s all about the little things!
Don't be afraid to experiment with different combinations of colors and textures. Try mixing matte and glossy finishes for a unique effect. You can also use a fine-tipped brush to add delicate lines or swirls to your designs. The key is to keep it simple, focusing on adding just a few carefully chosen details to enhance your existing design. This is where your personal style truly shines through. It’s like adding the perfect seasoning to a dish – a little goes a long way!
Accent | Description | Difficulty |
|---|---|---|
Glitter | Apply glitter over a base color | Easy |
Rhinestones | Apply small rhinestones for extra sparkle | Easy-Medium |
Small charms | Attach tiny charms using nail glue | Medium |
Exploring More Advanced (But Still Easy!) Techniques
Ready to take your nail art game to the next level? Let's explore some slightly more advanced techniques, but rest assured, they're still super easy to manage. Water marbling is a fun and visually striking technique that creates beautiful swirling patterns. All you need is a bowl of water, some nail polish, and a toothpick or thin brush. You can also try ombre, which involves blending two or more colors together for a gradient effect. This can be achieved using a sponge or a fine-tipped brush.
These techniques might seem intimidating at first, but with a little practice, you'll be creating stunning designs in no time. Plenty of tutorials are available online to guide you through the process step-by-step. Remember to start small, experiment with different color combinations, and don't be afraid to make mistakes – they’re part of the learning process! This is where you can really express your artistic side. It’s like learning a new dance move – it might take a few tries, but the result is worth it!
- Water marbling
- Ombre
- French manicure variations
- Simple stamping