Table of Contents
Ready to ditch expensive salon appointments and unleash your inner nail artist? This article is your ultimate guide to achieving stunning at-home easy nail designs. Whether you're a complete beginner or just looking to refresh your manicure routine, we've got you covered. We'll walk you through simple techniques, perfect for busy schedules and shaky hands, covering everything from classic looks to trendy designs. First, we’ll explore fundamental techniques for creating flawless at-home manicures, focusing on easy-to-master steps and essential tools. Next, we'll showcase a range of quick and easy at-home nail designs, ideal for those short on time but big on style. Finally, we'll dive into more creative options, showing you how to elevate your nail art game without needing professional skills. Get ready to transform your nails into miniature masterpieces – all from the comfort of your own home! Prepare to be amazed by how easy and rewarding creating beautiful at-home easy nail designs can be. Let’s get started!
Mastering Simple AtHome Nail Designs: Easy Techniques for Beginners
Mastering Simple AtHome Nail Designs: Easy Techniques for Beginners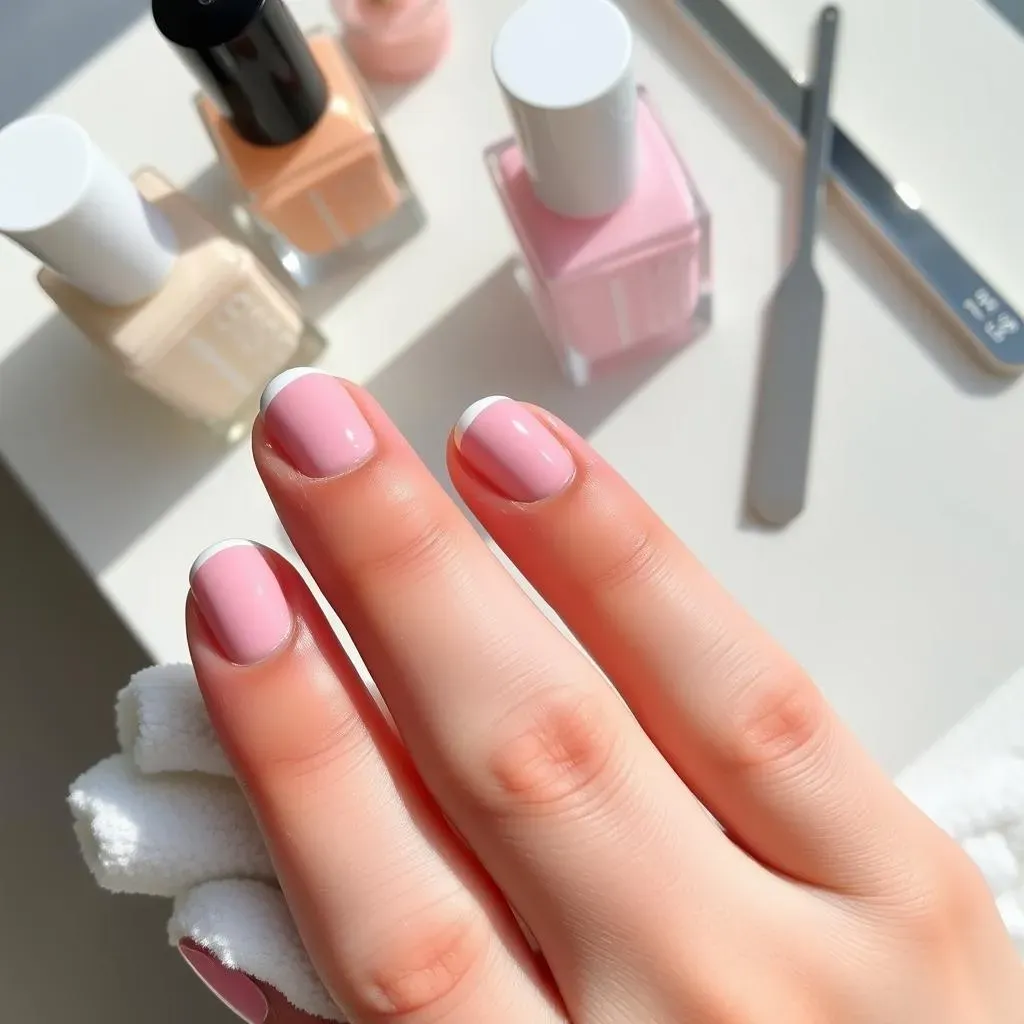
Preparing Your Nails: The Foundation for a Flawless Manicure
Before you even think about polish, prepping your nails is key! Start by gently pushing back your cuticles with a cuticle pusher. Avoid cutting them, as this can lead to infection. Next, shape your nails using a nail file. File in one direction to prevent splitting. A gentle buffing will smooth out any ridges. Finally, clean your nails with nail polish remover to remove any oils or residue. This clean surface ensures your polish adheres perfectly and lasts longer. For extra pampering, try a quick hand soak in warm, soapy water to soften cuticles and hydrate your skin. This simple step makes a huge difference in the overall look and feel of your manicure. Remember, a well-prepped nail is the secret to a long-lasting, beautiful manicure!
Now, let's talk about base coats. Think of a base coat as the foundation for your nail art. It protects your nails from staining and helps the color polish adhere better. Apply a thin, even layer, allowing it to dry completely before applying your chosen color. A good quality base coat will also help your manicure last longer. There are lots of different base coats available, so experiment to find one that works best for your nails. For extra strength and durability, consider using a strengthening base coat, especially if your nails are prone to breakage. Check out these easy nail art designs for beginners for more ideas!
Step | Action | Tip |
|---|---|---|
1 | Push back cuticles | Use a cuticle pusher gently |
2 | Shape nails | File in one direction |
3 | Buff nails | Smooth out ridges gently |
4 | Clean nails | Remove oils and residue |
5 | Apply base coat | Thin, even layer |
Applying Polish Like a Pro: Techniques for Even Coverage and Clean Lines
Applying polish might seem simple, but there are a few tricks to achieving a professional-looking finish. Start with thin coats; thick coats take ages to dry and are more prone to smudging. Apply three thin coats, letting each layer dry completely before adding the next one. If you're struggling with getting a clean edge, use a small brush dipped in nail polish remover to clean up any mistakes. This simple technique creates a neat, polished look. For a truly professional touch, consider investing in a good quality nail polish brush. A good brush makes application much easier and gives a more even finish. Don't rush the process; patience is key to achieving a flawless manicure. Remember, taking your time will result in a much more professional-looking finish.
Once your color is dry, it's time for the top coat. A top coat protects your manicure from chipping and adds shine. Apply a thin, even layer, and let it dry completely. For extra shine and durability, you can apply two thin coats of top coat. If your top coat is getting a bit thick, consider thinning it out with a few drops of nail polish thinner. A good top coat can really make your manicure stand out. There are many different top coats available, each with its own benefits. Experiment to find one that you love. For added protection against chips, consider using a quick-drying top coat. Check out these easy everyday nail designs for inspiration!
- Apply thin coats of polish.
- Let each coat dry completely.
- Clean up mistakes with nail polish remover.
- Apply a thin, even layer of top coat.
- Let the top coat dry completely.
Effortless Elegance: Quick & Easy AtHome Nail Designs for Busy Lives
Effortless Elegance: Quick & Easy AtHome Nail Designs for Busy Lives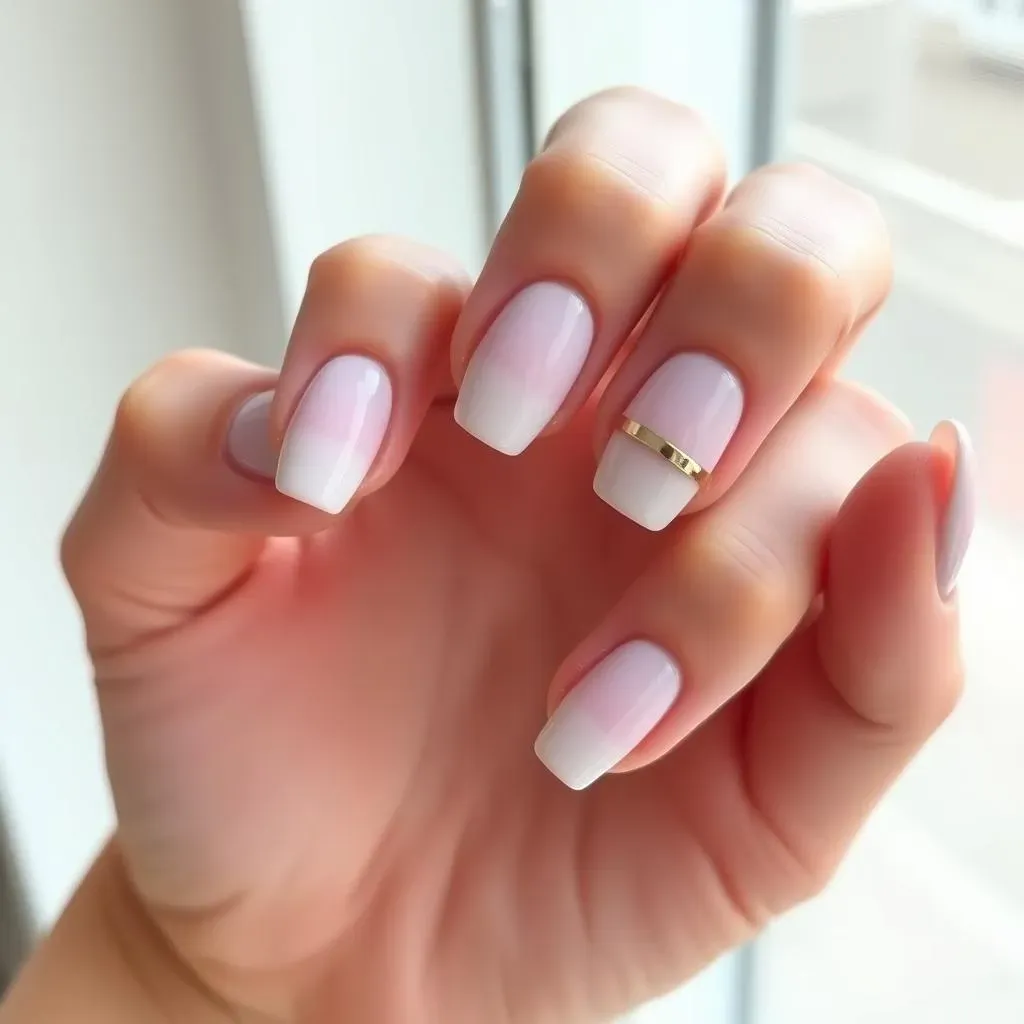
Monochromatic Magic: One-Color Wonders
Let's face it, sometimes you just need a quick and chic manicure without the fuss. Monochromatic nail designs are your best friend! Choose a single shade you love – from a classic red to a trendy pastel – and paint all your nails the same color. It's incredibly fast, looks polished, and suits any occasion. This look is super versatile and allows you to play with different textures and finishes. Try a matte top coat for a sophisticated vibe, or go for a glossy finish for extra shine. The beauty of this approach is that even if your application isn't perfect, the unified color will minimize any imperfections. This is a great option for when you're short on time but still want to look put-together.
To elevate your one-color mani, consider adding a subtle accent. A tiny metallic stripe down the center of your ring finger nail adds a touch of elegance without requiring much extra time or effort. Or, try adding some small, delicate nail jewels to one nail for a touch of sparkle. Remember, less is more! A simple, well-executed monochromatic manicure is always a winner. For more inspiration on quick and simple designs, check out these easy nail designs for work.
- Choose your favorite shade.
- Apply 2-3 thin coats.
- Add a subtle accent (optional).
- Finish with a top coat.
Negative Space Nails: Minimalist Chic
Negative space nail art is all about embracing the natural beauty of your nails. Instead of covering your entire nail with polish, you leave parts bare, creating a modern and minimalist look. This technique is incredibly easy and requires minimal effort. Start by applying a base coat. Then, using tape or a fine brush, create geometric shapes or designs, leaving some of your nail bare. You can be creative and experiment with different shapes and patterns. A half-moon manicure, where you leave the area near your cuticle bare, is a classic and easy negative space design. This approach is perfect for those who want a chic look without the commitment of a full manicure.
The beauty of negative space manicures lies in their simplicity and versatility. They can be dressed up or down, making them suitable for any occasion. For a more dramatic look, use a dark polish and leave large sections of your nail bare. For a more subtle effect, use a light or neutral polish and create small, delicate designs. You can even add a touch of sparkle with glitter or metallic accents on the polished parts of your nail. For more ideas for simple and stylish nail art, check out these easy everyday nail designs.
Design | Description | Difficulty |
|---|---|---|
Half-moon | Leave the cuticle area bare | Easy |
Stripes | Paint stripes, leaving spaces bare | Easy |
Geometric shapes | Use tape to create shapes | Medium |
Beyond Basic: Creative AtHome Easy Nail Designs to Impress
Beyond Basic: Creative AtHome Easy Nail Designs to Impress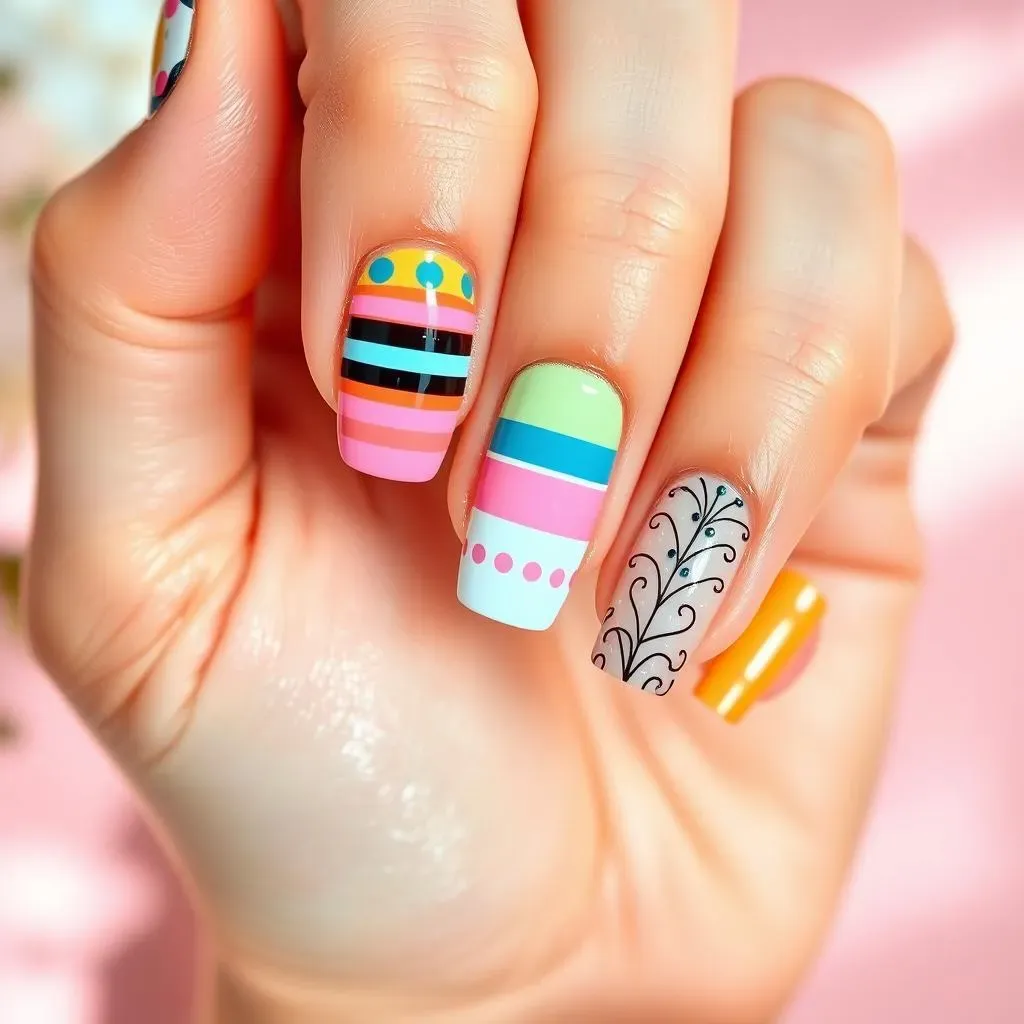
Adding Accents: Elevating Your Manicure
Once you've mastered the basics, it's time to add some personality! Start with simple accents. Try adding tiny dots of a contrasting color using a dotting tool or a toothpick. This is super easy and adds a playful touch. Or, create simple stripes using striping tape or a thin brush. Experiment with different colors and patterns to find what you like. For a more sophisticated look, try a subtle ombre effect, blending two or three shades together. This technique adds depth and dimension to your manicure without being overly complicated. Remember, even small details can make a big difference!
Another fantastic way to step up your nail game is by using nail art stickers. These are readily available online and in beauty stores, offering a huge variety of designs, from floral patterns to geometric shapes. Simply apply them to your dry polish, and seal with a top coat. It's that easy! Nail art pens are another fantastic tool for adding detail. They're perfect for creating intricate designs or adding small embellishments. Practice on a piece of paper first to get a feel for the pen before applying it to your nails. These easy additions can transform a simple manicure into something truly special. For more spring-inspired designs, check out these easy spring nail designs.
- Add dots of contrasting color
- Create simple stripes
- Try an ombre effect
- Use nail art stickers
- Experiment with nail art pens
Embellishments and Textures: Adding Flair to Your Nails
Want to take your nail art to the next level? Consider adding some embellishments! Small jewels, rhinestones, or glitter can add a touch of sparkle and glamour to your manicure. Apply them using nail glue and seal with a top coat for extra durability. Experiment with different placements and patterns to create unique looks. For a more subtle effect, use smaller embellishments, strategically placed on one or two nails. For a bolder look, go all out and cover your nails with glitter or jewels. The possibilities are endless!
Playing with textures can also add visual interest to your nail art. A matte top coat over a glossy base creates a striking contrast. Or, try a textured nail polish for a unique look and feel. These textured polishes often have a slightly grainy or sandy finish, which adds a lot of dimension. You can also create texture by layering different polishes or using a sponge to apply a gradient effect. Remember, the key is to experiment and have fun! Don’t be afraid to try new things and find what works best for you. For festive nail art ideas, check out our easy holiday nail designs.
Embellishment | Application | Effect |
|---|---|---|
Rhinestones | Nail glue, top coat | Glamorous sparkle |
Glitter | Nail glue, top coat | Shimmering finish |
Matte top coat | Over glossy polish | Textured contrast |
Seasonal Nail Art: Embrace the Changing Seasons
Seasonal nail art is a fun way to express your creativity and keep your manicures fresh and exciting. In the spring, try pastel colors and floral designs. Summer calls for bright, bold hues and tropical prints. Autumn brings warm, earthy tones and leaf-inspired patterns. Winter is the perfect time for dark, moody shades and snowflake designs. Consider using seasonal colors and patterns to match your wardrobe or the current events. It’s a simple way to add a touch of personality to your look.
Don't be afraid to get creative! You can use stencils, stamps, or freehand painting to create intricate designs. Or, simply use a few different shades of polish to create a simple but effective seasonal design. For example, for a fall manicure, you could use a base coat of dark orange and then add some simple leaf designs using a thin brush and a contrasting color like dark green or brown. The key is to have fun and let your creativity flow! Remember, your nails are a canvas for your self-expression. Check out these easy fall nail designs for more inspiration!
- Spring: Pastels, florals
- Summer: Bright colors, tropical prints
- Autumn: Earthy tones, leaf designs
- Winter: Dark shades, snowflakes