Table of Contents
Ready to unleash your inner nail artist without breaking the bank or needing a toolbox full of fancy tools? This article is your passport to a world of stunning nail designs, all achievable from the comfort of your home. We’ll explore a range of easy nail art designs at home for beginners without tools, proving that creating salon-worthy manicures is easier than you think! Forget complicated techniques and expensive equipment; we'll focus on simple, step-by-step tutorials using only your favorite nail polishes and a few everyday household items. Whether you're a complete novice or just looking for some fresh inspiration, get ready to discover fun, creative, and surprisingly simple ways to transform your nails. From classic polka dots and elegant stripes to trendy abstract designs and dazzling glitter accents, we have something for everyone. Let's dive into a world of creativity where your imagination is the only limit! Prepare to be amazed by how easily you can achieve professional results with these easy nail art designs at home for beginners without tools.
Mastering Easy Nail Art Designs at Home Without Tools
Mastering Easy Nail Art Designs at Home Without Tools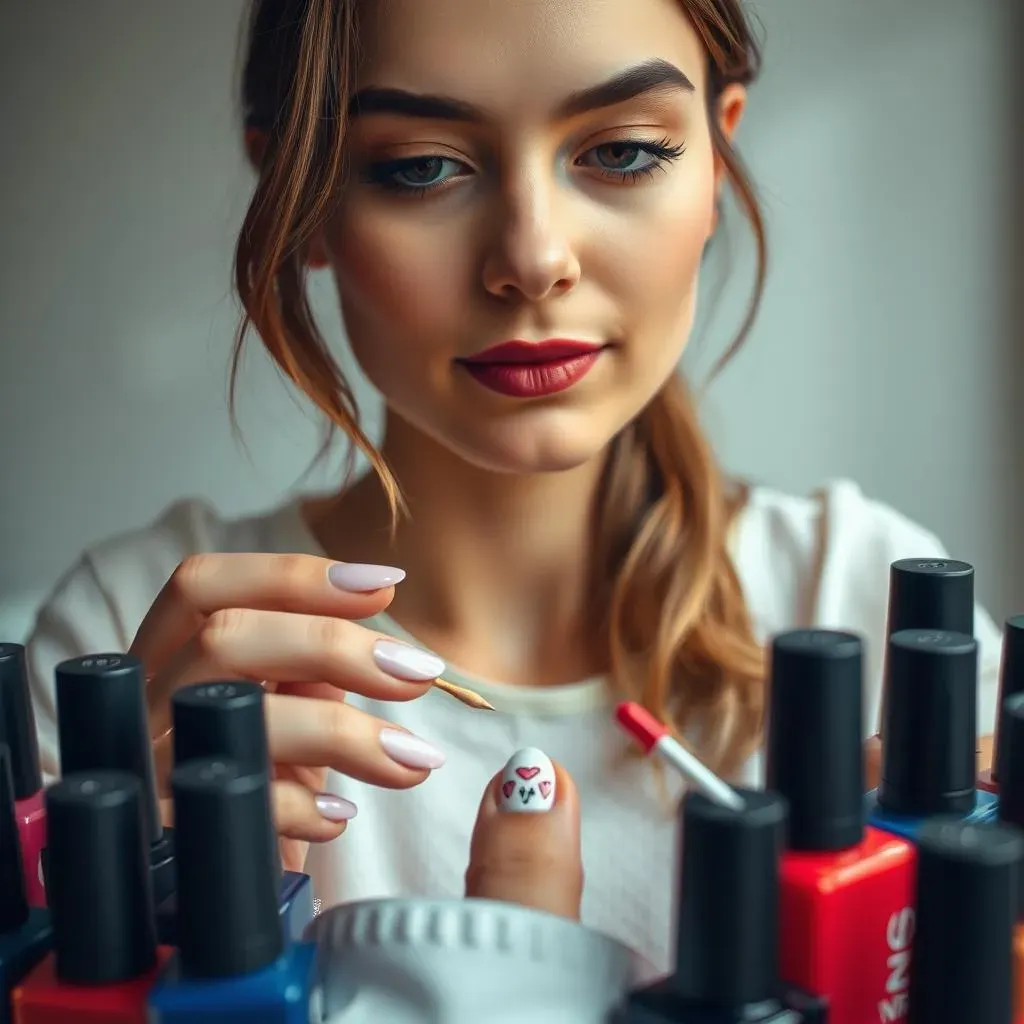
Prep Work: Setting the Stage for Success
Before you even think about polish, let's get your nails ready. Clean, dry nails are key to a long-lasting manicure. Gently push back your cuticles using an orangewood stick (or even your fingertip!). This helps prevent polish from chipping and makes your nails look more polished. Then, apply a base coat. This protects your nails from staining and helps the color adhere better. Think of it as the foundation for your masterpiece!
Now, let's talk about polish. Choose colors that you love! Don't be afraid to experiment with different shades and combinations. A simple color block design can look incredibly chic, and you can achieve that effortlessly. If you're a beginner, stick to two or three colors to keep things easy. And remember, a little goes a long way! Start with thin coats to avoid thick, gloppy polish that takes forever to dry. Check out these cute and easy nail designs for inspiration.
Step | Action |
|---|---|
1 | Clean and dry your nails |
2 | Push back cuticles |
3 | Apply base coat |
Simple Tools, Stunning Results: Household Item Hacks
You don't need fancy nail art tools to create amazing designs. Believe it or not, many household items can be repurposed for nail art! Toothpicks make fantastic dotting tools for creating polka dots or small details. Use the pointed end to create tiny dots, or the wider end for larger ones. Experiment with different pressure levels to vary the size of your dots. For stripes, try using a piece of tape to create clean lines, or even the edge of a credit card for a more abstract look.
Another great tool is a bobby pin! The rounded end can be used to create interesting textures and patterns. Dip the end into your polish, and gently dab it onto your nails to create unique designs. The possibilities are endless! Don't be afraid to get creative and experiment with different techniques. Remember, practice makes perfect, so don't be discouraged if your first attempts aren't flawless. Check out some easy at-home nail art designs for more ideas.
- Toothpicks for dots and details
- Tape for stripes and lines
- Bobby pins for textures
Practice Makes Perfect: Embrace the Learning Curve
Don't expect to become a nail art pro overnight. It takes time and practice to develop your skills. Start with simple designs, and gradually work your way up to more complex ones. Don't be afraid to make mistakes; they're part of the learning process. Each attempt will teach you something new, and help you refine your technique. Focus on having fun and expressing your creativity.
One of the best ways to improve is to practice regularly. Set aside some time each week to experiment with different designs and techniques. The more you practice, the more confident you'll become. And remember, there's no such thing as a "perfect" manicure. Embrace your unique style, and don't be afraid to show off your creations! Look for inspiration in our collection of easy nail designs for beginners.
Simple Nail Art Designs for Beginners: StepbyStep Tutorials
Simple Nail Art Designs for Beginners: StepbyStep Tutorials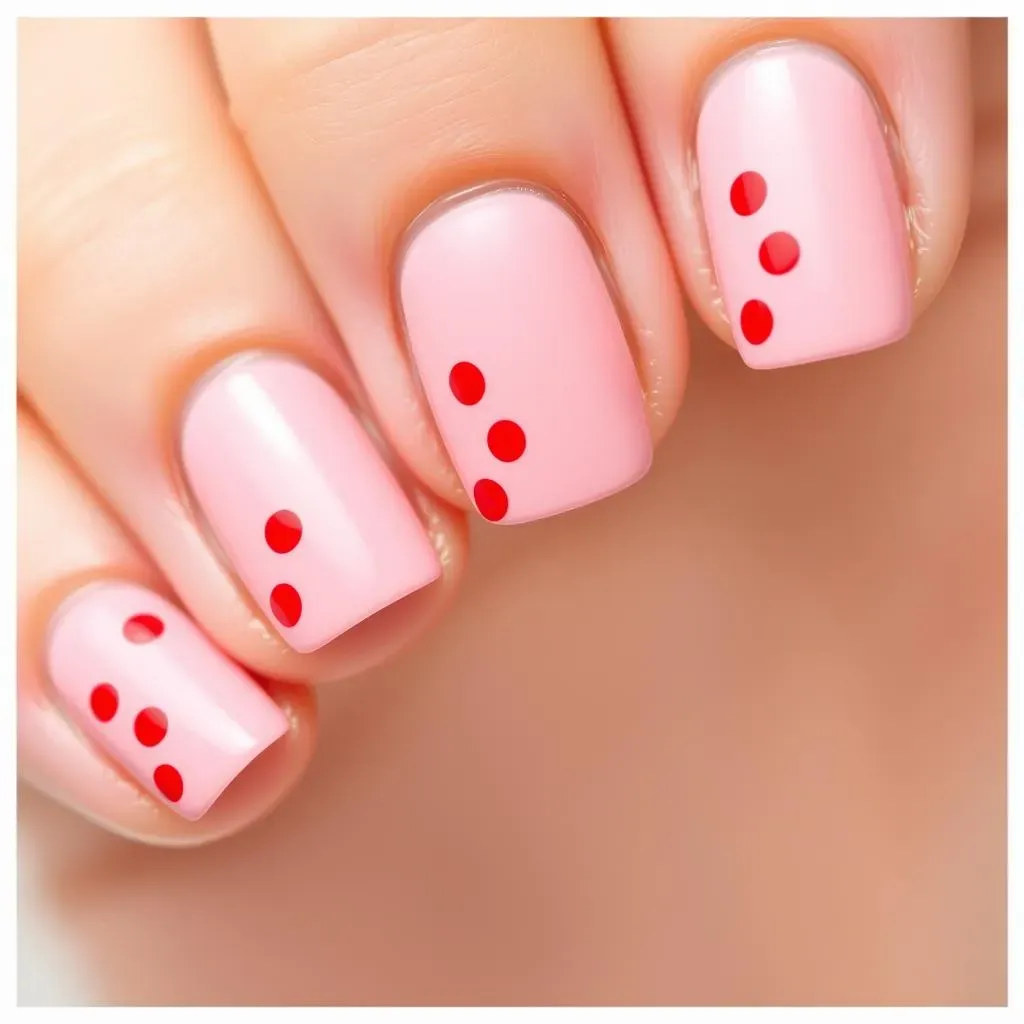
Polka Dot Perfection: A Classic Made Easy
Let's start with a timeless classic: polka dots! This design is incredibly versatile and can be adapted to any color scheme. All you need is a toothpick or a bobby pin (as discussed earlier) and your favorite nail polishes. Start by painting your nails with a base coat, then let it dry completely. Next, dip your toothpick or bobby pin into a contrasting polish and gently dab it onto your nails to create dots of varying sizes. Experiment with different colors and spacing to create your own unique pattern. For a truly eye-catching look, try using three or four different colors! Need more inspiration? Check out these cute and easy nail designs for some extra ideas.
Once you've created your polka dot masterpiece, finish with a top coat to seal in the design and add shine. This will help your manicure last longer and prevent chipping. This simple design is perfect for beginners, and it's a great way to practice your dotting technique. Remember, even spacing isn't necessary—a little imperfection adds character! You can also try different shapes and sizes of dots for a more unique look. Here's a quick tip: Use a toothpick for tiny dots and a bobby pin for bigger ones. See how easy it is to make those easy cute designs for short nails?
Step | Action |
|---|---|
1 | Apply base coat |
2 | Create dots using toothpick/bobby pin |
3 | Apply top coat |
Stripes and Lines: Geometric Chic
Geometric designs are another great option for beginners. Stripes are simple to create, yet they can look incredibly stylish. You can use tape to create clean, straight lines, or you can freehand them for a more relaxed, artistic look. Start with a base coat, then apply your chosen stripe color. Let the stripes dry completely before applying a top coat. For a more modern twist, try using different colors and widths of stripes! For example, you could have a thick stripe in the middle and thinner stripes on either side. Or you could use different color stripes to create a rainbow effect. Feeling inspired? Find even more easy nail designs for beginners here!
If you're feeling adventurous, try creating diagonal or curved stripes. You can also use a toothpick or bobby pin to add small details to your stripes, such as dots or other small shapes. Remember, the key to success is patience and practice. Don't be discouraged if your first attempts aren't perfect. Keep practicing, and you'll soon be creating beautiful geometric designs with ease. And remember, you can always use nail polish remover to correct any mistakes. This is a great way to experiment with different colors and patterns without any commitment. These simple designs are perfect for creating a chic, minimalistic look. Check out these easy nail designs for work for more inspiration.
- Use tape for straight lines
- Freehand for a more artistic look
- Experiment with different colors and widths
Stunning Easy Nail Art Designs at Home: Inspiration and Ideas
Stunning Easy Nail Art Designs at Home: Inspiration and Ideas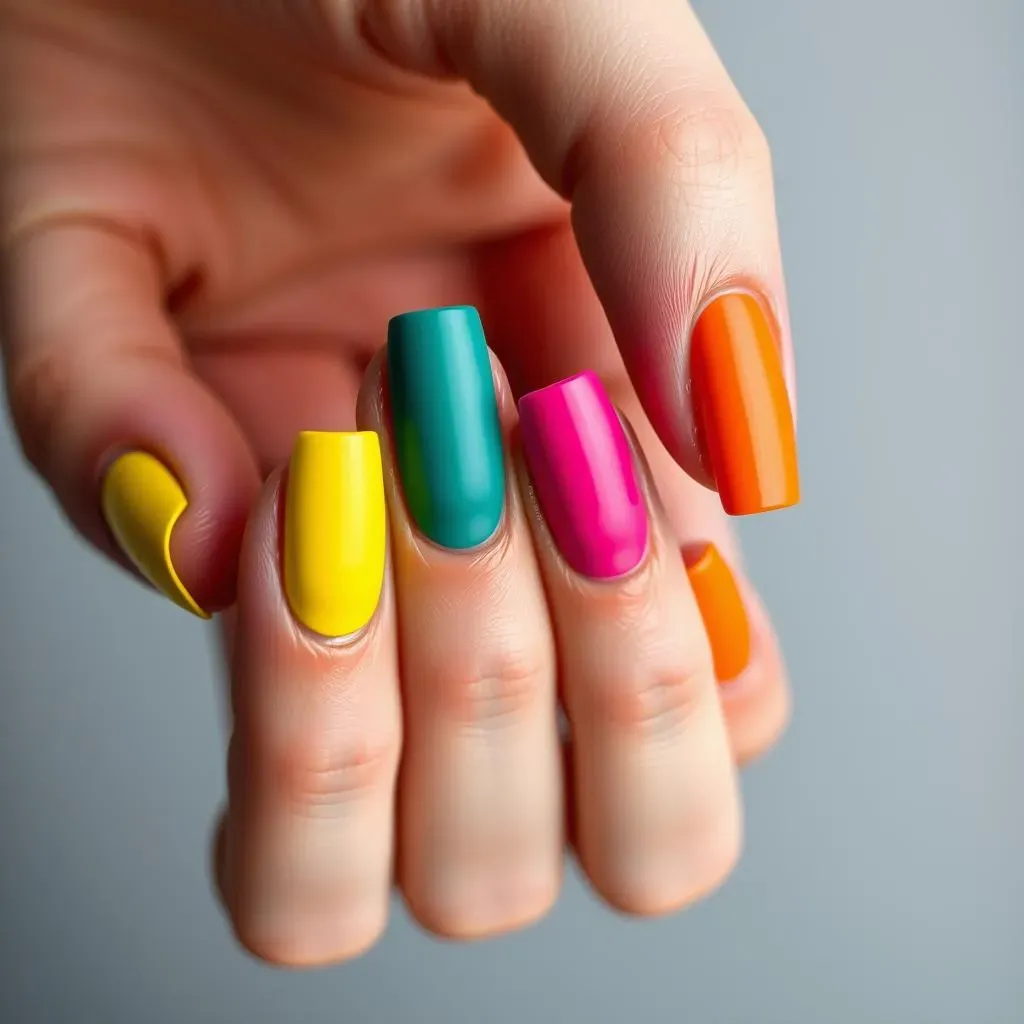
Color Blocking: A Bold Statement
Color blocking is a super trendy and surprisingly easy nail art technique. Think bold, contrasting colors, like a bright yellow and a deep teal, or a vibrant pink and a sunshine orange. The beauty of color blocking is its simplicity; you just paint each nail a different color! You can create a rainbow effect, or choose colors that complement each other. This creates a modern and stylish look without any fuss. For a more polished finish, make sure your coats are even and let each layer dry completely before applying the next.
To make your color-blocked manicure even more unique, try using a matte top coat on some nails and a glossy top coat on others. This adds texture and visual interest. Or, try using different shades of one color for a more subtle color-blocked look. Don't be afraid to experiment and find color combinations that reflect your personality. For more inspiration on simple color schemes, check out these cute and easy nail designs.
- Choose bold, contrasting colors
- Experiment with matte and glossy finishes
- Use different shades of one color
Geometric Patterns: Simple Shapes, Big Impact
Geometric nail art designs are another fantastic option for beginners. Simple shapes like triangles, squares, and lines can create a stunning effect. You can use tape to create clean lines, or freehand them for a more artistic look. If you're using tape, make sure to apply it carefully to avoid smudging your polish. Let each layer dry completely before removing the tape.
Once you've mastered basic shapes, you can start experimenting with more complex geometric patterns. Try creating stripes, chevrons, or even abstract designs. The possibilities are endless! Don't be afraid to mix and match different colors and shapes to create your own unique style. For even more inspiration, check out these easy nail designs with rhinestones (though rhinestones aren't strictly necessary for these designs!).
Shape | Technique |
|---|---|
Triangles | Tape or freehand |
Squares | Tape or freehand |
Lines | Tape or freehand |