Table of Contents
Ready to unleash your inner nail artist? Forget expensive salon visits – this article is your passport to creating stunning, professional-looking manicures from the comfort of your own home. We're diving headfirst into the world of "easy at home nail art designs," offering a curated collection of simple techniques and inspiring ideas perfect for beginners and seasoned DIY enthusiasts alike. First, we'll equip you with the fundamental skills and tools needed to master basic nail art techniques. Next, you'll find a treasure trove of step-by-step tutorials, guiding you through the creation of various easy at-home nail art designs. From classic polka dots to trendy geometric patterns, we've got something for every style. We'll then explore more creative options, pushing your artistic boundaries with unique ideas and color combinations to help you express your individuality. Finally, for those ready for a bigger challenge, we'll introduce slightly more advanced designs, building on the fundamental skills you've already mastered. Prepare to be amazed at the beautiful manicures you can achieve – all from the convenience of your home! Let's get started on your nail art journey.
Mastering Easy AtHome Nail Art Designs: Simple Techniques for Beginners
Mastering Easy AtHome Nail Art Designs: Simple Techniques for Beginners
Gathering Your Supplies: The Essential Toolkit
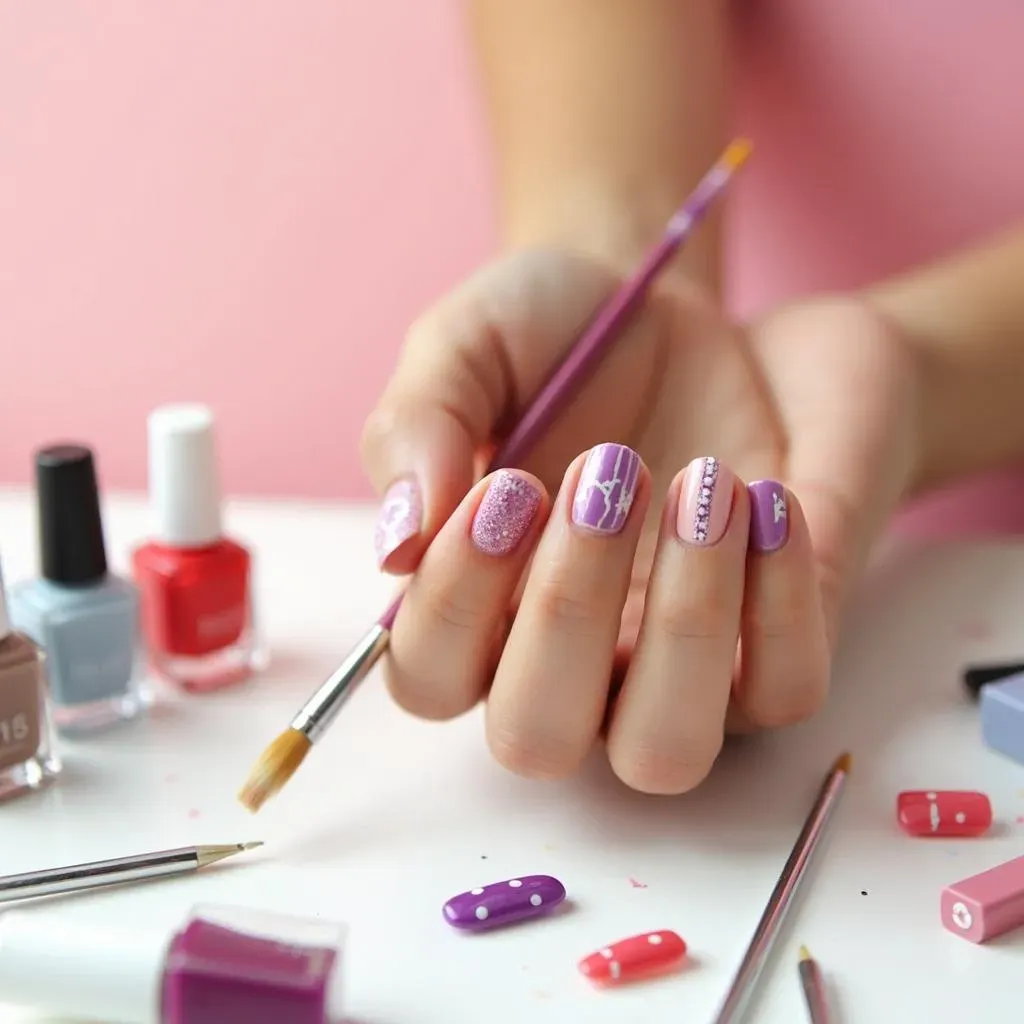
Before you embark on your nail art adventure, gather your essential tools. Think of it like prepping for a baking project – you wouldn't start making a cake without the right ingredients! You'll need a good base coat to protect your nails, a few vibrant nail polishes in colors you love (start with 2-3 to avoid feeling overwhelmed), a top coat for a glossy finish and long-lasting wear, and some simple tools. A few dotting tools or even a toothpick can work wonders for creating dots and intricate details. For those aiming for straight lines, thin striping brushes are your new best friend. Don't forget cotton swabs and nail polish remover for cleaning up any mistakes – because let's face it, we all make them sometimes! Finally, consider adding some nail art stickers for easy designs; they're a fantastic shortcut for beginners.
For even more inspiration, check out our post on awesome easy at-home nail art designs! It's packed with ideas to get those creative juices flowing.
Tool | Purpose | Alternative |
|---|---|---|
Base Coat | Protects nails | None (but recommended!) |
Nail Polish | Color & Design | - |
Top Coat | Shine & Durability | - |
Dotting Tool | Creating dots | Toothpick |
Striper Brush | Precise lines | Fine-tipped paintbrush |
Nail Prep: The Foundation for a Flawless Finish
Just like a painter wouldn't start on a dirty canvas, prepping your nails is crucial for a stunning finish. Begin by gently pushing back your cuticles with a cuticle pusher. Don't cut them; simply push them back gently to reveal the nail plate. Next, file your nails into your desired shape – square, oval, or almond – and buff them lightly to smooth the surface. This helps the polish adhere better and creates a more even look. Finally, wipe your nails with nail polish remover to remove any dust or oils, ensuring your nails are clean and ready for a perfect base coat application. This simple step makes a huge difference in how long your manicure lasts and how smooth it looks.
Need some ideas for simple nail shapes? Check out our guide to simple nail designs for short nails for inspiration!
- Gently push back cuticles
- File and buff nails
- Clean nails with remover
- Apply base coat
Mastering Basic Techniques: Dots, Lines, and Simple Patterns
Now for the fun part – applying the polish! Start by applying a thin layer of your base coat, letting it dry completely before applying your chosen color. For dots, use a dotting tool or toothpick to create perfectly sized dots. Experiment with different sizes and spacing for a unique look. For lines, a thin striping brush is ideal, but you can also use the tip of a nail polish brush for a more organic feel. Practice creating straight, curved, and wavy lines. Once you’ve mastered these, try combining them to create simple patterns like stripes, chevrons, or polka dots. Remember, practice makes perfect, so don't be afraid to experiment! Even if a design doesn't turn out perfectly, you'll learn from it.
Looking for more simple design ideas? Explore our collection of easy nail art ideas for endless inspiration.
Stunning Easy AtHome Nail Art Designs: StepbyStep Tutorials
Stunning Easy AtHome Nail Art Designs: StepbyStep Tutorials
Polka Dot Perfection: A Classic Made Easy
Let's start with a timeless classic: polka dots! This design is incredibly versatile and adaptable to any color scheme. Begin with a base coat and two contrasting nail polish colors. Once your base coat is dry, apply your main color. Using a dotting tool (or a toothpick!), carefully place dots of your second color across your nails. Experiment with different sizes and spacing for a unique pattern. For a more whimsical feel, use multiple colors! Finish with a top coat for that extra shine and protection. It's that simple!
Want more ideas for simple designs? Check out our post on awesome cute easy nail designs for more inspiration.
- Apply base coat.
- Apply main color.
- Add polka dots using a dotting tool or toothpick.
- Seal with top coat.
Geometric Glam: Stripes and Shapes
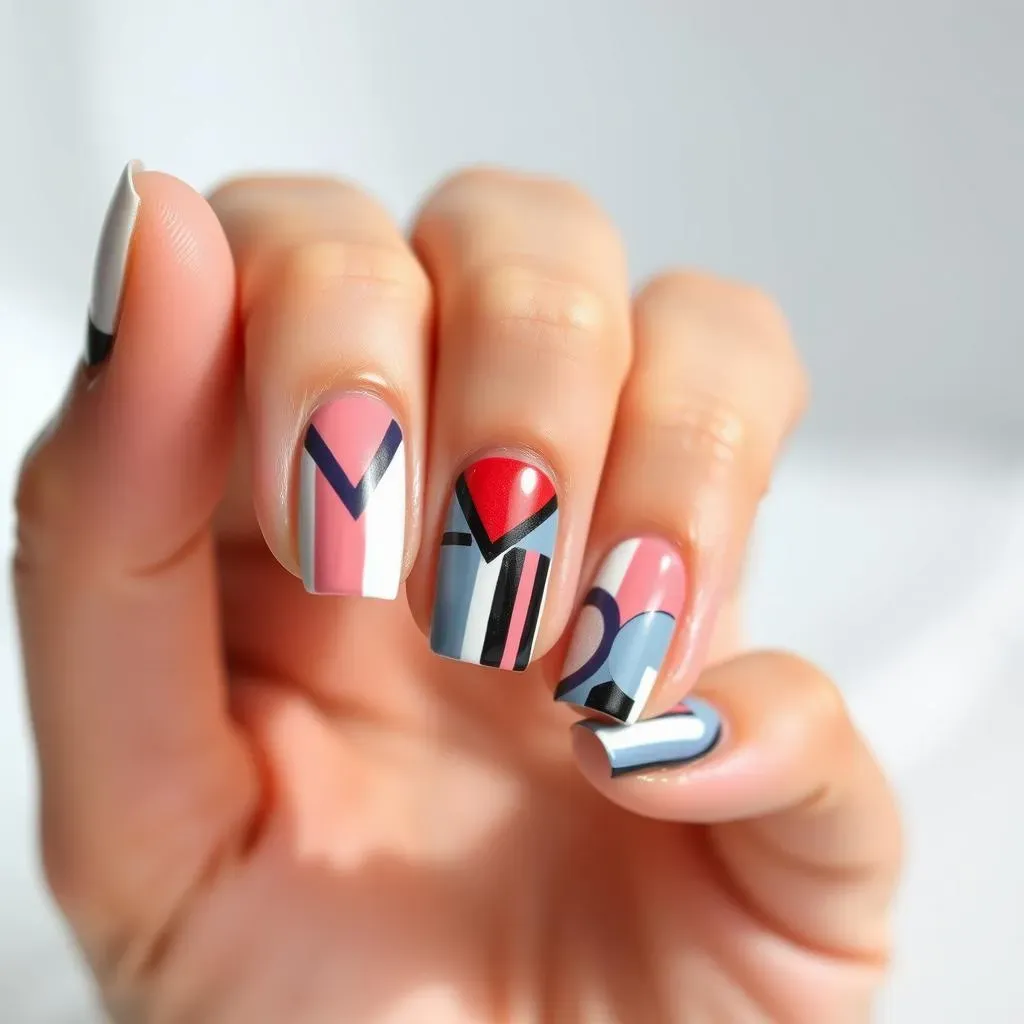
Geometric designs are all the rage, and they're surprisingly easy to achieve at home! Start with a base coat and a solid color. Once dry, use striping tape (or painter's tape) to create clean lines and shapes. You can make stripes, chevrons, or even more complex designs. Apply a contrasting color to the sections created by the tape. Carefully remove the tape while the polish is still slightly wet to prevent smudging. Finish with a top coat. Remember, patience is key when working with tape! This design gives a modern, clean look that's perfect for any occasion.
Looking for more ideas? Our guide to simple nail art designs has tons of options.
Step | Description |
|---|---|
1 | Apply base coat and solid color. |
2 | Apply tape to create shapes. |
3 | Apply contrasting color. |
4 | Remove tape carefully. |
5 | Apply top coat. |
Elevate Your Manicure: Creative Easy AtHome Nail Art Ideas
Elevate Your Manicure: Creative Easy AtHome Nail Art Ideas
Elevate Your Manicure: Creative Easy At-Home Nail Art Ideas
Let's amp up the creativity! Now that you've mastered the basics, it's time to explore some more imaginative easy at-home nail art designs. Think outside the box – or, in this case, outside the lines! Try incorporating negative space into your designs, leaving portions of your nail bare to create a modern, minimalist look. This technique can add an unexpected touch of elegance to even the simplest designs. Another fun approach is to experiment with different textures. You could add glitter, matte top coats, or even tiny embellishments like rhinestones for a touch of sparkle. Remember, the key is to have fun and let your personality shine through! Don't be afraid to mix and match colors and techniques to create something truly unique.
For even more inspiration, check out our collection of easy floral nail designs – they're surprisingly easy to recreate!
- Incorporate negative space.
- Experiment with textures (glitter, matte, etc.).
- Mix and match colors and techniques.
- Add small embellishments (rhinestones).
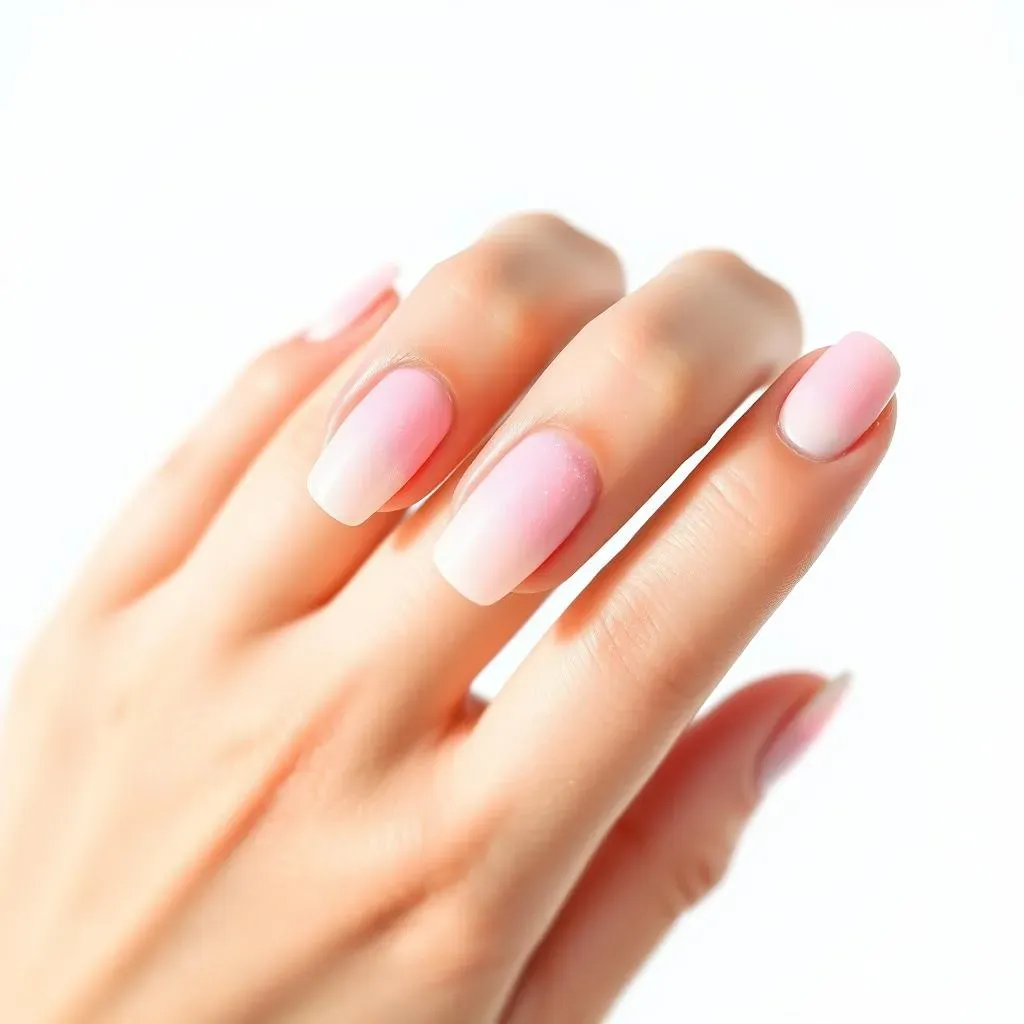
Another fantastic way to elevate your manicure is to play with gradients and ombre effects. These techniques involve blending two or more colors together to create a seamless transition. You can achieve this using a makeup sponge to dab different shades onto your nails, creating a soft, diffused look. Alternatively, you can use a striping brush to carefully blend the colors together for a more precise result. Ombre manicures are incredibly versatile and can be adapted to any color scheme or season. Try a pastel ombre for a spring-like feel, or a dark, moody ombre for a fall vibe. The possibilities are truly endless!
Need more ideas for adding a touch of glam? Our post on cool easy nail art designs is brimming with ideas!
Technique | Description | Tools |
|---|---|---|
Gradient | Blending two or more colors | Makeup sponge or striping brush |
Ombre | Similar to gradient, but often more dramatic | Makeup sponge or striping brush |
Beyond the Basics: More Advanced Easy AtHome Nail Art Designs
Beyond the Basics: More Advanced Easy AtHome Nail Art Designs
Watercolor Wonders: A Touch of Artistic Flair
Ready to take your nail art to the next level? Let's explore watercolor designs! This technique creates a soft, dreamy look that's perfect for adding a touch of artistic flair to your manicure. You'll need a few different shades of similar colors – think pastels or jewel tones – and a very fine detail brush. Apply a base coat and your main color. Then, using a damp brush, dab tiny amounts of your other colors onto the nail, blending them together gently for a watercolor effect. Don’t worry about perfect lines; the beauty of watercolor is its slightly messy, organic quality. Finish with a top coat to seal in your masterpiece.
Feeling inspired? Check out our simple nail art designs in red for more ideas!
- Apply base coat and main color.
- Use a damp brush to dab on other colors.
- Blend colors gently for a watercolor effect.
- Seal with top coat.
Floral Fantasies: Delicate Blooms on Your Nails
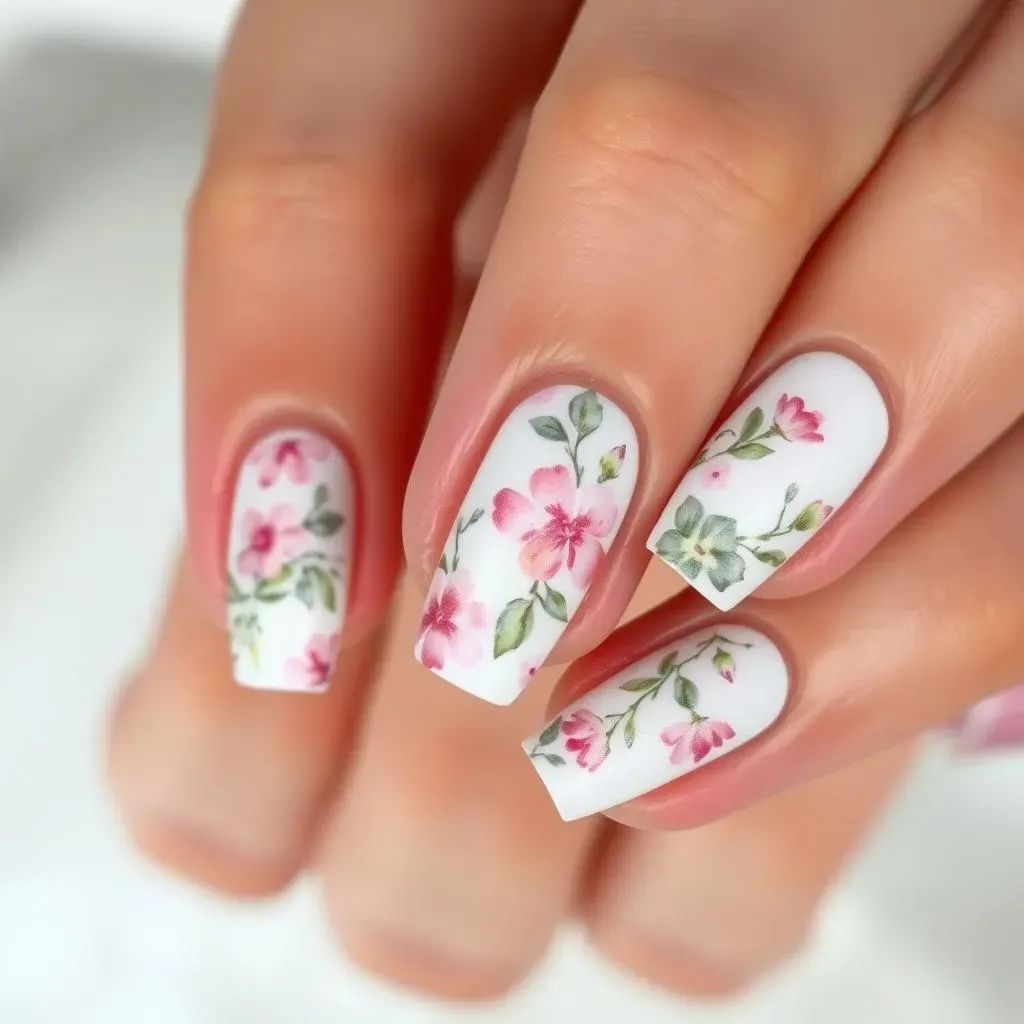
Floral nail art can seem intimidating, but with the right tools and techniques, it’s surprisingly easy to create beautiful blooms on your fingertips. Start with a base coat and a solid color. Using a thin nail art brush, carefully paint small petals, leaves, and stems. You can use different colors for variety, creating a realistic or abstract floral arrangement. Don't be afraid to experiment with different brushstrokes and color combinations. For an extra touch of elegance, add tiny dots to mimic dew drops. Finish with a top coat to protect your delicate design. Remember, even simple flower shapes can look impressive.
Looking for more inspiration? Browse our selection of easy floral nail designs for endless possibilities!
Step | Description |
|---|---|
1 | Apply base coat and main color. |
2 | Paint petals, leaves, and stems using a thin brush. |
3 | Add dots for dew drops (optional). |
4 | Apply top coat. |