Table of Contents
Ready to transform your nails into a blossoming masterpiece? This article is your ultimate guide to the world of easy floral nail designs. Forget complicated techniques and expensive salon appointments; we'll show you how to achieve stunning, professional-looking floral nail art from the comfort of your own home. Whether you're a complete beginner or just looking for some fresh inspiration, we've got you covered. We'll explore simple easy floral nail designs perfect for any skill level, introducing you to essential techniques and tools that will unlock your creativity. We'll also delve into a gallery of stunning designs, showcasing easy floral nail designs for every season, from delicate spring blossoms to vibrant summer blooms, and cozy autumnal hues. Prepare to be inspired, and get ready to unleash your inner nail artist with our collection of easy floral nail designs! Let's get started and create some beautiful nail art together.
Simple Easy Floral Nail Designs for Beginners
Simple Easy Floral Nail Designs for Beginners
Dotted Delight: The Easiest Floral Mani
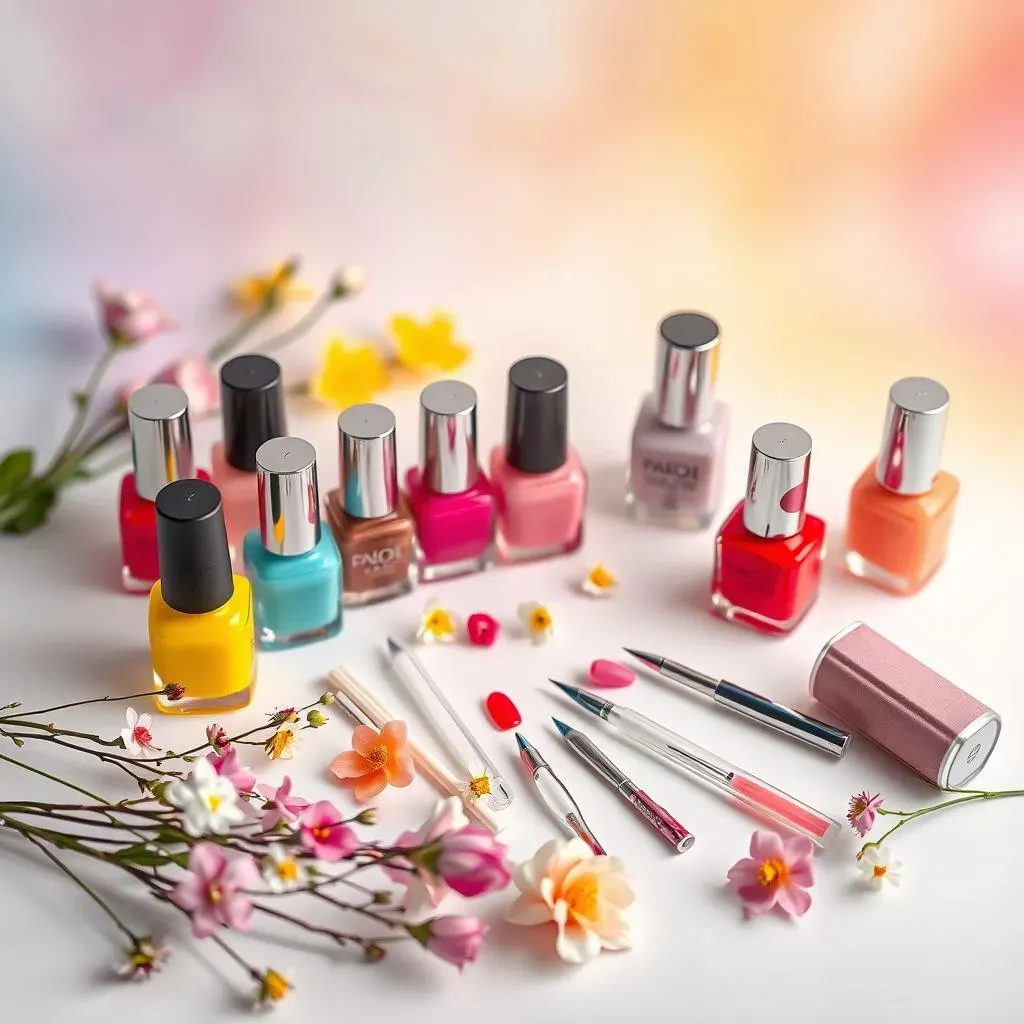
Let's start with the absolute simplest floral nail art: the dotted flower! All you need is a few nail polish colors (think pinks, yellows, and greens for a spring vibe) and a dotting tool or even a toothpick. Create tiny dots in a circular pattern to form the flower's center, then add smaller dots around it for petals. It's unbelievably easy, and you can customize the colors to match any outfit or occasion. For extra sparkle, try adding a tiny rhinestone to the center of each flower! Check out these cute and easy nail designs for more inspiration.
This technique is perfect for beginners because it requires minimal skill and cleanup. Don't worry about making them perfect; a slightly imperfect look adds to the charm! Experiment with different dot sizes and arrangements to create unique designs. You can even try using different colored dots to create ombre or rainbow effects. For a more refined look, use a thin brush to add some tiny leaves or stems.
Color | Tool | Tip |
|---|---|---|
Pastel pinks, yellows, greens | Dotting tool or toothpick | Don't overthink it! |
Simple Floral Stickers: Quick & Chic
Short on time but still craving a floral manicure? Nail art stickers are your new best friend! These pre-made designs come in countless styles and colors, from delicate daisies to bold roses. Simply apply them to your nails after you've painted your base color and sealed them with a top coat. It’s that easy! This method is great for adding a touch of elegance or fun without the hassle of freehand painting. You can find a wide variety of floral nail stickers online or at beauty supply stores. Experiment with placing them strategically for a unique look – maybe one flower per nail, or a cluster on one or two nails.
Consider your base coat color carefully. A solid neutral shade will really make the floral stickers pop. Remember to apply a top coat after applying your stickers to protect them and extend the lifespan of your manicure. For extra longevity, try a gel top coat. If you're feeling adventurous, you can even layer stickers for a more intricate design! If you are looking for something to wear to a special occasion, check out our easy nail designs for special occasions.
- Choose your favorite floral design
- Apply a base coat
- Add stickers & seal with top coat
Watercolor Floral Effect: A Touch of Artistic Flair
Want something a little more artistic? The watercolor effect is surprisingly easy to achieve. Start with a light base coat, then use a sponge or a makeup wedge to dab on different shades of polish in a floral pattern. The slightly blurred edges create a soft, romantic look. Use light, translucent colors for a more subtle effect or go bold with bright hues for a statement manicure. This technique lets you get creative with color blending and layering. You can achieve a really unique look by experimenting with different color combinations and blending techniques. It's a fun way to express your style and personality.
The beauty of this technique is in its imperfection. Don’t worry about precise lines; the slightly messy look is what gives it that lovely watercolor feel. A good quality top coat will help to protect the design and prevent chipping. You can add some glitter or shimmer to your base coat for extra shine. For more inspiration on simple nail art, check out our guide to easy nail art ideas for beginners.
Easy Floral Nail Art Techniques & Tools
Easy Floral Nail Art Techniques & Tools
Mastering the Dotting Tool
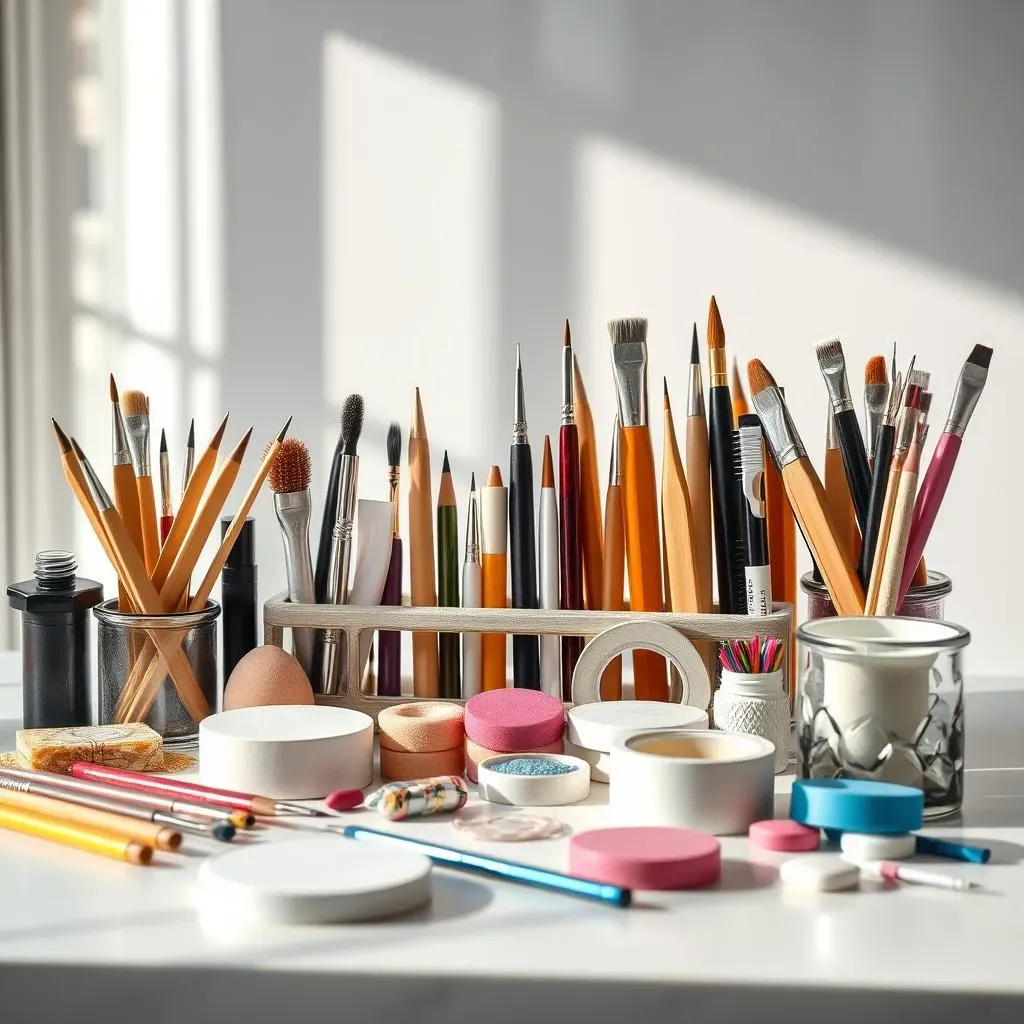
Let's talk tools! The humble dotting tool is your secret weapon for creating adorable floral nail art. These inexpensive tools come in various sizes, allowing you to create dots of different sizes for petals and centers. They're super easy to use—simply dip the end into your nail polish and gently press onto your nail. Practice makes perfect, so don't be discouraged if your first attempts aren't flawless. With a little practice, you'll be creating intricate floral designs in no time! For more simple nail art ideas, check out our amazingly simple manicures.
Beyond dotting tools, consider investing in fine-tipped brushes. These are excellent for adding delicate details like stems, leaves, and even tiny flower veins. You can find these at most beauty supply stores or online. Remember, the right tools can make a huge difference in achieving professional-looking results. And don't underestimate the power of a good quality top coat! A top coat protects your design and adds shine, making your manicure last longer. Check out our easy gel nail designs for some inspiration on how to achieve a long-lasting manicure.
Tool | Use | Tip |
|---|---|---|
Dotting tool | Creating dots for petals & centers | Vary dot sizes for dimension |
Fine-tipped brush | Adding details like stems & leaves | Practice makes perfect! |
Top coat | Protection & shine | Use a good quality top coat |
Nail Art Tapes and Stickers
Want to add some extra flair without the fuss? Nail art tapes and stickers are your new best friends! These come in an incredible variety of shapes, colors, and patterns, including beautiful floral designs. Simply apply them to your nails after painting your base color, and seal with a top coat. It's a fast and easy way to achieve a professional-looking manicure without needing advanced painting skills. Experiment with different placements to create unique designs. Try combining different tapes and stickers for a truly customized look. Consider awesome easy DIY nail designs for more ideas.
Remember to prepare your nails properly before applying tapes or stickers. Ensure your nail polish is completely dry to prevent smudging. Apply a base coat to protect your nails and improve the adhesion of the stickers. And, as always, a top coat is your best friend for extending the life of your manicure. For a more intricate look, try layering different tapes and stickers. You can even cut or shape the stickers to create custom designs. For example, you can cut out individual petals from a larger floral sticker and arrange them to create your own unique design. For holiday nail art ideas, check out our easy nail designs for holidays.
- Choose your favorite floral tapes or stickers
- Apply a base coat
- Apply the tapes or stickers carefully
- Seal with a top coat
Sponges and Makeup Wedges for a Watercolor Look
For a softer, more artistic look, try using a sponge or makeup wedge to create a watercolor effect. Dab different colors of nail polish onto the sponge, then gently press it onto your nails. This technique creates a beautiful, blended effect, perfect for creating delicate floral patterns. Experiment with different color combinations and dabbing techniques to achieve a unique look. Remember to prepare your nails with a base coat to prevent staining. Check out our easy nail designs for spring for some colorful inspiration.
The key to a successful watercolor effect is to use light, translucent colors and to avoid over-dabbing. Start with a light base coat to help the colors blend smoothly. For a more defined look, you can use a fine-tipped brush to add details after the sponging. Don't forget the top coat to protect your design and add shine! For additional tips, explore our selection of cute and easy nail designs that use similar techniques.
Stunning Easy Floral Nail Designs for Every Season
Stunning Easy Floral Nail Designs for Every Season
Spring Blooms: Delicate & Pastel
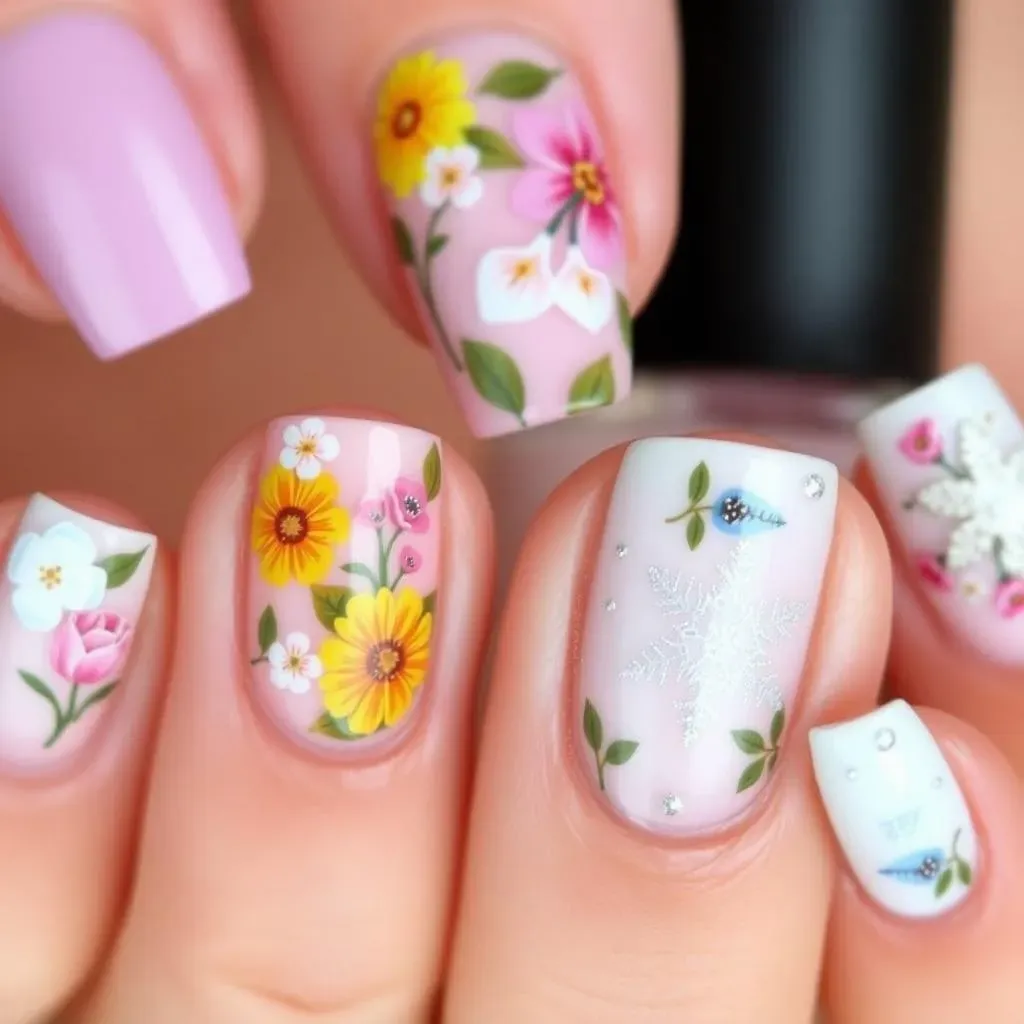
Spring is all about fresh starts and pastel colors, so why not reflect that on your nails? Think delicate daisies, soft pink cherry blossoms, or cheerful yellow daffodils. Use light, airy colors like pale pinks, lavenders, and baby blues. For a touch of whimsy, add a few tiny green leaves or stems. These designs are easy to create using dotting tools or thin brushes. Keep the details simple and let the pastel shades shine. For more spring-inspired designs, check out our easy spring nail designs.
A simple French manicure with a floral twist is another great option. Instead of a solid white tip, paint delicate flowers or small floral patterns. You can even use different colors for each nail to create a unique look. This design is perfect for those who want a subtle yet stylish floral manicure. For short nail inspiration, check out our easy designs for short nails.
Flower Type | Color Palette | Technique |
|---|---|---|
Daisies | Pastels | Dotting tool |
Cherry Blossoms | Pink & White | Thin brush |
Summer Vibes: Bright & Bold
Summer is the perfect time to go bold with your floral nail art! Think vibrant hibiscus flowers, sunny sunflowers, or tropical orchids. Use bright, saturated colors like hot pink, sunshine yellow, and vibrant orange. You can create a tropical paradise on your nails by combining different floral elements and using a variety of colors. Don't be afraid to experiment with different techniques, such as using a sponge to create a watercolor effect or adding glitter for extra sparkle. For more summer-inspired looks, check out our easy designs for special occasions (summer parties!).
A simple way to achieve a summery look is to use a solid base color and then add a few simple floral accents. For example, you could paint a few small flowers on one or two nails, or create a simple floral border along the cuticle. You can also use nail stickers or decals to add floral details without having to paint them freehand. For more simple nail art ideas, check out our cute and easy nail designs.
- Hibiscus
- Sunflowers
- Tropical Orchids