Table of Contents
Ready to transform your nails into blooming masterpieces? This article is your ultimate guide to achieving stunning, yet surprisingly simple, flower nail art. Whether you're a complete beginner or just looking for some fresh inspiration, we've got you covered. We'll explore a range of "easy flower designs for nails," from delicate daisies to vibrant bouquets, all created with straightforward techniques. Get ready to ditch the complicated salon appointments and unleash your inner artist! First, we'll start with beginner-friendly designs, perfect for those just starting their nail art journey. Then, we’ll dive into step-by-step tutorials, breaking down each design into manageable steps, complete with helpful tips and tricks. Finally, we’ll spark your creativity with a collection of unique and inventive ideas, showing you how to personalize your floral manicures to perfectly match your style. So, grab your favorite nail polishes, and let's get started on creating beautiful, easy flower designs for nails that will have everyone admiring your handiwork!
Simple Flower Nail Art Designs for Beginners
Simple Flower Nail Art Designs for Beginners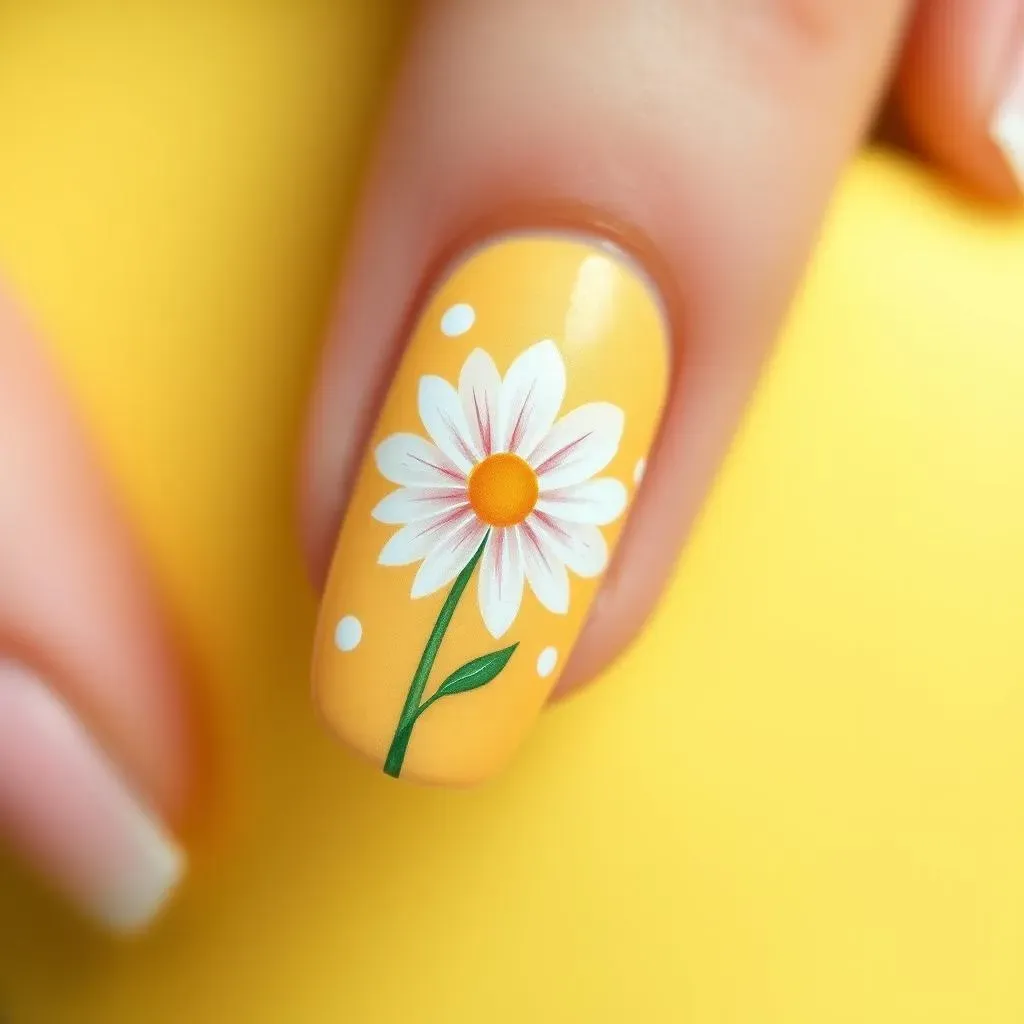
Dotted Delight: Simple Daisy Designs
Let's start with the easiest flower: the daisy! All you need is a base coat, two contrasting colors (like white and yellow), and a dotting tool (or even a toothpick!). Paint your nails your base color and let it dry completely. Then, using the dotting tool, create a small yellow circle in the center of each nail. Surround this with smaller white dots to form the petals. It's that simple! For a fun twist, try different color combinations – pink and white daisies are adorable, and for a more sophisticated look, try using a dark base coat with lighter dots. Check out these easy cute designs for short nails for more inspiration!
Don't worry if your dots aren't perfectly even; a slightly imperfect look adds charm! And remember, practice makes perfect. The more you try, the better you'll get at creating those tiny, perfect dots. A steady hand is key, but don't be afraid to experiment. You can always wipe off any mistakes and start again. Have fun with it!
Color | Tool | Tip |
|---|---|---|
Contrasting colors (e.g., yellow & white) | Dotting tool or toothpick | Practice on paper first! |
Simple Floral Accents: One-Stroke Wonders
Next, let's add some elegance with simple floral accents. Instead of painting full flowers on every nail, try adding just one or two dainty flowers to one or two nails. This creates a subtle, chic look without being overwhelming. For example, you could paint a single, delicate rose on your ring finger, using just a few strokes of a thin brush. Or, try painting tiny, simple flowers along the cuticle line of each nail. This creates a pretty border that's easy to achieve. For more ideas on simple nail designs, take a peek at our simple nail designs for short nails post.
Remember, less is often more when it comes to nail art. A few well-placed flowers can make a bigger impact than a lot of messy designs. Focus on clean lines and precise strokes. If you're struggling to achieve clean lines, try using a thin nail art brush. These brushes are designed to create fine details and will make your floral accents look even more professional.
- Choose one or two accent nails.
- Use thin brush for precise lines.
- Keep the design simple and elegant.
Easy Floral Stripes: A Touch of Whimsy
Finally, let's add a touch of whimsy with easy floral stripes. This technique is perfect for adding a playful touch to your manicure. Start by painting your nails a solid base color. Once dry, use striping tape (or thin pieces of tape) to create vertical or horizontal stripes on your nails. Then, paint the stripes with different floral colors. You can create simple flower patterns by overlapping the stripes, or you can use a different color for each stripe, creating a rainbow effect. These designs look particularly great on longer nails, but they can also look just as pretty on shorter nails. For more inspiration on easy nail designs for any occasion, check out our easy everyday nail designs gallery.
Once the stripes are dry, carefully remove the tape to reveal your beautiful floral design. To make your design even more unique, try using glitter polishes or adding small embellishments like rhinestones or studs. This is a great way to add a touch of sparkle to your floral manicure. Remember, have fun experimenting with different colors and patterns! There's no right or wrong way to create these designs, so let your creativity flow.
Easy Flower Nail Designs: StepbyStep Tutorials
Easy Flower Nail Designs: StepbyStep Tutorials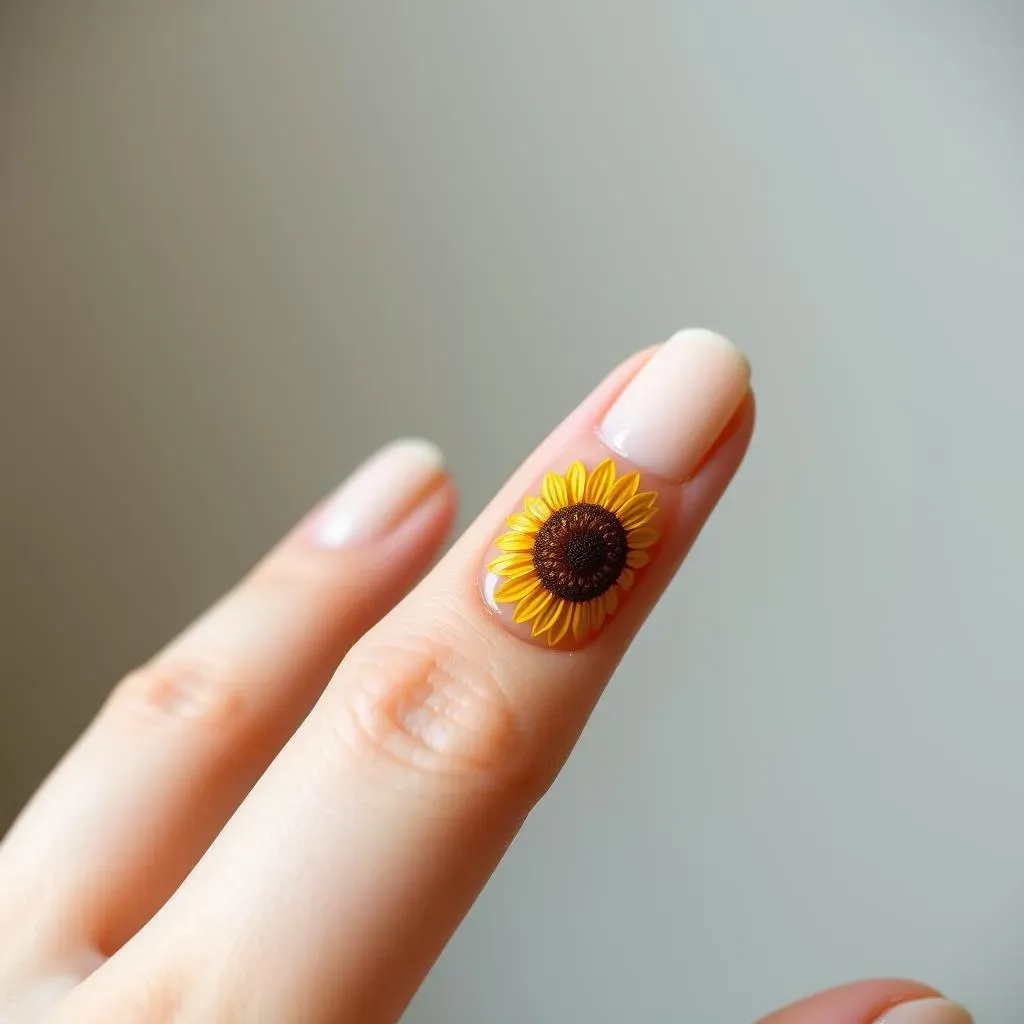
Roses are Easy: A Step-by-Step Guide
Let's tackle a classic – the rose! Don't be intimidated; with a little patience, you can create beautiful roses. Start with a base coat, then use a thin brush and a deep red polish. Begin by painting a small, slightly curved teardrop shape near the base of your nail. This forms the center of the rose. Next, paint smaller teardrop shapes around the first one, slightly overlapping, to form the petals. Each petal should be slightly smaller than the last, creating a layered effect. For a more realistic look, vary the petal shapes and sizes slightly.
Once your rose is complete, add a few green leaves using a fine detail brush and green polish. You can find more inspiration for easy floral nail designs in our easy floral nail art designs gallery. Don't forget a top coat to seal everything in and add shine!
- Base coat
- Deep red polish (thin brush)
- Green polish (fine detail brush)
- Top coat
Pretty Petunias: A Simple Technique
Petunias are another easy flower to paint on your nails! Choose two contrasting colors, like purple and yellow. Start with a base coat, then use a small dotting tool to create a small yellow circle in the center of each nail. Use a thin brush to paint five small, slightly curved petals around the yellow center. Try varying the length of each petal for a more natural look. You might also want to check out our cute and easy nail designs for more ideas.
For extra flair, add a few tiny green leaves under the petals. Seal with a top coat. The key here is keeping the petals simple and slightly imperfect; that's what makes them charming!
Step | Description |
|---|---|
1 | Base coat |
2 | Yellow center (dotting tool) |
3 | Purple petals (thin brush) |
4 | Green leaves (optional) |
5 | Top coat |
Sunflowers: Bright and Bold
Sunflowers are a fun and cheerful choice for a step-by-step nail art project. Begin with a yellow base coat. Once dry, use a brown polish and a thin brush to create a small, slightly curved line in the center of each nail, mimicking the sunflower’s seed head. Then, use a slightly lighter yellow to paint some petals around the brown center. Make the petals slightly irregular for a natural feel.
For a finishing touch, add tiny green leaves near the base of the flower. Seal with a top coat. And remember, don't be afraid to experiment with different shades of yellow and brown to create your unique sunflower design. For more fun ideas, check out our selection of easy nail designs for kids – they're surprisingly adaptable for adults too!
Creative Ideas for Easy Flower Nail Designs
Creative Ideas for Easy Flower Nail Designs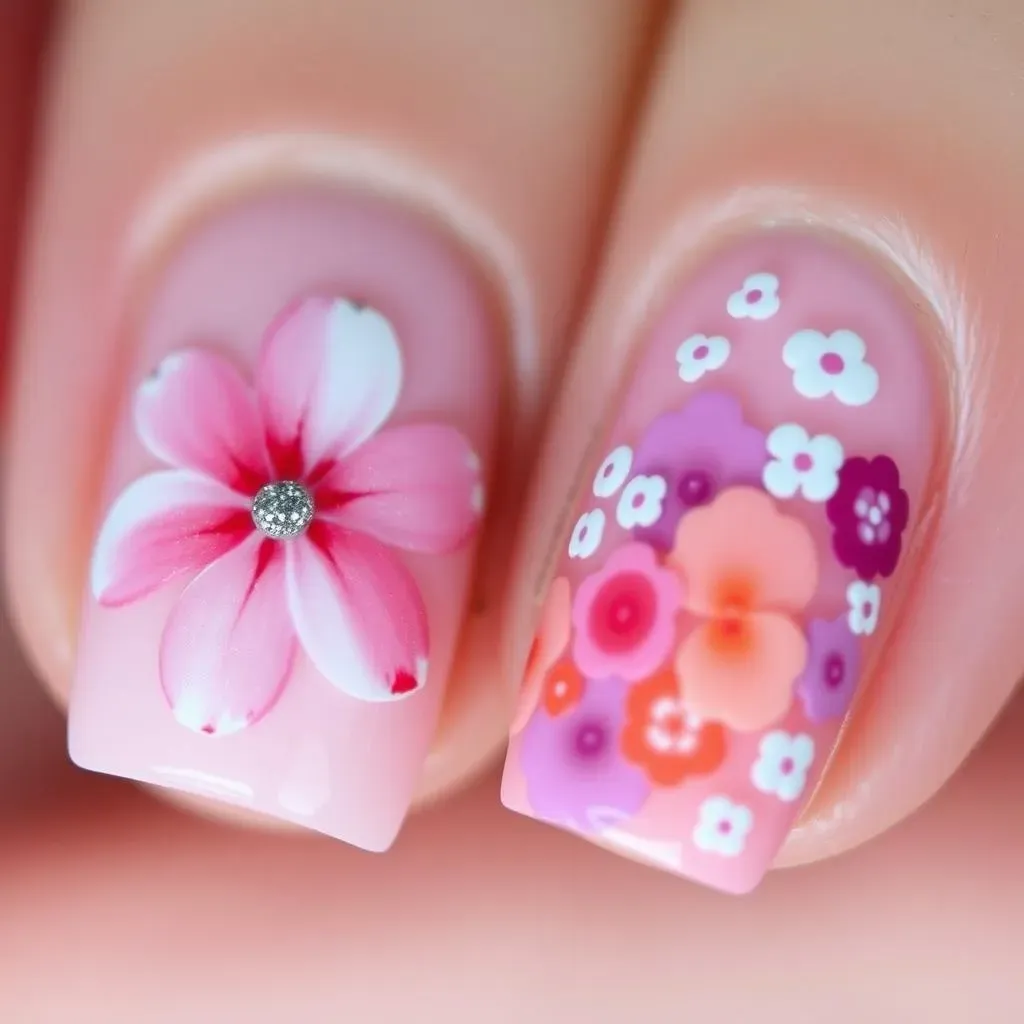
Watercolor Blooms: A Delicate Touch
Let's add some ethereal beauty with watercolor blooms! This technique creates a soft, dreamy effect. Start with a light base coat, like a pale pink or mint green. Then, using a thin brush and diluted nail polish (add a drop or two of nail polish thinner to your polish), create soft, blended petals. Don't worry about sharp lines; the beauty of this technique is its softness. Layer different shades of the same color to create depth and dimension. For instance, start with a light pink base and then add layers of darker pink and even a touch of white to create a soft, glowing effect. For more ideas on achieving a professional look, explore our awesome easy DIY nail designs.
To add a touch of elegance, sprinkle some fine glitter over the wet polish, focusing on the center of the flower. Let it dry completely, then seal with a top coat. The result is a stunning, yet surprisingly simple, watercolor manicure. Remember to practice your blending technique on a piece of paper before applying it to your nails. This will help you get a feel for how much polish to use and how to achieve the desired effect.
- Use diluted nail polish for a soft effect.
- Layer different shades for depth.
- Add glitter for extra sparkle (optional).
Floral Ombre: A Gradient of Color
Next, let's create a mesmerizing floral ombre effect! This technique involves blending two or more colors together to create a gradual transition. Choose two or three colors that complement each other, such as shades of pink, purple, and orange. Start by applying the lightest color to the base of your nail, then gradually blend in the darker shades towards the tip. You can use a sponge or a thin brush to create the ombre effect. For a more detailed guide on achieving a professional ombre look, check out our amazing simple nail art designs article.
Once the ombre is dry, use a thin brush to paint simple floral details over the gradient. For example, you could paint tiny white dots to represent flower petals or use a contrasting color to add leaves and stems. To add texture, try using a textured top coat or adding small embellishments like rhinestones or glitter. Remember, the key to a successful ombre effect is a smooth, seamless transition between colors. Take your time and blend the colors carefully to achieve the desired look. This technique is perfect for creating a unique and eye-catching manicure.
Color | Technique | Tip |
|---|---|---|
Two or three coordinating colors | Sponge or thin brush blending | Practice color transitions on paper |