Table of Contents
Ready to transform your nails from drab to fab? This article is your ultimate guide to mastering easy nail art designs for beginners. Forget expensive salon appointments and complicated techniques – we're diving into simple, step-by-step tutorials that anyone can follow, regardless of their skill level. Whether you're a complete novice or just looking for some fresh inspiration, you'll find plenty of ideas here to unleash your creativity. We'll cover essential tools and materials, providing a comprehensive list to get you started. Then, we'll walk you through several stunning easy nail art designs for beginners, from classic polka dots to trendy geometric patterns. Each design comes with a detailed tutorial, making the process fun and stress-free. Finally, we'll explore a gallery of creative inspiration to spark your imagination and help you develop your own unique style. By the end of this article, you'll be confident in your ability to create beautiful, professional-looking nail art at home. So grab your favorite polish, and let's get started on your nail art journey!
Simple Nail Art Designs for Beginners: Easy Techniques
Simple Nail Art Designs for Beginners: Easy Techniques
Mastering the Basics: Lines and Dots
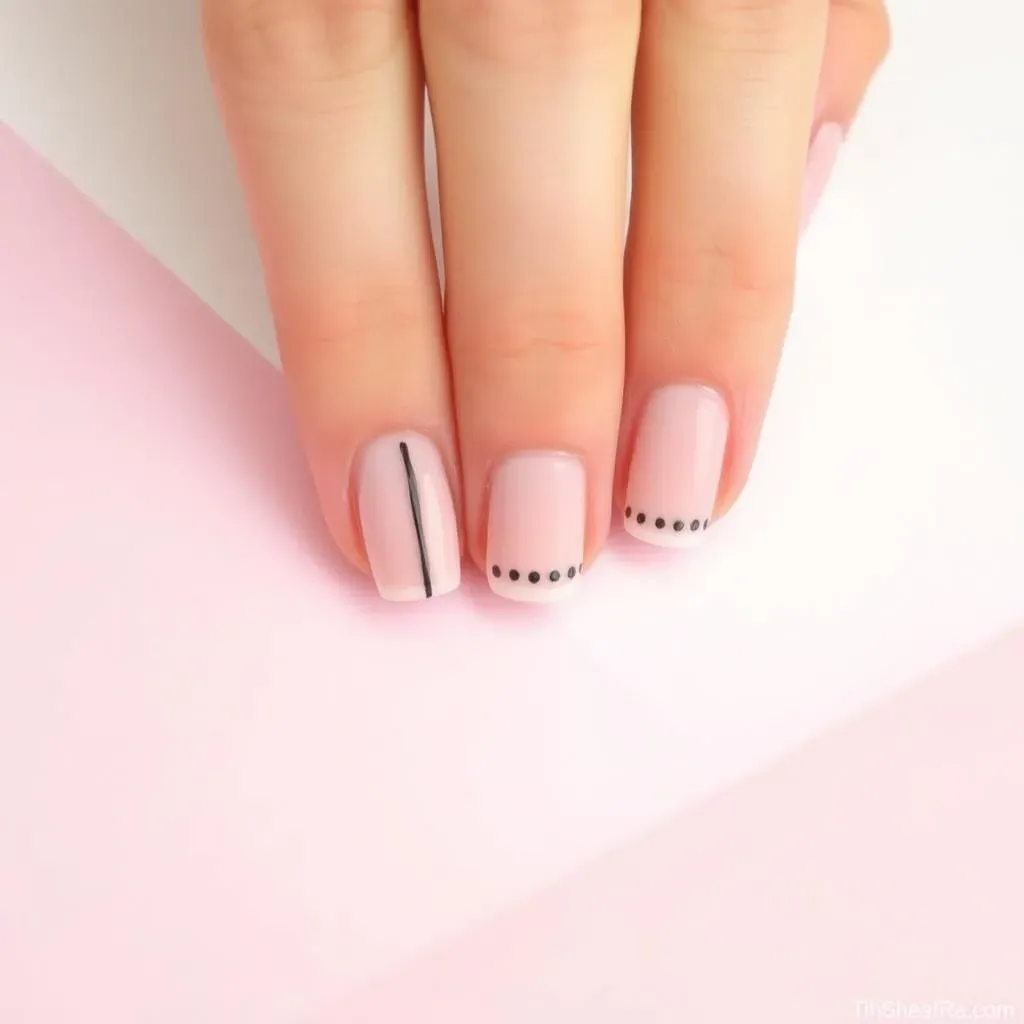
Let's start with the fundamental building blocks of nail art: lines and dots. These simple techniques are surprisingly versatile and can be used to create a wide range of designs. For precise lines, use a thin striping brush or even a toothpick for a more rustic look. Practice drawing straight lines, curved lines, and zigzags on a piece of paper before applying them to your nails. For dots, a dotting tool is ideal, but a bobby pin or the end of a pen can also do the trick. Experiment with different sizes and spacing to create different effects. A simple design could be a single line down the center of each nail, or a row of dots along the cuticle. Check out our post on easy nail art pen ideas for more inspiration!
Remember, practice makes perfect! Don't get discouraged if your first attempts aren't flawless. The beauty of nail art lies in its imperfection – embrace your unique style and have fun with it. Even simple designs can look amazing with a little creativity. Think of it like learning to write – your first attempts might be shaky, but with practice, you'll develop a steady hand and your own unique style. You can also find tons of inspiration on our page dedicated to easy nail design ideas.
Technique | Tool | Example Design |
|---|---|---|
Lines | Striping brush, toothpick | Single line, stripes, zigzags |
Dots | Dotting tool, bobby pin | Polka dots, French manicure variation |
Simple Shapes and Patterns: Triangles and Stripes
Once you've mastered lines and dots, it's time to move on to simple shapes and patterns. Triangles are a great starting point, as they are easy to create using striping tape or freehand with a brush. Start with a base coat of your favorite color. Apply the striping tape to create a triangle shape. Then, paint a contrasting color within the triangle. Remove the tape while the polish is still wet to reveal a crisp, clean line. Stripes are another easy option, and can be created using striping tape, a striping brush, or even a thin piece of tape. For a more unique look, try varying the thickness and spacing of your stripes. Consider using a summery color palette for a fun, seasonal touch.
Remember to let each layer of polish dry completely before applying the next. This will prevent smudging and ensure a clean finish. A quick-drying top coat will help protect your masterpiece and give it a beautiful shine. Don't be afraid to experiment with different color combinations and patterns to find your unique style. For extra inspiration, check out our collection of easy pretty nail designs for some stunning ideas!
- Use striping tape for clean lines.
- Experiment with different brush strokes.
- Let each layer dry completely.
Easy Nail Art Designs for Beginners: Essential Tools & Materials
Easy Nail Art Designs for Beginners: Essential Tools & Materials
Essential Nail Polish Collection
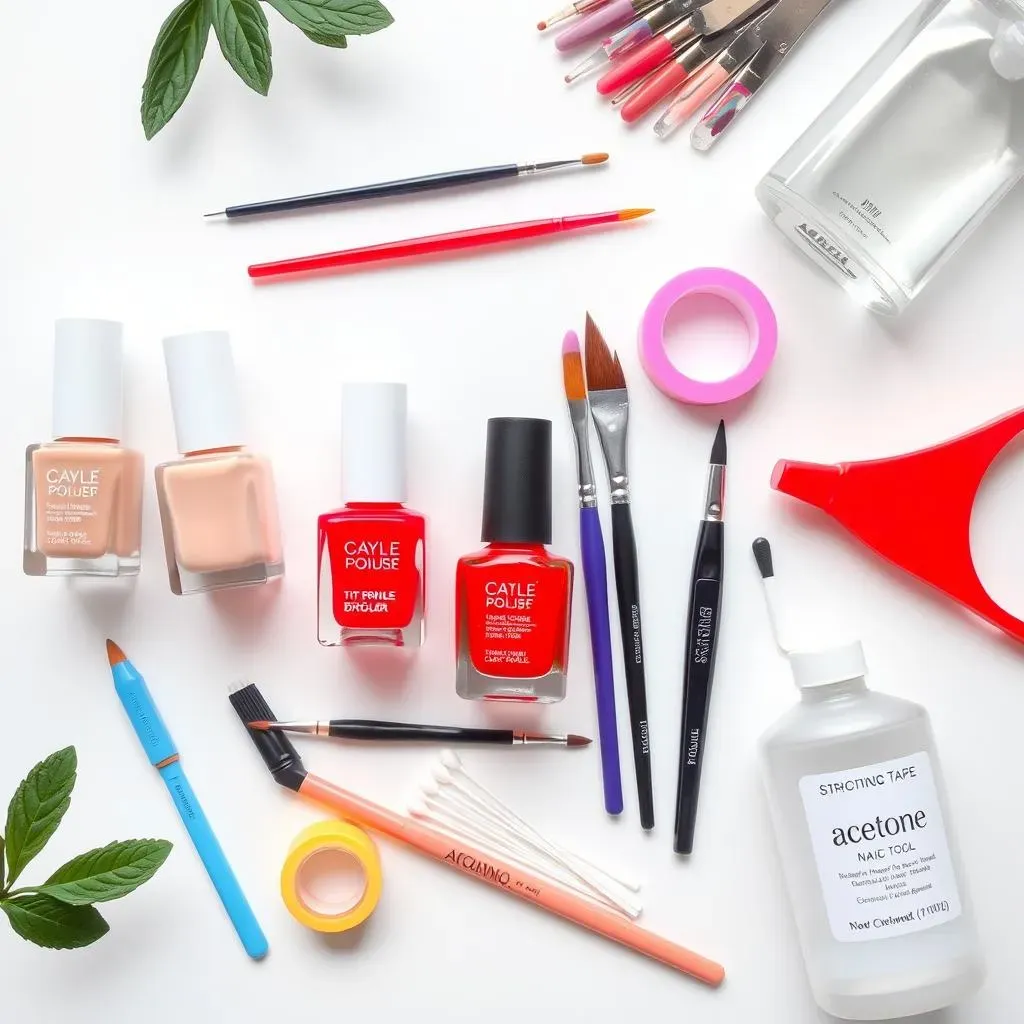
First things first: you'll need a good selection of nail polishes! Start with a few base colors – a nude, a classic red, and a fun bright shade are great places to begin. Don't forget a clear base coat to protect your nails and help your polish last longer, and a top coat for that glossy, salon-worthy finish. For extra flair, consider adding a glitter polish or two to your collection. You can find tons of inspiration for color combinations on our page dedicated to easy pretty nail designs.
Think of your nail polish collection as your artist's palette – the more colors you have, the more creative you can get! Don't be afraid to experiment with different shades and textures to find what you love. A matte top coat can also give your nails a chic, modern look. Check out our beginner-friendly nail designs for some ideas to get you started.
- Base coat
- Top coat (glossy and matte)
- At least 3-5 nail polish colors
- Glitter polish (optional)
Beyond the Polish: Essential Tools
While nail polish is the star of the show, you'll need a few other tools to create your nail art masterpieces. A good quality nail art brush is essential for creating precise lines and details. Look for a set with different brush sizes to give you more versatility. A dotting tool is another handy tool for creating dots and other small details. If you don't have a dotting tool, don't worry – a bobby pin or even a toothpick can work in a pinch! Striping tape is a game-changer for creating clean, straight lines and geometric patterns. It's super easy to use and comes in various widths.
And finally, don't forget the little things! A good quality nail file will keep your nails looking neat and tidy. Cuticle pusher and remover will help prep your nails for a perfect manicure. Cotton swabs and acetone are essential for cleaning up any mistakes. Investing in these basic tools will elevate your nail art game and make the whole process much more enjoyable. You'll find lots of great ideas on how to use these tools in our guide to DIY nail designs.
Tool | Purpose |
|---|---|
Nail art brush | Creating lines and details |
Dotting tool | Creating dots and small details |
Striping tape | Creating straight lines and geometric patterns |
Nail file | Shaping and smoothing nails |
Stunning Easy Nail Art Designs for Beginners: StepbyStep Tutorials
Stunning Easy Nail Art Designs for Beginners: StepbyStep Tutorials
Classic Polka Dots
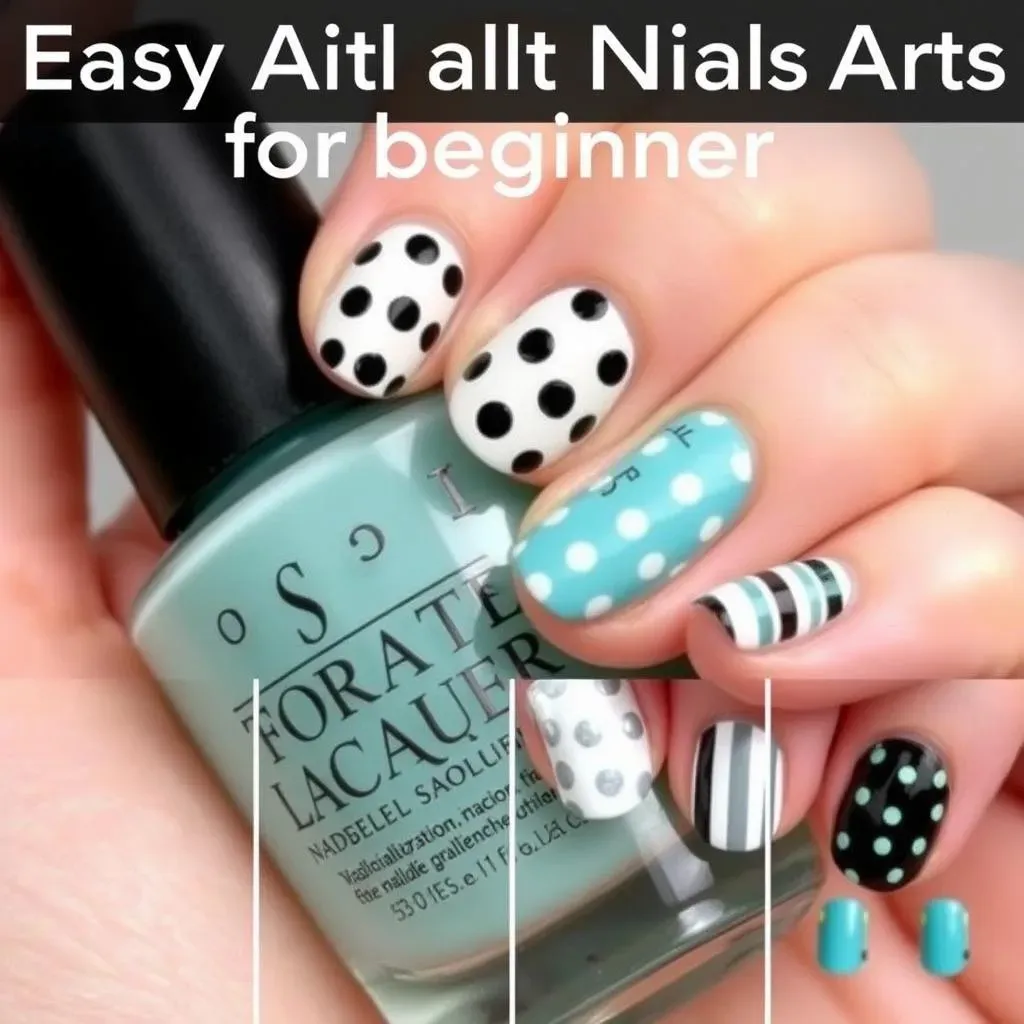
Let's start with a timeless classic: polka dots! This design is incredibly versatile and can be adapted to any color scheme or occasion. Begin with a base coat of your chosen color – a bright, summery yellow or a sophisticated navy blue would both look amazing. Once dry, use a dotting tool (or a bobby pin!) to create evenly spaced dots across your nails. Vary the size and spacing of your dots for a more interesting effect. For a truly unique look, try using multiple colors of polka dots, or even adding a subtle glitter accent. You can find more inspiration in our amazingly simple manicures post!
To make your polka dots even more precise, try using a stencil. You can find these easily online or in craft stores. Alternatively, you can create your own stencil from painter's tape. Remember to let each layer dry completely before applying the next – this is key to preventing smudging and creating a professional-looking finish. Don't forget a top coat to seal your design and add shine! For more ideas on how to perfect this look, check out our page on easy nail art ideas.
- Choose a base color.
- Use a dotting tool or bobby pin.
- Vary dot size and spacing.
- Add a top coat for shine.
Simple Stripes
Stripes are another incredibly easy and effective nail art design. Start with a base coat, then use striping tape or a fine brush to create vertical, horizontal, or diagonal stripes. Experiment with different colors and widths of stripes for a unique look. For a modern twist, try creating ombre stripes by blending two or more colors together. You can use a sponge for a slightly more textured effect, or a fine brush for clean, crisp lines. Need more ideas? Check out our easy nail art line designs collection.
For clean lines, using striping tape is your best bet. Simply apply the tape to your nail in the desired pattern, paint over the tape with your chosen color, and peel off the tape while the polish is still slightly wet. If you're feeling more adventurous, try freehanding your stripes with a thin brush. Practice on a piece of paper first to get a feel for the technique. Don't forget to seal your design with a top coat for a long-lasting, glossy finish! You might also want to browse through our beginner-friendly nail designs for more inspiration.
Stripe Style | Tools | Tip |
|---|---|---|
Vertical | Striping tape, thin brush | Use a steady hand! |
Horizontal | Striping tape, thin brush | Apply tape carefully. |
Diagonal | Striping tape, thin brush | Practice your angle. |
Half-Moon Manicures
The half-moon manicure is a chic and surprisingly easy design to achieve. Start by painting your nails with a base coat. Next, using a small piece of curved tape or a stencil, cover the base of your nail (the area closest to your cuticle). Apply a contrasting color to the rest of your nail. Remove the tape or stencil while the polish is still slightly wet to reveal a perfect half-moon shape. This design is perfect for adding a touch of elegance to any look. You can find other elegant options in our post on easy nail designs for weddings.
For a more modern twist, try using a metallic or glitter polish for the half-moon. You can also experiment with different shapes – instead of a perfect half-moon, try a more abstract shape, or even a triangle! Remember to let each layer dry completely before applying the next to avoid smudging. Finish with a top coat to seal your design and add shine. For more half-moon manicure ideas, check out our gallery of simple nail designs for 2024.
Creative Easy Nail Art Designs for Beginners: Inspiration & Ideas
Creative Easy Nail Art Designs for Beginners: Inspiration & Ideas
Finding Your Style: Exploring Design Themes
The world of nail art is your oyster! Don't feel limited by the tutorials – let them inspire you to create your own unique designs. Think about your personal style and what makes you happy. Do you love nature? Try incorporating floral designs, leaves, or even cute little animal prints. Feeling bold? Go for geometric patterns, bright colors, or abstract art. A simple search for "floral nail art" or "geometric nail art" can yield a treasure trove of ideas. For some seasonal fun, check out our guides to easy fall nail designs and easy summer nail art designs.
Pinterest and Instagram are goldmines of nail art inspiration! Spend some time browsing through different styles and techniques to find what sparks your interest. Pay attention to color palettes, patterns, and overall aesthetics. Don't be afraid to experiment and try new things! Even if a design looks complicated, you can often simplify it by breaking it down into smaller steps. Remember, even simple designs can look amazing with a touch of creativity. For example, a simple French manicure can be transformed with the addition of some glitter or small decals. Explore the endless possibilities on our page dedicated to easy nail art ideas.
- Nature-inspired designs (flowers, leaves, animals)
- Geometric patterns (stripes, triangles, chevrons)
- Abstract art
- Seasonal themes (fall, winter, spring, summer)
Color Palettes: Creating a Cohesive Look
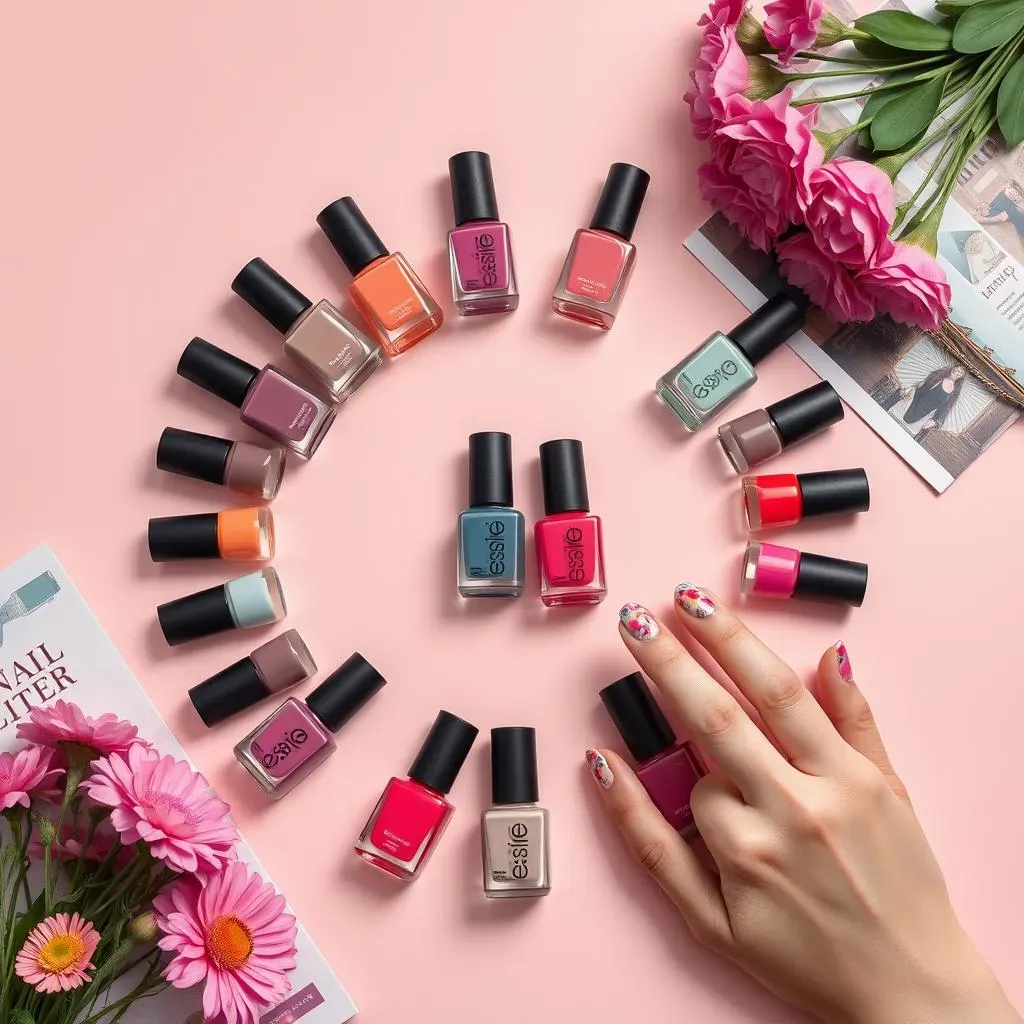
Choosing the right color palette is key to creating a cohesive and visually appealing nail art design. Consider your skin tone and the overall style you're going for. For example, pastel shades often look great on fair skin, while bolder colors can complement darker skin tones. However, these are just guidelines – feel free to experiment and find what works best for you! Explore different color combinations and see what you like. Do you prefer warm tones (reds, oranges, yellows) or cool tones (blues, greens, purples)? Do you prefer a monochromatic look (different shades of the same color) or a more vibrant, multi-colored design?
Don't be afraid to step outside your comfort zone and try new color combinations! Sometimes the most unexpected pairings can create the most stunning results. Think about the overall mood you want to create. Do you want something bright and cheerful, or something dark and mysterious? Your color palette can play a huge role in setting the tone for your nail art. For more color inspiration, check out our collection of easy pink nail designs and easy red nail designs.
Color Palette | Mood | Example Design |
|---|---|---|
Pastels | Sweet, feminine | Floral designs |
Bold colors | Energetic, vibrant | Geometric patterns |
Monochromatic | Sophisticated, elegant | Ombre effect |