Table of Contents
Ready to ditch the salon and unleash your inner nail artist? This article is your passport to a world of stunningly simple nail designs. Forget complicated techniques and expensive tools – we're focusing on "easy painted nail designs" that are achievable for absolute beginners. Get ready to explore a range of basic techniques, from perfectly placed dots to elegant stripes, transforming your nails from drab to fab in minutes. We'll guide you through easy-to-follow steps, offering creative tips and tricks to elevate your skills. Prepare to be amazed by the incredible variety of designs you can create with minimal effort. Whether you’re looking for a subtle everyday look or a bold statement manicure, this article has something for everyone. So grab your favorite polishes, and let's embark on a fun and creative journey into the world of effortless nail art!
Mastering Basic Easy Painted Nail Designs
Mastering Basic Easy Painted Nail Designs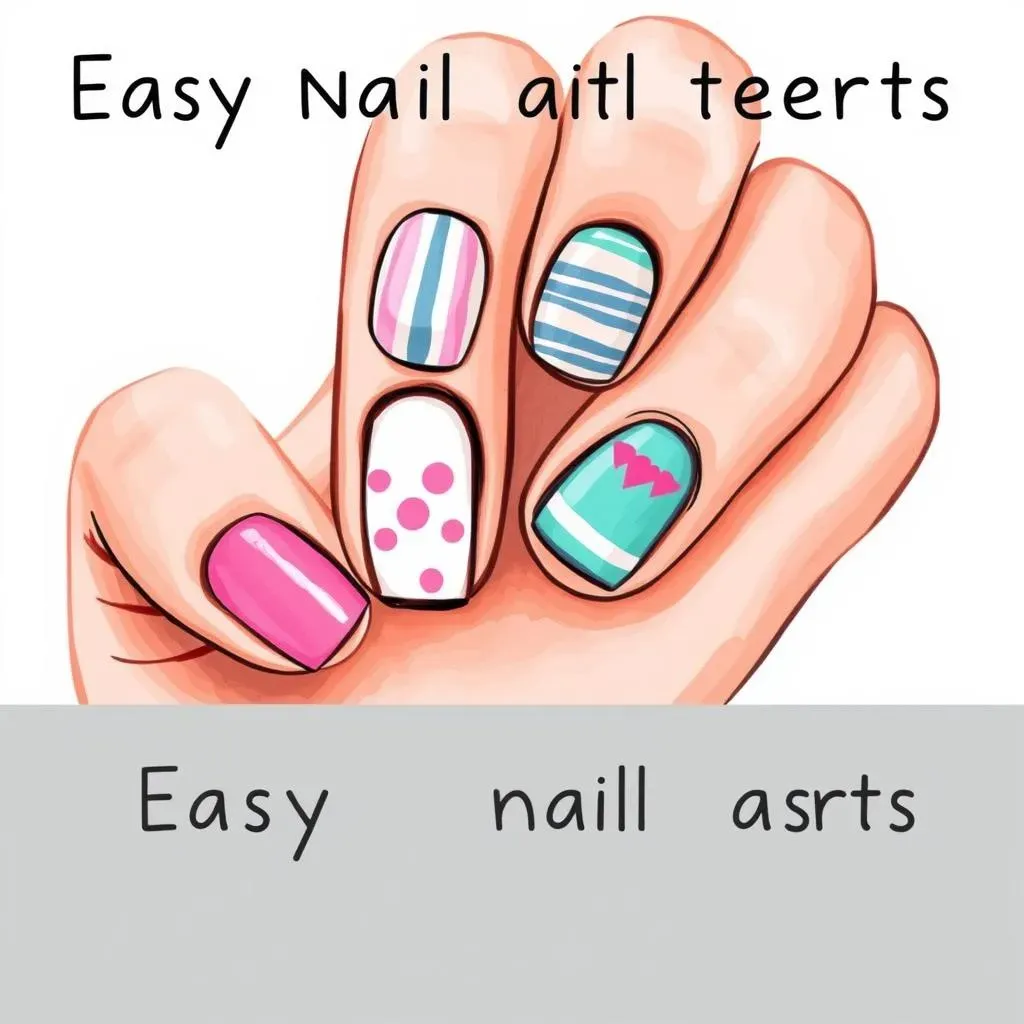
Solid Color Manicures: The Foundation of Nail Art
Let's start with the absolute basics: the solid color manicure. This might seem too simple, but it's the perfect foundation for more complex designs. Think of it as your nail art's blank canvas. Practice applying even coats, avoiding streaks, and ensuring a smooth, even finish. A good base coat is key—it protects your nails and helps the polish adhere better. For a truly professional look, two thin coats are better than one thick, gloopy one. And don't forget the top coat! It seals the deal, protecting your masterpiece and adding a beautiful shine. Experiment with different colors and finishes—matte, glossy, shimmery—to find your favorites. This is where you’ll discover your preferred application techniques and find your rhythm. A simple, well-executed solid color manicure is a statement in itself!
Once you've mastered the art of a flawless solid color, you're ready to move on to slightly more intricate designs. But don't rush it! Take your time and enjoy the process. Remember, even the most experienced nail artists started somewhere. Think of it like learning to ride a bike—you might wobble a bit at first, but with practice, you'll become a pro. And the best part? You can always start over. If you mess up, simply remove the polish and try again. There's no shame in starting fresh, and the more you practice, the better you'll get. Check out these easy nail designs for beginners for more inspiration!
Step | Action | Tip |
|---|---|---|
1 | Apply base coat | Thin, even layer |
2 | Apply color | Two thin coats |
3 | Apply top coat | For shine and durability |
Simple Nail Art Techniques: Stripes, Dots, and More
Now for the fun part: adding some simple nail art! Start with easy techniques like stripes or dots. Stripes can be created using striping tape for clean lines or a thin brush for a more freehand, artistic effect. Experiment with different colors and thicknesses to create unique looks. For dots, you can use a dotting tool, a toothpick, or even the end of a bobby pin! Vary the size and placement of your dots to create interesting patterns. Practice makes perfect, so don’t be afraid to experiment with different approaches. You can even combine stripes and dots to create more complex designs.
Once you feel comfortable with stripes and dots, try adding some simple shapes like triangles, squares, or hearts. You can use tape to create clean lines or freehand them with a brush. Remember to let each layer dry completely before applying the next to avoid smudging. You can also use nail art pens for finer details and more precise lines. The key is to start slow and gradually build your skills. Don't try to tackle something too complicated right away. Master the basics first, and then you can move on to more advanced techniques. For some step-by-step guidance, explore these easy nail art step-by-step designs.
- Practice applying even coats of polish.
- Use striping tape for clean lines.
- Experiment with different dotting tools.
- Let each layer dry completely before adding more.
Exploring Creative Easy Painted Nail Designs Techniques
Exploring Creative Easy Painted Nail Designs Techniques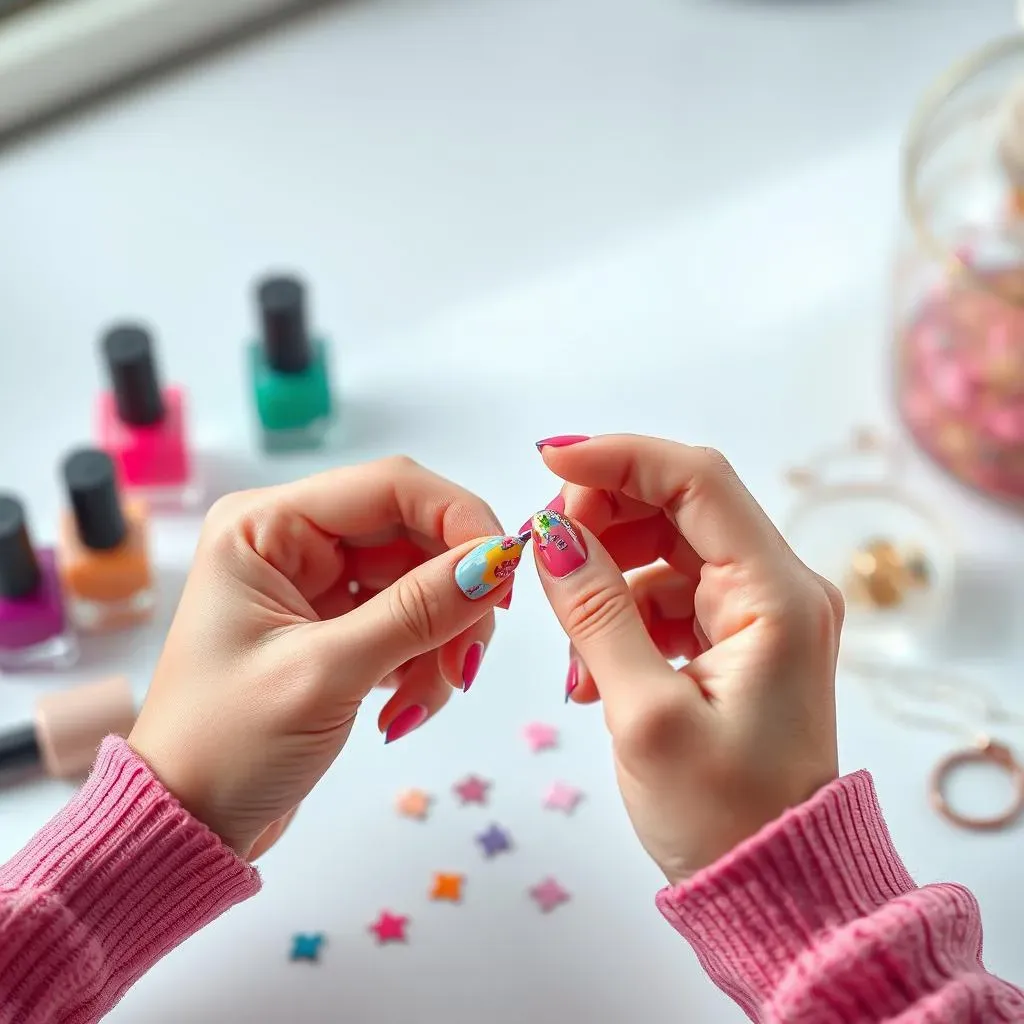
Exploring Color Combinations and Gradients
Let's move beyond single colors! Experiment with color combinations. Think complementary colors (like blue and orange) or analogous colors (colors next to each other on the color wheel, such as blues and greens). You can create ombre or gradient effects by blending two or more colors together. Start with a base color, then gradually add another color using a sponge or a brush. The possibilities are endless! Try a sunset gradient using oranges, pinks, and yellows. For a more sophisticated look, try a gradient using different shades of the same color, for example, various shades of purple or blue. This is a great way to add depth and dimension to your manicure. Don't be afraid to try different color combinations until you find what you like best. For more inspiration on color palettes, check out these pretty nail designs!
Remember, practice makes perfect. Don't be discouraged if your first attempt isn't perfect. Keep experimenting and have fun with it. The beauty of nail art is that there are no rules. Just let your creativity flow and see what happens. You can even try using different types of polish finishes—matte, glossy, shimmery—to add texture and visual interest to your designs. A little bit of shimmer can go a long way, and matte polishes can create a stunningly modern look.
- Try complementary color combinations.
- Experiment with ombre or gradient effects.
- Use different polish finishes to add texture.
Incorporating Simple Nail Art Decorations
Ready to take your nail art to the next level? Let's add some decorations! Start with easy-to-use embellishments like rhinestones, glitter, or small charms. Rhinestones can be applied using a toothpick or a dotting tool. Place them strategically to create a focal point or a subtle sparkle. Glitter can be applied using a sponge or a brush. Experiment with different glitter colors and sizes to create unique effects. Small charms can be applied using nail glue. These additions can instantly elevate your designs from simple to sophisticated. Consider using these decorations to complement your chosen color scheme. For example, silver rhinestones would look great with a navy blue manicure.
Remember to apply a top coat after adding any decorations to seal them in and protect your design. A top coat will also add shine and make your manicure last longer. You can also use nail stickers or decals for an even easier way to add decorations to your nails. There are countless designs available, from simple flowers to intricate patterns. Simply apply the sticker to your nail and seal it with a top coat. Nail stickers are a great way to add a touch of elegance or whimsy to your look. For more ideas using nail decorations, browse these easy nail designs with rhinestones.
Decoration | Application Method | Tip |
|---|---|---|
Rhinestones | Toothpick or dotting tool | Use a top coat to seal |
Glitter | Sponge or brush | Experiment with different colors |
Charms | Nail glue | Apply a top coat to secure |
Exploring Negative Space and Minimalist Designs
Sometimes, less is more. Negative space nail art is a trendy and surprisingly simple technique that involves leaving parts of the nail unpainted. This creates a clean, minimalist look that is both chic and modern. You can create negative space designs by using tape to mask off sections of the nail before applying polish. Alternatively, you can freehand designs using a brush, leaving portions unpainted. This is a great way to showcase your nail's natural shape and add a touch of sophistication to your look. Try a half-moon manicure, where you leave the base of the nail unpainted, or a simple stripe design, where you only paint a thin stripe down the center of the nail. These minimalist designs are surprisingly versatile, and you can easily adapt them to any occasion.
Minimalist designs often feature simple shapes, such as lines, dots, or geometric patterns. These designs are easy to create and can be incredibly elegant. Use a thin brush to create clean lines, and a dotting tool to create perfectly sized dots. Consider using a neutral color palette for a sophisticated look, or incorporate a pop of color for a more playful feel. Remember, the key to minimalist nail art is simplicity. Don't overdo it with too many colors or decorations. Keep it clean, keep it simple, and let your nail's natural beauty shine through. For more inspiration on minimalist styles, check out these cute designs for short nails.
- Use tape to create clean lines and shapes.
- Experiment with different brush sizes and techniques.
- Keep your color palette simple and sophisticated.
Showcasing Stunning Easy Painted Nail Designs Ideas
Showcasing Stunning Easy Painted Nail Designs Ideas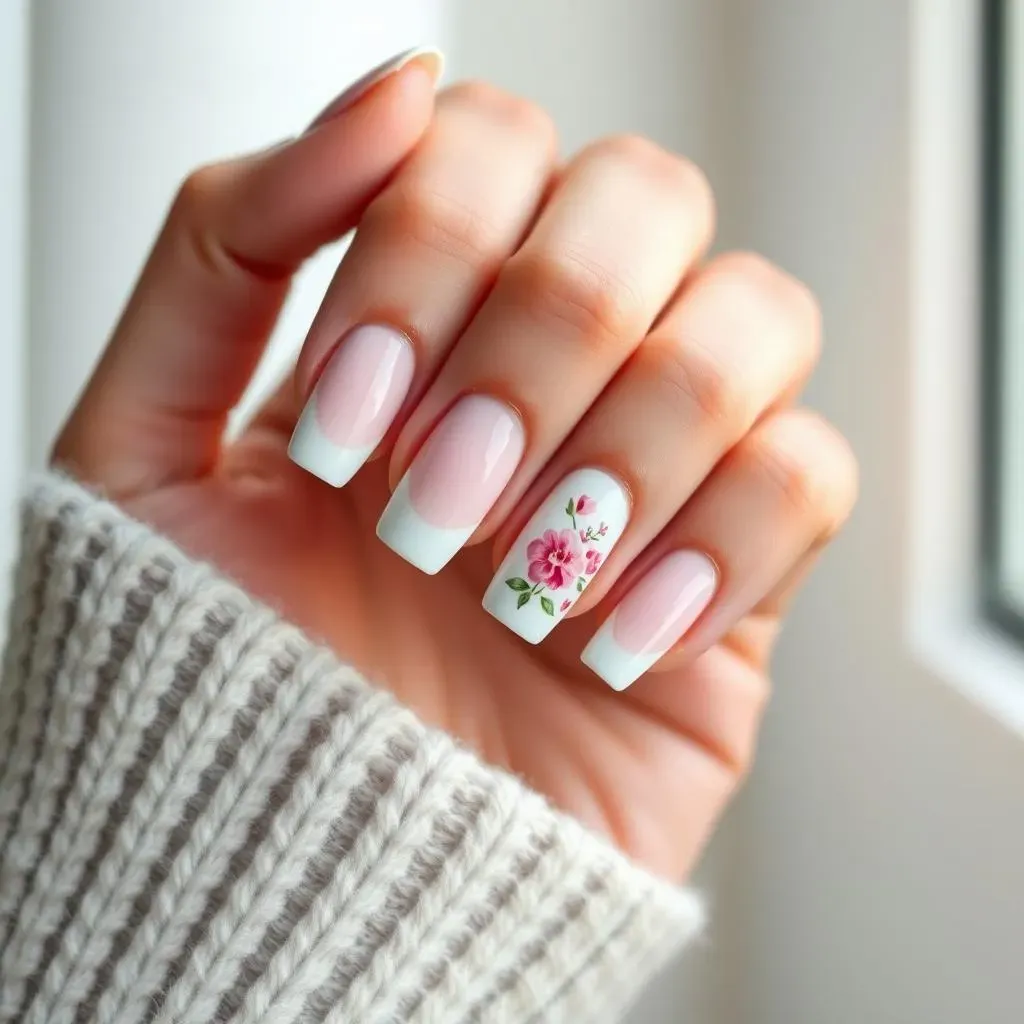
Showcasing Stunning Easy Painted Nail Designs Ideas
Let's dive into some seriously inspiring easy painted nail designs! Think beyond the basics—we're talking about designs that will turn heads. Imagine a chic French manicure, but with a twist: instead of a straight line, try a wavy or zig-zag design. Or how about a subtle ombre effect, transitioning from a soft pastel to a deeper shade? The key is to build upon the techniques you’ve already learned, adding a touch of creativity and flair. For instance, take your simple dotting technique and create a constellation of stars on a dark background, or use stripes to form a geometric pattern. The possibilities are truly endless!
One of my favorite go-to looks is the minimalist floral design. A few carefully placed dots can create a delicate flower, adding a touch of femininity and elegance. Or, for a bolder statement, try painting a single, large flower on your accent nail. Remember to use a thin brush for precise lines and details. Don't be afraid to experiment with different colors and placements; it's all about finding what works best for your personal style. You can find more ideas for pretty nail designs in our gallery of pretty nail designs.
- Try a wavy or zig-zag French manicure.
- Experiment with ombre effects using different shades.
- Create a constellation of stars using dots.
- Paint a single, large flower on your accent nail.
Another stunning and surprisingly simple design is the negative space manicure. This style involves leaving portions of your nail unpainted, creating a modern and chic look. You can create interesting shapes and patterns by strategically painting around the unpainted areas. Think about using tape to create clean lines, or freehanding a simple design. A negative space manicure is a great way to showcase your nail's natural shape while adding a touch of sophistication. Consider using a bold color against a neutral background for maximum impact, or explore more subdued color pairings for a softer look. For more ideas on negative space, check out these easy cute designs for short nails.
Finally, don't forget the power of embellishments! Adding a few strategically placed rhinestones or glitter can transform a simple design into something truly spectacular. You can create a focal point by clustering rhinestones in the center of the nail, or add a subtle sparkle by sprinkling glitter along the edges. Remember to always seal your design with a top coat to protect your embellishments and add extra shine. With a little practice and creativity, you can easily create stunning nail art that will make you feel confident and stylish. For more inspiration on using embellishments, check out our post on easy nail designs with rhinestones.
Design Idea | Key Technique | Tip |
|---|---|---|
Wavy French Manicure | Freehand painting | Practice your curves! |
Ombre Effect | Sponge blending | Use thin coats of polish |
Negative Space | Tape or freehand | Less is more! |