Table of Contents
Ready to ditch the boring manicures and unleash your inner nail artist? This article is your ultimate guide to creating stunning, easy nail art step by step designs. Whether you're a complete beginner or just looking to refresh your skills, we've got you covered. We'll start with the absolute basics, showing you how to master fundamental techniques like creating perfect polka dots and crisp stripes. Then, we'll level up with easy nail art step by step designs that utilize handy nail stickers and specialized tools to achieve more intricate looks without the fuss. Finally, we'll explore some advanced (but still surprisingly achievable!) techniques, such as creating beautiful gradient and ombre effects. By the end of this article, you'll have a toolbox of easy nail art step by step designs to choose from, empowering you to create salon-worthy manicures from the comfort of your own home. Get ready to transform your nails and express your unique style with these simple yet effective designs. Let's get started!
Mastering Easy Nail Art Step by Step Designs for Beginners
Mastering Easy Nail Art Step by Step Designs for Beginners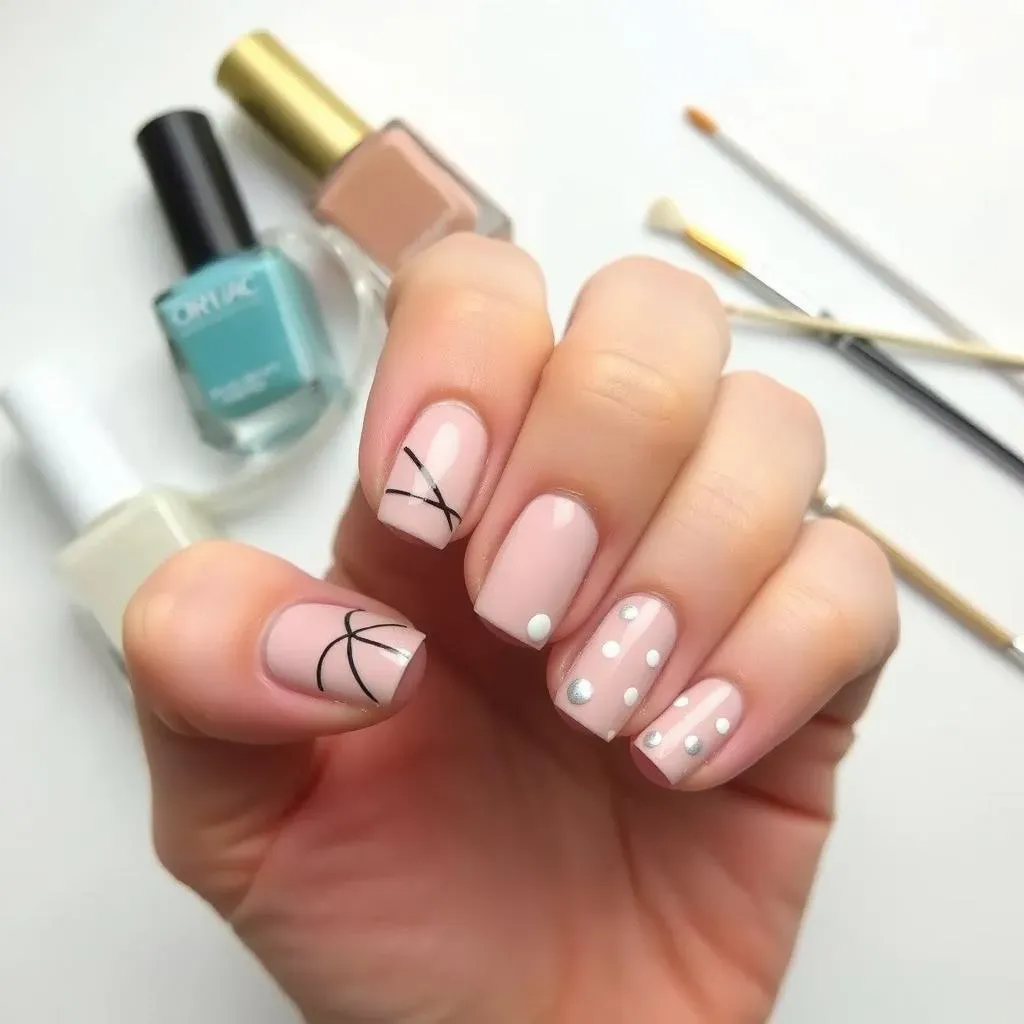
Getting Started: Prep Work is Key
So, you're ready to dive into the world of easy nail art? Awesome! Before you even think about picking up a brush, let's talk prep. Think of it like this: you wouldn't start baking a cake without greasing the pan, right? Same goes for nails. First, give your nails a good clean. Then, gently push back your cuticles using a cuticle pusher. This helps prevent polish from smudging and makes your nails look extra polished (pun intended!). Next, apply a base coat. This protects your nails from staining and helps your polish last longer. I like to use a clear, strengthening base coat. And remember, thin coats are better than thick ones – it helps prevent bubbling and ensures a smooth finish. Once your base coat is dry, you're ready to unleash your creativity!
Now, let's talk tools. You don't need a fancy nail art kit to get started. A few basic tools will do wonders. You'll definitely want some good quality nail polish, a few brushes (different sizes are great for different effects), and some dotting tools (toothpicks work in a pinch!). Finally, don't forget a top coat to seal in your masterpiece and give it that extra shine. For more inspiration on simple designs, check out our post on simple nail designs.
Tool | Purpose | Alternative |
|---|---|---|
Base Coat | Protects nails, improves polish longevity | Clear nail polish |
Top Coat | Seals design, adds shine | Clear nail polish |
Nail Polish | The star of the show! | N/A |
Dotting Tool | Creates dots and other small details | Toothpick |
Simple Techniques: Lines and Dots
Let's start with the easiest nail art techniques: lines and dots. These are the building blocks of many more complex designs. For lines, thin brushes are your best friend. Practice making straight lines on a piece of paper before attempting them on your nails. For dots, use a dotting tool or toothpick to create perfectly sized dots. Experiment with different sizes and spacing to create unique patterns. You can even layer dots of different colors for a more complex look. Looking for some simple nail art ideas? Check out these easy nail design ideas to get started.
Remember, practice makes perfect! Don't get discouraged if your first attempts aren't flawless. Keep practicing, and you'll be amazed at how quickly you improve. Think of it as a fun, creative challenge, not a competition. Also, don't be afraid to experiment! Try different colors, patterns, and techniques to find what you enjoy most. For more inspiration, you could explore our gallery of awesome easy nail art designs.
- Practice makes perfect!
- Experiment with colors and patterns.
- Don't be afraid to make mistakes.
- Have fun!
Simple Nail Art Step by Step Designs: Polka Dots, Stripes, and More
Simple Nail Art Step by Step Designs: Polka Dots, Stripes, and More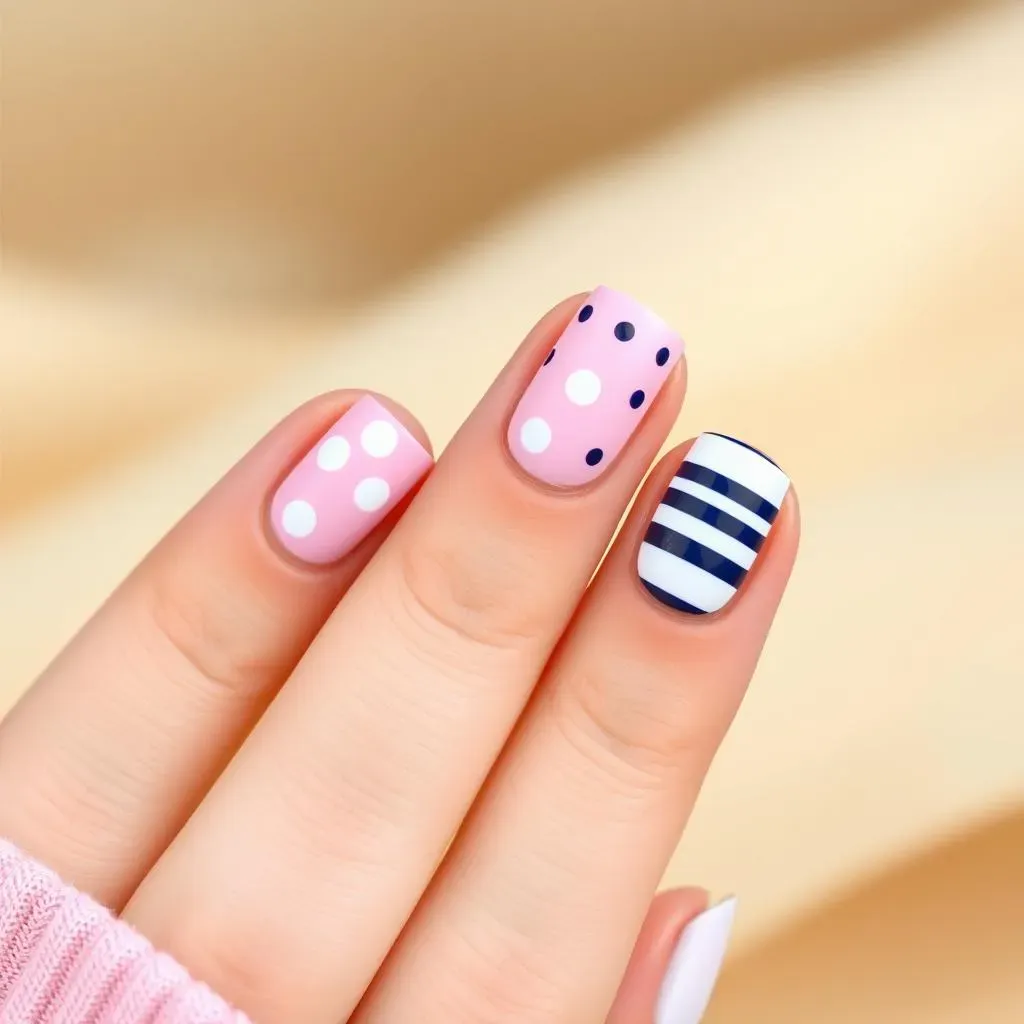
Polka Dot Perfection: A Classic Look
Let's start with a timeless classic: polka dots! These are ridiculously easy to create, and they look super cute. All you need is a dotting tool (or a toothpick!), and two contrasting nail polish colors. Start with a base coat of your favorite color. Once it’s dry, dip your dotting tool into your second color and gently dab it onto your nails to create dots. Vary the size and spacing of your dots for a more interesting look. You can even create a gradient effect by using dots of varying sizes or shades! For more fun and festive designs, check out our easy nail designs for special occasions.
Don’t worry about making them perfectly even; a little imperfection adds charm! Experiment with different color combinations – a pastel pink and white is super sweet, while a bold red and black is more dramatic. Once you've mastered the basic polka dot, try creating patterns. For instance, you could create rows of dots, or even arrange them into simple shapes like hearts or flowers. Need some more inspiration? We have a ton of awesome easy pretty nail designs to inspire you!
- Choose two contrasting nail polish colors.
- Use a dotting tool or toothpick to create dots.
- Vary the size and spacing for a unique look.
- Experiment with patterns and shapes.
Striking Stripes: Simple Lines, Big Impact
Next up: stripes! These are another super easy nail art design that can look incredibly chic. You can use striping tape for perfectly straight lines, or a thin brush for a more freehand, artistic look. Start with a base coat, and once it’s dry, apply your stripes. You can create vertical, horizontal, or diagonal stripes – it’s entirely up to you! For a modern twist, try using different colors or widths of stripes. For a more sophisticated look, try using metallic shades for your stripes. Looking for nail art that's easy to do at home? Check out our collection of easy nail art designs at home.
If you're feeling adventurous, try creating geometric patterns with your stripes. For example, you could create a chevron pattern, or even a simple grid. Remember, the key is to have fun and experiment! Don't be afraid to try different combinations of colors and patterns until you find a look you love. For more easy-to-do and stylish nail art, browse through our selection of awesome simple nail designs. And don’t forget to finish with a top coat to protect your masterpiece and give it a beautiful shine!
Stripe Style | Description | Tip |
|---|---|---|
Vertical | Lines running up and down the nail. | Use striping tape for perfectly straight lines. |
Horizontal | Lines running across the nail. | Practice on paper first for even spacing. |
Diagonal | Lines running at an angle. | Use a thin brush for more control. |
Easy Nail Art Step by Step Designs Using Nail Stickers and Tools
Easy Nail Art Step by Step Designs Using Nail Stickers and Tools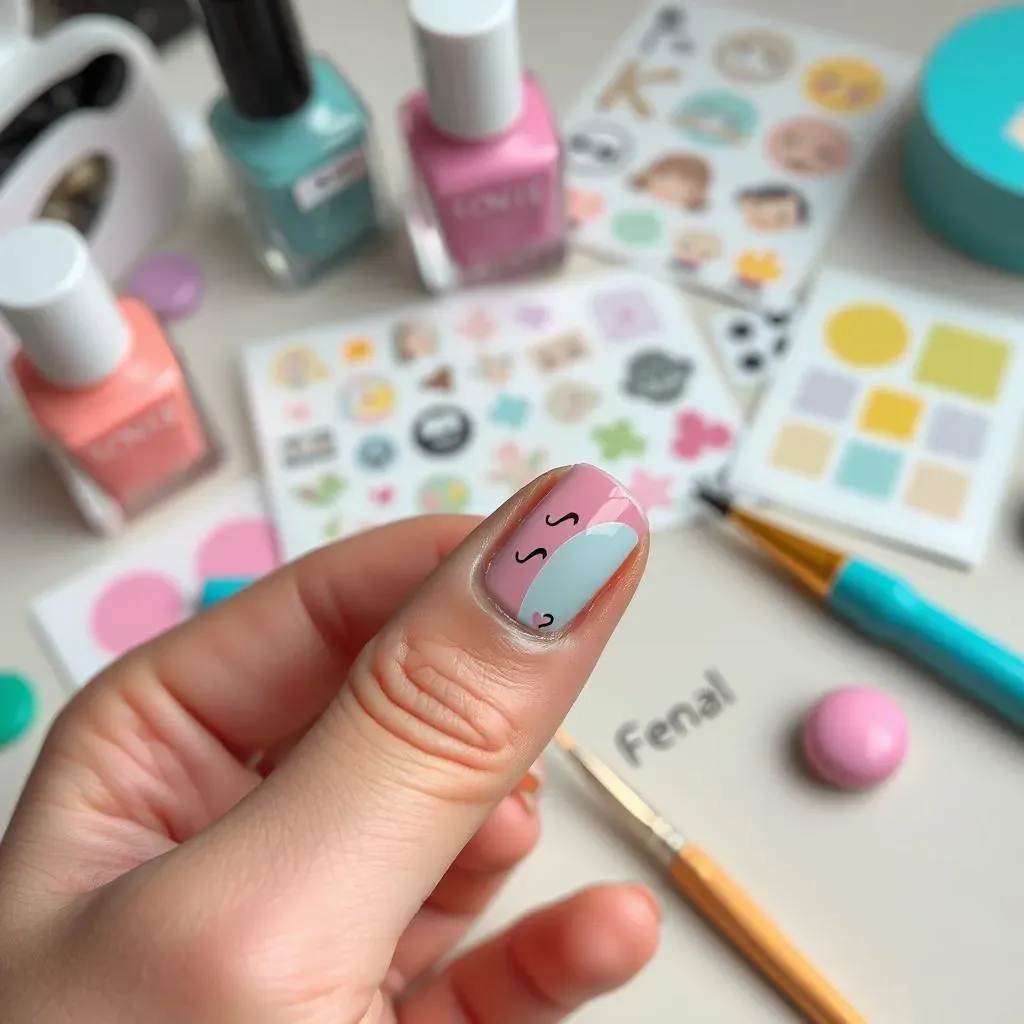
Nail Stickers: Easy Nail Art Made Simple
Let's talk nail stickers! These little beauties are a game-changer for anyone who wants easy nail art without the hand-eye coordination of a brain surgeon. There are tons of designs available – from delicate florals to bold geometric patterns. Simply apply a base coat, stick on your chosen design, and seal it with a top coat. It's that easy! No fuss, no muss, just gorgeous nails. Check out our guide to easy nail designs for special occasions for some extra inspiration.
One thing I love about nail stickers is how versatile they are. You can use them to add accents to a plain manicure, or create a full-on nail art masterpiece. They're also perfect for beginners, as they allow you to achieve intricate designs without having to worry about perfecting tiny brushstrokes. Want some simple ideas for short nails? Check out our article on cute nail designs for short nails.
- Choose stickers that match your style.
- Apply a base coat before sticking.
- Seal with a top coat for extra protection.
- Experiment with different placement and designs.
Advanced Tools: Taking Your Nail Art to the Next Level
Once you've mastered the basics, you might want to explore some more advanced tools to take your nail art to the next level. A striping brush, for example, is great for creating thin, precise lines – perfect for stripes, geometric designs, and other intricate details. A detail brush is another useful tool; it allows for greater control and precision when creating smaller details. And don't forget about dotting tools – these come in various sizes and are perfect for creating perfectly sized dots and other small details. Looking for more inspiration on using tools? Visit our page on easy DIY nail designs.
Remember, the tools themselves don't magically create the art; it's your creativity that does the work. However, having the right tools can definitely make the process easier and allow you to achieve more complex and interesting designs. Start by mastering one or two new tools at a time, and gradually expand your collection as your skills improve. Don't forget to practice regularly! For more ideas on easy nail art designs, you might enjoy our article on easy nail design ideas.
Tool | Best Use | Skill Level |
|---|---|---|
Striping Brush | Thin lines, stripes | Intermediate |
Detail Brush | Small details, intricate designs | Advanced |
Dotting Tool | Dots, small details | Beginner |
Advanced Easy Nail Art Step by Step Designs: Gradient and Ombre Effects
Advanced Easy Nail Art Step by Step Designs: Gradient and Ombre Effects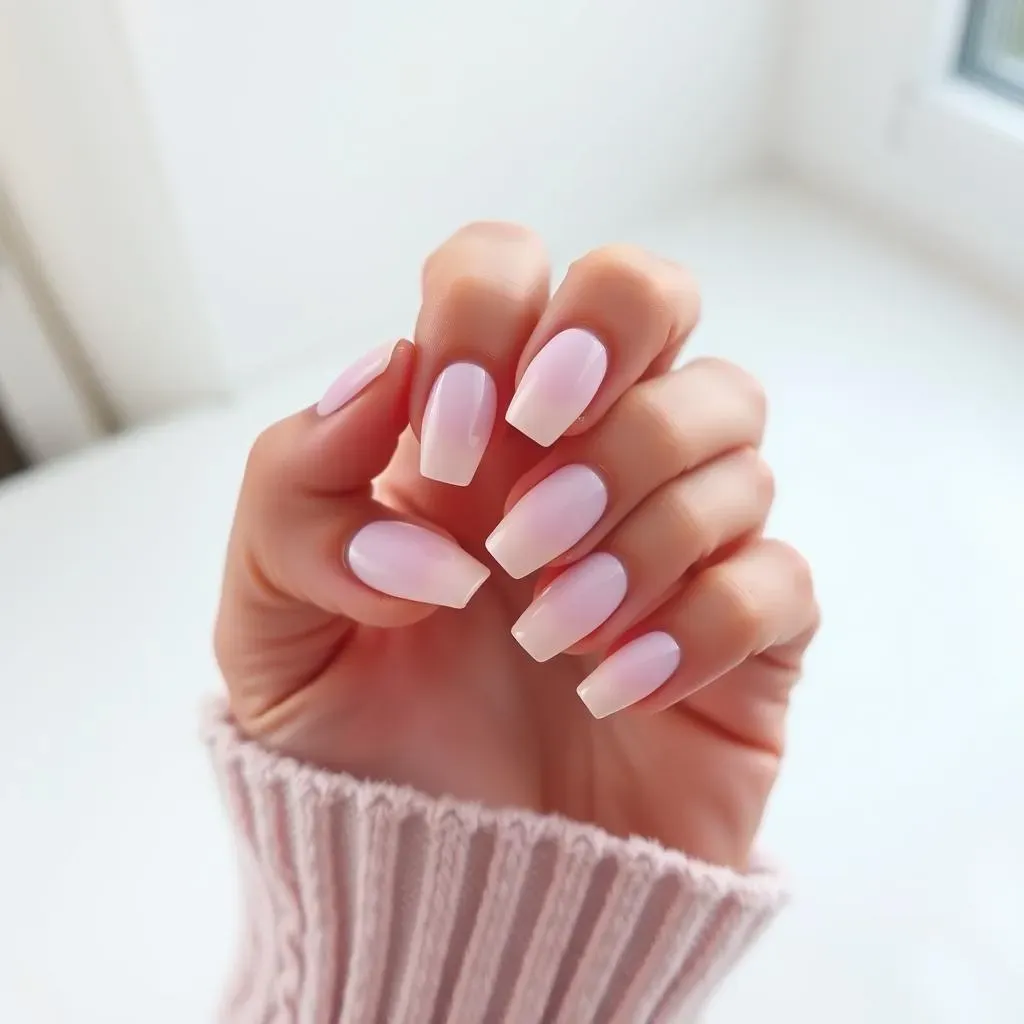
Gradients and Ombres: A Touch of Sophistication
Ready to take your nail art game to the next level? Let's talk gradients and ombres! These techniques create a seamless blend of colors, adding a touch of sophistication to your manicure. A gradient uses a smooth transition between two or more colors, while an ombre typically involves a more dramatic shift from dark to light, or vice versa. Both are surprisingly easy to achieve, even for beginners. For inspiration on achieving a gorgeous ombre effect, check out our article on simple blue nail designs—the principles are the same, just with different colors!
The easiest way to create a gradient or ombre effect is using a sponge. Apply your chosen nail polish colors to a makeup sponge, then dab the sponge onto your nails to blend the colors. For a more precise gradient, you can use a thin brush to blend the colors together. Experiment with different color combinations to create unique looks. Pastel shades create a soft, romantic look, while bold colors are perfect for a statement manicure. Looking for something a bit different? Try our easy Mexican nail designs for a vibrant and unique take on this technique!
- Gather your nail polishes.
- Apply colors to a sponge.
- Dab onto nails to blend.
- Use a brush for a more precise look.
Mastering the Sponge Technique
The sponge technique is perfect for creating both gradients and ombres. It's quick, easy, and surprisingly forgiving – even if you're not the steadiest hand. Start with a clean, dry nail. Apply a base coat and let it dry completely. Apply thin stripes of different colors of polish onto a makeup sponge. Then, gently dab the sponge onto your nail, overlapping the colors slightly to create a blend. Remember to work quickly, before the polish dries. For more detailed instructions, check out our post on easy DIY nail designs.
For a more intense ombre, use darker shades at the base of the nail and lighter shades at the tips. For a softer gradient, use shades that are closer together on the color wheel. Don't be afraid to experiment! Try using different shades of the same color to create a subtle ombre, or use contrasting colors for a bolder look. Once you are happy with your gradient or ombre, seal it with a top coat to protect your work and add shine. To see more amazing examples, check out our amazing easy nail art designs.
Step | Action | Tip |
|---|---|---|
1 | Apply base coat | Let dry completely. |
2 | Apply polish to sponge | Use thin stripes. |
3 | Dab onto nail | Overlap colors slightly. |
4 | Apply top coat | Adds shine and protection. |