Table of Contents
Ready to unleash your inner nail artist? This guide is all about easy pink nail art designs – perfect for beginners and seasoned pros alike! We'll take you from mastering basic pink manicure techniques to exploring creative designs and seasonal inspiration. Whether you're looking for a subtle everyday look or something more dramatic for a special occasion, we've got you covered. Get ready to discover a world of simple yet stunning nail art ideas that you can easily recreate at home. We'll break down the steps for achieving flawless results, whether you're working with gel, acrylic, or regular polish. Prepare to be amazed at how easy it is to create beautiful, eye-catching easy pink nail art designs! From delicate floral patterns to bold geometric shapes, we'll explore numerous options, so you can find the perfect style to match your mood and personality. So grab your favorite pink polishes, and let's get started on your next nail art adventure! This article is your ultimate resource for achieving the perfect pink manicure, no matter your skill level. Let's dive in!
Mastering Basic Pink Nail Techniques
Mastering Basic Pink Nail Techniques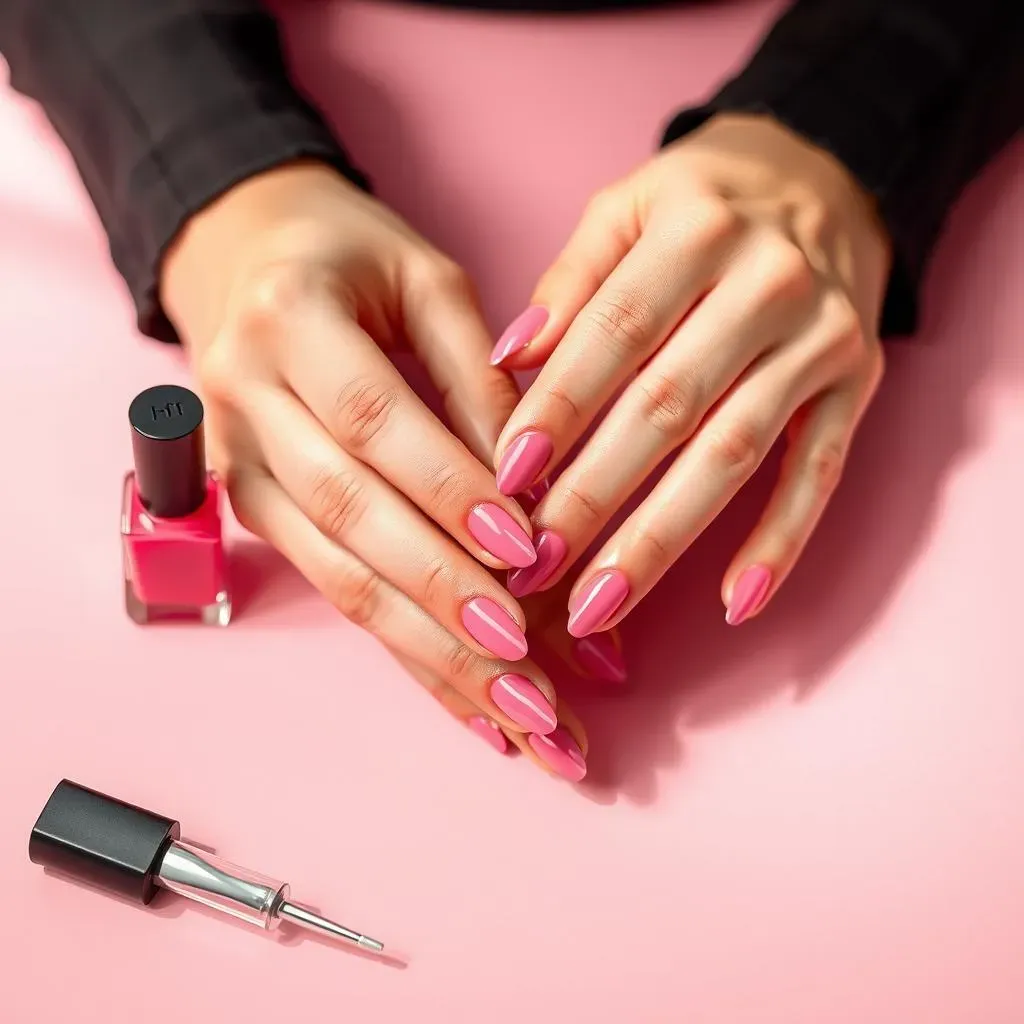
Preparing Your Nails
Before you even think about painting, prep is key! Start by gently pushing back your cuticles. You don't want to cut them – that's a recipe for infection! Then, file your nails into your desired shape. Think about what suits your fingers best – maybe a classic oval, a chic square, or something more adventurous. For extra smoothness, buff the surface of your nails gently. This helps the polish adhere better and prevents chipping. Finally, clean your nails with nail polish remover to get rid of any oils or dust. This is like prepping a canvas before painting a masterpiece – you wouldn't start without cleaning it first, would you?
Choosing the right base coat is also crucial. A good base coat protects your nails from staining and helps your polish last longer. Think of it as the foundation of a house – you wouldn't want to build a house without a strong foundation, right? Apply a thin, even layer of base coat to each nail, letting it dry completely before moving on to the color. For extra strength and shine, consider a strengthening base coat, especially if your nails are brittle. And remember, patience is key; let each coat dry completely to avoid smudging your perfect pink mani. Check out our ideas for easy acrylic nail designs for more inspiration!
Nail Prep Step | Description |
|---|---|
Cuticle Care | Gently push back cuticles; avoid cutting. |
Filing | Shape nails to your preference (oval, square, etc.). |
Buffing | Lightly buff for smoothness and better polish adhesion. |
Cleaning | Remove oils and dust with nail polish remover. |
Applying Your Pink Polish
Now for the fun part – the pink! Start by applying a thin coat of your chosen pink polish to one nail at a time. Don't overload your brush; a little goes a long way. Begin in the center of your nail and gently stroke towards the edges. Avoid getting polish on your cuticles; it's a common mistake that can make your mani look messy. Once the first coat is dry (completely dry!), apply a second coat for richer color and better coverage. And remember to let each coat dry completely before moving on to the next finger. For more ideas on pretty pink polish, check out some easy cute nail designs for more inspiration!
For a truly professional finish, consider using a top coat. A top coat seals in your polish, adds shine, and protects it from chipping. It's like adding a final layer of protection to your artwork. Apply a thin, even coat of top coat, ensuring you get to the very tips of your nails to prevent chipping. Let it dry completely before showing off your gorgeous pink nails. And there you have it – a perfectly polished, beautiful pink manicure! Want to try a different color? We've got plenty of other simple nail art designs to explore.
- Apply thin coats of polish.
- Let each coat dry completely.
- Use a top coat for extra shine and protection.
- Avoid getting polish on your cuticles.
Exploring Creative Pink Nail Art Designs
Exploring Creative Pink Nail Art Designs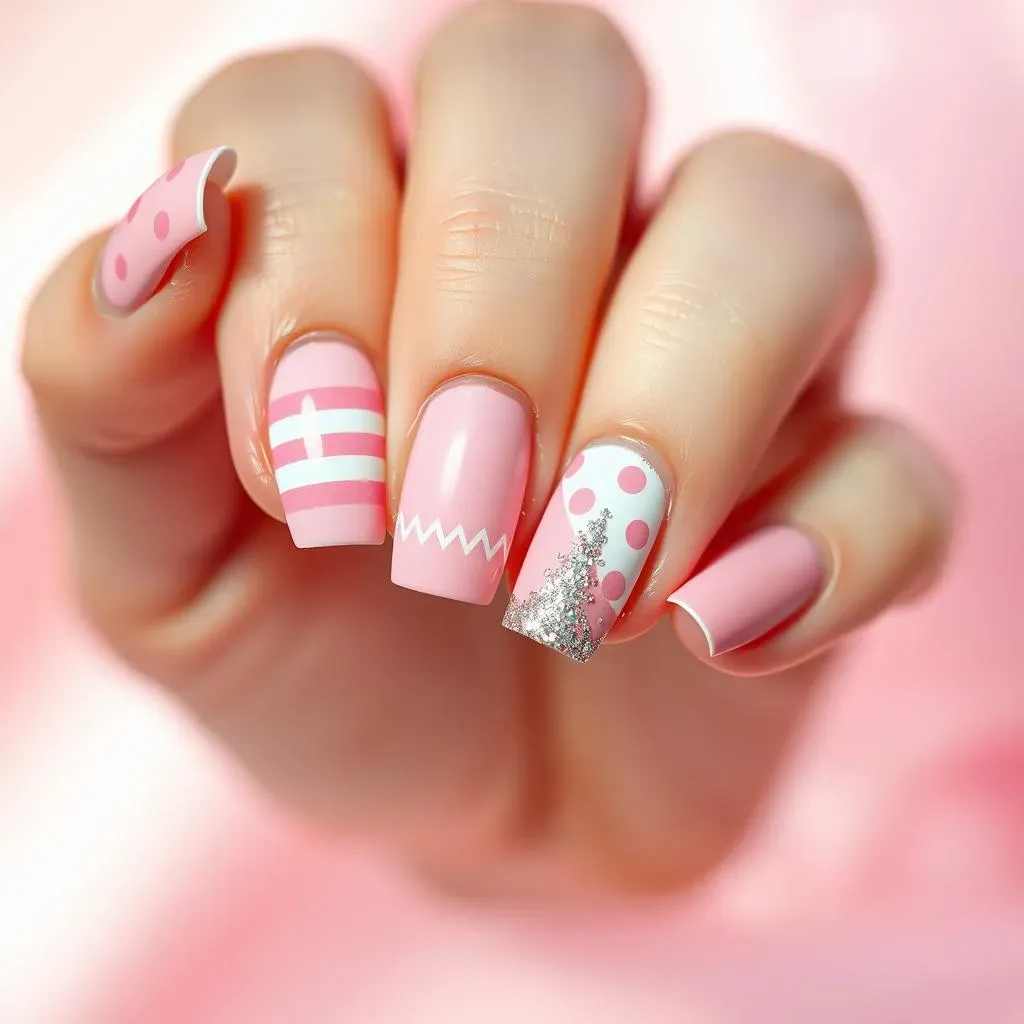
Simple Pink and White Designs
Let's start with something super easy: a pink and white combo. Think simple stripes, polka dots, or even a subtle ombre effect. You can achieve these looks using just two polishes and a little patience. For stripes, use painter's tape to create clean lines. For polka dots, try using a toothpick or a dotting tool. And for ombre, gently blend the two colors together using a sponge. It's all about keeping it simple and chic! For more inspiration, check out our collection of easy line nail art designs.
Don't be afraid to experiment! Try different shades of pink and white to create unique combinations. A pale pink base with crisp white accents looks super fresh and summery, while a deep rose pink with creamy white creates a more sophisticated vibe. Remember, nail art is all about self-expression, so have fun with it! For more ideas on cute nail art, check out our post on easy cute nail designs.
- Pink & White Stripes
- Pink & White Polka Dots
- Pink & White Ombre
Adding Some Sparkle
Want to add a touch of glam to your pink nails? Glitter is your best friend! You can either use a glitter polish directly over your pink base or add some loose glitter with a top coat. For a more subtle look, use a fine glitter. For something bolder, go for chunky glitter or even mix different glitter sizes and colors. Remember, a little glitter goes a long way. Too much glitter can look overwhelming, so start with a small amount and add more if needed. For more glitter nail ideas, explore our easy summer nail art designs.
Consider placing glitter strategically. For example, you could add a glitter accent nail, or create a glitter gradient, or even just add a thin line of glitter along the tips. The possibilities are endless! And don't forget to seal everything in with a top coat to protect your beautiful glittery creation. You can find more inspiration in our gallery of easy cute nail designs. Remember to let your creativity shine!
Glitter Application Method | Description |
|---|---|
Glitter Polish | Apply directly over pink base coat. |
Loose Glitter | Apply with top coat for added sparkle. |
Seasonal Pink Nail Art Inspiration
Seasonal Pink Nail Art Inspiration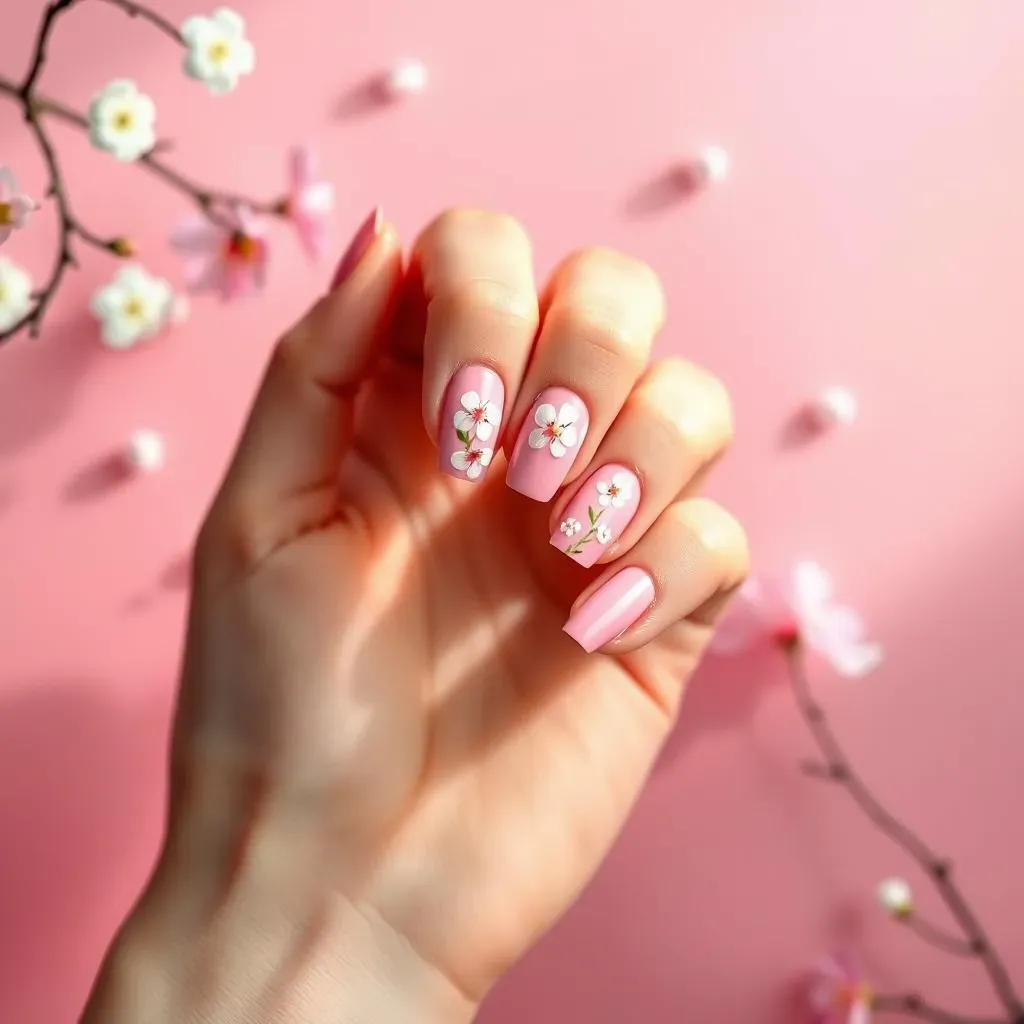
Springtime Pink Blossoms
Spring is all about fresh starts and pretty pastels. Think delicate pink floral designs, maybe a few cherry blossoms or dainty little flowers scattered across your nails. You can achieve this look using nail art brushes or even dotting tools for a more whimsical touch. For a truly spring-like feel, incorporate lighter shades of pink and add some subtle green accents to mimic leaves. These designs are perfect for Easter or just a cheerful springtime mani. Check out our easy spring nail art designs for more inspiration!
Don't be afraid to experiment with different flower types or arrangements. A single, perfectly placed blossom on each nail can look incredibly elegant. Or, you could create a more whimsical look with scattered flowers of varying sizes and colors. Remember, the key is to keep it light and airy, reflecting the fresh feeling of spring. For more seasonal ideas, browse our collection of easy spring nail designs.
- Delicate floral patterns
- Cherry blossom designs
- Light pink and green color palettes
Summer Sunset Hues
Summer calls for vibrant colors and playful designs. Think bright pink gradients, reminiscent of a beautiful sunset. You can create this by blending shades of pink, orange, and even a touch of yellow. Use a sponge to create a seamless ombre effect or try using a striping brush for a more defined look. These sunset hues are perfect for beach days or summer vacations. For more summer nail inspo, check out our easy summer nail art ideas.
Add a touch of sparkle with some fine glitter or iridescent flakes to mimic the shimmering reflections of the sun on the water. You could also incorporate other summery elements, such as tiny seashells or starfish, to create a truly unique and playful design. Remember, have fun with it! Summer is the perfect time to experiment with bold colors and fun designs. For more summery nail ideas, check out our easy summer nail designs.
Summer Nail Design Theme | Color Palette | Added Elements |
|---|---|---|
Sunset Gradient | Pink, orange, yellow | Glitter, iridescent flakes |
Beach Vibes | Bright pinks, blues, and whites | Seashells, starfish |
Autumnal Pink Accents
As the leaves change color, so can your nails! Autumn provides a beautiful opportunity to incorporate rich, warm tones with your pink. Think deep rose pinks combined with earthy browns, golds, and oranges. You could create a simple design with a pink base and a few autumn-inspired accents, such as leaves or pumpkins. These designs are perfect for Thanksgiving or just a cozy autumnal look. For more fall inspiration, check out our easy autumn nail art ideas.
Consider using stamping plates or stencils to create intricate leaf patterns or other autumn-themed designs. You could also add some metallic accents, such as gold or copper, to give your nails a luxurious touch. Remember, autumn is a time for richness and warmth, so don't be afraid to experiment with deeper shades of pink and complementary colors. For more fall nail art inspiration, see our gallery of easy fall nail designs.
- Deep rose pinks
- Earthy browns and golds
- Autumn-themed accents (leaves, pumpkins)