Table of Contents
Ready to elevate your manicure game without spending hours at the salon? Then get ready to explore the amazing world of "simple nail designs lines"! This article is your ultimate guide to creating stunning nail art using the simplest of tools: lines. Whether you're a complete beginner or looking to refresh your skills, we've got you covered. We'll start with the fundamental techniques for creating perfect straight lines and basic patterns, ensuring you build a solid foundation. Then, get ready to unleash your creativity as we explore more intricate line patterns, showing you how to transform simple lines into mesmerizing designs. We'll also show you how to combine lines with other nail art elements like dots, glitter, or rhinestones to create truly unique looks. Finally, we'll explore seasonal and thematic ideas, providing inspiration for every occasion – from everyday chic to festive celebrations. Get ready to be inspired and discover the endless possibilities of simple nail designs lines! Let's dive in!
Mastering the Basic Line: Simple Techniques for Beginners
Mastering the Basic Line: Simple Techniques for Beginners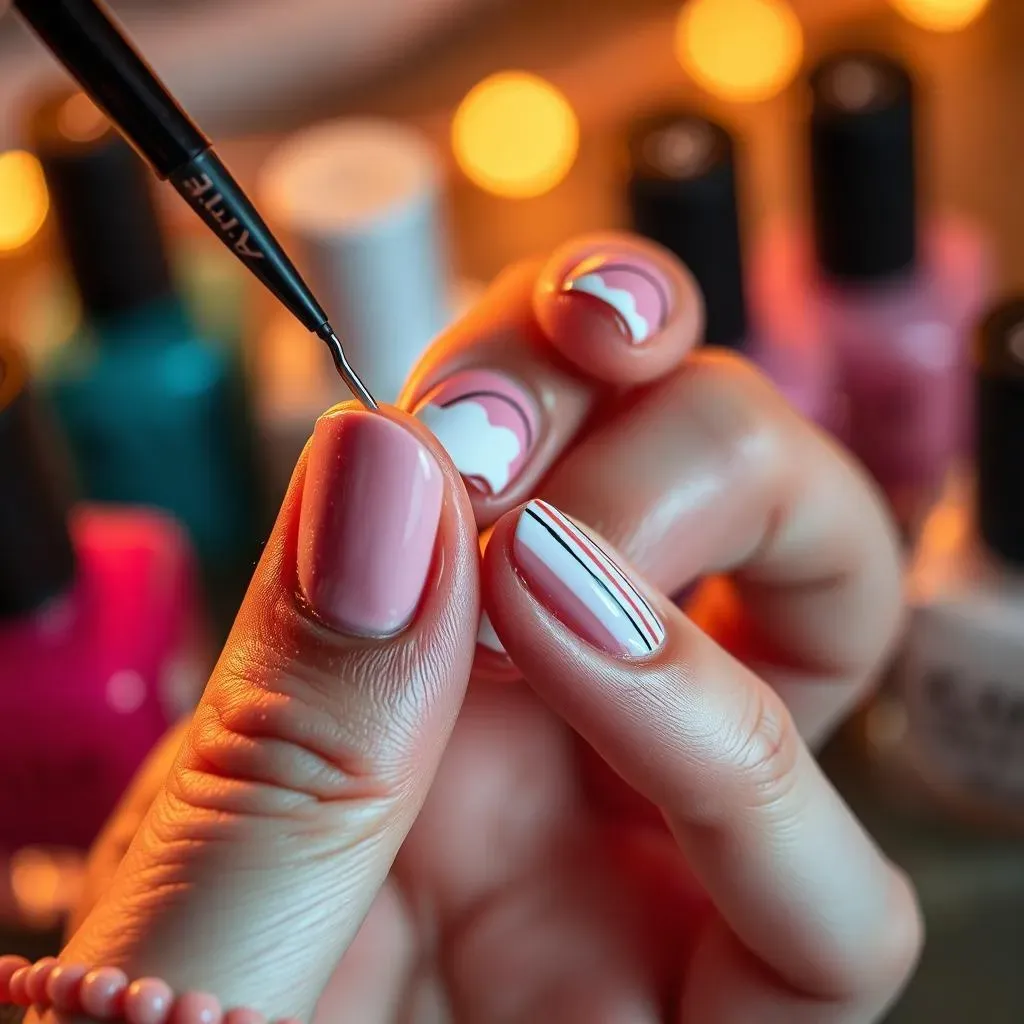
Getting Started: Tools and Prep
So, you want to master the art of the line in nail art? Fantastic! Let's start with the basics. You don't need a fancy kit. A good quality nail polish (thin coats are key!), a steady hand (or a little practice!), and some patience are all you need. Think of it like learning to write – it takes time to get those lines neat and even. For super-straight lines, thin striping brushes are your best friend. They’re designed for precision, making those perfect lines a breeze. If you're feeling adventurous and want to try some different effects, a dotting tool can also create surprisingly interesting lines, adding a unique texture to your designs. Don't forget to prep your nails properly. This means cleaning and gently buffing your nails before applying any polish. This will ensure a smooth surface and help your nail art last longer.
Before we get into techniques, let's talk about base coats. A good base coat is your best friend for longevity and preventing staining. A simple clear base coat is perfect for many designs, but if you're using darker shades, a white base coat can make colors pop! Check out these easy black and white nail designs for some inspiration. It’s all about preparation! Now, let's get to those lines.
Tool | Best For |
|---|---|
Thin striping brush | Precise, straight lines |
Dotting tool | Textured lines, dotted lines |
Tape | Creating sharp lines and geometric designs |
Practicing Your Lines: From Wobbly to Wow!
Practice makes perfect, and that’s especially true with nail art. Start by practicing on a piece of paper before tackling your nails. This will help you get comfortable with the tools and develop a steady hand. Try different pressures and speeds to see how they affect the thickness and smoothness of your lines. It's like learning to draw; you wouldn't start with a masterpiece, right? Once you feel confident, it's time to move on to your nails. Begin with simple lines – straight lines across the nail are a great starting point. Aim for even thickness and consistent spacing. Don't worry if your first few attempts aren't perfect – it's all part of the learning process! Remember, even professional nail artists started somewhere. Embrace the imperfections!
Once you've mastered the straight line, try experimenting with different angles and curves. You can create triangles, zigzags, or even simple floral patterns using just lines. There are tons of tutorials online to help you, but don't be afraid to get creative and find your own style. For more inspiration, check out our collection of easy nail art line designs. Remember that patience is key – take your time, and enjoy the process!
- Practice on paper first
- Start with straight lines
- Experiment with angles and curves
- Don't be afraid to make mistakes!
Beyond the Straight Line: Exploring Creative Line Patterns
Beyond the Straight Line: Exploring Creative Line Patterns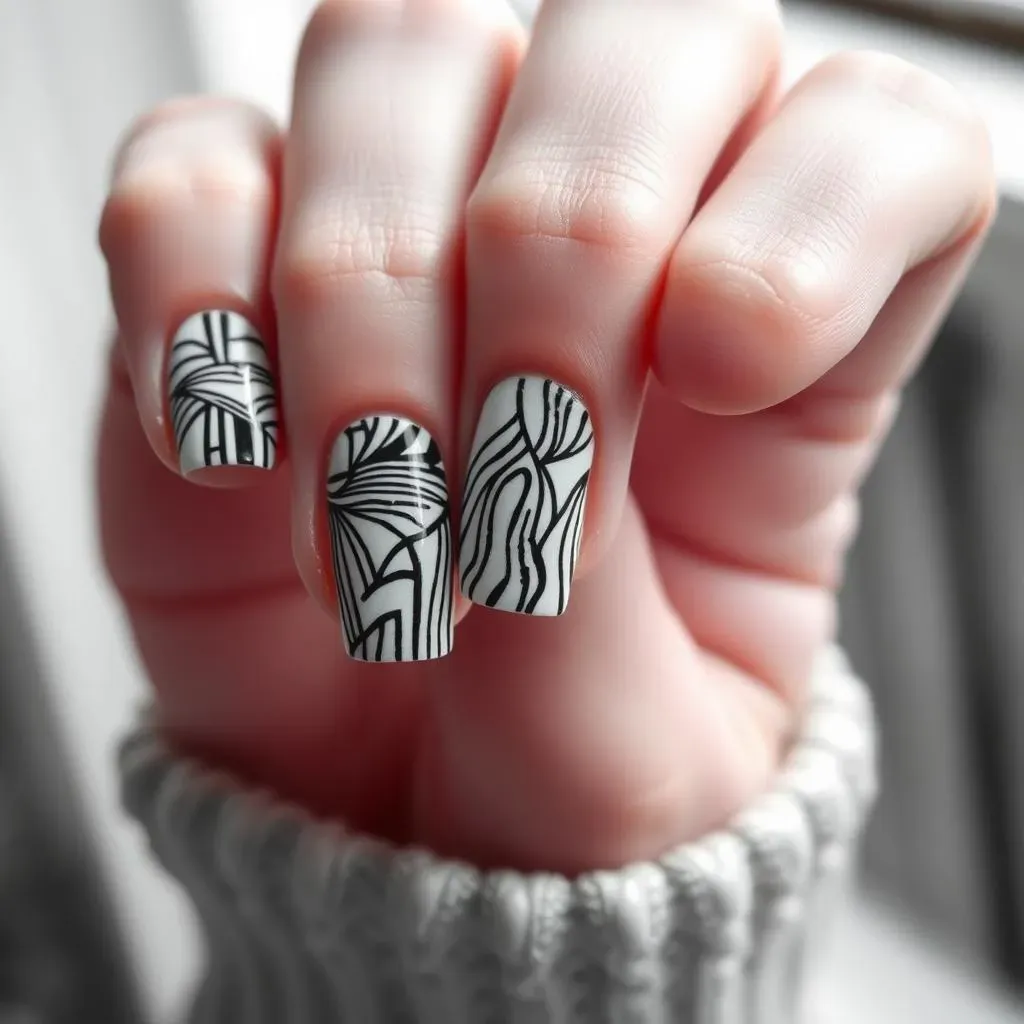
Geometric Patterns: Lines That Create Shapes
Once you've got the hang of straight lines, let's move on to some seriously fun stuff: geometric patterns! Think stripes, but make them interesting. Try alternating thick and thin lines for a cool textured look. Or how about creating triangles, zigzags, or even chevrons? The possibilities are endless! You can also use tape to create super-sharp lines and perfect geometric shapes. Just stick the tape onto your nail, paint over it, and carefully peel it off once the polish is dry. For some extra inspiration, check out these easy black and white nail designs – they’re full of geometric goodness!
Remember to use a light hand when applying polish over tape to prevent it from smudging or lifting. And don't rush the process! Let each layer of polish dry completely before applying the next. Patience, my friend, is key to achieving those crisp, clean lines. If you are looking for more inspiration, check out our easy nail art line designs collection.
- Stripes (varying thicknesses)
- Triangles
- Zigzags
- Chevrons
Curved Lines and Swirls: Adding a Touch of Elegance
Now let's add some curves to the mix! Curved lines and swirls bring a touch of elegance and sophistication to your nail art. Start with simple curves, practicing different arcs and S-shapes. You can use a thin brush or even a dotting tool for a slightly more textured effect. Once you feel comfortable, experiment with combining curves and straight lines to create more complex patterns. Think flowing lines that create a sense of movement and dynamism.
For extra flair, try incorporating negative space – that’s leaving some of the nail bare – to create a modern and minimalist look. A simple curved line against a nude background can look incredibly chic and sophisticated. These easy simple nail art designs are perfect for beginners looking to improve their skills.
Pattern | Technique Tip |
|---|---|
Simple Curves | Practice different arc sizes |
S-Shapes | Use a light touch |
Combined Curves & Lines | Focus on smooth transitions |
Freehand Floral Designs: Lines as Petals and Stems
Believe it or not, you can create surprisingly realistic-looking flowers using only lines! Start by sketching out a simple flower shape on paper. Then, try to recreate it on your nails. Use thin lines for petals and stems, varying the thickness for a more dimensional look. You can also add dots to the center of the flowers for an extra touch of detail. Don't be afraid to experiment with different flower shapes and sizes.
Remember, practice is key! The more you practice, the more confident you'll become in your ability to create beautiful freehand floral designs. For more inspiration, check out these easy floral nail designs. And don't forget to have fun!
Adding Flair: Incorporating Lines with Other Nail Art Elements
Adding Flair: Incorporating Lines with Other Nail Art Elements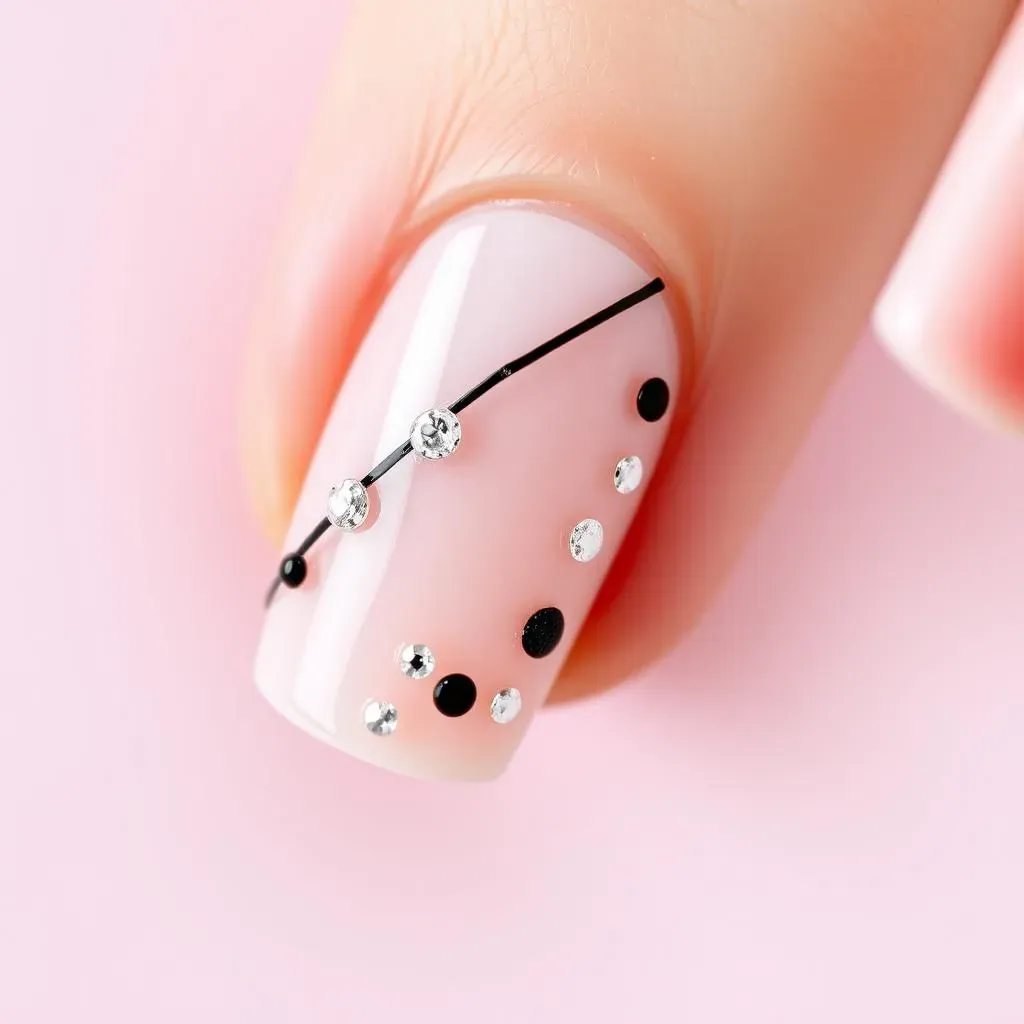
Lines and Dots: A Classic Combo
Let's talk about the power of pairing lines with dots! It's a classic combination that's both simple and endlessly versatile. Think of it as adding punctuation to your nail art sentences. A row of dots can accentuate a line, or create a whole new design element. You can use dots to fill in spaces between lines, create patterns, or even add a little extra something to simple stripes. Try using different sized dots for added interest and texture. Experiment with colors too; contrasting colors can really make your design pop!
For instance, imagine a simple diagonal line across your nail, accented by a row of tiny dots along its length. Or perhaps a series of parallel lines separated by rows of larger, bolder dots. The possibilities are truly limitless. For more inspiration on simple designs, check out these easy simple nail art designs.
Line Style | Dot Style | Overall Effect |
|---|---|---|
Straight | Small, evenly spaced | Clean, modern |
Curved | Large, varied spacing | Playful, whimsical |
Glitter and Sparkle: Adding Shimmer to Your Lines
Want to add a touch of glamour to your line designs? Glitter is your new best friend! You can use glitter polishes to create shimmering lines, or you can sprinkle loose glitter onto wet polish to add extra sparkle. Think of it as adding highlights and shadows to your nail art masterpiece. You can use glitter in coordinating or contrasting colors to create different effects.
Try using a thin striping brush to create glittery lines that follow the curves of your nail, or create bold, sparkly stripes against a matte background. You could even incorporate glitter into your dots for a double dose of sparkle! If you’re looking for some inspiration, check out our easy nail designs with rhinestones for some extra ideas.
- Glitter polishes
- Loose glitter
- Coordinating or contrasting colors
Rhinestones and Embellishments: Elevating Your Designs
Ready to take your nail art to the next level? Adding rhinestones and other embellishments can transform a simple line design into something truly spectacular. Think of them as the jewelry of your nail art – carefully placed accents that add a touch of luxury and sophistication. You can use rhinestones to create patterns, borders, or even focal points within your line designs.
Experiment with different shapes, sizes, and colors of rhinestones to create a unique look. You can also use other embellishments like studs, charms, or even small pieces of foil to add even more texture and dimension. Remember, less is often more when it comes to embellishments. A few strategically placed rhinestones can make a much bigger impact than a cluttered design. Check out our easy nail designs with rhinestones for some inspiration!
Seasonal and Thematic Line Nail Art: Ideas for Every Occasion
Seasonal and Thematic Line Nail Art: Ideas for Every Occasion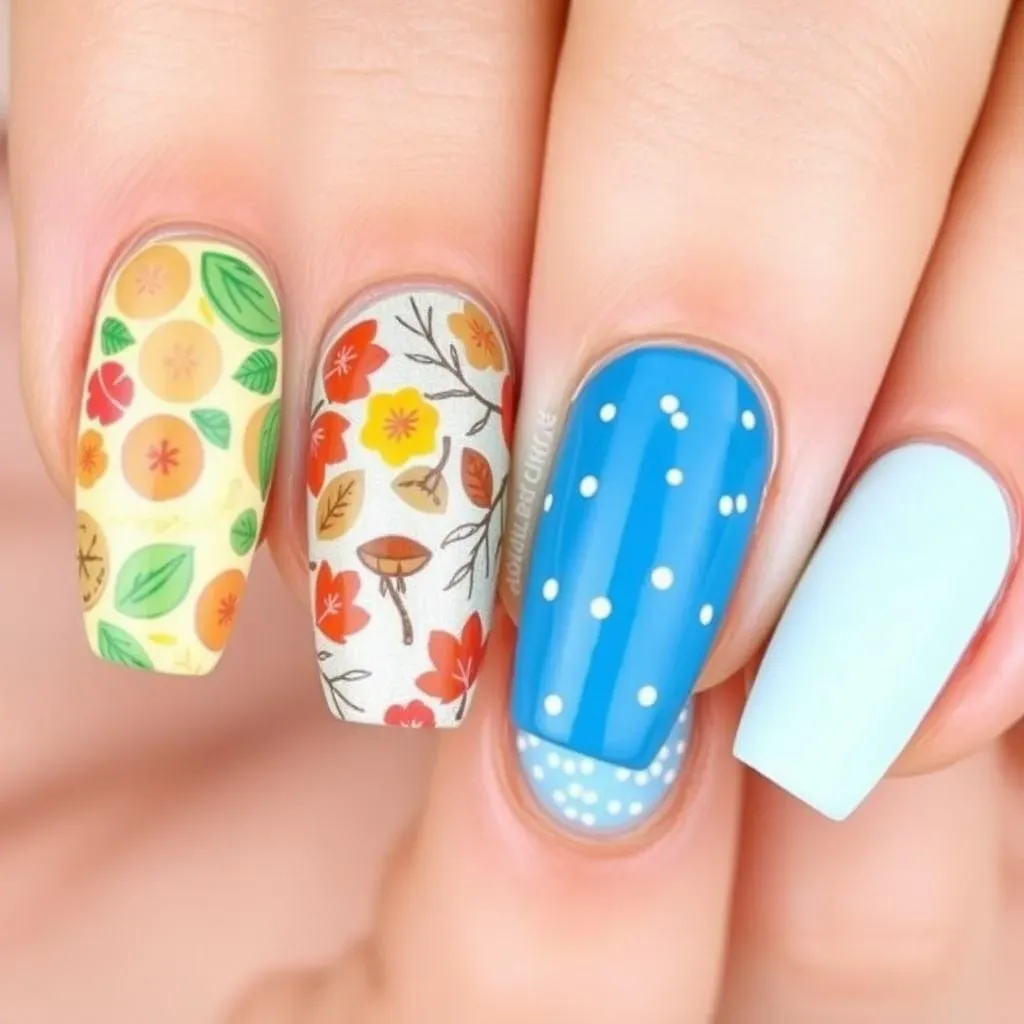
Summer Sunshine: Bright Hues and Tropical Vibes
Summer calls for bright, bold colors and fun, tropical designs! Think vibrant stripes in sunny yellows, oranges, and pinks. You could create a sunset effect with gradients of orange and pink, or use thin lines to create palm leaf patterns. Add some tiny dots to represent hibiscus flowers for an extra touch of summer fun. For more summer nail inspo, check out our easy summer nail art designs.
Consider using a base coat of a light pastel color before applying your line designs. This will make the colors pop even more! A simple, clean design is perfect for a hot summer day. Don’t overthink it! Keep it simple, and have fun!
- Bright, bold colors
- Tropical patterns (palm leaves, hibiscus)
- Sunset gradients
Autumn Leaves: Earthy Tones and Fall Patterns
Autumn brings with it a stunning palette of warm, earthy tones. Think burnt orange, deep reds, and golden yellows. Use these shades to create subtle line patterns, such as thin lines mimicking falling leaves, or create a more abstract design using curved lines and swirls. Adding small dots in contrasting colors can represent acorns or seeds, adding a little autumnal charm. Check out our easy fall nail designs for more inspiration.
Consider using a mix of matte and glossy polishes to add texture and depth to your designs. A matte base with glossy lines can create a stunning contrast. Don’t be afraid to experiment with different shades and techniques!
Color Palette | Line Style | Added Elements |
|---|---|---|
Burnt orange, deep red, golden yellow | Thin, curved lines | Dots (acorns, seeds) |
Winter Wonderland: Cool Hues and Festive Flair
Winter is the perfect time to embrace cool, icy hues. Think frosty whites, silvers, and blues. Use thin lines to create snowflake patterns, or create a more abstract design using curved lines and swirls. Adding small glitter accents can add a touch of sparkle, evoking the feeling of a winter wonderland. For more winter nail ideas, check out our easy fall nail designs (we've got some winter ones mixed in!).
Consider using a combination of matte and shimmer polishes to create a dimensional effect. A matte base with shimmery lines can look incredibly sophisticated. Or, use a light blue base and create snowflakes using white lines and glitter.