Table of Contents
Ready to transform your nails into miniature masterpieces without spending hours in a salon? This article is your passport to the world of "easy black and white nail designs." We'll guide you through a collection of simple yet stunning nail art ideas, perfect for beginners. Forget complicated techniques and expensive tools; we're focusing on achievable designs that anyone can master. First, we'll explore some inspiring ideas, showcasing the versatility of black and white in creating chic and modern looks. Next, we'll provide step-by-step tutorials for several easy black and white nail designs, complete with helpful images to guide your creative journey. Finally, we'll share some essential tips and tricks to help you achieve professional-looking results every time, no matter your skill level. So, grab your favorite black and white nail polishes, and let's get started on creating some seriously stylish nails!
Easy Black and White Nail Art Ideas for Beginners
Easy Black and White Nail Art Ideas for Beginners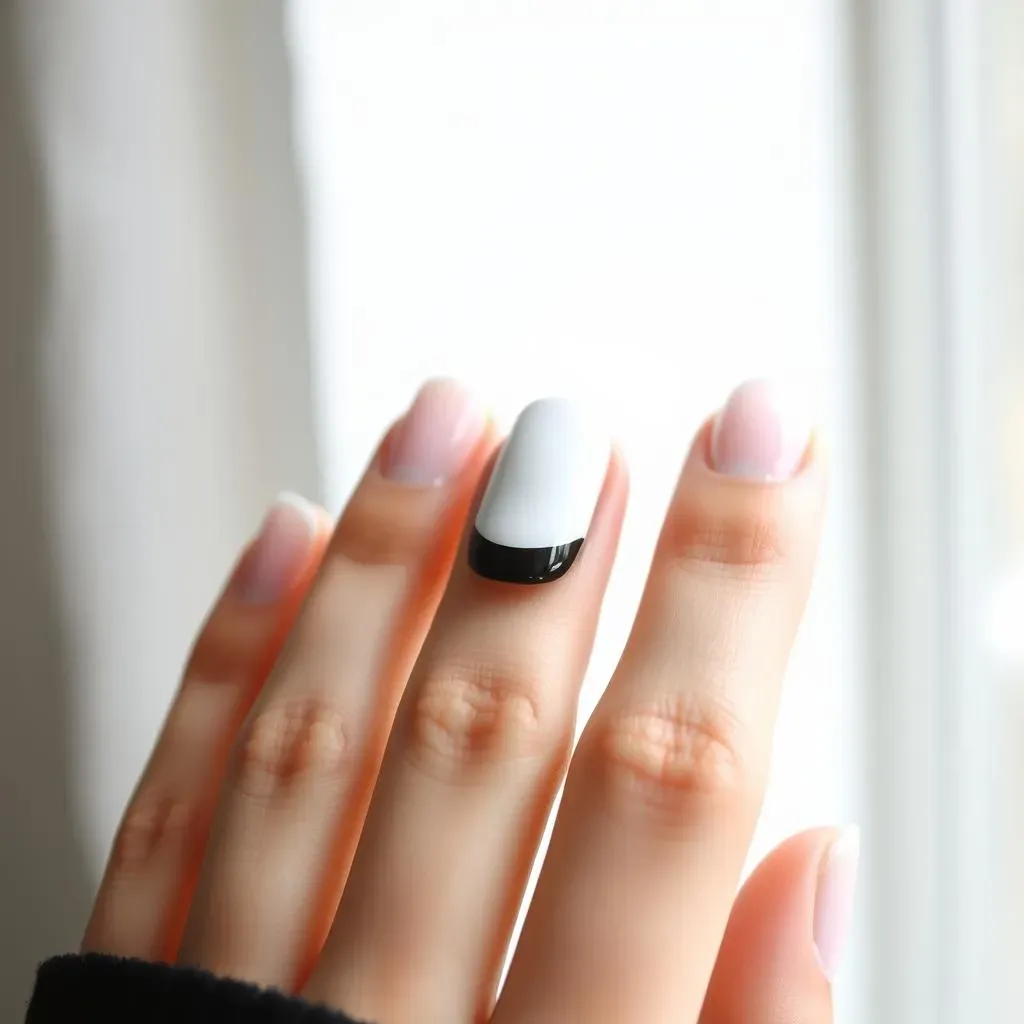
Simple Stripes and Checks
Let's start with the easiest designs! Think classic black and white stripes – horizontal, vertical, or even diagonal. You can use painter's tape for perfectly straight lines, or freehand it for a more relaxed, artistic vibe. Check patterns are equally simple; just alternate squares of black and white polish. For a fun twist, try using a thin striping brush for super-fine lines, creating a more intricate pattern. This is perfect for those just starting out – it’s forgiving and looks great!
For inspiration, check out these other simple nail designs: Simple Acrylic Nail Designs or explore Basic Easy Nail Designs for more ideas.
Design | Difficulty | Tools Needed |
|---|---|---|
Stripes | Easy | Nail polish, striping tape (optional) |
Checks | Easy | Nail polish, dotting tool (optional) |
Half-Moon Magic
The half-moon manicure is another classic that's super easy to achieve. Simply paint your nails white, then use a curved stencil or freehand a crescent shape at the base of your nail in black. You can adjust the size and shape of the half-moon to suit your preference. It’s a sophisticated look that's surprisingly simple to create. For a bolder statement, try reversing it – black nails with white half-moons!
Need more ideas for simple designs? Check out our collection of Easy Nail Design Ideas or browse our Awesome Easy Nail Art Designs.
- Use a base coat for better adhesion and longevity.
- Apply thin coats of polish to prevent smudging.
- Use a top coat for shine and protection.
Stunning Black and White Nail Designs: StepbyStep Tutorials
Stunning Black and White Nail Designs: StepbyStep Tutorials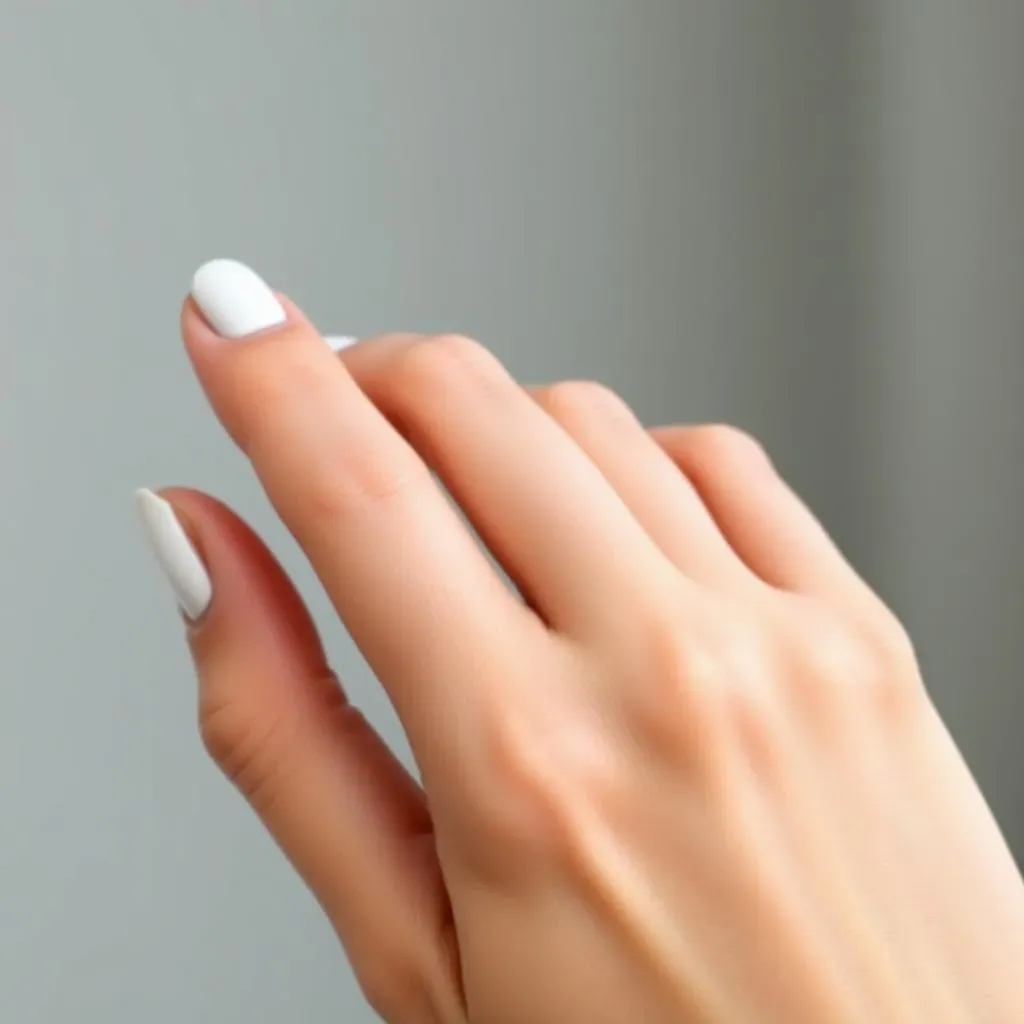
Classic Black and White French Manicure
Let's elevate the classic French manicure with a monochrome twist! Instead of the usual pink and white, we'll use black and white for a modern, edgy look. Start with a base coat of white polish on all your nails. Once dry, carefully paint the tips of your nails with black polish, creating a clean, crisp line. You can use striping tape for perfectly straight lines, or freehand it for a more relaxed feel. For an extra touch of elegance, consider using a matte top coat for a sophisticated finish. This design is surprisingly versatile; it works well with any nail shape and length.
Looking for more French manicure ideas? Check out these French tip abstract nail designs or explore prom nail designs for inspiration.
- Use a thin brush for precise application.
- Clean up any mistakes with nail polish remover and a small brush.
- Let each coat dry completely before applying the next.
Geometric Black and White Nail Art
Geometric designs are incredibly trendy right now, and they're surprisingly easy to create using black and white polish. Start by choosing a simple geometric shape – triangles, squares, or even simple lines. Use painter's tape to create clean lines and sections, or freehand your design for a more artistic approach. Experiment with different patterns and shapes to create a unique look. You can even combine different geometric elements for a more complex design. Don't be afraid to get creative and let your personality shine through! For a more advanced look, try incorporating negative space, leaving some of your nail bare to contrast with the geometric shapes.
For more inspiration on geometric designs, check out these easy nail art designs for long nails or try some easy rhinestone designs to add some extra sparkle.
Design Element | Technique | Tip |
|---|---|---|
Triangles | Painter's tape or freehand | Use a thin brush for precise lines |
Squares | Painter's tape or dotting tool | Ensure even pressure for consistent squares |
Lines | Striper brush or thin brush | Practice on a piece of paper first |
Mastering Easy Black and White Nail Designs: Tips and Tricks
Mastering Easy Black and White Nail Designs: Tips and Tricks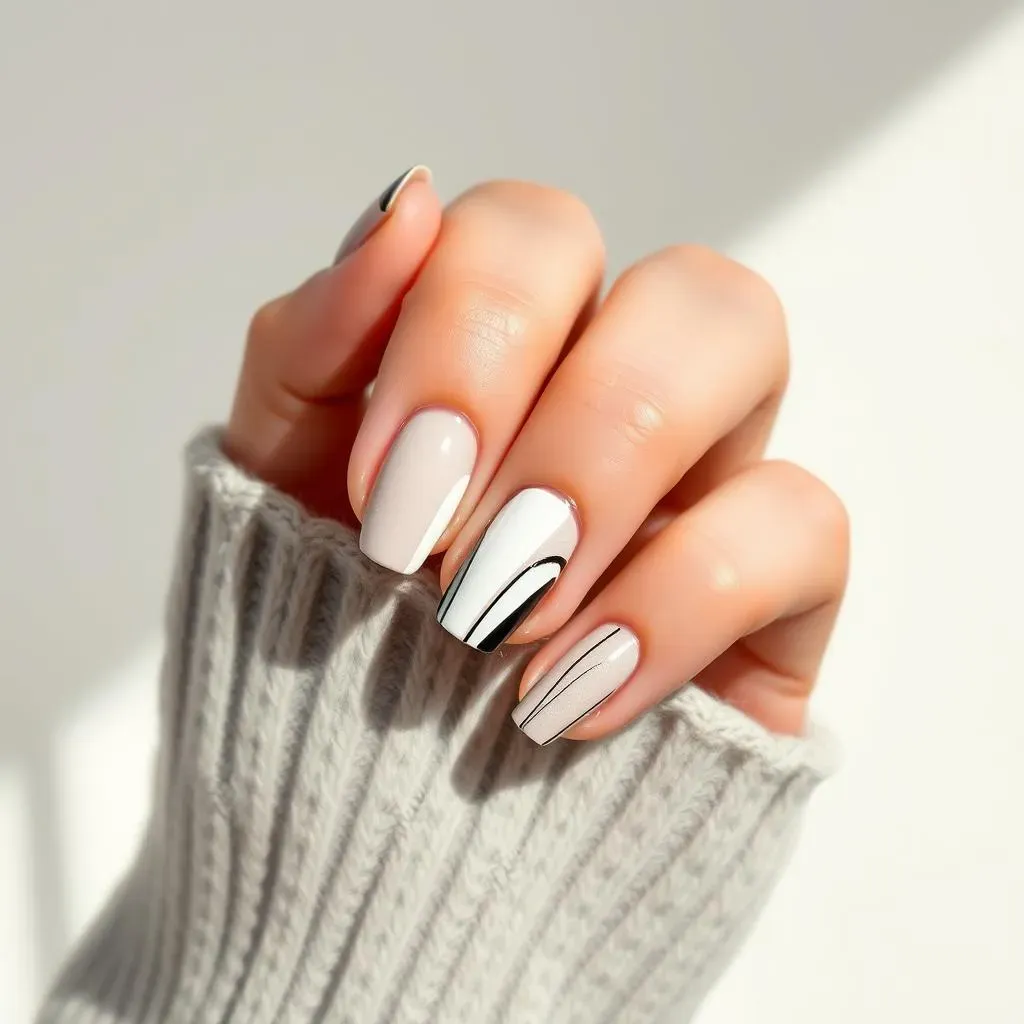
Prep Work is Key
Before you even think about painting, prepping your nails is crucial for a flawless finish. Start by gently pushing back your cuticles. Then, file your nails to your desired shape and buff them lightly to create a smooth surface. This ensures the polish adheres properly and prevents chipping. Don't skip this step – it's the foundation of a long-lasting manicure. Trust me, your nails (and you) will thank you later!
Want more tips for perfect nail prep? Check out our guide to easy gel nail designs which covers similar prep techniques.
- Use a cuticle pusher or orangewood stick.
- File in one direction to avoid splitting.
- Use a nail buffer for a smooth, even surface.
Thin Coats are Your Friend
Applying thick coats of polish is a common mistake that leads to smudging and unevenness. Instead, apply several thin coats, allowing each one to dry completely before applying the next. This prevents bubbling and ensures a smooth, even finish. Patience is key here – rushing the process will only lead to frustration. Think of it like building a cake – you wouldn't just slap all the ingredients together at once, would you?
For more tips on achieving a perfect polish application, explore our amazingly simple manicures guide.
Coats | Purpose | Tip |
|---|---|---|
Base Coat | Protects nail, improves adhesion | Apply thinly and evenly |
Color Coats | Creates desired color and design | Apply 2-3 thin coats |
Top Coat | Protects design, adds shine | Apply a thick coat for maximum protection |
Embrace the Power of Tools
While many easy black and white nail designs can be freehanded, using the right tools can make a huge difference. A thin striping brush is perfect for creating fine lines and intricate details. A dotting tool allows you to create dots and other small shapes with precision. Painter's tape is essential for creating clean, straight lines in designs like stripes and geometric patterns. Investing in these simple tools can elevate your nail art game significantly.
Need more ideas for using nail art tools? Check out our guide to easy nail designs with rhinestones for inspiration.
- Clean your tools after each use.
- Store tools properly to prevent damage.
- Experiment with different tools to find your favorites.