Table of Contents
Long nails are a statement, a canvas for creativity, but mastering nail art can feel daunting. Fear not, aspiring nail artists! This article is your guide to achieving stunning manicures without the salon price tag or hours of practice. We'll explore a world of "easy nail art designs for long nails," perfect for beginners and busy individuals alike. Get ready to transform your nails into works of art with simple techniques and inspiring designs. We'll start with the absolute basics, covering simple yet chic designs that are incredibly easy to replicate at home. Next, we'll delve into the world of geometry, showcasing how clean lines and shapes can create mesmerizing nail art. Then, prepare to be captivated by the elegance of floral designs, learning how to paint delicate blooms and intricate patterns. Finally, we'll explore more advanced yet still manageable nail art ideas, pushing your creative boundaries and inspiring you to experiment with different colors, textures, and embellishments. By the end, you'll have a treasure trove of inspiration and practical tips, ready to show off your beautifully adorned long nails with pride.
Simple & Chic: Easy Nail Art Designs for Long Nails
Simple & Chic: Easy Nail Art Designs for Long Nails
The Classic French Manicure, Reimagined
Let's start with a timeless classic: the French manicure. But we're giving it a modern twist! Instead of the traditional white tip, try a delicate pastel shade like blush pink, soft mint green, or a subtle lavender. The long length of your nails provides ample space to play with a slightly thicker line than usual, creating a bolder statement. For an extra touch of elegance, consider adding a thin, shimmering gold line just below the colored tip. It's simple, sophisticated, and perfect for any occasion.
Think of it as a blank canvas. You can add a tiny accent, like a small heart or a delicate flower, to one nail only. This small detail adds a touch of personality without overwhelming the overall look. For a more detailed approach, check out our guide on easy nail art step-by-step designs for more inspiration.
Base Color | Tip Color | Accent |
|---|---|---|
Nude Pink | Baby Blue | None |
Light Grey | Rose Gold | Small Gold Star |
Subtle Shimmers and Solid Hues
Sometimes, the simplest designs make the biggest impact. A single, solid color can be incredibly chic, especially when it's a rich, luxurious shade. Think deep burgundy, emerald green, or sapphire blue. The long length of your nails will beautifully showcase the depth and intensity of the color. To elevate this look, consider adding a subtle shimmer. A top coat with fine glitter or a dusting of holographic powder can add a touch of glamour without being overly flashy. For more ideas on simple yet striking designs, explore our collection of cute and easy nail art designs.
Don't underestimate the power of a good top coat! It not only protects your manicure but also adds a glossy finish that makes your nails look even more polished and professional. It is essential to keep your nails healthy and strong too. Remember, a well-maintained base is key to a stunning manicure. A few drops of cuticle oil each day can keep your nails hydrated and looking their best. For more simple nail designs, you can check out our simple nail designs for short nails article. It has similar ideas, easily adaptable for longer nails.
- Solid color with subtle glitter top coat
- Matte finish in a deep jewel tone
- Single accent nail with a contrasting metallic shade
Negative Space Magic
Negative space nail art is all the rage, and it’s particularly stunning on long nails. This involves leaving portions of the nail bare, allowing the natural nail color to peek through. You can create simple yet elegant designs by painting only a portion of the nail, such as a half-moon at the cuticle, a stripe down the middle, or a diagonal line across the nail. This creates a modern and minimalistic look that’s both chic and effortlessly stylish. The key is to keep the design clean and uncluttered. Simple lines and shapes are perfect for this technique. For more inspiration on negative space designs, check out our article on easy at-home nail art designs.
“Simplicity is the ultimate sophistication.” – Leonardo da Vinci. This quote perfectly captures the essence of negative space nail art. Less is often more, and by embracing negative space, you can create a look that's both sophisticated and unique. Remember to use a high-quality base coat to protect your nails and ensure a long-lasting manicure. Also, a good top coat will seal in the design and add extra shine. For more cool and easy designs, check out cool and easy nail art designs.
To achieve clean lines, consider using striping tape. Apply the tape to create your desired shape, paint the nail, and carefully remove the tape before the polish dries. This technique ensures sharp, precise lines every time. This method works well with negative space designs, particularly on long nails.
Geometric Wonders: Easy Geometric Nail Art for Long Nails
Geometric Wonders: Easy Geometric Nail Art for Long Nails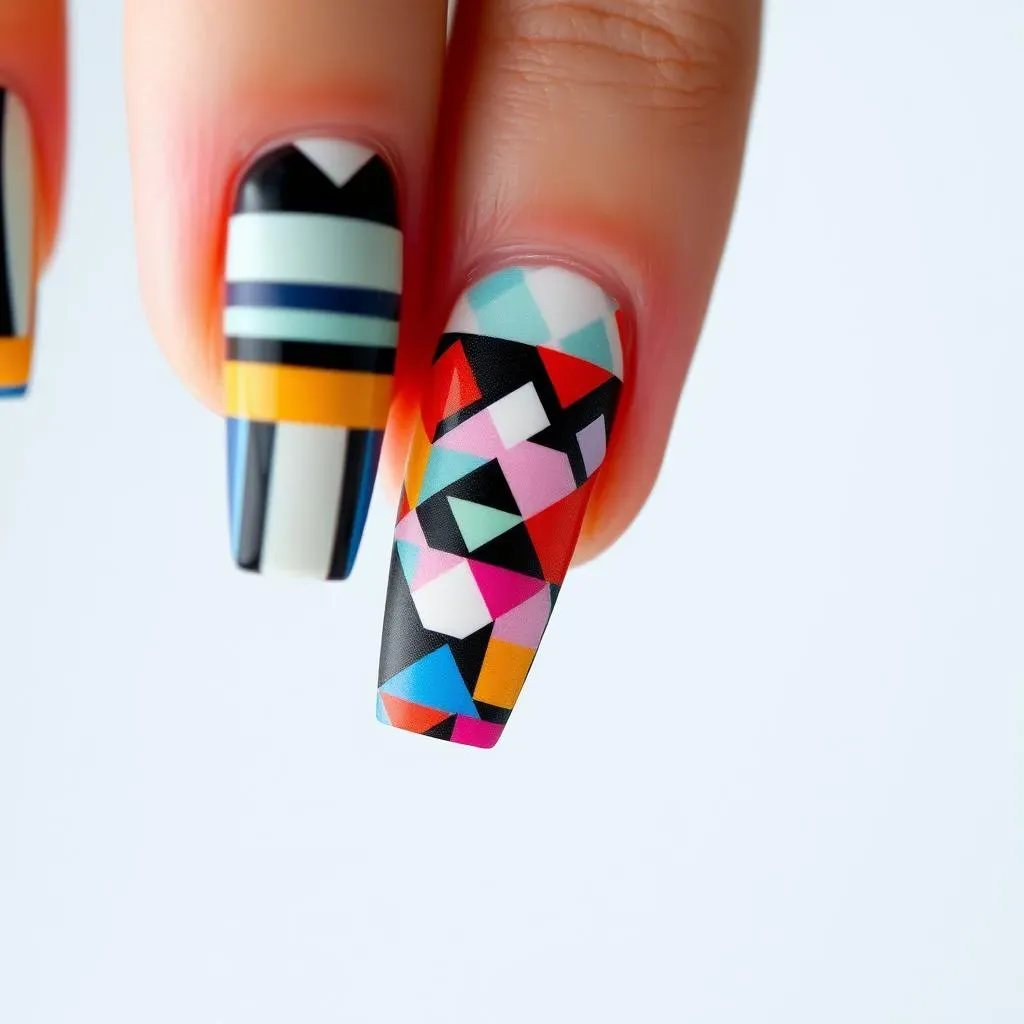
Stripes, Checks, and More: Mastering the Basics
Let's dive into the world of geometric nail art! Long nails are the perfect canvas for sharp lines and bold shapes. Start with simple stripes. Use striping tape for perfectly straight lines, or freehand them for a more relaxed, artistic feel. Experiment with different widths and colors for a unique look. You could even try a color-blocked design, dividing the nail into sections with different colors. For a more playful approach, add some checks or polka dots. The possibilities are endless!
Remember, practice makes perfect! Don't be afraid to experiment and try different techniques. If you mess up, simply remove the polish and start again. For extra inspiration on creating clean lines and geometric shapes, check out our guide on easy nail art step-by-step designs. There are tons of simple ideas there, perfect for beginners.
Design | Colors | Tip |
|---|---|---|
Vertical Stripes | Navy, White | Use striping tape |
Horizontal Stripes | Pastel Rainbow | Freehand for a less perfect look |
Advanced Geometric Nail Art: Triangles, Chevrons, and More
Once you've mastered the basics, it's time to level up your geometric game! Triangles, chevrons, and other more complex shapes can create stunning and sophisticated designs. Use striping tape or a fine detail brush to create these shapes. Start with a simple design, and gradually work your way up to more intricate patterns. Remember to allow each coat of polish to dry completely before applying the next to prevent smudging. You can even combine different geometric shapes in a single design for a truly unique look. For more inspiration on advanced geometric designs, check out our article on easy acrylic nail designs—lots of geometric ideas there!
Don't be afraid to get creative and experiment with different color combinations! Try pairing bold colors with neutrals for a striking contrast, or stick to a monochromatic palette for a more subtle and sophisticated look. And don't forget the importance of a good top coat to protect your masterpiece and add a beautiful shine. A high-quality top coat will not only protect your manicure from chipping but also enhance the vibrancy of your colors. For more ideas on how to create different looks, see our easy nail designs for fall guide.
- Chevron pattern
- Color-blocked triangles
- Abstract geometric shapes
Floral Fantasies: Easy Flower Nail Art Designs for Long Nails
Floral Fantasies: Easy Flower Nail Art Designs for Long Nails
Simple Blooms: Easy Flower Nail Art for Beginners
Let's start with the easiest flower designs – single blooms! Think simple daisies, tiny roses, or delicate forget-me-nots. Long nails give you plenty of room to make these flowers look really pretty. You can use a dotting tool or a fine brush to create the petals and center. For a touch of whimsy, try using different colors for each flower or adding a few tiny leaves. Don't worry about making them perfect; a slightly imperfect, hand-painted look adds charm. For more inspiration on creating simple flower designs, check out our easy flower nail art designs guide.
A great tip for beginners is to practice on paper first! Get a feel for how much pressure to use and how to create smooth lines and curves before you start painting on your nails. You can even use different colored polishes to see what combinations you like best. For more simple and cute designs, have a look at our cute and easy nail art article.
Flower Type | Colors | Tools |
|---|---|---|
Daisy | Yellow, White | Dotting tool |
Rose | Pink, Red | Fine brush |
Branching Out: More Advanced Flower Nail Art
Ready for a challenge? Let’s create more intricate flower designs! You can use stencils or freehand more complex flowers. Try painting small bouquets, or adding vines and leaves to your blooms. Long nails offer the perfect space to showcase these detailed designs. Remember to use thin coats of polish to avoid smudging and let each layer dry completely before adding the next. For extra inspiration and step-by-step guidance, check out our collection of step-by-step nail art designs.
Adding tiny details like glitter or rhinestones can elevate your flower designs to the next level. A touch of sparkle can really make your floral manicure shine! You can also experiment with different techniques, like using a sponge to create a textured effect or adding some negative space to make your flowers pop. For more ideas on creating beautiful nail art, see our easy at-home nail art collection. It's full of inspiration!
- Floral wreaths
- Delicate vines and leaves
- Mixed flower bouquets
Floral Nail Art Hacks and Tips
To make your floral nail art even easier, use nail art stickers or water decals. These pre-made designs are a great way to add intricate floral details to your manicure without the hassle of hand-painting. Simply apply the sticker to your nail, seal it with a top coat, and you're done! For those who prefer a more personalized touch, you can use stamping plates to create beautiful floral patterns. These plates have etched designs that you can transfer to your nails using a stamper and scraper. This technique is surprisingly easy to master, and it allows for a lot of creativity. For more ideas on fun and creative designs, check out our awesome easy autumn nail designs article.
“The best way to predict the future is to create it.” – Abraham Lincoln. So go ahead, create your own unique floral nail art masterpiece! Don't be afraid to experiment with different colors, techniques, and designs. The possibilities are as endless as your creativity. Remember, practice makes perfect, so don't get discouraged if your first attempt isn't flawless. Keep practicing and you'll soon be creating stunning floral nail art that you can be proud of. For more advanced nail art ideas, check out our guide on DIY nail designs.
Consider using a base coat that matches your skin tone to really make your floral designs pop. This will also help your manicure last longer. And don't forget to finish with a top coat for extra shine and protection. For more ideas on creating fun nail art at home, check out our at-home easy nail art designs article.
Beyond the Basics: More Easy Nail Art Designs for Long Nails
Beyond the Basics: More Easy Nail Art Designs for Long Nails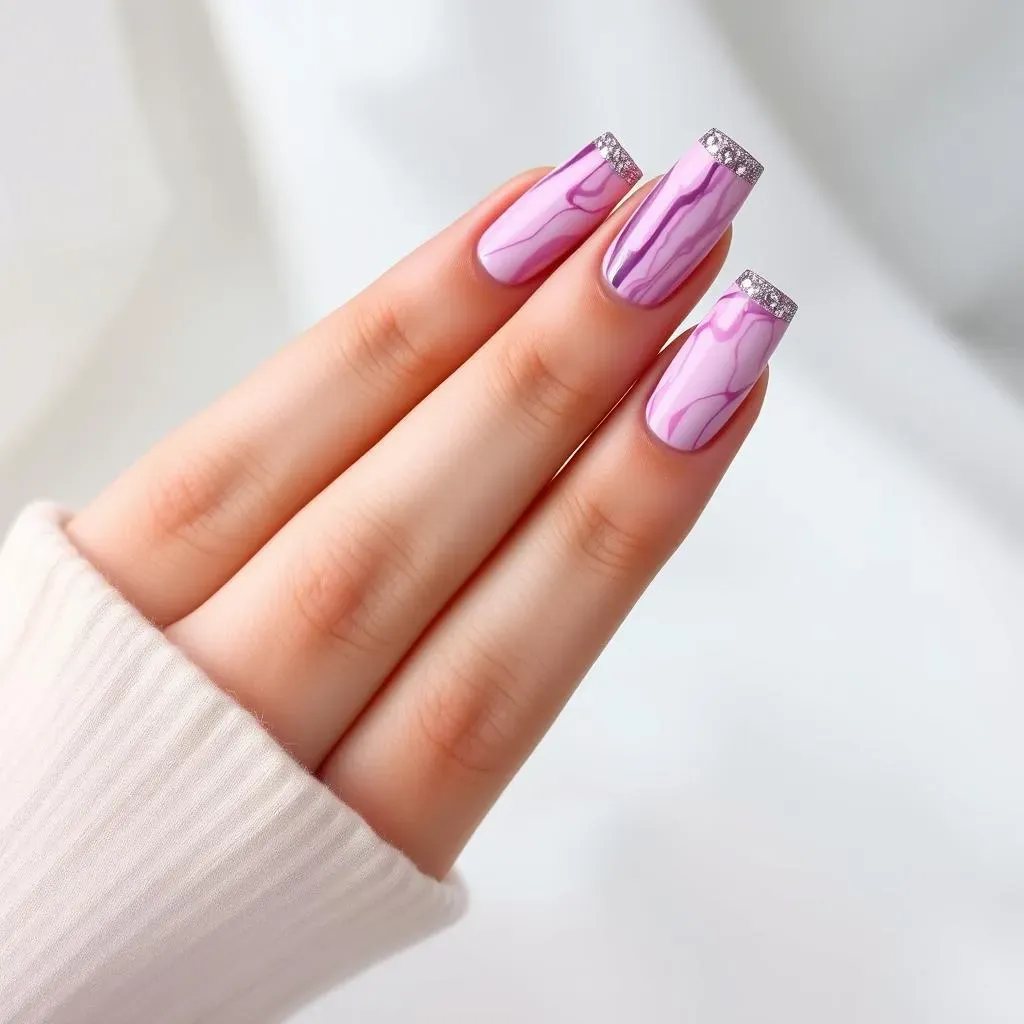
Beyond the Basics: Marble, Ombre, and More
Now let's explore some more advanced, yet still achievable, nail art techniques! Marble effects are surprisingly easy to create using a toothpick or a fine brush and different colored polishes swirled together on the nail. The long length of your nails gives you plenty of space to create a really dramatic marble design. For a softer look, try an ombre effect, gradually blending two or more colors together. This technique creates a beautiful, seamless transition between shades, perfect for a subtle yet stylish manicure. For more ombre ideas, check out our article on easy summer nail designs.
Don't be afraid to experiment with different tools and techniques to achieve unique marble and ombre effects. You can use a sponge to dab on the polish for a more textured look, or use a striping brush to create thin lines and stripes within the marble design. Remember, the key is to have fun and let your creativity flow! For a step-by-step guide on creating stunning nail art, check out our easy nail art step-by-step designs guide.
- Water marble effect
- Sponge ombre
- Linear ombre
Adding Embellishments: Jewels, Glitter, and More
Once you've mastered the basic techniques, it's time to add some extra sparkle and shine! Long nails provide a great canvas for embellishments like rhinestones, glitter, and small charms. You can create simple yet eye-catching designs by adding a few strategically placed rhinestones or a line of glitter along the cuticle or tip. For a more dramatic look, you can cover the entire nail in glitter or create a detailed design using different sizes and colors of rhinestones. For more inspiration on adding embellishments to your nails, check out our easy nail designs for special occasions article.
Remember to use a good quality top coat to seal in your embellishments and protect your manicure. A top coat will also add extra shine and make your nails look even more glamorous. Don't be afraid to experiment with different types of embellishments to create your own unique designs. You can mix and match different colors, shapes, and sizes to create a truly one-of-a-kind manicure. For more simple and cute nail designs, have a look at our cute and easy nail art article.
Embellishment | Placement | Effect |
|---|---|---|
Rhinestones | Cuticle | Elegant |
Glitter | Tip | Glamorous |