Table of Contents
Ready to transform your nails into miniature masterpieces? This article is your passport to the exciting world of cool and easy nail art designs! Whether you're a complete beginner or just looking to refresh your manicure routine, we've got you covered. We'll explore a range of simple yet stylish nail art ideas, perfect for anyone who wants to add a touch of personality and flair to their look without spending hours in the salon. Get ready to learn easy techniques like creating perfect stripes, placing adorable dots, and utilizing handy nail art stickers. We'll even show you how to showcase your creations and inspire others with your newfound nail artistry. So grab your favorite polishes, let your creativity flow, and let's dive into the fun and fabulous world of cool and easy nail art designs! Prepare to be amazed by how much you can achieve with a little practice and a whole lot of imagination. This isn't just about pretty nails; it's about self-expression and having fun with a creative outlet.
Cool and Easy Nail Art Designs for Beginners
Cool and Easy Nail Art Designs for Beginners
Simple Stripes and Dots
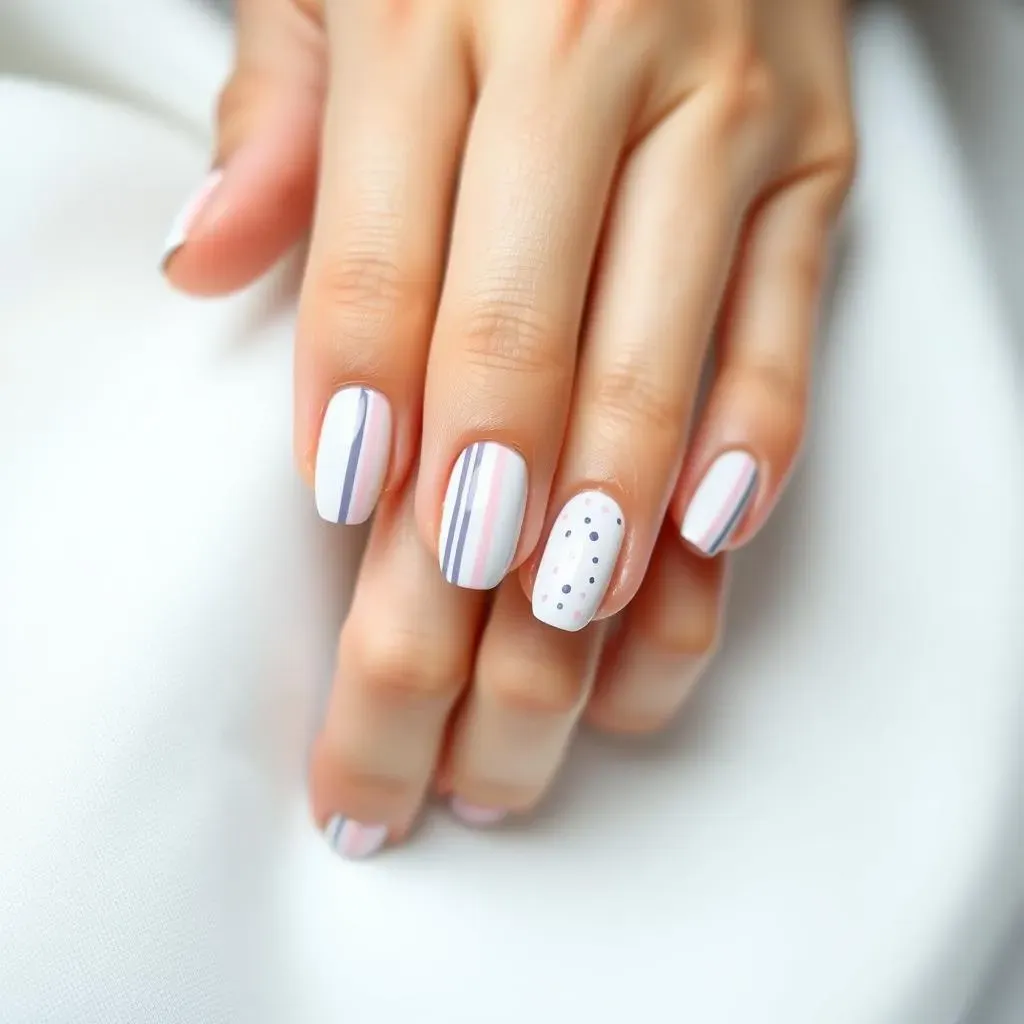
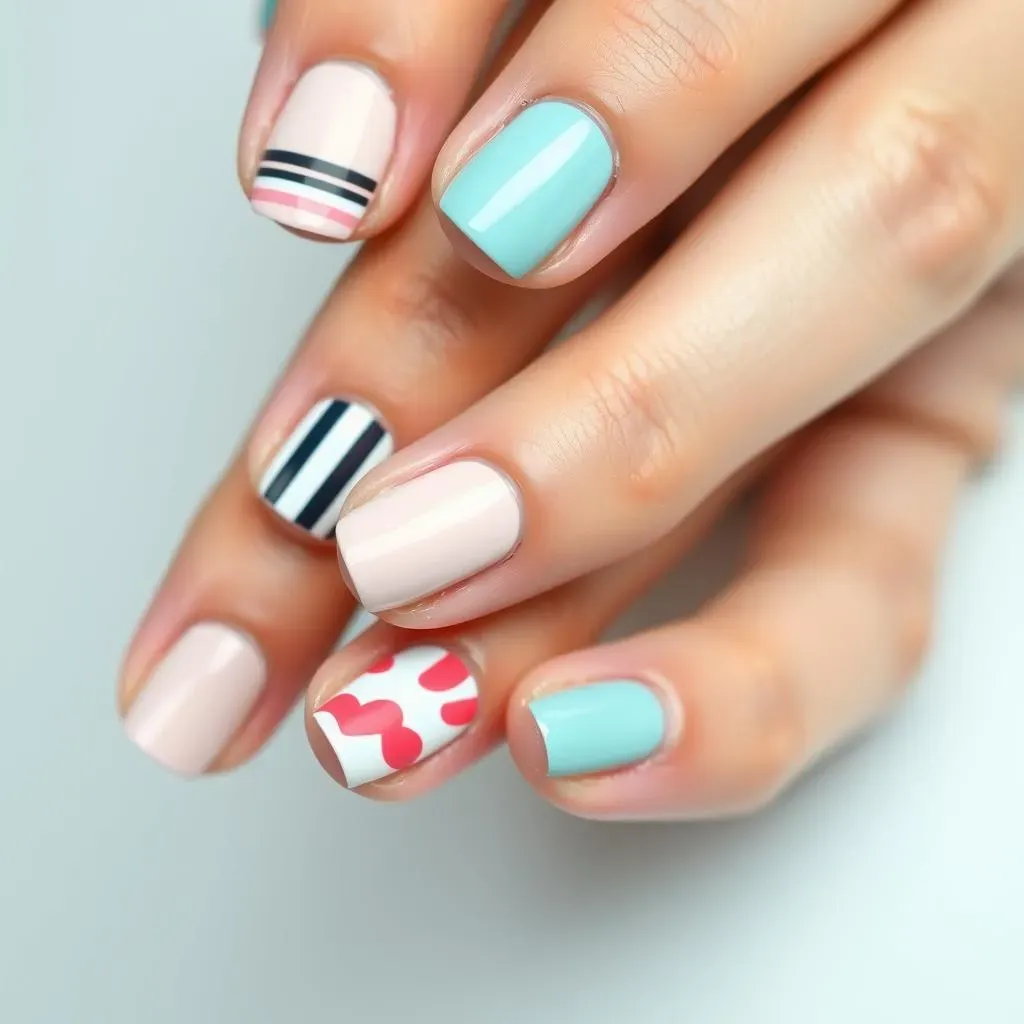
Let's start with the absolute basics! Stripes and dots are your gateway to amazing nail art. All you need is a steady hand (or some nail art tape for extra precision) and a couple of contrasting polish colors. Try a classic French manicure with a twist – instead of a straight line, create a diagonal stripe or even a wavy one. For dots, use a toothpick or a dotting tool to create polka dots, or get creative with different sizes and patterns. Don't be afraid to experiment with color combinations – a bright pink base with white dots is super cute, or try a navy blue with gold dots for a more sophisticated look. Remember, practice makes perfect! Even if your first attempts aren't flawless, keep trying, and you'll be amazed at how quickly you improve. Check out our post on easy line nail designs for more inspiration!
One tip for beginners is to start with a base coat to protect your nails and ensure the polish adheres better. Once the base coat is dry, carefully apply your stripes or dots, and finish with a top coat to seal everything in place and add shine. For an extra touch, you can add some glitter or metallic accents to really make your design pop. With a little practice, you'll be creating stunning nail art in no time!
- Start with a base coat
- Practice your lines and dots
- Finish with a top coat
Using Nail Art Stickers
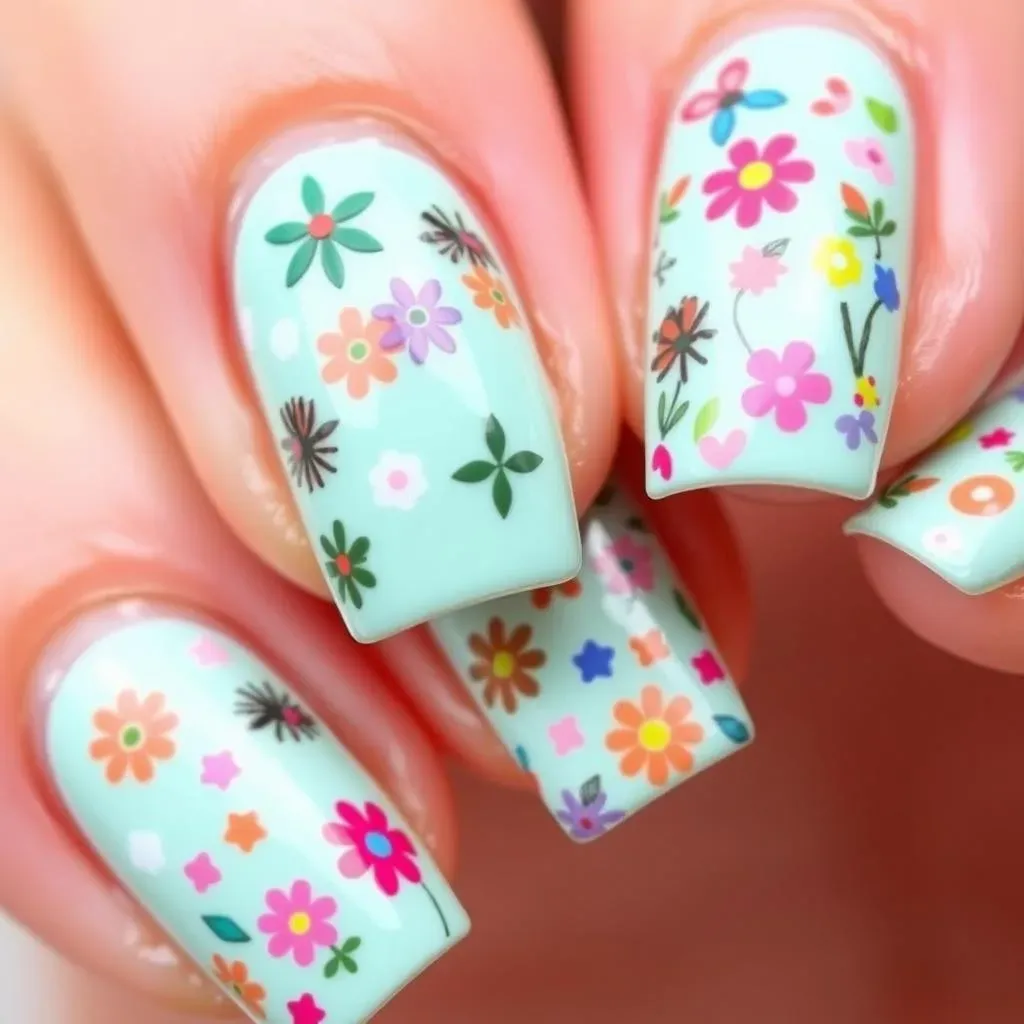
If you're feeling a little less confident about freehand painting, nail art stickers are your best friend! They come in tons of designs, from cute little flowers and hearts to geometric patterns and even miniature landscapes. Simply apply your base color, let it dry completely, and then carefully peel and stick your chosen stickers onto your nails. Seal the stickers with a top coat to prevent them from chipping or peeling. Nail art stickers are a fantastic way to add detail and complexity to your manicure without the need for advanced painting skills. They're also perfect for creating themed manicures – think festive holiday designs or cute designs for a special occasion. For even more ideas, check out our gallery of cute and easy nail art designs!
Experiment with different sticker placements – you could place them along the cuticle, down the center of the nail, or even create a pattern across all your nails. Don't be afraid to mix and match different designs and colors to create a unique and personalized look. Remember to always press down firmly on the sticker to ensure it adheres properly to the nail. And once you've mastered nail stickers, you can move on to more advanced techniques, like using stencils or nail art pens to add even more intricate details!
Step | Action |
|---|---|
1 | Apply base coat |
2 | Apply nail art stickers |
3 | Seal with top coat |
Negative Space Designs
Negative space nail art is super trendy and incredibly easy to achieve. It involves leaving parts of your nail bare, creating a striking contrast with your chosen polish color. A simple negative space manicure could involve painting just the tips of your nails, creating a modern take on the classic French manicure. Or, you could paint a half-moon shape at the base of your nail, leaving the rest bare. You can also create more complex negative space designs by using tape or stencils to mask off sections of your nail before applying polish. The possibilities are endless! For more inspiration, check out our simple nail designs for 2024.
Negative space nail art is perfect for those who prefer a more minimalist aesthetic, or for those who want to add a touch of elegance to their look without being too flashy. It's also a great option for those who have shorter nails, as it can make your nails appear longer and more slender. Remember to use a high-quality top coat to protect your manicure and ensure it lasts longer. And don't be afraid to experiment with different color combinations – a bright pink negative space design on a nude base is incredibly chic, or a black negative space design on a white base is equally stylish.
Mastering Simple Nail Art Techniques: Stripes, Dots, and More
Mastering Simple Nail Art Techniques: Stripes, Dots, and More
Perfecting the Art of Stripes
Let's level up your nail game with stripes! Think beyond basic vertical lines. Diagonal stripes add a modern, edgy touch. Try creating a chevron pattern for a fun, geometric look. Experiment with different widths—thin, bold, or a mix of both. And don't forget about color blocking! Combine two or three shades for a vibrant, eye-catching manicure. For extra precision, use striping tape to create perfectly straight lines. Once you've mastered the basics, you can even try creating curved stripes for a more abstract design. Need some extra inspiration? Check out our blog post on easy line nail designs for more ideas!
A key tip for creating flawless stripes is to use thin coats of polish and let each coat dry completely before applying the next. This prevents smudging and ensures a clean, crisp finish. Don't be afraid to experiment with different brush strokes – a light, feathery stroke can create a softer look, while a more deliberate stroke will result in a bolder line. And don't forget the importance of a good top coat to seal in your design and add shine! A glossy top coat will make your stripes really pop.
- Use thin coats of polish
- Let each coat dry completely
- Experiment with different brush strokes
- Finish with a top coat
Dotting Your Way to Nail Art Success
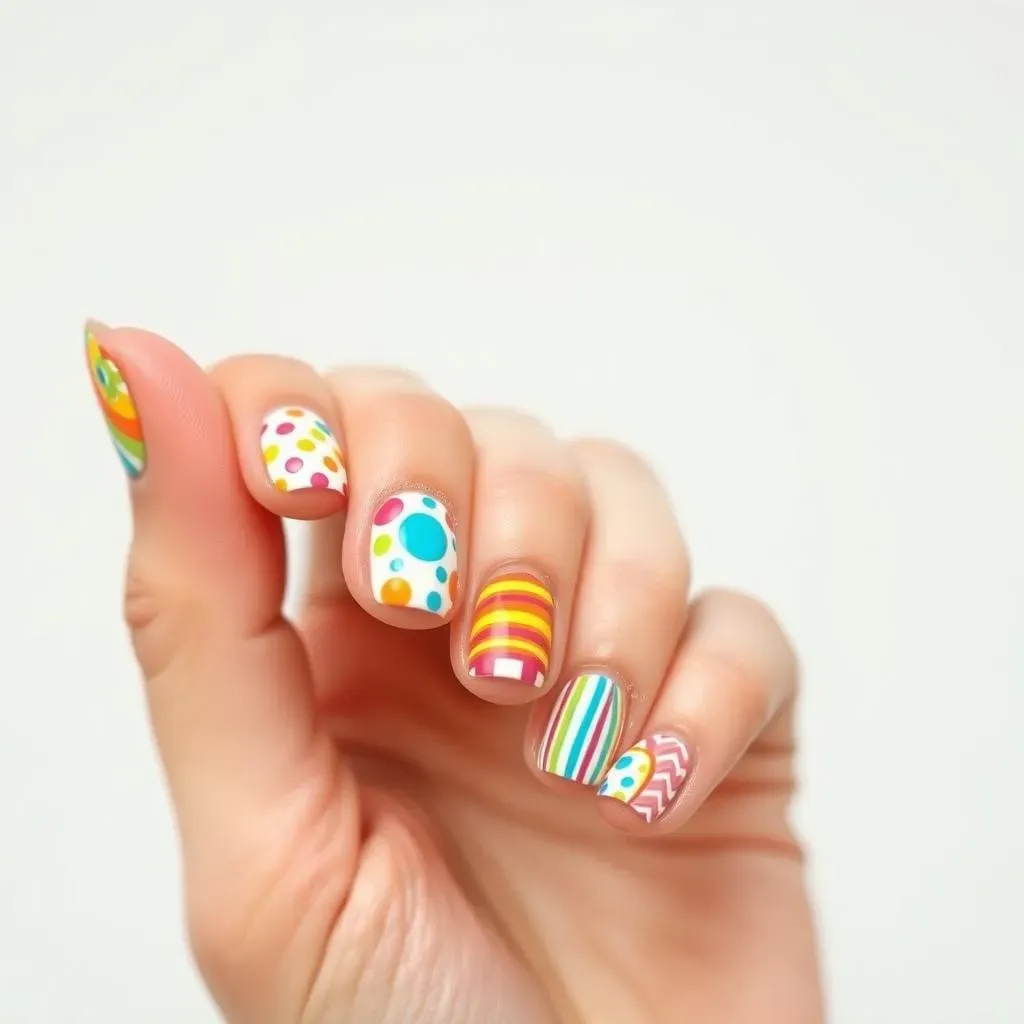
Dots are another incredibly versatile technique. They can be used to create simple polka dots, intricate floral designs, or even abstract patterns. Use a toothpick, a dotting tool, or even the end of a bobby pin to create dots of varying sizes. Experiment with different colors and spacing to create unique looks. You can create a gradient effect by using dots of different shades of the same color. Or, try combining different colors for a more playful and vibrant manicure. For more inspiration on achieving cute designs, check out our gallery of cute and easy nail art designs!
A great way to practice dotting is to start with a simple design, like polka dots, and then gradually increase the complexity of your designs as you become more comfortable with the technique. Remember, practice makes perfect! Don't be afraid to experiment and have fun with it. Once you've mastered the basics, you can start incorporating dots into more complex designs, such as flowers, animals, or geometric patterns. The possibilities are truly endless!
Tool | Effect |
|---|---|
Toothpick | Small, consistent dots |
Dotting tool | Various sizes and shapes |
Bobby pin | Larger, more irregular dots |
Cool and Easy Nail Art Designs Using Stickers and Tools
Cool and Easy Nail Art Designs Using Stickers and Tools
Nail Art Stickers: Your Shortcut to Stunning Manicures
Let's talk nail art stickers – they're a game-changer! Forget hours of painstaking detail work; stickers let you achieve intricate designs in minutes. The variety is mind-boggling: delicate florals, bold geometric patterns, quirky characters – you name it, they've got it. Simply apply your base coat, let it dry, then carefully place the stickers onto your nails. Seal with a top coat for extra durability, and voila! Instant nail art perfection. For extra inspiration, check out our collection of cute and easy nail art designs for short nails.
Pro-tip: Use tweezers for precise placement, especially with smaller stickers. A little clear top coat over the edges helps blend them seamlessly into your manicure. Don't be afraid to experiment – mix and match different sticker styles for a truly unique look. You can even layer stickers for added depth and dimension! For example, a simple base with a few layered stickers can create an amazing effect!
- Choose stickers that match your style
- Use tweezers for precise placement
- Seal with a top coat
Nail Art Stencils: Precision and Creativity Combined
Nail art stencils are another fantastic tool for creating professional-looking designs with minimal effort. These reusable templates come in countless shapes and patterns, allowing you to create everything from stripes and polka dots to intricate floral designs and geometric shapes. Simply place the stencil on your nail, apply your polish, remove the stencil, and you're left with a perfectly shaped design. Check out our easy DIY nail designs for some fantastic stencil ideas.
For best results, use a thin coat of polish and avoid applying too much pressure. Let the polish dry completely before removing the stencil to prevent smudging. Experiment with different color combinations and stencil placements to personalize your look. You can even layer stencils to create more complex designs. Think about using stencils to create a base, then add freehand details for a unique twist!
Stencil Type | Best For |
|---|---|
Geometric | Stripes, chevrons, triangles |
Floral | Flowers, leaves, vines |
Abstract | Unique shapes, patterns |
Nail Art Pens: Unleash Your Inner Artist
Nail art pens are a must-have for anyone who wants to add fine details and intricate designs to their manicures. These specialized pens come with super-fine tips, allowing you to create everything from delicate swirls and lines to detailed flowers and animals. They're also great for adding accents to designs created with stickers or stencils. For more inspiration, check out our easy nail art pen designs!
Start with simple designs and gradually increase the complexity as you become more comfortable with the pens. Practice on a piece of paper first to get a feel for the pen's tip and how much pressure to apply. Remember to let each layer dry completely before adding another. A light hand is key to creating fine, clean lines. Don't be afraid to experiment with different techniques – you can use the pen to create dots, lines, swirls, and more!
Showcasing Your Cool and Easy Nail Art Creations
Showcasing Your Cool and Easy Nail Art Creations
Photography Tips for Your Nail Art
So, you've created these amazing nail designs. Now it's time to show them off! Good lighting is key. Natural light is best, but a well-lit room will work too. Use a clean, simple background – a solid color or a neutral texture works best. Avoid cluttered backgrounds that distract from your nail art. Get up close and personal – a macro shot will really highlight the details of your design. And don't forget about angles! Experiment with different angles and perspectives to find the most flattering shots. Check out our easy at-home nail art designs for inspiration on what to photograph!
Consider using props to enhance your photos. A pretty flower, a stylish piece of jewelry, or even a cup of coffee can add visual interest. Editing apps can help you fine-tune your photos – adjust brightness, contrast, and saturation for a polished look. But don't overdo it! A subtle edit is all you need to make your photos pop. And remember to have fun with it! The most important thing is to showcase your creativity and unique style.
- Use good lighting
- Choose a simple background
- Get up close for detail shots
- Experiment with angles
Sharing Your Nail Art on Social Media
Social media is the perfect platform to share your nail art creations with the world! Choose the platforms where your target audience hangs out. Instagram is a great choice for visually-driven content. Use relevant hashtags to increase visibility. #nailartist #nailart #easymanicure #nailsofinstagram are a good start. Engage with other nail art enthusiasts – leave comments, like posts, and follow accounts that inspire you. This will increase your reach and help you connect with a community of fellow nail art lovers.
Write engaging captions. Tell a story about your design – what inspired it? What products did you use? How long did it take you to create it? Include a call to action – ask for feedback, or invite people to share their own nail art. Use high-quality photos – blurry or poorly lit photos won't do your amazing designs justice. And don't be afraid to experiment with different posting styles – try reels, carousels, or even live videos to showcase your nail art in different ways. For some seasonally-appropriate ideas, check out our easy fall nail designs!
Platform | Best For |
|---|---|
High-quality images and videos | |
TikTok | Short, engaging videos |
Saving and sharing images |
Building a Nail Art Community
Connecting with other nail art enthusiasts is a fantastic way to share your passion, get inspiration, and grow your skills. Join online communities – there are tons of Facebook groups, subreddits, and forums dedicated to nail art. Engage in conversations – share your own creations, ask questions, and offer encouragement to others. Collaborate with other nail artists – participate in challenges or create joint projects. Attending nail art workshops or events is a great way to meet other artists in person and learn new techniques. Check out our cute and easy nail art designs for some ideas to share!
Offer tutorials or share your tips and tricks – this is a great way to give back to the community and establish yourself as a knowledgeable and helpful member. Don't be afraid to ask for feedback – constructive criticism can help you improve your skills and discover new creative avenues. Most importantly, have fun! The nail art community is all about sharing, learning, and celebrating creativity. Remember, it's all about connecting with like-minded people and fostering a sense of community.