Table of Contents
Ready to ditch expensive salon visits and unleash your inner nail artist? This guide is your passport to mastering basic easy nail designs, even if you've never picked up a nail polish brush before! We'll explore simple techniques anyone can learn, perfect for those with short nails or limited supplies. Discover how to create stunning manicures using everyday household items, transforming your at-home pampering sessions into fun, creative experiences. Get ready to be inspired by the latest trends in basic easy nail designs, finding looks that perfectly match your style and skill level. Whether you're a complete beginner or looking to refine your existing skills, this article will equip you with the knowledge and confidence to achieve salon-worthy results from the comfort of your own home. Let's dive in and unlock the world of beautiful, easy-to-do nail art!
Simple Nail Art Techniques for Beginners
Simple Nail Art Techniques for Beginners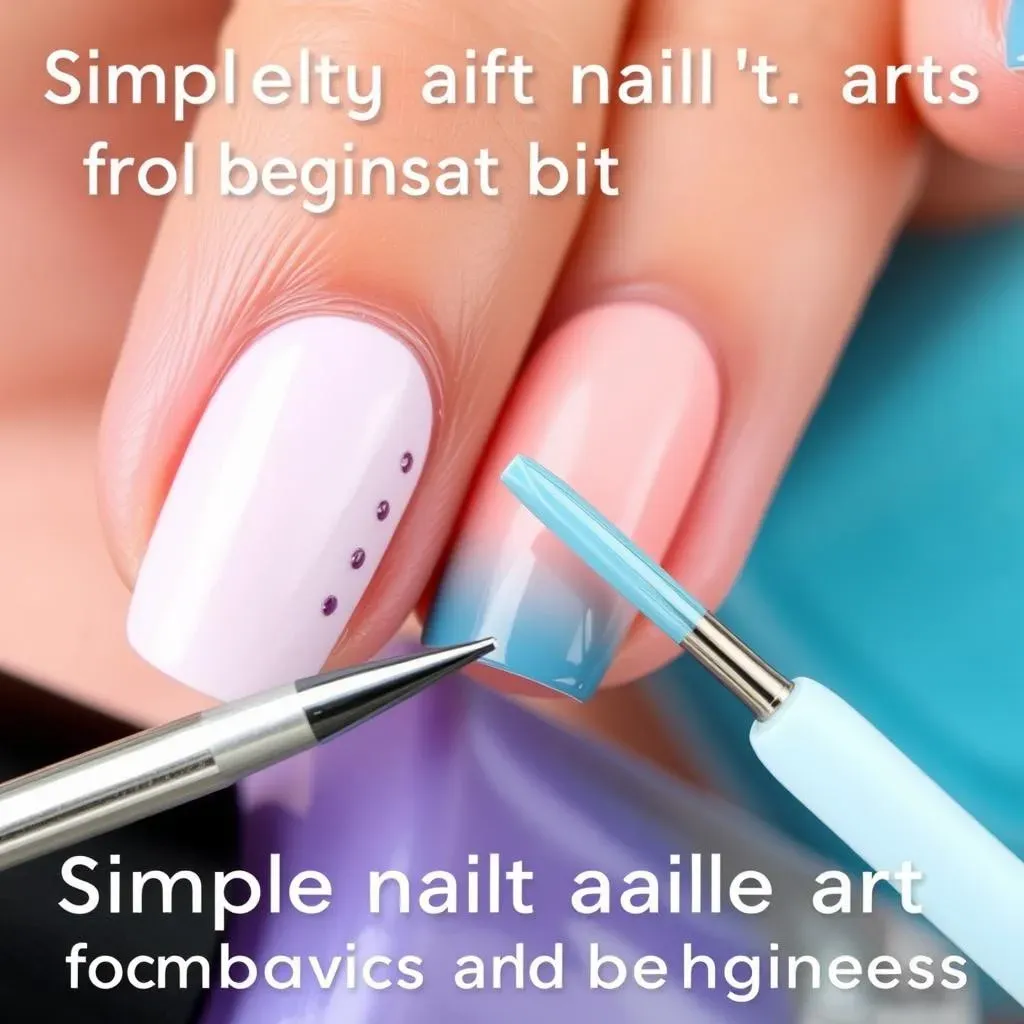
Getting Started: Basic Tools and Prep
Before diving into dazzling designs, let's gather our essentials. You'll need a base coat (to protect your nails and help polish adhere), your chosen nail polish colors, a top coat (for a shiny, long-lasting finish), and some simple tools. A dotting tool is fantastic for creating polka dots and other small details. If you're feeling fancy, a thin nail art brush allows for more intricate designs. But honestly, even a toothpick can work wonders! Don't forget nail polish remover and cotton swabs for cleaning up any mistakes – because let's face it, we all make them.
Proper nail preparation is key! Begin by gently pushing back your cuticles (don't cut them!), then lightly buff the surface of your nails. This helps the polish adhere better and creates a smoother, more even finish. Apply a thin layer of base coat, letting it dry completely before moving on to your chosen color. For extra durability, especially if you're a beginner prone to smudges, consider applying a thin layer of base coat, letting it dry completely, then applying another thin layer before your chosen nail polish color.
Tool | Purpose | Alternative |
|---|---|---|
Dotting tool | Creating dots and small details | Toothpick, bobby pin |
Thin nail art brush | Intricate designs and lines | Fine-tipped pen |
Mastering Simple Techniques: Lines, Dots, and More
Now for the fun part! Let's explore some fundamental techniques. Creating clean lines is surprisingly easy. Start with a steady hand and a small amount of polish on your brush. Practice drawing thin lines on a piece of paper before tackling your nails. For dots, use your dotting tool or a toothpick, dipping it into the polish and gently pressing it onto your nail. Vary the pressure to create different dot sizes. Check out these easy DIY nail designs for inspiration!
Beyond lines and dots, explore simple gradients or ombre effects. Apply one color to the base of your nail, then blend a second color towards the tip, using a sponge or a brush. You can also create a half-moon manicure, leaving the area near your cuticle bare or painting it a contrasting color. Remember, practice makes perfect! Don't be afraid to experiment and have fun with it. There are tons of awesome easy nail designs for beginners to try.
- Practice lines on paper first.
- Vary dot sizes by adjusting pressure.
- Experiment with gradients and ombre.
Nail Art Hacks for Beginners
Looking for some clever shortcuts? Nail stickers are your new best friend! They come in countless designs and are super easy to apply. Simply peel and stick, then seal with a top coat for a flawless finish. Another fantastic hack is using washi tape to create clean lines and geometric shapes. Apply the tape to your nail before painting, creating a stencil. Remove the tape once the polish is dry, revealing crisp, perfectly straight lines. For more ideas, check out these awesome simple nail designs.
Don't underestimate the power of negative space! Leaving parts of your nail bare can create a surprisingly stylish and modern look. Combine negative space with simple lines or dots for a minimalist manicure that's both chic and easy to achieve. And finally, remember that a good top coat is your secret weapon. It protects your design, adds shine, and makes your manicure last longer. A quick-drying top coat is a lifesaver when you're short on time. Explore more simple yet stunning simple nail designs here.
Easy Basic Nail Designs for Short Nails
Easy Basic Nail Designs for Short Nails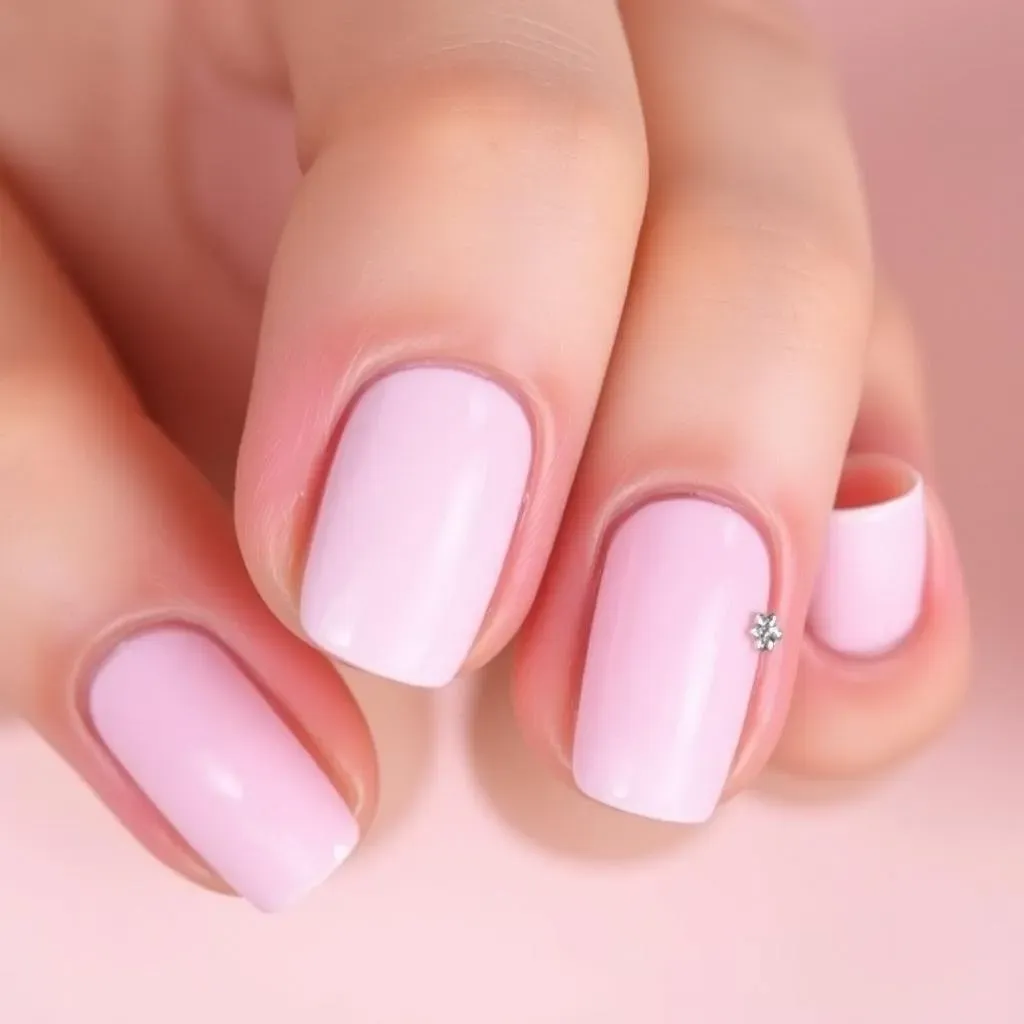
Short nails? No problem! Many basic easy nail designs look fantastic on shorter lengths. Think minimalist manicures—a single accent nail with a tiny design, or a subtle gradient. Solid colors are always chic, and you can easily add a touch of flair with some simple nail art stickers. For example, a single metallic stripe down the middle of each nail can add a touch of sophistication. Or, try a small, delicate design near the cuticle for a sweet and understated look. Check out these easy toenail designs for short nails for more inspiration – they work great on fingernails too!
- Solid colors
- Simple nail art stickers
- Metallic stripes
- Small designs near the cuticle
Avoid overly large or complex designs, as these can overwhelm shorter nails. Instead, focus on smaller details that add a touch of personality without being overpowering. A single, well-placed dot or a tiny heart can make a big difference. Negative space is also your friend! Leaving a portion of your nail bare can create a modern and elegant look, especially when paired with a bold color on the rest of the nail. For more ideas on short nail designs, explore these easy short nail designs.
Design | Description | Skill Level |
|---|---|---|
Solid color | One color applied to all nails | Beginner |
Accent nail | One nail with a simple design | Beginner |
Gradient | Blending two or more colors | Intermediate |
Remember, the key is to keep it simple and elegant. Short nails can be incredibly stylish, and with a few well-chosen designs, you can create a manicure that's both sophisticated and easy to achieve. Don't be afraid to experiment and find what works best for you. And most importantly, have fun with it! There are many more amazing easy pretty nail designs waiting to be discovered.
Basic Easy Nail Designs Using Household Items
Basic Easy Nail Designs Using Household Items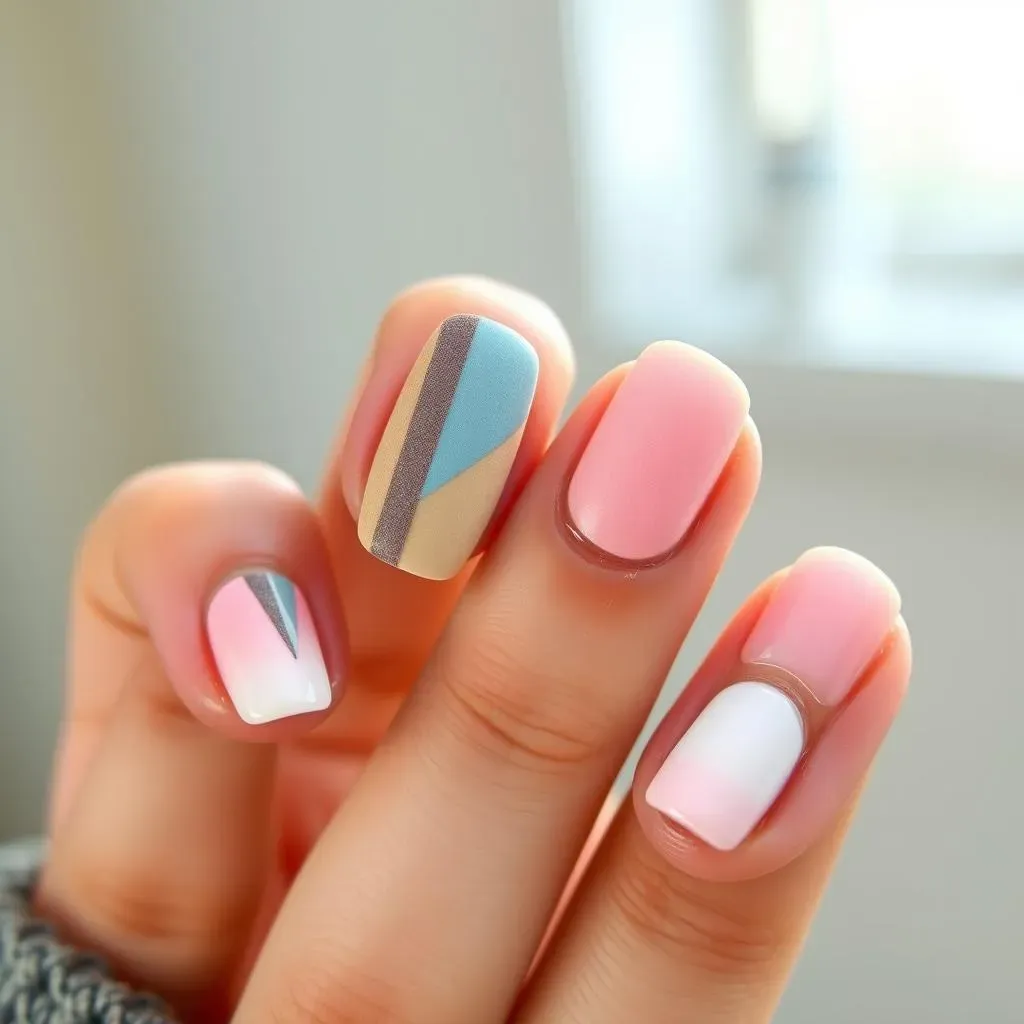
Who knew your kitchen could be a nail art studio? Believe it or not, you can create amazing basic easy nail designs using everyday household items! Forget fancy tools; we're talking toothpicks for dots, tape for stripes, and even sponges for ombre effects. This is all about resourcefulness and creativity!
- Toothpicks for dots and details
- Tape for clean lines and shapes
- Sponges for ombre and gradients
- Rubber bands for unique textures
Let's start with those trusty toothpicks. Dip the end into your nail polish and gently dab onto your nails to create perfectly sized dots. Experiment with different pressures to achieve varying sizes and create fun polka dot patterns. For more intricate designs, check out these easy nail art pen designs—many of them can be easily adapted using household items.
Household Item | Nail Art Use |
|---|---|
Toothpick | Dots, small details |
Tape | Stripes, geometric shapes |
Sponge | Ombre, gradients |
Next up: tape! Washi tape or even masking tape works wonders for creating sharp lines and geometric shapes. Simply apply the tape to your nail before painting, creating a stencil. Once the polish is dry, carefully peel away the tape to reveal perfect stripes or other designs. For inspiration, check out these easy DIY nail designs—many use similar techniques.
Finally, don't underestimate the power of a kitchen sponge! Use it to create beautiful ombre or gradient effects. Apply different shades of polish to the sponge, then dab it onto your nails for a soft, blended look. This technique is incredibly versatile and can be used to create a wide range of stunning designs. For more ideas on achieving different looks, check out these easy at-home nail art designs.
Trending Basic Easy Nail Designs Ideas
Trending Basic Easy Nail Designs Ideas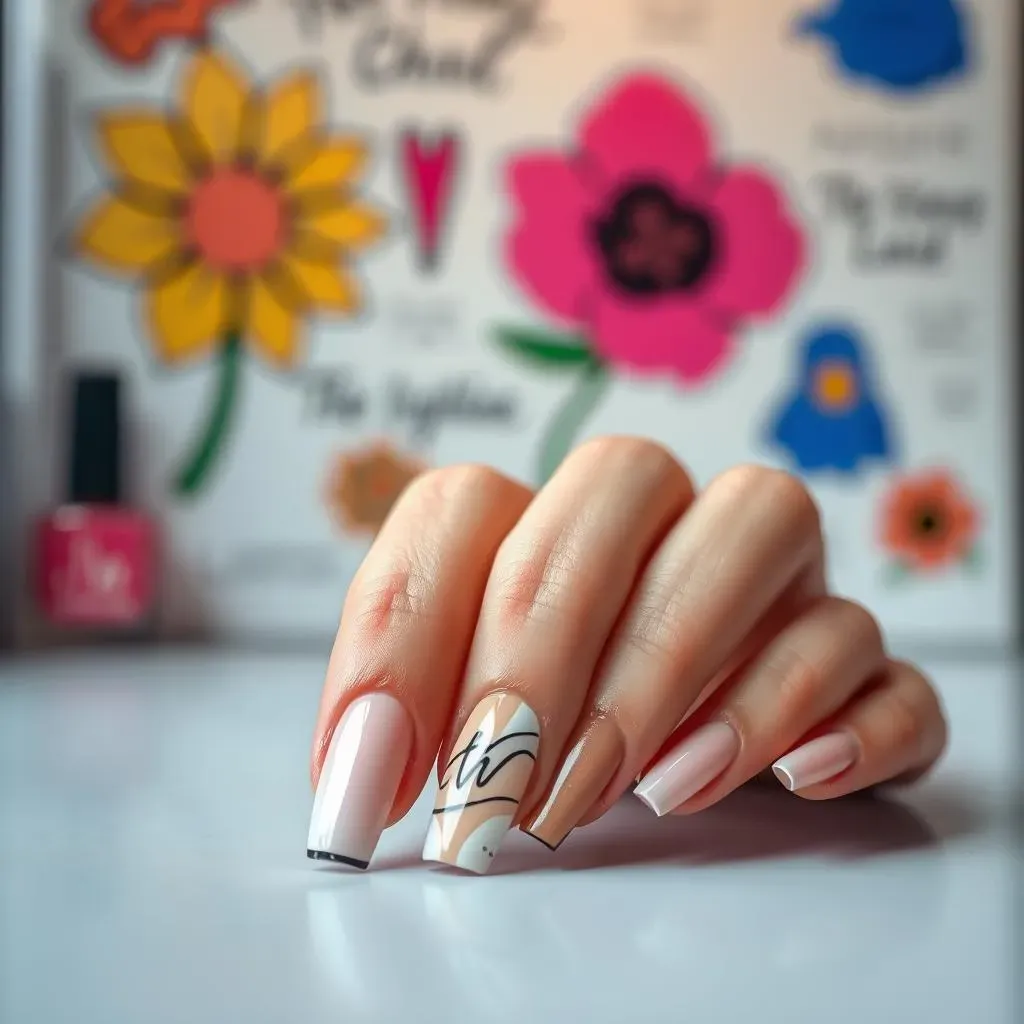
Minimalist Chic: The Less is More Approach
Minimalism is having a major moment in nail art, and for good reason! Simple, understated designs are incredibly chic and surprisingly versatile. Think clean lines, subtle color combinations, and strategic use of negative space. A single accent nail with a tiny heart or star adds a touch of personality without being overwhelming. Solid colors in muted tones like creamy nudes, soft pastels, or sophisticated greys are always a winner. For some inspiration, check out these awesome cute easy nail designs.
Another popular minimalist trend involves incorporating metallic accents. A thin gold or silver stripe down the center of each nail adds a touch of elegance. You can also use small metallic studs or decals for a subtle yet glamorous effect. Remember, less is more with this style. The focus is on creating a clean, polished look that's both understated and sophisticated. For more minimalist ideas, explore these simple nail designs.
- Solid colors in muted tones
- Metallic accents (stripes, studs, decals)
- Strategic use of negative space
- One or two accent nails with simple designs
Bold Statements: Making a Colorful Splash
If you're feeling more adventurous, don't shy away from bold colors and eye-catching designs! Bright, saturated hues are a fantastic way to express your personality. Think vibrant reds, sunny yellows, electric blues, and anything that makes you feel confident and happy. You can also incorporate fun patterns like polka dots, stripes, or even simple geometric shapes. Check out these easy summer nail designs for some bright inspiration.
Another popular trend is incorporating contrasting colors for a striking effect. Pair a bold base color with a contrasting accent color for a pop of visual interest. For instance, a vibrant orange base with a bright blue accent nail creates a fun and unexpected look. You can also experiment with different finishes, like matte and glossy polishes, to add another layer of texture and depth. For some more bold design ideas, check out these easy spring nail designs—the bright colors are perfect for bolder looks.
Color Combination | Effect |
|---|---|
Bright red & white | Classic and bold |
Electric blue & yellow | Energetic and playful |
Deep purple & gold | Luxurious and sophisticated |