Table of Contents
Ready to transform your nails from drab to fab? This guide is your passport to the exciting world of nail art, even if you've never picked up a nail polish brush before! We'll explore "step by step easy nail designs," breaking down complex techniques into simple, manageable steps. Forget those intimidating tutorials – we're focusing on achievable designs that look amazing. Whether you're a complete beginner or just looking to refresh your skills, we've got you covered. First, we'll master fundamental techniques like applying polish perfectly and creating clean lines. Then, get ready to unleash your creativity with easy designs perfect for any occasion – from everyday chic to festive flair. We'll cover everything from classic French manicures to trendy seasonal looks, all while keeping it simple and fun. Finally, we'll even sneak in a few slightly more advanced techniques that are still surprisingly easy to master, adding extra pizzazz to your manicures. Let's dive in and unleash your inner nail artist!
Mastering Basic Nail Art Techniques
Mastering Basic Nail Art Techniques
Before you dive into fancy designs, let's nail the fundamentals! Think of these as your nail art building blocks. First up: prepping your nails. This isn't just about looking pretty; it's about making your masterpiece last. Start with clean, dry nails. Gently push back your cuticles (don't cut them!), and then lightly buff the nail surface for a smooth base. This helps your polish adhere better and prevents chipping. Next, apply a base coat. This protects your nails from staining and helps your polish last longer. Let it dry completely before moving on—impatience leads to smudges!
Now, for the main event: applying your polish! Start with thin coats to avoid bubbles. Three thin coats are better than one thick, gloppy one. Let each coat dry completely before applying the next. Clean up any mistakes with a small brush dipped in nail polish remover. For perfectly straight lines, try using painter's tape or a striping tape – check out our guide on easy black nail designs for some inspiration! Once your color is dry, seal it all in with a top coat for extra shine and longevity. A good top coat is your manicure's best friend – it protects your art and adds that professional touch.
Step | Action | Tip |
|---|---|---|
1 | Prep your nails | Push back cuticles, buff gently |
2 | Base coat | Let it dry completely |
3 | Apply polish (thin coats!) | Be patient! |
4 | Top coat | Adds shine and protection |
Mastering these basics is half the battle. Once you've got a perfect polish application down, you'll find the more advanced techniques much easier. And remember, practice makes perfect! Don't be discouraged if your first attempt isn't flawless. Keep practicing, and you'll be surprised how quickly you improve. For more beginner-friendly ideas, check out our post on easy nail designs for beginners.
One last tip: invest in good quality tools. This makes a huge difference. A good quality brush will make applying polish so much easier. And don't forget a decent nail polish remover – acetone-based remover works best for removing stubborn polish without damaging your nails. These small investments will pay off big time in the long run, trust me!
- Clean nails are happy nails!
- Thin coats are key to avoiding bubbles.
- Patience is a virtue (especially when it comes to nail polish).
Easy Nail Designs for Every Occasion
Easy Nail Designs for Every Occasion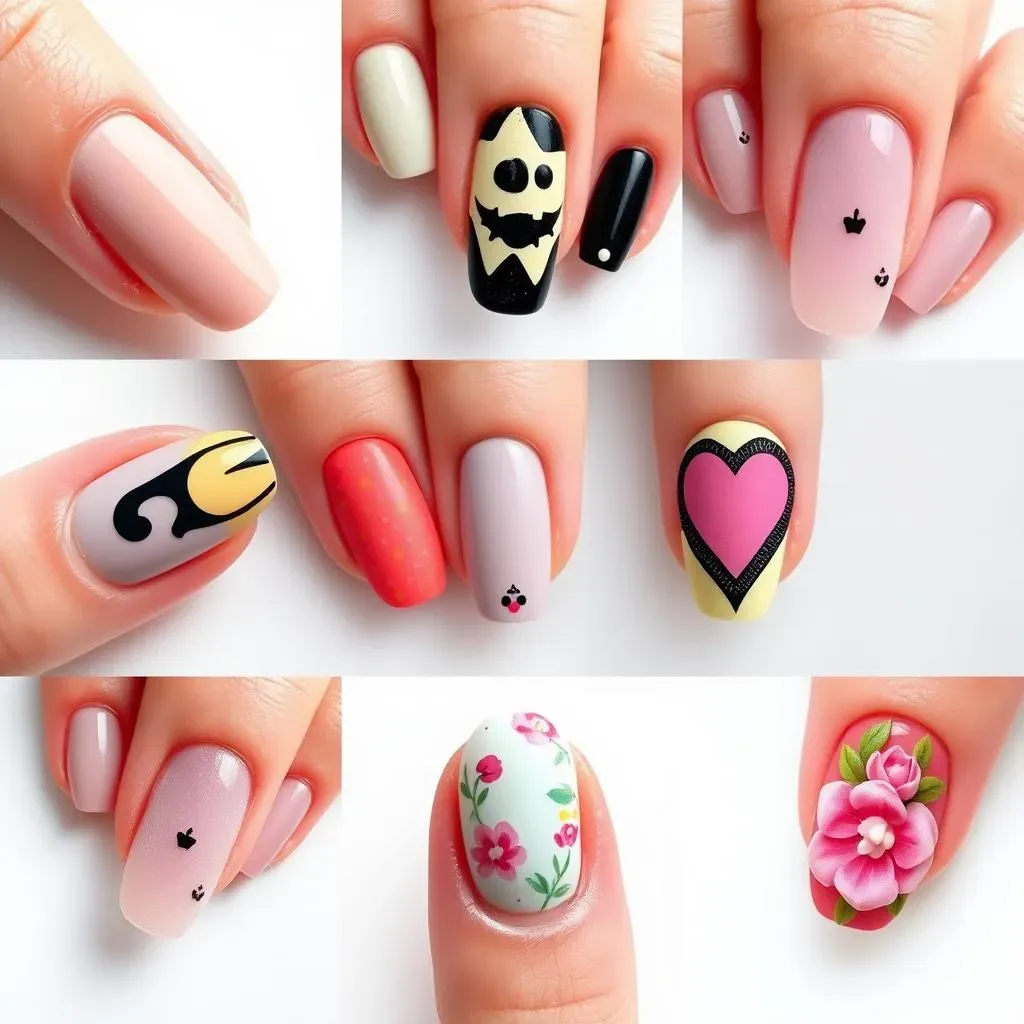
Everyday Chic
Let's face it, not every day calls for a full-blown nail art masterpiece. Sometimes, simple is best! A classic nude or pastel shade is always a winner, offering a clean and polished look that's perfect for the office or running errands. For a subtle twist, try adding a single accent nail with a slightly different color or a simple design. A tiny metallic accent on your ring finger can add a touch of glam without being overly flashy. Think of it as a little bit of sparkle without the fuss.
For even more inspiration, why not check out our collection of simple and easy nail designs? They're perfect for those days when you want something pretty but don't have a lot of time. You can find tons of ideas there, and you'll be amazed at how many stunning looks you can create with just a few simple steps.
- Nude shades are always sophisticated.
- Pastel colors are perfect for spring.
- One accent nail can add a pop of color.
Festive Fun
Holidays are the perfect excuse to get creative with your nails! For Halloween, try spooky designs like ghosts or spiders. For Christmas, think festive reds and greens, or create a winter wonderland scene. Valentine's Day is all about hearts and pinks, while Easter calls for pastel colors and springtime florals. The possibilities are endless!
Need some ideas? We've got you covered! Browse our guides for easy Halloween nail designs and easy Christmas nail designs for some festive inspiration. Remember, the key is to have fun and let your personality shine through!
Holiday | Color Palette | Design Ideas |
|---|---|---|
Halloween | Black, orange, purple | Spiders, ghosts, pumpkins |
Christmas | Red, green, white | Snowflakes, candy canes, trees |
Valentine's Day | Pink, red, white | Hearts, Cupid's arrows |
Advanced Easy Nail Art: Taking it to the Next Level
Advanced Easy Nail Art: Taking it to the Next Level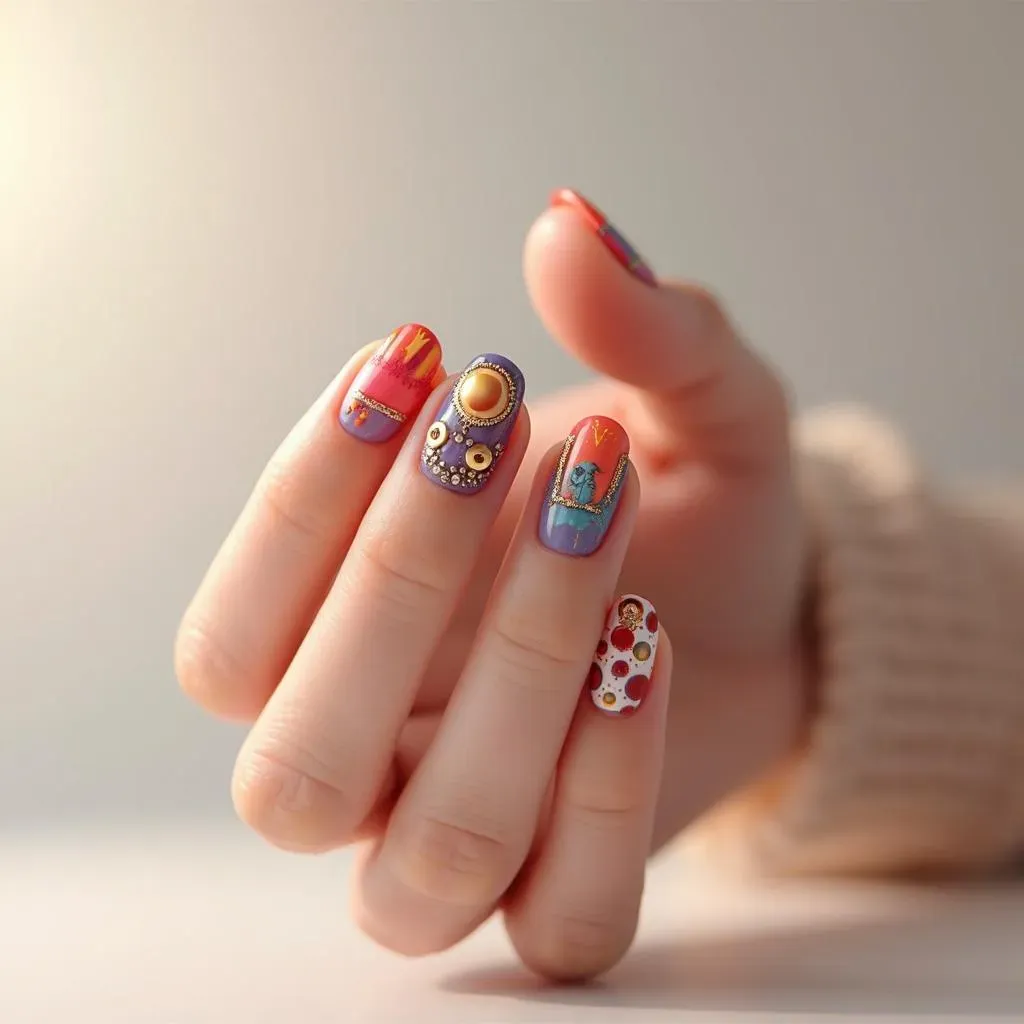
Simple Accent Nails
Let's add some pizzazz! Accent nails are your secret weapon for elevating a simple manicure. Try a contrasting color on your ring finger, or add some subtle glitter. You can also experiment with different textures – a matte finish on one nail against a glossy base coat adds a sophisticated touch. For inspiration, check out our easy rhinestone nail designs – they're surprisingly easy to do!
Don't be afraid to experiment with different color combinations. Complementary colors (like blue and orange, or purple and yellow) create a vibrant look, while analogous colors (like shades of pink or green) offer a more harmonious feel. Remember, it's your canvas; have fun with it! Adding a few simple dots or stripes can make a big difference.
- Experiment with different colors and textures.
- A single accent nail can make a big statement.
- Don't be afraid to get creative!
Geometric Designs
Geometric designs are trendy and surprisingly easy to achieve, even for beginners. Start with simple shapes like stripes, dots, or triangles. Use painter's tape to create clean lines, or try freehanding with a fine-tipped brush. For a modern touch, try combining different geometric shapes and colors. Check out our simple nail designs for more ideas!
A little tip: Practice your lines on paper before attempting them on your nails. This helps you get a feel for the brush and ensures your design is neat and precise. You can also use stencils for more intricate designs. Once you've mastered the basics, you can experiment with more complex geometric patterns.
Shape | Tools | Tip |
|---|---|---|
Stripes | Painter's tape, striping tape | Use thin coats of polish |
Dots | Dotting tool, toothpick | Practice creating even dots |
Triangles | Freehand, stencils | Use a steady hand |
Adding Embellishments
Want to take your nail art to the next level? Add some embellishments! This can include everything from glitter to rhinestones, from small charms to decals. Start with a simple design and add a few embellishments to enhance it. For example, add a few small rhinestones to a simple French manicure, or sprinkle some glitter over a solid color. For more inspiration, see our collection of easy red nail designs.
Remember, less is often more. Start with a few embellishments and add more if you like. You can also use embellishments to create a focal point on one or two nails. For example, use small charms to create a cute animal or a tiny flower design. The possibilities are endless! Don’t be afraid to try new things – you might surprise yourself.
- Glitter adds a touch of sparkle.
- Rhinestones create a glamorous look.
- Small charms add personality.