Table of Contents
Ready to add some festive sparkle to your holiday look? This year, ditch the complicated nail salon appointments and embrace the joy of DIY with our guide to cute easy Christmas nail designs! Whether you're a seasoned nail art pro or a complete beginner, we've got something for everyone. We'll explore a range of adorable designs, perfect for both short and long nails. From simple yet stunning snowflake patterns to charming reindeer accents, you'll find inspiration for your perfect Christmas manicure. This article is your one-stop shop for all things cute easy Christmas nail designs – get ready to unleash your inner artist and create festive masterpieces on your fingertips! We'll break down each design step-by-step, making it easy to follow along, even if you’ve never picked up a nail brush before. Prepare to be amazed at how easy it is to achieve a professional-looking, holiday-ready manicure right at home. Let's dive into the world of cute easy Christmas nail designs and create some holiday cheer!
Simple Cute Christmas Nail Designs for Beginners
Classic Red & Green Christmas Nails
Let's start with a festive classic! A simple base coat of deep red nail polish is your canvas. Once dry, use a fine-tipped brush or even a toothpick to add some simple green Christmas tree shapes near the cuticle. You can add tiny white dots for snow or use a shimmery top coat for extra sparkle. It's super easy and looks incredibly festive. For some extra inspiration, check out these easy nail art designs without tools.
This design is incredibly forgiving – don’t worry about being perfect! The slightly imperfect nature adds to the charm. Think of it as rustic Christmas charm, not a nail art competition. A quick-drying top coat will seal the deal and keep your festive manicure chip-free for longer.
Step | Action |
|---|---|
1 | Apply red base coat |
2 | Add green Christmas trees |
3 | Optional: Add white dots or shimmer |
4 | Apply top coat |
Simple Snowflake Nail Art
Snowflakes are a quintessential Christmas symbol, and they're surprisingly easy to recreate on your nails. Start with a white or light blue base coat. Then, use a fine-tipped brush and a dark blue or silver polish to paint simple snowflake patterns. You can find tons of easy snowflake designs online – just search for “simple snowflake nail art.” Remember, these are *simple* designs, so keep it basic and don’t stress over perfection. A little imperfection only adds character!
For a bit of extra flair, consider adding tiny silver glitter accents to your snowflakes for extra sparkle. Or, for a more minimalist look, just stick to the basic snowflake design. Either way, you'll have cute and festive nails in no time. If you are looking for more inspiration, you might like these easy nail art designs with no tools!
- Base coat (white or light blue)
- Darker polish for snowflake details
- Optional: Glitter or shimmer
- Top coat
Adorable Christmas Nail Art Ideas for Short Nails
Adorable Christmas Nail Art Ideas for Short Nails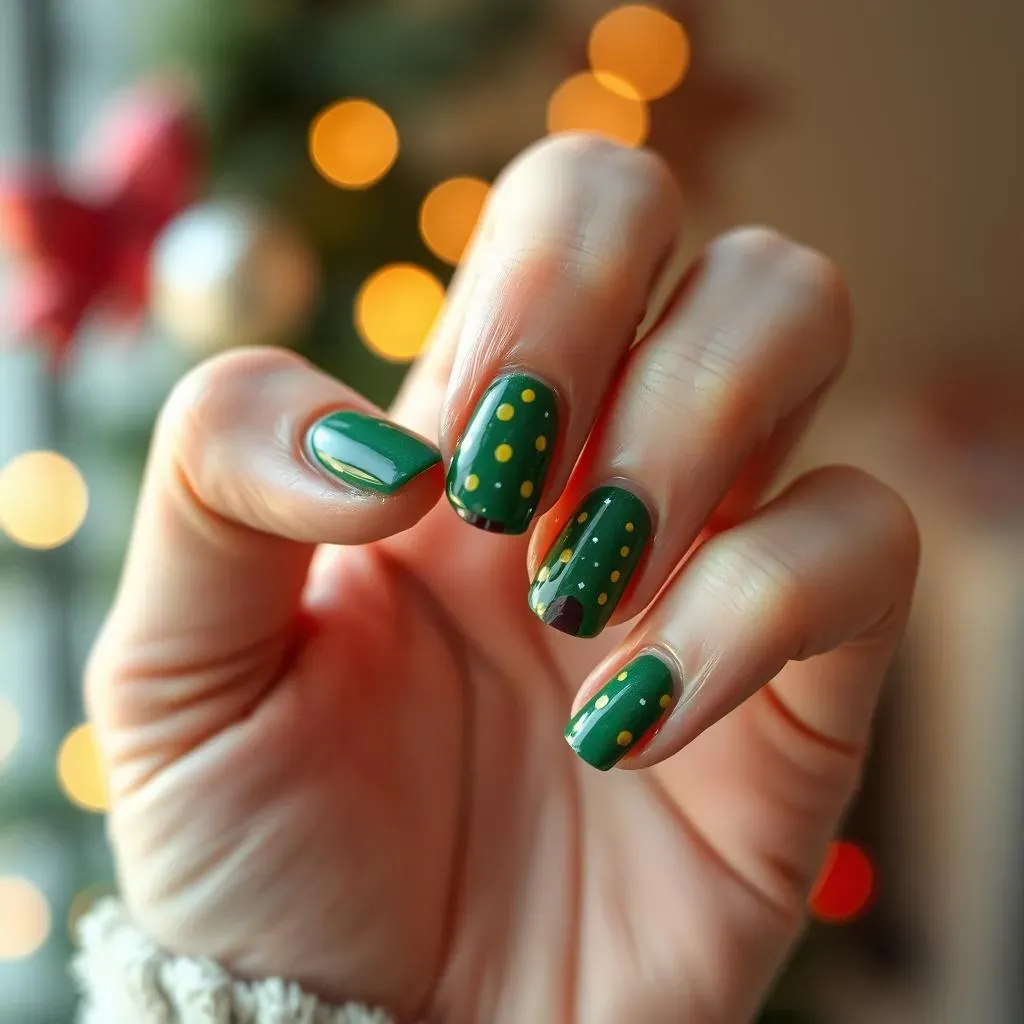
Mini Christmas Trees
Short nails don't mean sacrificing festive fun! Tiny Christmas trees are perfect for showcasing your holiday spirit without overwhelming your nail bed. Start with a green base coat. Use a thin brush or a toothpick to paint small, simple Christmas trees near your cuticles. Add tiny yellow dots for lights and a small star at the top. You could even add a touch of glitter for extra sparkle! It's so cute and easy, you'll be surprised how festive your nails look. For more inspiration, check out these cute easy designs for short nails.
Don't be afraid to experiment with different shades of green or add other small festive details, like tiny presents or snowflakes. A simple design like this is a great opportunity to practice your precision. A good quality top coat will ensure your festive manicure lasts longer. Remember, even small details can make a big impact.
- Green base coat
- Darker green or brown for tree trunk
- Yellow for lights
- Small star
- Top coat
Festive Glitter Accents
Sometimes, less is more! A simple base coat of your favorite holiday color (red, green, or even a sparkly white) can be instantly elevated with a touch of festive glitter. Apply your base coat, let it dry completely, and then add a thin layer of glitter polish to the tips or create a subtle glitter gradient. You can also use glitter to create simple designs like stripes or dots. It's quick, easy, and adds a touch of glamour to your short nails. If you need more ideas, here are some easy nail designs with rhinestones for inspiration!
This technique is perfect for a quick and easy festive manicure. It's also a great way to use up any leftover glitter polishes you may have lying around. The simplicity of the design allows the glitter to truly shine, making it a perfect choice for short nails. Don’t forget a top coat to lock in that sparkle!
Step | Action |
|---|---|
1 | Apply base coat |
2 | Add glitter polish |
3 | Apply top coat |
Easy Cute Christmas Nail Designs You Can DIY at Home
Candy Cane Stripes
Who doesn't love candy canes? This design is super simple. Start with a white base coat. Once dry, use red nail polish to create vertical stripes. It's a classic Christmas look that's surprisingly easy to achieve. For a more polished look, use striping tape to create perfectly straight lines. Need more inspiration? Check out these easy nail art ideas without tools!
To make it even cuter, add a few tiny white dots to the red stripes to mimic the candy cane swirls. A glossy top coat will make your candy cane stripes pop and protect your manicure. This design is perfect for beginners and allows for a lot of creative freedom, so don’t be afraid to experiment with different variations.
- White base coat
- Red nail polish for stripes
- Optional: White dots
- Top coat
Christmas Lights
Capture the magic of Christmas lights with this simple yet effective design. Start with a dark base coat (navy, dark green, or even black works well). Use a small brush and a bright polish (yellow, white, or silver) to create small dots to represent Christmas lights. You can arrange them in a random pattern or create a more structured design. For extra pizzazz, try adding a few tiny stars!
This design is surprisingly easy and looks very effective. The contrast between the dark base coat and the bright lights makes the design pop. You can adjust the size and spacing of the lights to fit your preferences. Looking for more ideas? These easy nail art ideas might inspire you.
Step | Action |
|---|---|
1 | Apply dark base coat |
2 | Add light dots |
3 | Optional: Add stars |
4 | Apply top coat |