Table of Contents
Ready to transform your nails into miniature masterpieces without breaking the bank or needing a toolbox full of fancy equipment? Then you've come to the right place! This article is your ultimate guide to achieving stunning “easy nail art designs no tools.” Forget complicated techniques and expensive kits; we'll show you how to create beautiful nail art using only your nail polish and a few clever tricks. We'll explore a range of simple yet effective techniques, from creating elegant stripes and dots to experimenting with negative space and color gradients. Whether you're a complete beginner or just looking for some fresh inspiration, you'll find plenty of easy-to-follow instructions and inspiring ideas to get your creative juices flowing. Get ready to unleash your inner nail artist and discover the joy of creating unique and beautiful nail designs – all without any special tools!
Stunning Nail Art Designs Without Any Tools
Stunning Nail Art Designs Without Any Tools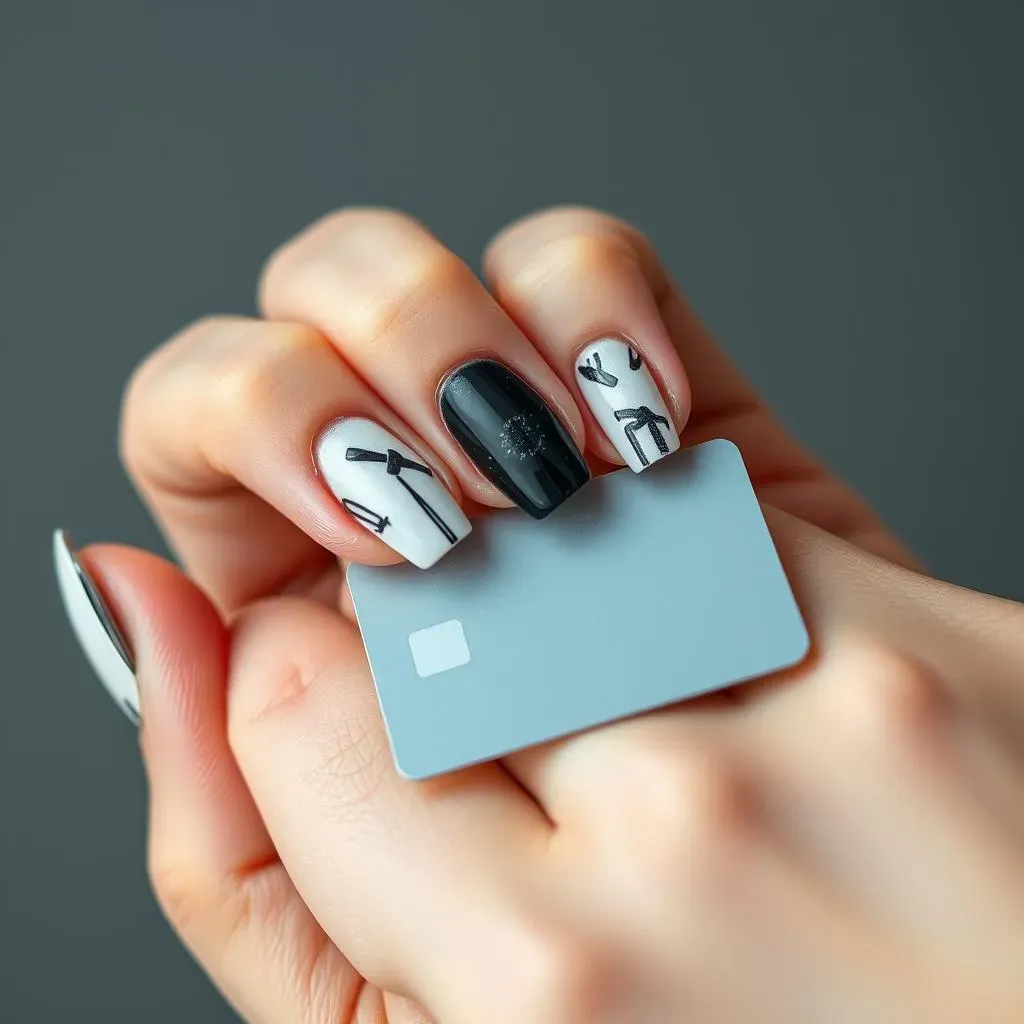
Simple Stripes and Dots
Let's start with the absolute basics! Stripes and dots are incredibly versatile and easy to achieve without any special tools. All you need is your favorite nail polish colors. For stripes, try using the edge of a piece of tape to create clean lines, or even a toothpick for a more freehand, artistic look. For dots, a toothpick or the end of a bobby pin works perfectly. Experiment with different sizes and colors to create unique patterns. Think about a classic French manicure, but instead of a straight line, try a wavy stripe for a more modern twist! You can even use different shades of the same color for a subtle ombre effect. For inspiration, check out these simple nail designs for some extra ideas.
Remember, practice makes perfect! Don't be afraid to experiment and have fun with it. A little imperfection adds character, and that's what makes your nail art unique. If you make a mistake, simply remove the polish with nail polish remover and start again. It's all part of the process. For short nails, consider using smaller dots and thinner stripes to keep the design proportional and visually appealing. Here's a tip: apply a thin base coat before starting your design to protect your nails and make the polish last longer.
Design | Tools | Tip |
|---|---|---|
Stripes | Tape, toothpick | Use thin coats for clean lines |
Dots | Toothpick, bobby pin | Vary dot sizes for interest |
Negative Space Magic
Negative space nail art is all the rage, and it's surprisingly easy to achieve without any fancy tools. This technique involves leaving parts of your nail bare, creating a visually striking contrast with your chosen polish color. It's all about the balance between empty space and color. For example, you could paint a half-moon shape at the base of your nail, leaving the rest bare, or create a simple geometric design by using tape to mask off sections of the nail. This is a fantastic option for those who want something chic and modern without a lot of fuss. You can find many more ideas for beginner-friendly nail designs online.
Think outside the box! Negative space nail art isn't just about simple shapes; you can create intricate designs by strategically leaving sections of your nail unpainted. For instance, you could paint a delicate flower or a simple abstract pattern, leaving the background bare. This minimalist approach makes a bold statement without requiring any advanced techniques. A great way to practice is to use a clear base coat and then add small pops of color. Remember that less is sometimes more; a simple design can be just as impactful as a complex one. Also, check out these easy at-home nail designs for additional inspiration.
- Half-moon manicure
- Geometric shapes
- Simple floral designs
Simple Techniques for Easy Nail Art Designs, No Tools Required
Mastering the Art of Sponging
Let's talk sponging! This is a fantastic technique for creating textured effects and subtle color blends. Grab a makeup sponge—the kind you use for applying foundation works great. Apply a few different shades of polish to the sponge, then gently dab it onto your nails. You can create ombre effects, marbled looks, or even fun speckled designs. The beauty of sponging is its unpredictability; each manicure will be unique! For inspiration, check out these easy at-home nail art designs to get started.
Experiment with different colors and dabbing techniques to achieve various effects. For example, using a lighter color as a base and dabbing darker shades on top will create a more dramatic look. Conversely, using darker colors as a base and lighter shades on top will result in a softer, more subtle effect. Remember to apply a top coat to seal in your design and add extra shine. Don't be afraid to get creative and try different combinations of colors and patterns. And for more ideas, check out these easy summer nail art designs for extra inspiration.
- Ombre effects
- Marbled looks
- Speckled designs
The Power of Tape
Believe it or not, simple tape can be your secret weapon for creating sharp lines and geometric designs. Masking tape, painter's tape, or even regular scotch tape can be used to create clean, crisp lines and shapes on your nails. Simply apply the tape to your nail in the desired pattern, paint over it with your chosen polish color, and then carefully peel off the tape while the polish is still wet for a perfect result. This method is surprisingly effective for creating stripes, triangles, or even more complex geometric patterns. Looking for some extra ideas? Check out these easy line designs for nails.
Remember to apply a base coat before using tape to prevent the polish from staining your nails. Also, make sure the tape is securely adhered to your nail to avoid smudging. Once you've mastered the basics, you can start experimenting with more complex designs. Consider using different widths of tape to create varying line thicknesses, or try layering different colors and patterns for a more intricate look. For additional inspiration, check out these easy nail designs for parties.
Design | Tape Type | Tip |
|---|---|---|
Stripes | Masking tape | Apply thin strips |
Geometric shapes | Painter's tape | Cut shapes precisely |
Easy Nail Art Designs No Tools: Creative Ideas and Inspiration
Easy Nail Art Designs No Tools: Creative Ideas and Inspiration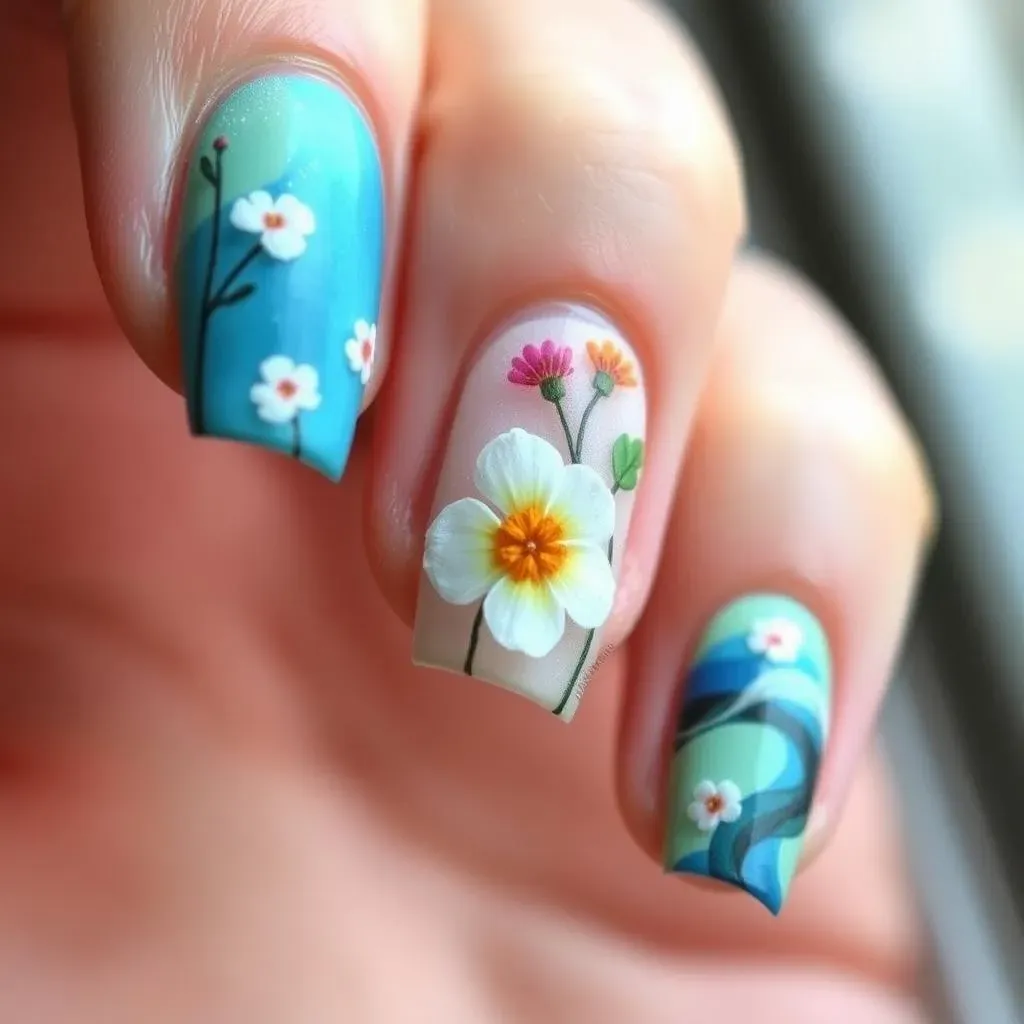
Embrace the Abstract
Let's ditch the perfectly symmetrical designs and dive into the world of abstract nail art! This is where you can truly let your creativity run wild. Think swirls, splatters, and freehand lines. No need for precision; the beauty of abstract art lies in its imperfection. Use different colors to create a visually interesting mix. Try using a toothpick or even the tip of your nail polish brush to create different textures and patterns. For some extra inspiration, check out these easy nail art designs for a boost of creativity.
Don't be afraid to experiment with different techniques. For example, you could create a marbled effect by mixing several colors of polish in a small container and then dipping your nails into the mixture. Or you could use a toothpick to create a series of dots and lines, blending them together to create a unique pattern. Remember, there are no rules when it comes to abstract nail art! The possibilities are endless. And for more fun, check out these cool easy nail art designs for some extra ideas.
- Swirls
- Splatter effects
- Freehand lines
Nature-Inspired Nail Art
Looking for something a little more refined? Nature-inspired nail art is both elegant and surprisingly easy to achieve without any tools. Think delicate flowers, simple leaves, or even abstract representations of natural elements like water or sky. You can use a toothpick or the tip of your nail polish brush to create the details. Start with a base coat, then add your design using thin lines and dots. For a nature-themed manicure, try using earthy tones like greens, browns, and creams. For some extra inspiration, check out these easy flower nail art designs.
If you're feeling adventurous, try creating a gradient effect using different shades of the same color to mimic the subtle variations in nature. For example, you could create a sunset effect using orange, yellow, and pink shades. Or you could create a leafy green look using different shades of green. Remember, the key is to keep the design simple and elegant. Overly complex designs can be difficult to achieve without tools, so stick to simple shapes and patterns. For more ideas, check out these easy autumn nail designs for inspiration.
Design Element | Technique | Color Palette |
|---|---|---|
Flowers | Dots and lines | Pastel shades |
Leaves | Thin lines | Earthy tones |