Table of Contents
Ready to transform your nails into blooming masterpieces? This guide is your passport to the world of "easy flower nail art designs," proving that stunning manicures don't require years of training or a professional salon visit. Whether you're a complete beginner or looking to refresh your nail art skills, we've got you covered. We'll start with the absolute basics, guiding you through essential tools and simple techniques to create your first floral designs. Then, we'll move on to step-by-step tutorials, breaking down complex-looking designs into manageable steps, perfect for all skill levels. Finally, we'll explore more advanced and creative easy flower nail art designs, showcasing different styles and color palettes to inspire your next manicure. Get ready to unleash your inner artist and discover the joy of creating beautiful, unique, and easy flower nail art designs—all from the comfort of your own home! Prepare to be amazed by how easy it is to achieve professional-looking results.
Mastering the Basics: Simple Easy Flower Nail Art Designs for Beginners
Mastering the Basics: Simple Easy Flower Nail Art Designs for Beginners
Let's ditch the complicated stuff and focus on creating adorable flower nail art that's actually achievable! Think of it like learning to draw – you start with simple shapes, then build up to more intricate designs. For easy flower nail art designs, we'll begin with classic techniques that anyone can master. We're talking simple dots, easy lines, and basic shapes that, when combined, create stunning floral effects. Don't worry about perfection; embrace the imperfections! The beauty of nail art lies in its unique, handmade charm. A little bit of messiness adds character. And remember, practice makes perfect! The more you try, the better you'll get. Soon, you'll be creating intricate designs with confidence. We'll explore a range of simple flower designs, from delicate daisies to cheerful sunflowers, all completely doable for beginners. Ready to get started? Let's dive in!
Design | Difficulty | Tools Needed |
|---|---|---|
Simple Dotted Flowers | Beginner | Dotting tool, base coat, top coat, 2-3 nail polish colors |
Easy Line Flowers | Beginner | Thin nail art brush, base coat, top coat, 2 nail polish colors |
One of the easiest techniques is using a dotting tool to create tiny dots that form petals. You can find tons of tutorials online showing how to do this, and it's super fun to experiment with different colors and arrangements. For example, you could create a simple daisy using white and yellow polish. Or, if you prefer more vibrant colors, try creating a poppy with red and black. For more ideas on simple designs, check out our post on easy nail designs for short nails – perfect for beginners!
- Start with a base coat for a smooth surface.
- Use a dotting tool or toothpick for precise dots.
- Don't be afraid to experiment with different colors.
- Finish with a top coat for long-lasting shine.
Another super simple technique is using thin lines to create petals. This requires a bit more steady hand, but it's still very easy to master. You can create delicate flowers with just a few thin lines, or more complex designs by adding leaves and stems. For inspiration on line designs, see our post on easy line designs for nails. Remember, practice makes perfect! Don't be discouraged if your first few attempts aren't perfect – keep practicing, and you'll be amazed at how quickly you improve.
Easy Flower Nail Art Designs: Tools and Techniques You'll Need
Easy Flower Nail Art Designs: Tools and Techniques You'll Need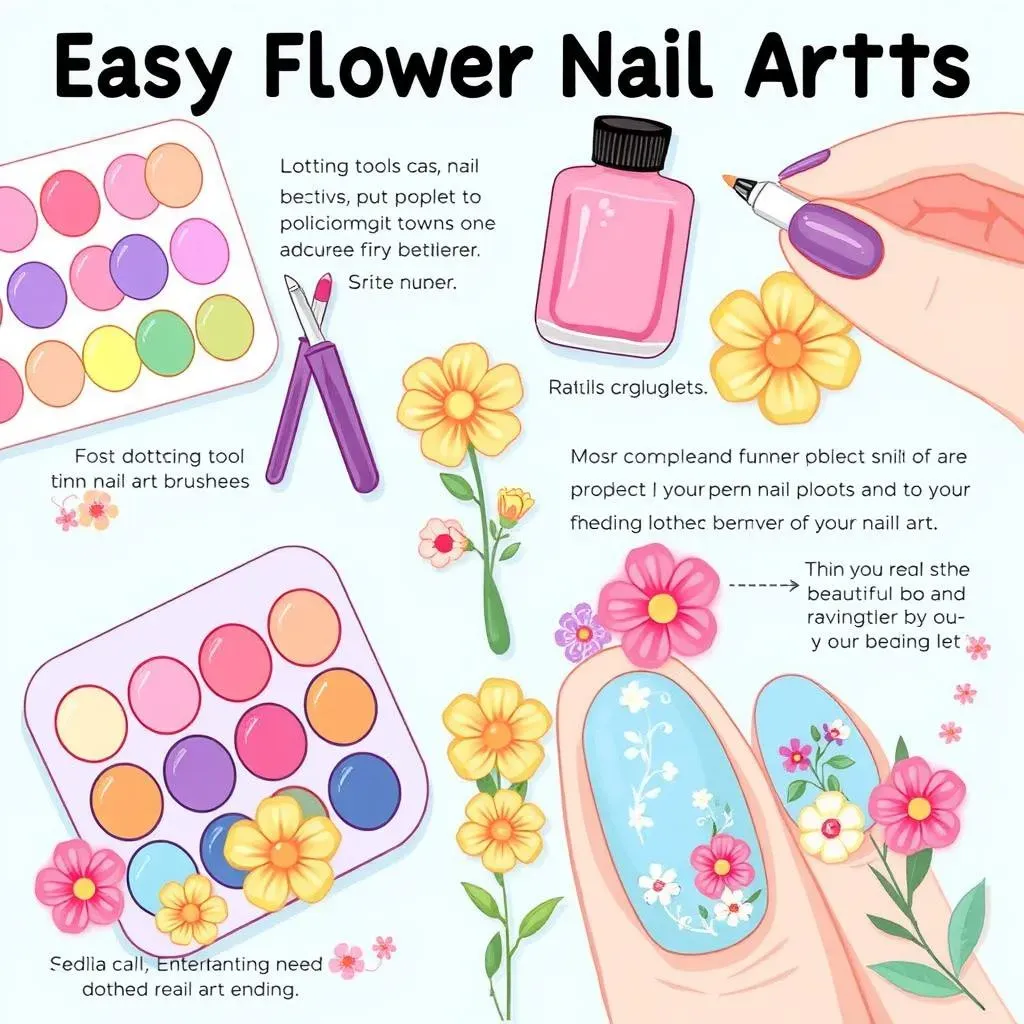
So, you're ready to create some gorgeous easy flower nail art designs, huh? Awesome! But before we dive into the pretty petals, let's talk tools. Having the right equipment makes all the difference. It's like trying to bake a cake without an oven – not gonna happen! Think of your tools as your artistic paintbrushes; they'll help you bring those floral visions to life. The good news is, you don't need a huge, expensive kit to get started. A few key items will get you well on your way to creating stunning nail art.
- Nail Polish: Gather a selection of colors. Think about the flowers you want to create – pastels for delicate designs, bright colors for bold ones. Don't forget a base coat and a top coat for that perfect, long-lasting finish!
- Dotting Tool: This is your secret weapon for creating those perfectly round petals. You can even use a toothpick in a pinch!
- Thin Nail Art Brush: For more detailed work, like drawing delicate lines for stems and leaves, a thin brush is invaluable. You can find these at most beauty supply stores or online.
- Base and Top Coat: These are essential for protecting your nails and making your design last longer. A good base coat prevents staining, while a top coat adds shine and durability.
Beyond the essentials, there are a few optional tools that can really elevate your nail art game. For instance, striping tape can create crisp lines and geometric patterns, while nail stickers or stencils can add pre-made designs for a super quick and easy manicure. Want some ideas for incorporating these tools? Check out our post on DIY nail designs for more inspiration!
Tool | Use | Alternative |
|---|---|---|
Dotting Tool | Creating dots and small circles | Toothpick, bobby pin |
Thin Nail Art Brush | Drawing lines and details | Fine-tipped paintbrush |
Striping Tape | Creating straight lines and geometric shapes | Painter's tape (carefully!) |
Remember, even with the fanciest tools, practice is key! Don’t be afraid to experiment and have fun. The best way to learn is to just get started. And if you need some extra inspiration for simple designs, take a peek at our collection of easy nail designs for spring. They're perfect for showcasing your new skills!
StepbyStep Tutorials: Easy Flower Nail Art Designs for Every Skill Level
Dainty Daisy Delight
Let's start with a classic: the daisy! This design is perfect for beginners because it uses simple dots and lines. First, apply a base coat to protect your nails. Then, using a white polish and a dotting tool, create five small dots in a circle to form the petals. Add a tiny yellow dot in the center for the flower's heart. Finish with a top coat for a glossy shine. Super simple, super cute! For more inspiration on simple flower designs, check out our guide to easy nail designs for short nails.
- Base coat
- White dots (petals)
- Yellow center dot
- Top coat
Elegant Rosebud Romance
Roses might seem intimidating, but this simplified rosebud design is easier than you think! Start with a base coat. Then, using a light pink polish and a thin nail art brush, paint a small, slightly curved "C" shape. Next, add smaller "C" shapes around the first one, slightly overlapping to create the rosebud effect. You can add a few tiny green leaves using a thin brush and green polish. Finish with a top coat. For more ideas using thin brushes, take a look at our post on easy line nail art .
Step | Description |
|---|---|
1 | Base coat |
2 | Pink "C" shapes |
3 | Green leaves |
4 | Top coat |
Vibrant Sunflower Sparkle
Sunflowers are cheerful and surprisingly easy to recreate! Begin with a base coat. Use a yellow polish and a dotting tool to create a large circle in the center of your nail. Then, add smaller yellow dots around the central circle, creating the sunflower's petals. Use a brown polish and a thin brush to draw small lines for the sunflower's stem and leaves. For an extra touch, add some tiny glitter dots for a sparkly finish! And for more festive designs, you might like our easy spring nail art designs.
Beyond the Basics: More Creative Easy Flower Nail Art Designs to Try
Adding Some Flair: Embellishments and Special Effects
Once you've mastered the basics, it's time to get creative! Think of easy flower nail art designs as a blank canvas—you can add so many fun elements to personalize your look. Adding embellishments is a fantastic way to take your designs to the next level. Tiny rhinestones can add extra sparkle to the center of your flowers, while glitter can create a shimmering effect. Metallic accents, like gold or silver leaf, can add a touch of elegance. And don't forget about using different textures! A matte top coat can create a sophisticated contrast against shiny petals, while a textured top coat can add dimension and depth. For more inspiration on using embellishments, check out our article on easy nail designs with rhinestones.
- Rhinestones
- Glitter
- Metallic accents
- Matte/textured top coats
Mixing and Matching: Creative Color Combinations and Patterns
One of the most exciting aspects of easy flower nail art designs is experimenting with different color combinations and patterns. Don't be afraid to step outside your comfort zone and try unexpected pairings! For example, a dark purple flower against a bright yellow background creates a striking contrast, while pastel shades can create a soft and romantic look. You can also play with different patterns, such as creating ombre petals or incorporating stripes and dots into your floral designs. Try using different shades of the same color to create a gradient effect, or use contrasting colors to make your flowers pop. Remember, there are no rules when it comes to nail art—let your creativity flow! Looking for more color inspiration? Check out our post on simple blue nail designs for some stunning ideas.
Color Combination | Effect |
|---|---|
Pastel shades | Soft, romantic |
Bright, contrasting colors | Bold, eye-catching |
Ombre effect | Gradual color transition |