Table of Contents
Ready to unleash your inner artist this Halloween? Forget complicated nail art that takes hours – we're diving into the world of *easy Halloween designs for nails*! This guide is your ultimate resource for creating spooky-cute manicures without the fuss. Whether you're a nail art novice or just short on time, we've got you covered with simple designs perfect for any skill level. Get ready to explore adorable and easy-to-recreate Halloween nail art, focusing on designs suitable for short nails and those that can be achieved with minimal tools and effort. We'll walk you through step-by-step tutorials, offering tips and tricks to make your Halloween manicure a smashing success. So grab your favorite nail polish, and let's get started on transforming your nails into miniature Halloween masterpieces!
Easy Halloween Nail Designs for Beginners
Easy Halloween Nail Designs for Beginners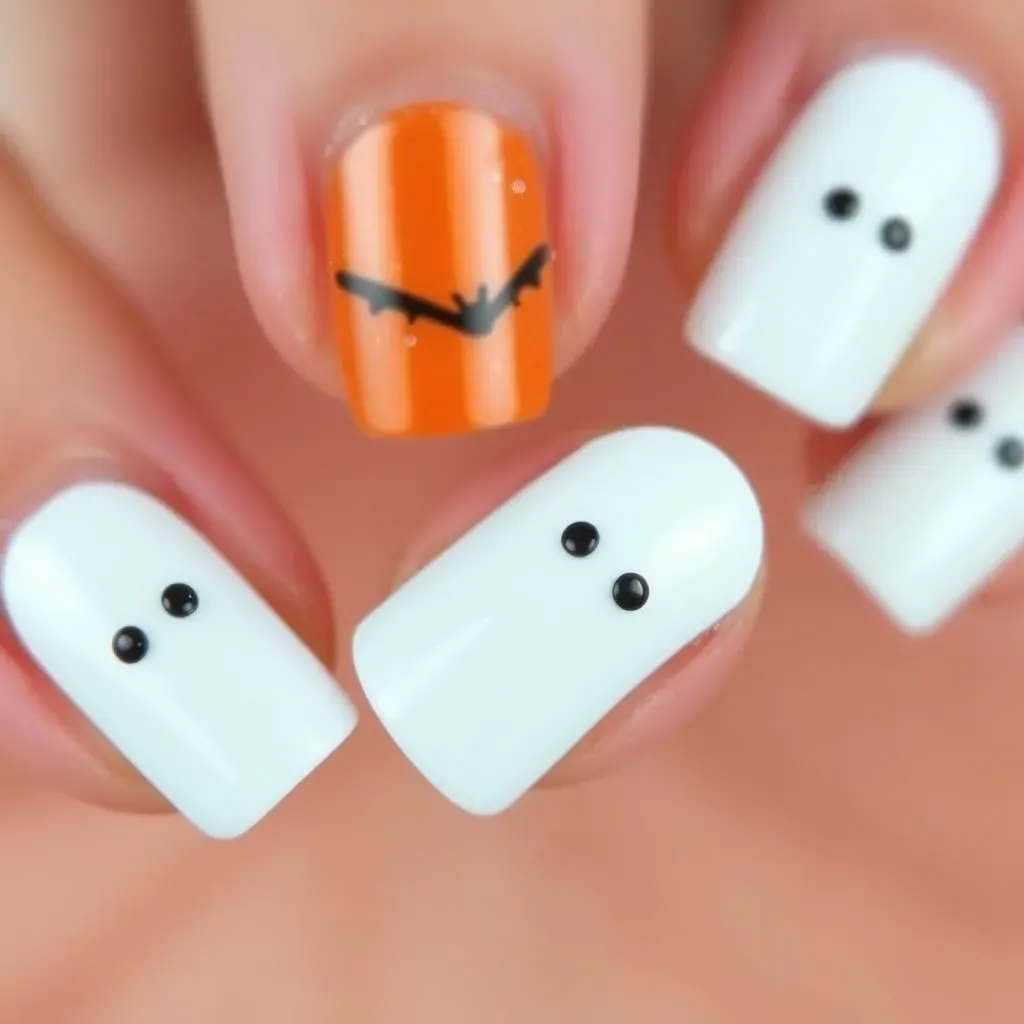
Let's face it, some Halloween nail art looks like a PhD in nail science. But fear not, fellow nail-polish enthusiast! We're starting with super simple designs, perfect for anyone who's ever accidentally gotten nail polish on their cuticles (we've all been there!). Think cute little ghosts – just some white dots and tiny black eyes – or simple orange and black stripes for a classic jack-o'-lantern vibe. You can even use nail stickers for extra ease! For a fun twist, try adding some sparkly glitter to your Halloween designs. It's a great way to elevate a simple design without spending hours perfecting it. Check out these easy pretty nail designs for inspiration. Remember, it's all about having fun and expressing your creativity, not creating a museum-worthy piece of nail art.
Design | Difficulty | Materials |
|---|---|---|
Ghost Nails | Easy | White polish, black polish, top coat |
Striped Pumpkins | Easy | Orange polish, black polish, striping tape (optional), top coat |
Another fantastic idea for beginners is using stencils. They're like magic for creating clean lines and intricate patterns without needing steady hands. You can easily find Halloween-themed stencils online or at craft stores. This is a great way to achieve more complex designs without needing years of practice. Need more inspiration? Look at these simple nail art designs for more ideas!
- Use a base coat to protect your nails.
- Apply thin coats of polish to prevent smudging.
- Don't forget the top coat for a long-lasting manicure!
Cute and Easy Halloween Nail Art Ideas
Cute and Easy Halloween Nail Art Ideas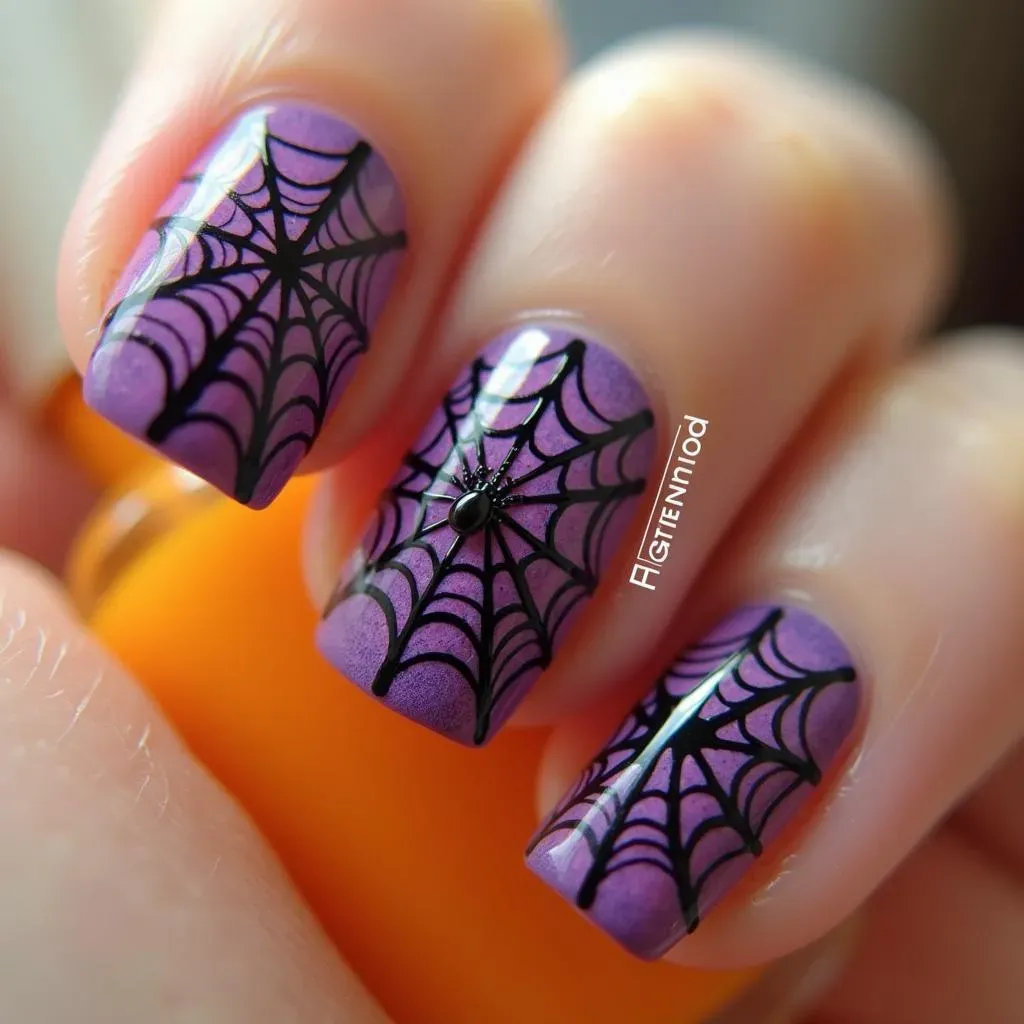
Adorable Spiderwebs
Let's create some cute spiderwebs! This is super simple. All you need is black nail polish and a toothpick or a fine-tipped brush. Start by painting your nails a base color – a pale purple or even a bright orange would be fun! Then, using your toothpick or brush, carefully draw a spiral on each nail. Next, add some radiating lines from the center to create the web. Finally, add a tiny, cute spider using some black dots and maybe even some googly eyes (if you’re feeling extra crafty!). For more inspiration on simple designs, check out these simple nail designs. It's a surprisingly effective and adorable look that's perfect for Halloween!
- Use a base coat for a smooth finish.
- Practice your spiderweb on paper first.
- Let each coat dry completely before adding the next.
Pumpkin Patch Perfection
Pumpkins are a Halloween staple, and they’re super easy to paint on your nails! Start with a base coat of orange polish. Once it’s dry, use a small brush and green polish to create the pumpkin stem at the top of each nail. Then, use black polish to paint simple triangular shapes to represent the pumpkin's face. For a touch of whimsy, add some tiny white dots for highlights on the pumpkin. If you’re feeling extra ambitious, you could even try adding some tiny leaves around the stem. These easy designs for short nails are perfect for a quick and cute Halloween look. Remember, even simple designs can be incredibly effective!
Step | Description |
|---|---|
1 | Apply orange base coat |
2 | Add green stem |
3 | Paint black triangle faces |
4 | Add white highlights (optional) |
Spooky Silhouettes
For a more understated, yet still festive look, try creating spooky silhouettes. Choose a dark polish, like black or deep purple, and paint a simple shape on each nail. Think bats, cats, or even little ghosts. You can freehand these designs or use stencils for extra precision. This simple technique is perfect for those who want a touch of Halloween spirit without going overboard. To add a subtle touch of Halloween magic, you can use a metallic topcoat to add a little shimmer. These cute easy Halloween designs are perfect for those who want something a bit more sophisticated. Keep it simple, keep it spooky!
“Simplicity is the ultimate sophistication.” – Leonardo da Vinci
Simple Halloween Nail Designs for Short Nails
Simple Halloween Nail Designs for Short Nails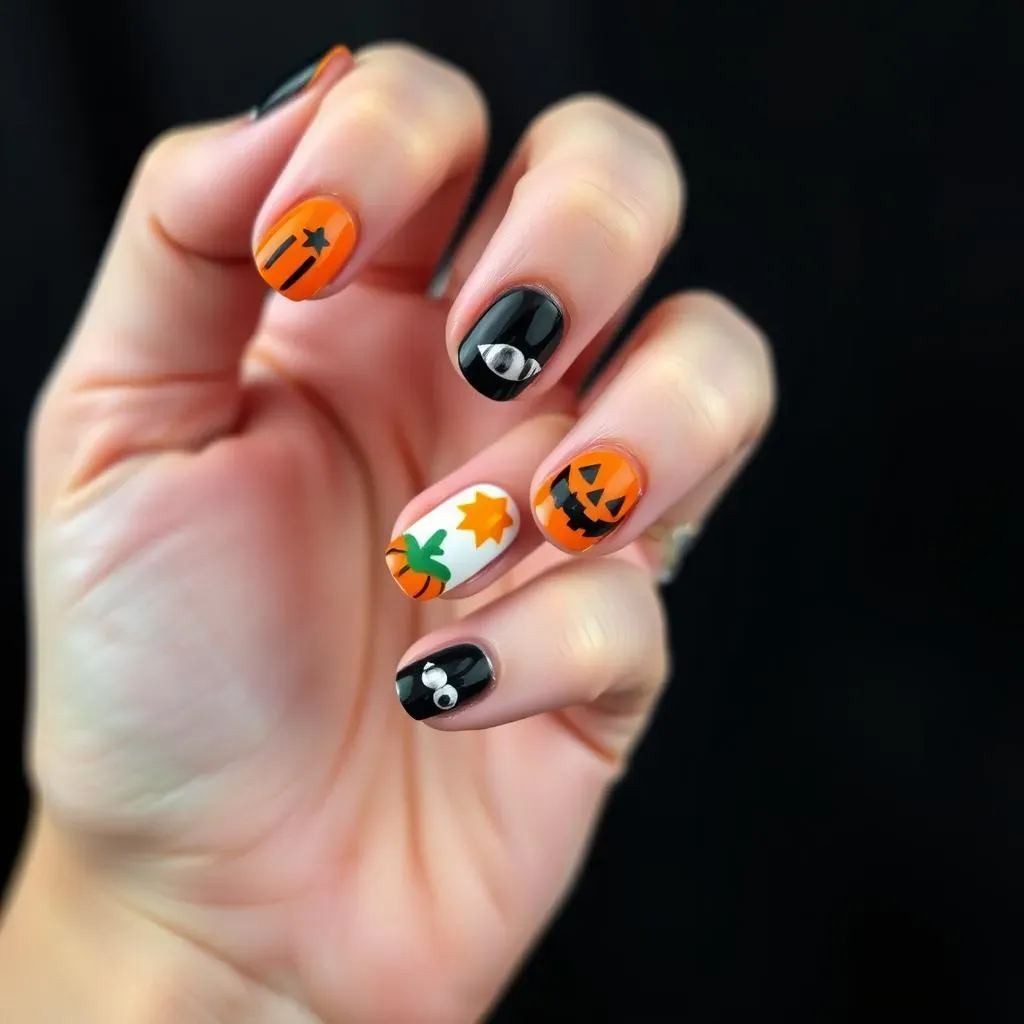
Short nails? No problem! You can still rock amazing Halloween designs. Think miniature pumpkins, tiny bats, or even just a single spooky eye on your accent nail. The key is to keep it simple and focus on clean lines and bold colors. A single accent nail with a Halloween design, while keeping the rest of your nails a solid color, can be incredibly chic and festive. For more ideas on how to maximize small spaces check out these cute easy nail designs for short nails!
- Use a fine-tipped brush for details.
- Don't overload your brush with polish.
- Let each coat dry completely before adding more.
Another great option is using nail stamping. Nail stamping plates with Halloween designs are readily available, making it a breeze to create intricate designs even on short nails. This technique offers a lot of flexibility, allowing you to experiment with different color combinations and create designs that perfectly match your Halloween costume. For more inspiration on using nail stamping techniques, check out our guide on easy DIY nail designs! It’s a fun and easy way to get professional-looking results.
Design Idea | Description |
|---|---|
Mini Pumpkins | Orange base, green stem, black face |
Spooky Eyes | White base, black pupil and details |
Single Bat | Black bat silhouette on accent nail |
Don't be afraid to experiment! Try combining different techniques and colors to create your own unique Halloween look. Even the simplest designs can be incredibly effective when executed with precision and a little bit of creativity. Remember, the most important thing is to have fun and express your unique style. For more ideas on achieving a polished look even with simple designs check out these easy nail designs for short nails!
"The best things in life are simple." - Unknown
Easy Halloween Designs for Nails: StepbyStep Tutorials
Easy Halloween Designs for Nails: StepbyStep Tutorials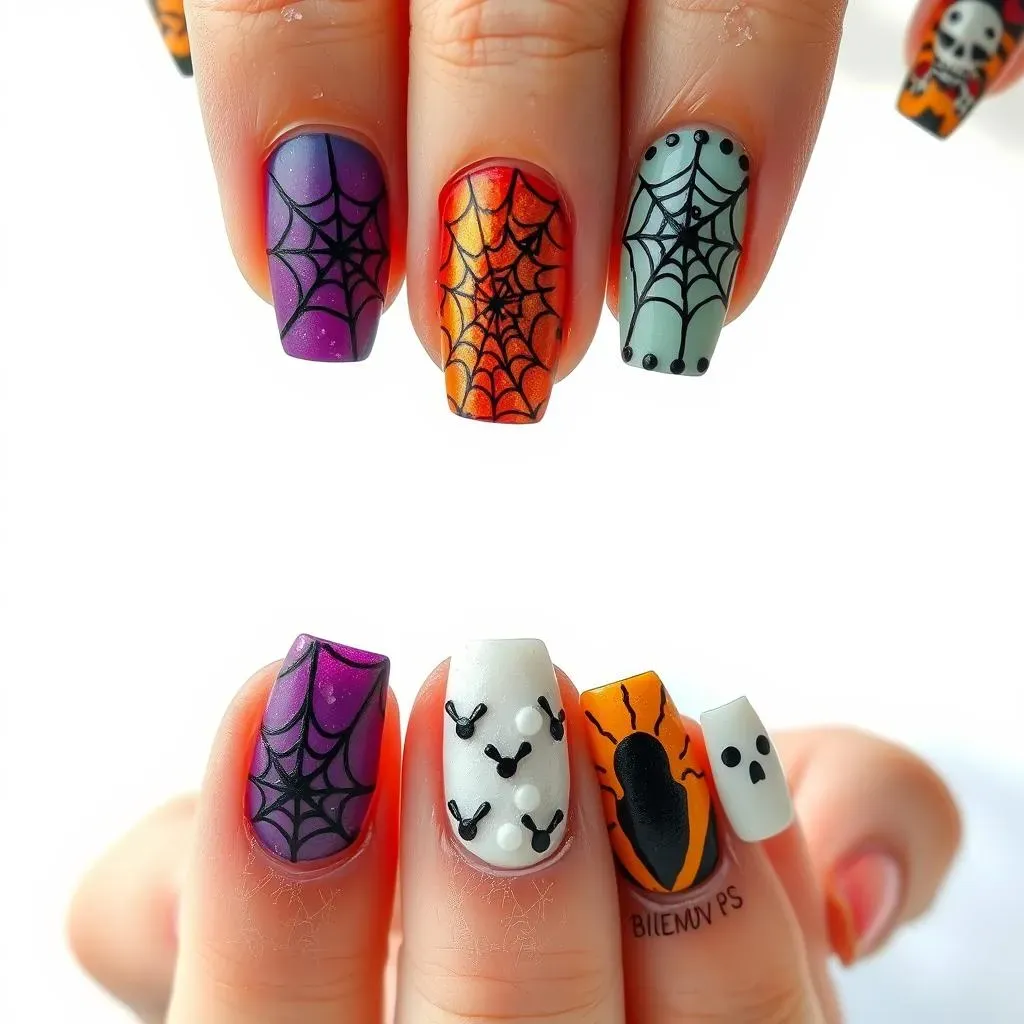
Creating Spooky Spiderwebs
Let's craft some seriously cute spiderwebs! This is surprisingly simple. You'll need black nail polish and a toothpick or a very fine brush. First, paint your nails a fun base color—pale purple or bright orange are perfect for Halloween! Once dry, use your toothpick or brush to carefully draw a spiral on each nail. Then, add radiating lines from the center to create the web. Finally, add a tiny, adorable spider with some black dots and maybe even some googly eyes (if you're feeling extra creative!). For more inspiration on easy nail art, check out these best and easy nail art designs. You'll be amazed how quickly you can make these!
Remember, practice makes perfect! Try drawing the spiderweb on a piece of paper first to get a feel for the technique. And don't be afraid to experiment with different sizes and styles of spiderwebs. A little imperfection adds character! For more simple designs check out these easy nail art designs.
- Use a base coat for a smooth finish.
- Practice your spiderweb on paper first.
- Let each coat dry completely before adding the next.
Ghostly Nail Art
Here's a step-by-step tutorial for creating adorable ghost nails. Begin with a base coat of your favorite color—white or a pastel shade works well. Once dry, use a small dotting tool or the tip of a toothpick to create two small black dots for the eyes. Then, using a slightly larger dot, create a small black dot for the mouth. If you want to add a bit of whimsy, you can use a white polish to create a simple curved line for the ghost's body, extending it down from the eyes. For extra flair, add some glitter to the ghosts! Check out these easy Disney nail designs for more inspiration – they're surprisingly similar!
For a more sophisticated look, try using a very thin brush to paint the details – you can achieve more realistic eyes and a more defined mouth this way. Remember, even small details can make a big difference! And don't forget a top coat to protect your masterpiece and give it a lovely shine. For more beginner-friendly nail art, check out these easy nail art designs for beginners.
Step | Description |
|---|---|
1 | Apply base coat |
2 | Add black eyes |
3 | Add black mouth |
4 | Add body (optional) |
5 | Add top coat |