Table of Contents
Ready to upgrade your nail game without spending hours in a salon? Then get ready to explore the world of simple red nail designs! Red is a classic color that’s both bold and versatile, perfect for any occasion. This article is your ultimate guide to achieving stunning, simple red manicures, whether you’re a nail art novice or a seasoned pro. We’ll start with the timeless classics, showcasing simple yet elegant ways to rock a red manicure. Then, we'll explore fun and creative ways to add a little something extra to your simple red nail designs, from subtle accents to more adventurous nail art. We’ll also tackle the challenge of short nails, offering simple red nail designs that perfectly complement shorter lengths. Finally, we’ll provide easy-to-follow instructions and tips for beginners, making even the most intricate designs achievable. So grab your favorite red polish, and let's dive into the amazing world of simple red nail designs! Prepare to be inspired and ready to create your own masterpiece.
Classic Simple Red Nail Designs
Classic Simple Red Nail Designs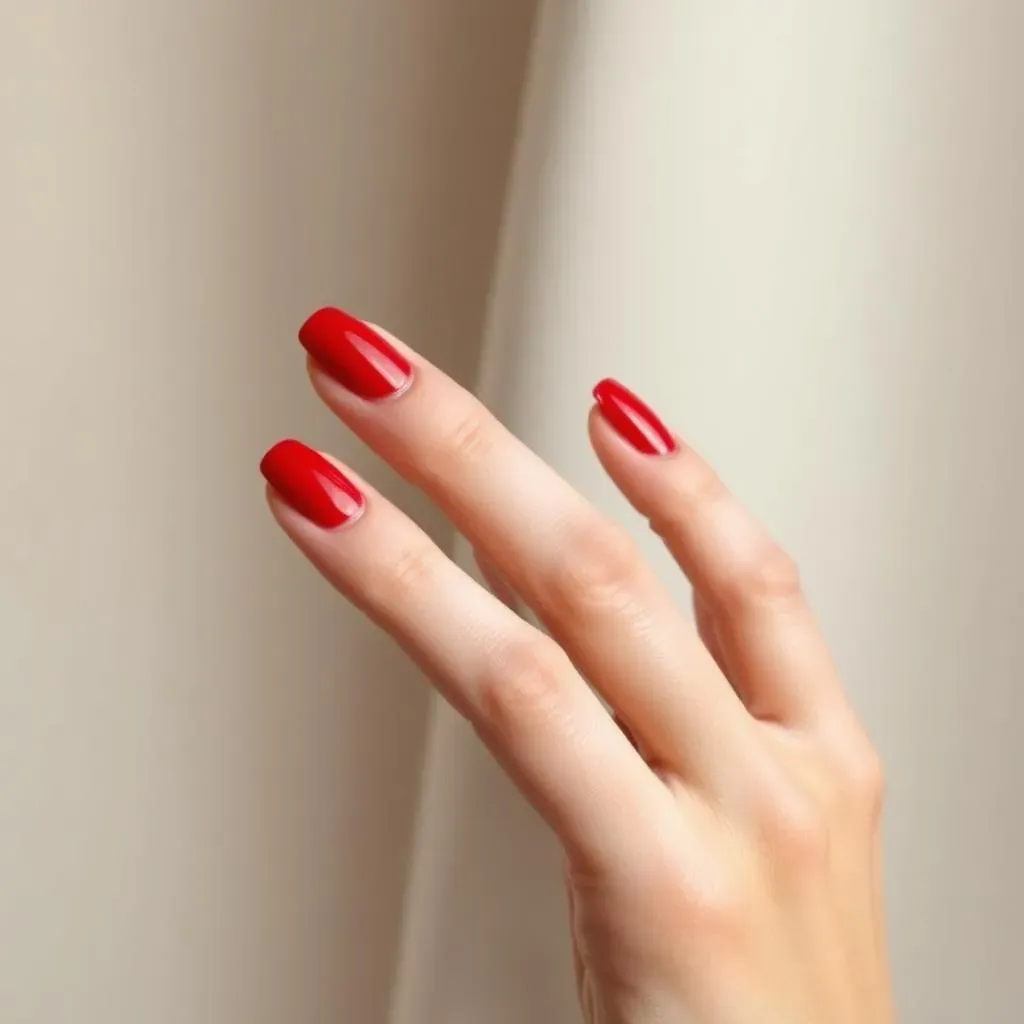
The Classic Red
Let's start with the simplest and most iconic look: a single coat of classic red polish. It's timeless, elegant, and effortlessly chic. Think of Marilyn Monroe – her iconic red nails are a testament to the power of simplicity. Choose a shade that complements your skin tone; a true red, a crimson, or even a slightly more orange-toned red can all look amazing depending on your preference. For a truly polished look, finish with a high-gloss top coat for extra shine and longevity. Don't forget to prep your nails properly before applying polish for a smooth, even finish. Consider looking at some easy nail designs for beginners for tips and tricks.
This classic look is perfect for any occasion, from a casual day out to a formal event. It's versatile enough to pair with any outfit, and it's always a crowd-pleaser. It’s a style that never goes out of fashion, and it’s a great starting point for anyone looking to explore the world of red nail designs. If you want to try something a little different, you can opt for a matte top coat instead of a glossy one for a more modern look.
Polish Type | Finish | Occasion |
|---|---|---|
Cream | Glossy | Any |
Gel | Glossy/Matte | Any |
Red French Manicure
The French manicure is another classic that’s always in style. But instead of the traditional white tip, why not try a red tip? It's a fun twist on a classic, and it's surprisingly easy to achieve. You can use nail striping tape to create perfectly straight lines, or if you're feeling artistic, you can freehand the design. For a more modern look, try a reverse French manicure, with a red base and a clear or nude tip. This look is sophisticated and stylish, and it's perfect for adding a touch of elegance to your look. If you're still unsure, there are tons of easy nail art ideas online that can guide you.
Remember, precision is key for a clean French manicure. Take your time and use a thin brush for the best results. You can also use a dotting tool to create a subtle accent on one or two nails. This adds a touch of personality without detracting from the overall elegance of the design. Experiment with different shades of red to find your perfect match. A deep burgundy can be incredibly chic, while a brighter red is more playful and bold. The choice is entirely yours!
- Use striping tape for clean lines.
- Try a reverse French manicure.
- Add a subtle accent with a dotting tool.
Red Ombre Nails
For a more dramatic look, try an ombre effect. This involves blending two or more shades of red together for a seamless gradient. You can create a simple two-toned ombre with a light and dark red, or you can get more creative and use three or more shades. Start with the darkest shade at the cuticle, then gradually blend it into the lighter shade towards the tip of the nail. This creates a beautiful, eye-catching effect that’s perfect for special occasions or when you want to make a statement. If you're feeling adventurous, you could even incorporate a different color into the ombre, such as pink or orange, for a truly unique look. Check out some amazing easy gel nail designs for inspiration.
Achieving a smooth ombre effect requires a little practice, but it’s definitely achievable with a little patience. Use a sponge to blend the colors together, or use a small brush for more control. For a long-lasting ombre manicure, consider using gel polish. Gel polish is known for its durability, and it can last for several weeks without chipping or fading. Remember to cure your gel polish properly under a UV lamp for the best results. No matter what method you choose, remember to have fun and experiment to find the ombre style that best suits your personality.
Adding Flair to Simple Red Nails
Adding Flair to Simple Red Nails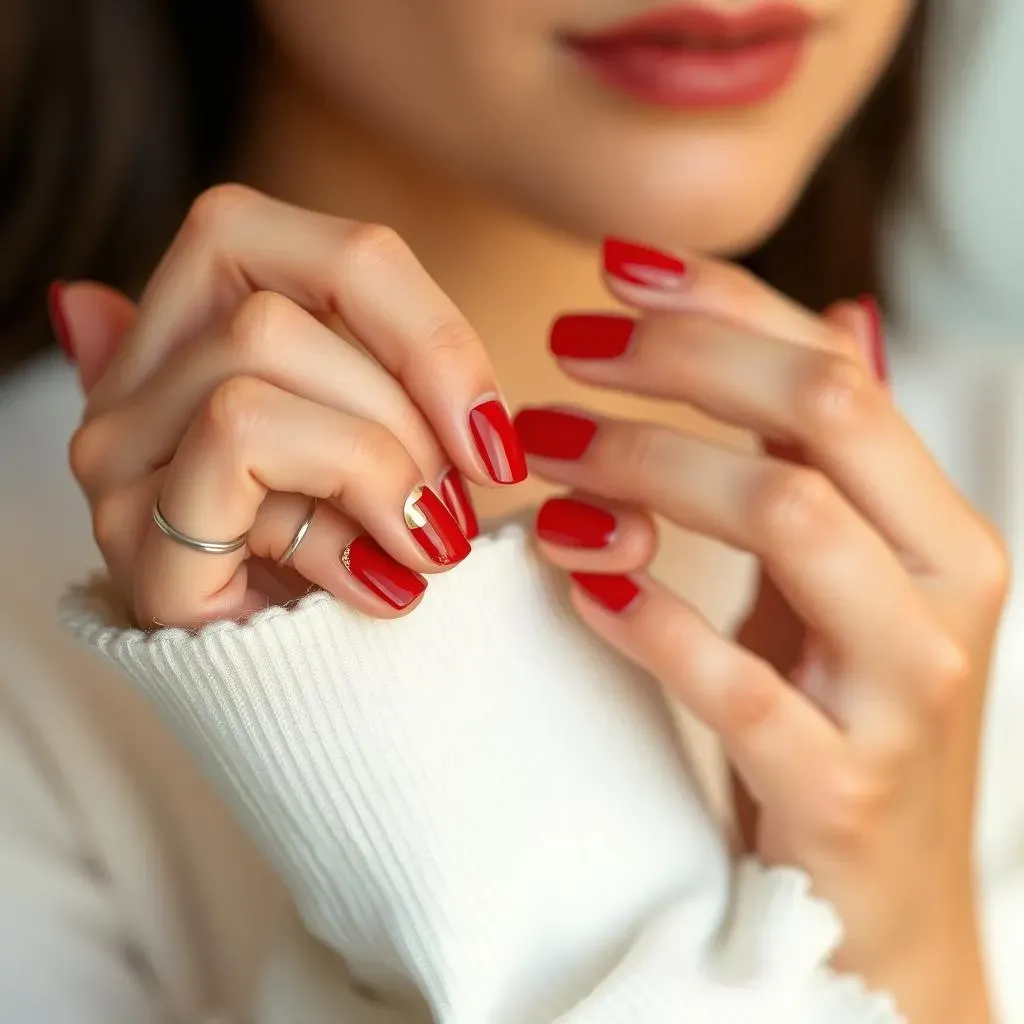
Subtle Accents
Let's spice up those classic red nails with some subtle accents! A simple way to add a touch of elegance is with some delicate gold or silver foil accents. Apply a few small pieces near the cuticle or along the tips for a touch of shimmer. Alternatively, try adding a single sparkly rhinestone to the base of each nail. Keep it minimal for a sophisticated look. For more inspiration, check out these awesome easy cute nail designs.
Another subtle way to elevate your red manicure is with a matte top coat on a few accent nails, contrasting the glossy finish on the others. Or, try a negative space manicure, leaving a small portion of your nail bare at the base, creating a chic and modern look. These small details can make a big difference in the overall style of your manicure, transforming a simple look into something truly unique and memorable. Remember, less is often more when it comes to nail art.
- Gold or silver foil accents
- Single rhinestone accents
- Matte top coat on accent nails
- Negative space manicure
Geometric Designs
Geometric designs are a fun and modern way to add some personality to your simple red nails. Start with a base coat of your favorite red polish. Once it’s dry, use striping tape or a thin nail art brush to create simple geometric shapes like stripes, triangles, or squares in a contrasting color like white, gold, or black. You can also try creating a checkered pattern for a unique and stylish touch. For even more ideas, check out these cute and easy nail art designs.
Experiment with different geometric patterns and color combinations to create a look that’s uniquely yours. For example, you could create a minimalist look with thin black stripes on a red base, or you could go bold with a mix of bright colors and geometric shapes. Don't be afraid to experiment and have fun with it! Remember to seal your design with a top coat to protect your nail art and maintain its vibrancy. A high-quality top coat will also add shine and help prevent chipping.
Shape | Color Combination | Style |
|---|---|---|
Stripes | Red & Gold | Elegant |
Triangles | Red & White | Modern |
Squares | Red & Black | Bold |
Simple Red Nail Designs for Short Nails
Simple Red Nail Designs for Short Nails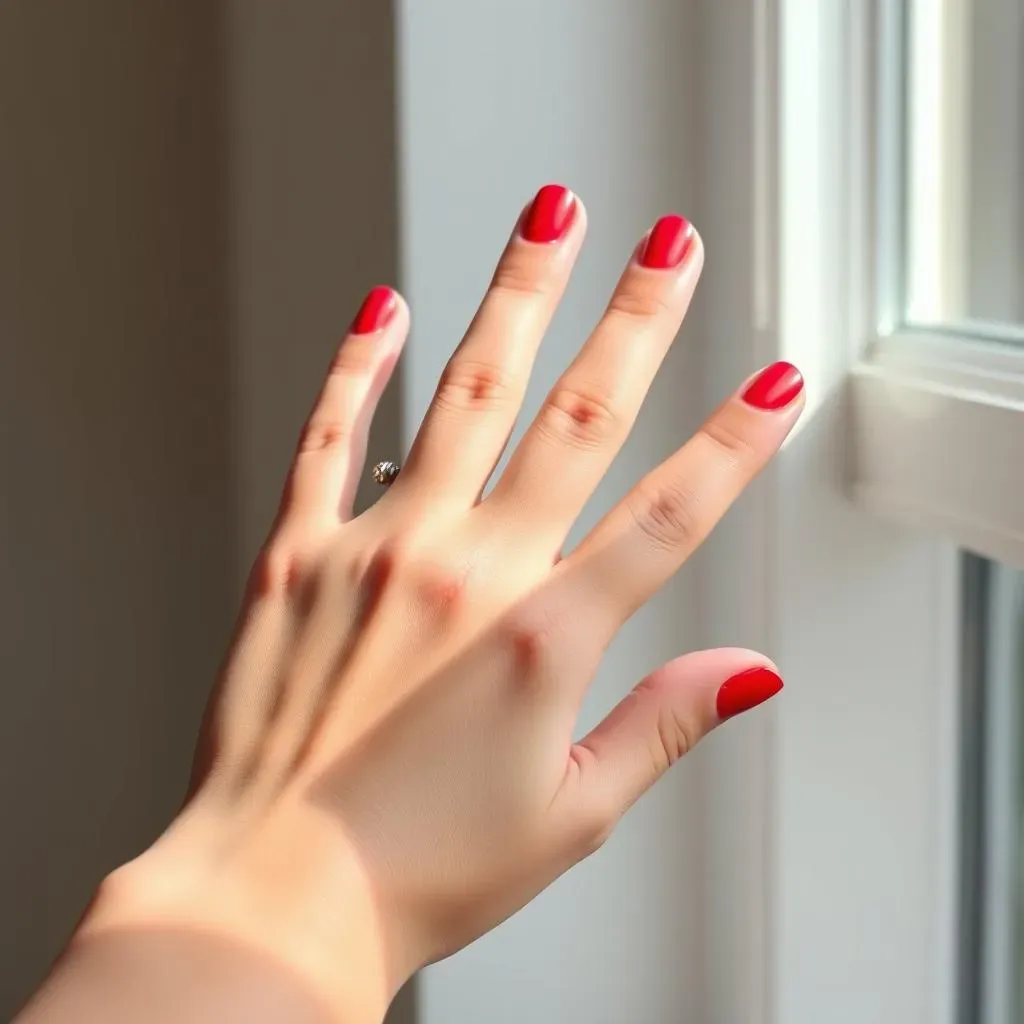
Solid Red Power
Short nails don't mean sacrificing style! A solid coat of classic red is surprisingly chic and sophisticated on shorter nails. It's a bold statement that doesn't need extra embellishments to shine. The clean, simple look is perfect for everyday wear and can easily be dressed up or down. Choose a creamy, opaque red polish for the best coverage, and don't be afraid to experiment with different shades to find your perfect match. A deep crimson or a bright scarlet will both look fantastic.
To make your short red nails pop even more, consider using a high-shine top coat for extra gloss. This will make your nails look healthier and more polished. Remember to carefully prep your nails before applying polish to ensure a smooth, even application. For more ideas on how to make your short nails look amazing, check out these easy pretty nail designs for short nails.
- Choose a creamy, opaque polish.
- Use a high-shine top coat.
- Prep your nails carefully.
Red Accents
Adding subtle accents to short red nails is a great way to add a touch of personality without overwhelming the look. A single, strategically placed rhinestone near the cuticle or a tiny gold detail on just one or two nails can make a big difference. Think minimalist chic! You can also experiment with different textures, such as a matte top coat on one nail to contrast with the glossy red on the others. This creates visual interest without being too busy. For more inspiration, take a look at these cute and easy nail designs.
Keep your accents small and well-placed to avoid cluttering the nail. Remember, less is often more, especially when working with short nails. A delicate design will complement your nail length rather than competing with it. Consider using a thin nail art brush or a dotting tool for precise placement of your accents. Experiment with different colors and textures to find a combination that you love.
Accent Type | Placement | Style |
|---|---|---|
Rhinestone | Cuticle | Elegant |
Gold Foil | Tip | Modern |
Simple Red Nail Art
Even simple nail art can look stunning on short nails. A classic design like polka dots or small hearts can add a touch of whimsy without being overwhelming. Use a small dotting tool or the end of a bobby pin to create perfectly sized dots. You can also create a simple stripe design using striping tape or a thin brush. Remember to keep your designs small and well-spaced to avoid making your nails look crowded. For more beginner-friendly options, check out these easy nail designs for beginners.
Don't be afraid to get creative and experiment with different techniques! You can use a combination of colors, textures, or even add a little glitter for extra sparkle. The key is to keep it simple and well-executed. A clean, well-defined design will always look more polished than a messy, cluttered one. And remember, practice makes perfect! The more you experiment, the better you'll become at creating beautiful nail art.
Simple Red Nail Art for Beginners
Simple Red Nail Art for Beginners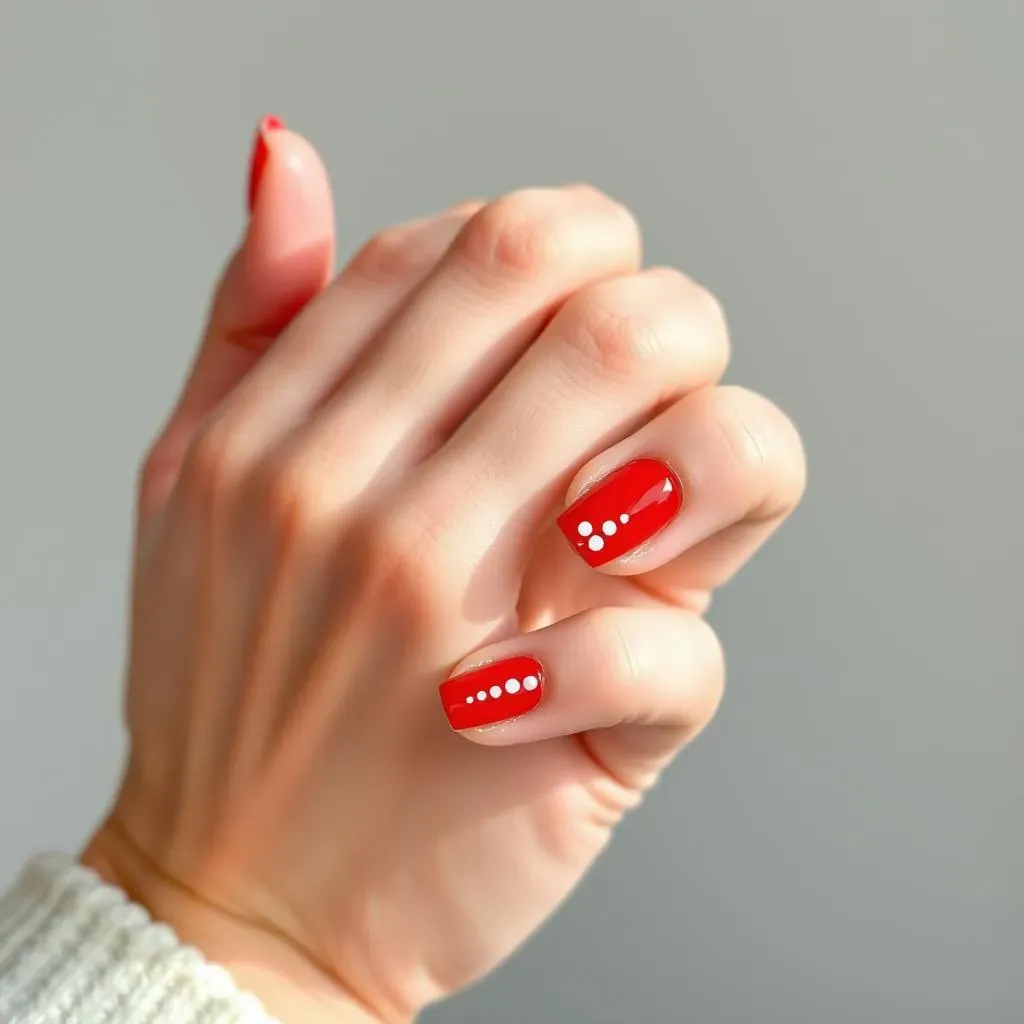
Simple Dotted Designs
Let's start with something super easy: polka dots! Grab a dotting tool (or even a bobby pin!) and some white or gold polish. Dip your tool into the polish and create tiny dots all over your red nails. You can do a random scattering, or create neat rows – whatever suits your style. It's a fun, playful design that’s perfect for beginners. And guess what? It's surprisingly addictive!
For a slightly more advanced look, try creating different sized dots or using multiple colors. Think about creating a gradient effect by starting with large dots near the cuticle and gradually decreasing the size towards the tip. Or use a mix of white and gold dots for a touch of extra elegance. Remember, there's no right or wrong way to do this – just have fun and experiment!
- Use a dotting tool or bobby pin.
- Experiment with size and color.
- Try a gradient effect.
Easy Stripe Mania
Stripes are another super simple design that looks great on red nails. You can use striping tape to create perfectly straight lines, or if you're feeling confident, you can freehand them with a thin brush. Keep the stripes thin and evenly spaced for a more polished look, or go bold with thick, irregular stripes for a more edgy vibe. Consider using a contrasting color like white or gold for a classic look, or try a more unexpected color like black or silver for something different.
For extra flair, try creating different types of stripes. Diagonal stripes can add a dynamic feel, while horizontal or vertical stripes create a sense of order and elegance. You can even layer stripes in different colors for a more complex design. And don't forget to seal your design with a top coat to protect your nail art and give it a beautiful shine. Check out these easy DIY nail designs for more inspiration.
Stripe Type | Color | Style |
|---|---|---|
Horizontal | White | Classic |
Diagonal | Gold | Modern |
Vertical | Black | Edgy |
Simple Floral Fun
Feeling a bit more ambitious? Try a simple floral design. You don't need to be a professional nail artist to create beautiful flowers. Start by painting small dots in a contrasting color, then use a thin brush to connect them and create simple flower shapes. You can also use a dotting tool to create the petals and then a thin brush for the center. Keep the flowers small and delicate for a subtle look, or make them larger and bolder for a more dramatic effect. Remember to check out these easy floral nail designs for additional guidance.
For a truly beginner-friendly approach, use nail stickers or stencils to create your floral designs. These tools make it easy to create perfectly shaped flowers without any artistic skill. You can find a wide variety of floral nail art stickers online or at your local beauty supply store. Once you've applied your stickers, seal them with a top coat to protect them and make them last longer. Remember to finish with a top coat to protect your beautiful creations.