Table of Contents
Ready to ditch those winter blues and embrace the vibrant energy of spring? Let's get your nails ready for the season with some seriously stunning, yet surprisingly simple, nail art! This article is your ultimate guide to mastering "spring nail designs easy," whether you're a seasoned nail artist or a complete beginner. We'll walk you through a collection of designs that are perfect for showcasing the fresh, lighthearted spirit of springtime. From pretty pastels to delicate floral accents and trendy new looks for 2024, we've got something for everyone. Forget complicated techniques and expensive salon visits – we'll show you how to achieve salon-worthy results at home with minimal effort and maximum impact. Get ready to unleash your creativity and transform your fingertips into miniature works of art, all while having a blast! We'll start with some basic designs ideal for beginners, then move on to more intricate but still easy-to-follow spring nail art ideas. Finally, we'll wrap up with a look at some of the hottest trending spring nail designs in 2024. So grab your favorite nail polish, and let's dive into the world of effortlessly chic spring manicures!
Easy Spring Nail Designs for Beginners
Easy Spring Nail Designs for Beginners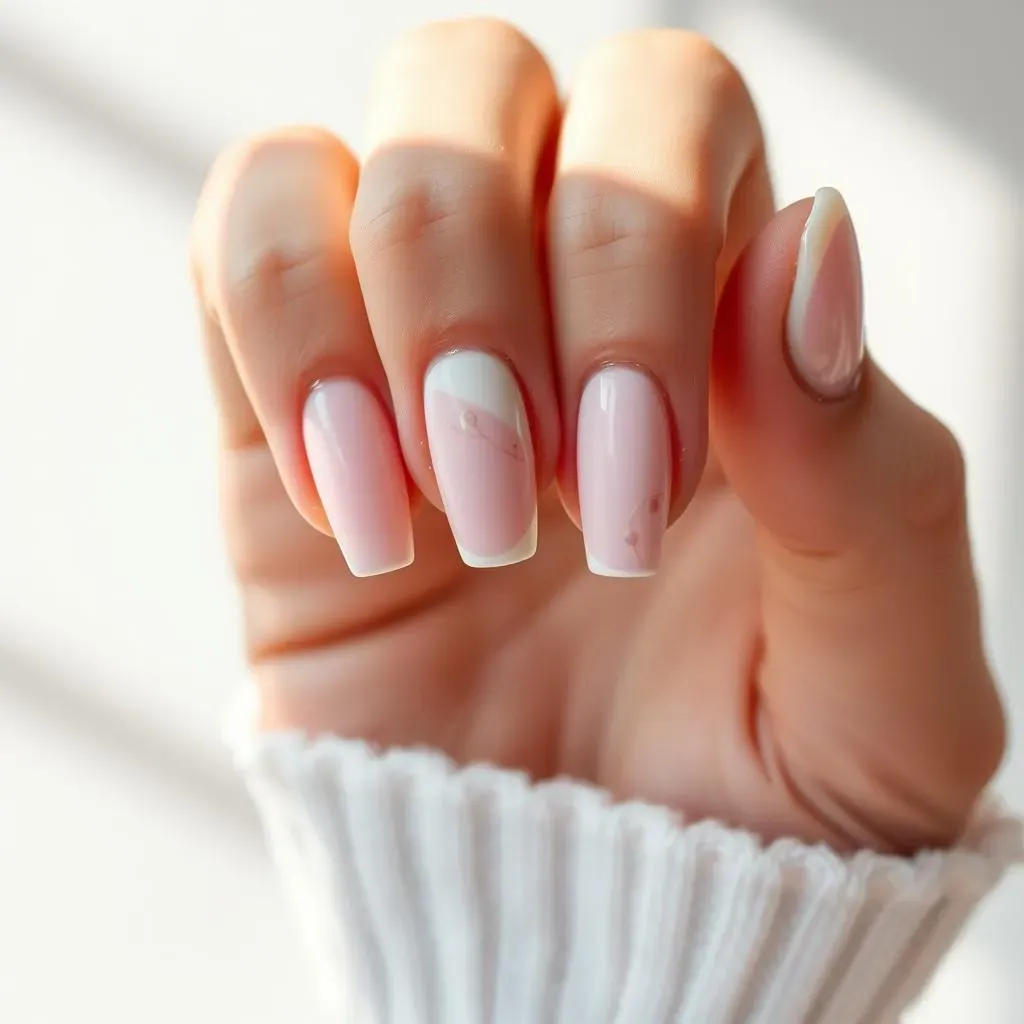
Solid Pastels: A Spring Classic
Let's start with the easiest spring nail design ever: solid pastel colors! Think soft pinks, delicate lavenders, sunny yellows, and refreshing mint greens. These shades are effortlessly chic and perfect for showcasing the fresh, lighthearted spirit of spring. Simply apply two coats of your chosen polish, and you're good to go! It's that simple. No need for fancy tools or intricate designs. For extra shine, try a top coat with a glossy finish. This look is so versatile; it complements any outfit and occasion. You can even switch up the colors throughout the week to match your mood. Need some more inspiration for easy nail designs? Check out these easy cute nail designs!
Remember to prep your nails before applying polish. Gently push back your cuticles and file your nails to your desired shape. This will create a smooth surface for a flawless finish. And don't forget the base coat to protect your nails from staining! This simple step ensures that your pretty pastel manicure lasts longer.
- Choose your favorite pastel shades.
- Apply a base coat.
- Apply two coats of your chosen polish.
- Finish with a top coat for extra shine and longevity.
Simple Spring Accents
Once you’ve mastered solid colors, let's add a touch of spring flair with some easy accents! A simple way to elevate your manicure is by adding a subtle accent nail. This involves painting just one or two nails with a different color or design, while keeping the rest of your nails a solid pastel shade. For example, you could paint your ring finger nail with a delicate floral design, while keeping the rest of your nails a soft pink. Or, you could add a touch of shimmer by using a glitter polish on one nail. The possibilities are endless!
Another simple accent idea is to use nail striping tape to create geometric patterns, like thin stripes or simple chevrons. This is a fun way to add a touch of visual interest without needing any advanced nail art skills. You can find nail striping tape at most beauty supply stores or online. For extra inspiration, check out our post on easy nail art line designs for even more ideas!
Design Idea | Description | Difficulty |
|---|---|---|
Solid Pastel with Accent Nail | One nail with a different color or simple design | Easy |
Geometric Stripes | Use striping tape to create patterns | Easy |
Pretty Pastel Spring Nail Designs
Pretty Pastel Spring Nail Designs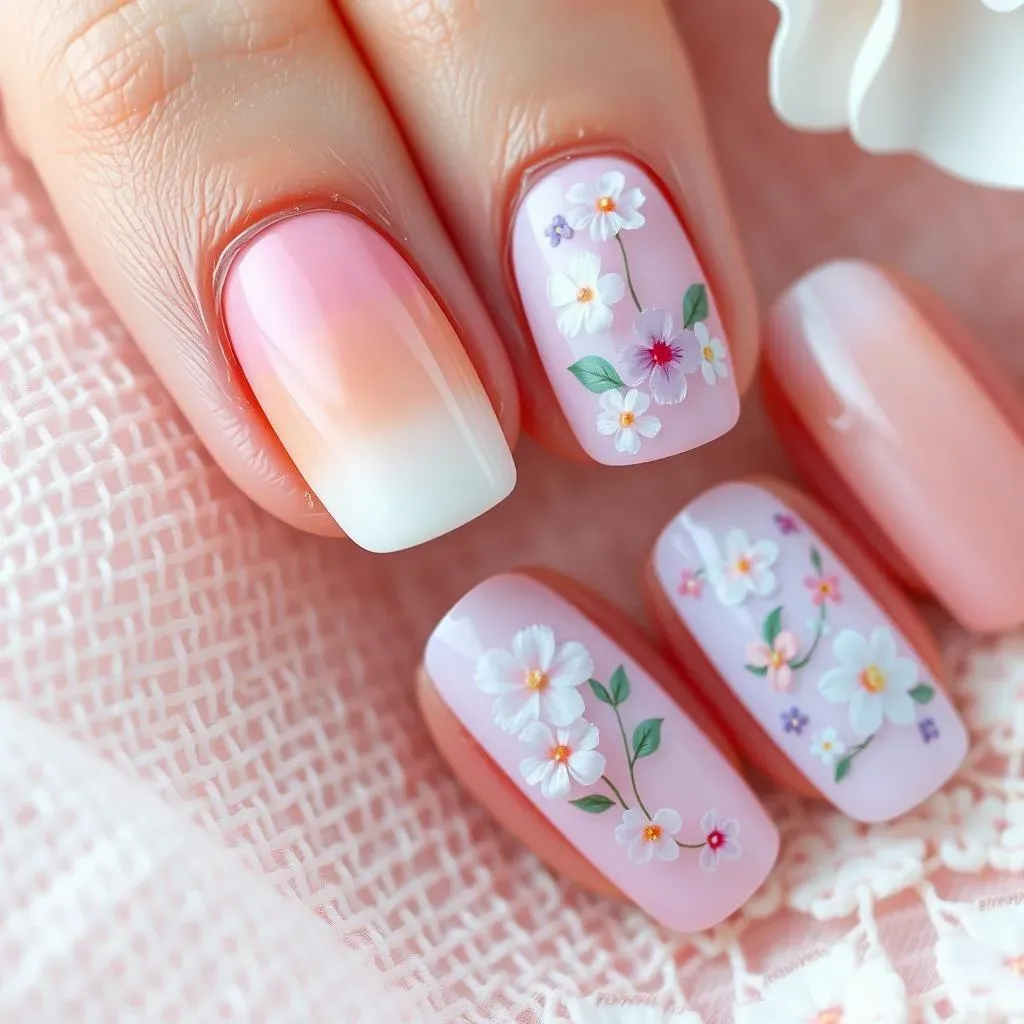
Pastel Ombre: A Dreamy Spring Look
Ombre nails are a super popular choice, and for good reason! They're chic, visually interesting, and surprisingly easy to do. For a spring twist, try a pastel ombre effect. Start with the lightest shade at your cuticle and gradually blend into a darker shade at the tip. You can use sponges or even just a brush for a more seamless gradient. Think delicate pinks fading into peaches, or lavenders blending into purples. The soft transition creates a dreamy, ethereal look that's perfect for spring. Don't forget a top coat to seal the deal and make your manicure last longer! Want more inspiration? Check out these easy pretty nail designs for more ideas.
One tip for achieving a perfect ombre effect is to use thin coats of polish to avoid any harsh lines. Let each coat dry slightly before applying the next to prevent smudging. If you're feeling adventurous, you can even add a touch of glitter to the tips for an extra sparkly finish. For more simple and cute nail designs, see our collection of easy cute nail designs.
- Gather your pastel polishes (at least two shades).
- Apply a base coat.
- Use a sponge or brush to blend the colors.
- Finish with a top coat.
Floral Accents: A Touch of Spring
For a touch of springtime whimsy, add some delicate floral accents to your pastel nails. You don't need to be a professional nail artist to achieve this. Use a dotting tool or even a toothpick to create simple flowers using different pastel shades. Start with a small dot in the center and add smaller dots around it to form petals. You can create tiny, simple flowers or larger, more elaborate ones, depending on your skill level and preference. This simple addition adds a touch of elegance and sophistication to your manicure.
Alternatively, you can use pre-made nail stickers with floral designs. These are readily available online or at beauty supply stores, and they're a great option for beginners. Just apply them to your nails after you've finished painting your base coat of pastel polish. For more floral nail art inspiration, you might enjoy checking out these awesome easy floral nail designs!
Design Element | Tools/Materials | Skill Level |
|---|---|---|
Hand-painted flowers | Pastel polishes, dotting tool or toothpick | Beginner-Intermediate |
Floral Nail Stickers | Pastel polishes, nail stickers | Beginner |
Simple Spring Nail Art Ideas
Simple Spring Nail Art Ideas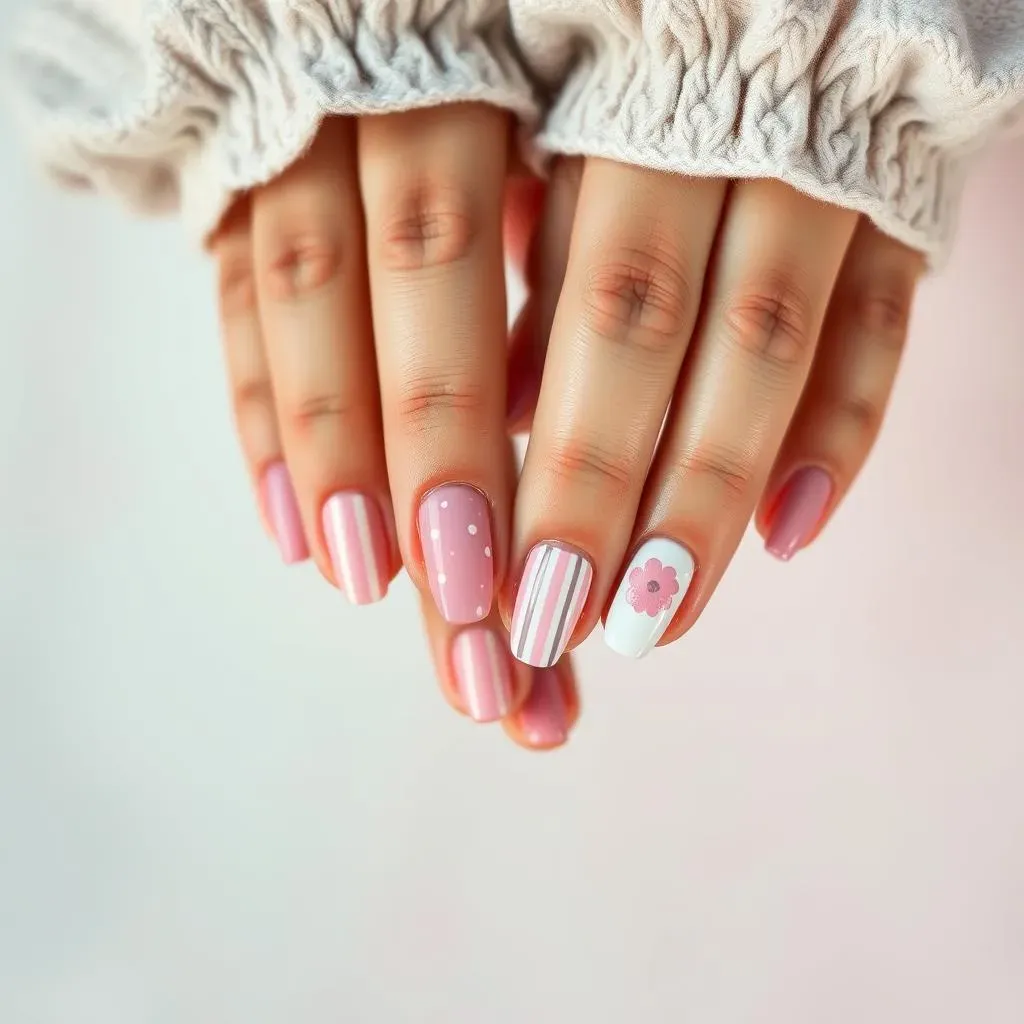
Easy Dotted Designs
Let's explore the delightful world of dotted nail art! This technique is incredibly simple, requiring only a few tools and a bit of creativity. Using a toothpick or a dotting tool (easily found at craft stores), you can create an array of charming patterns. Start with a base coat of a pastel color like soft pink or light blue. Once dry, use a different pastel shade to create small dots, arranging them in various designs. For a floral touch, create clusters of dots to resemble flowers. Or try a more abstract look by scattering dots randomly across your nails. The beauty of this technique is its versatility; you're only limited by your imagination!
To add a bit of extra pizzazz, try using different sized dots or incorporating glitter for a touch of sparkle. Experiment with various color combinations to find your perfect spring palette. You can even incorporate a negative space look by leaving some areas of the nail bare. For more inspiration on simple nail art, check out our post on easy nail art ideas.
- Choose your base coat color.
- Select 1-2 accent colors.
- Use a dotting tool or toothpick to create your design.
- Finish with a top coat.
Simple Spring Stripes
Stripes are another fantastic way to add a touch of spring to your manicure without the fuss. They are super easy to create, even for beginners. Use striping tape to create clean, straight lines. You can experiment with various widths and colors, creating horizontal, vertical, or diagonal stripes. For a truly springtime look, try combining pastel colors like soft pink and mint green. This design is surprisingly versatile; it can look equally chic on short or long nails.
If you don’t have striping tape, don’t worry! You can achieve a similar look by using a thin brush and carefully painting the stripes freehand. Practice makes perfect, so don't be discouraged if your first attempts aren't perfectly straight. Remember, a slightly imperfect look can add a touch of charming imperfection. For more ideas on easy line designs, explore our collection of easy nail art line designs.
Strip Type | Description | Difficulty |
|---|---|---|
Horizontal | Stripes across the nail | Easy |
Vertical | Stripes down the nail | Easy |
Diagonal | Stripes at an angle | Easy-Medium |
Subtle Spring Textures
Let's add some texture to your spring nails! One easy way to achieve this is by using a matte top coat over a pastel base. The matte finish creates a subtle, sophisticated look that's perfect for spring. It's a simple way to change up the look of a classic solid-color manicure. The matte finish contrasts beautifully with the bright, cheerful pastel colors, adding a touch of modern elegance.
Another option is to use a slightly textured nail polish. Many brands now offer polishes with a subtle shimmer or slightly glittery texture. These polishes add a touch of visual interest without being overly flashy. They're a great way to add a bit of extra dimension to your spring manicure without requiring any additional nail art techniques. For more simple designs perfect for short nails, see our post on easy short nail designs.
- Apply a base coat.
- Apply your chosen pastel polish.
- Finish with a matte or textured top coat.
Trending Easy Spring Nail Designs 2024
Trending Easy Spring Nail Designs 2024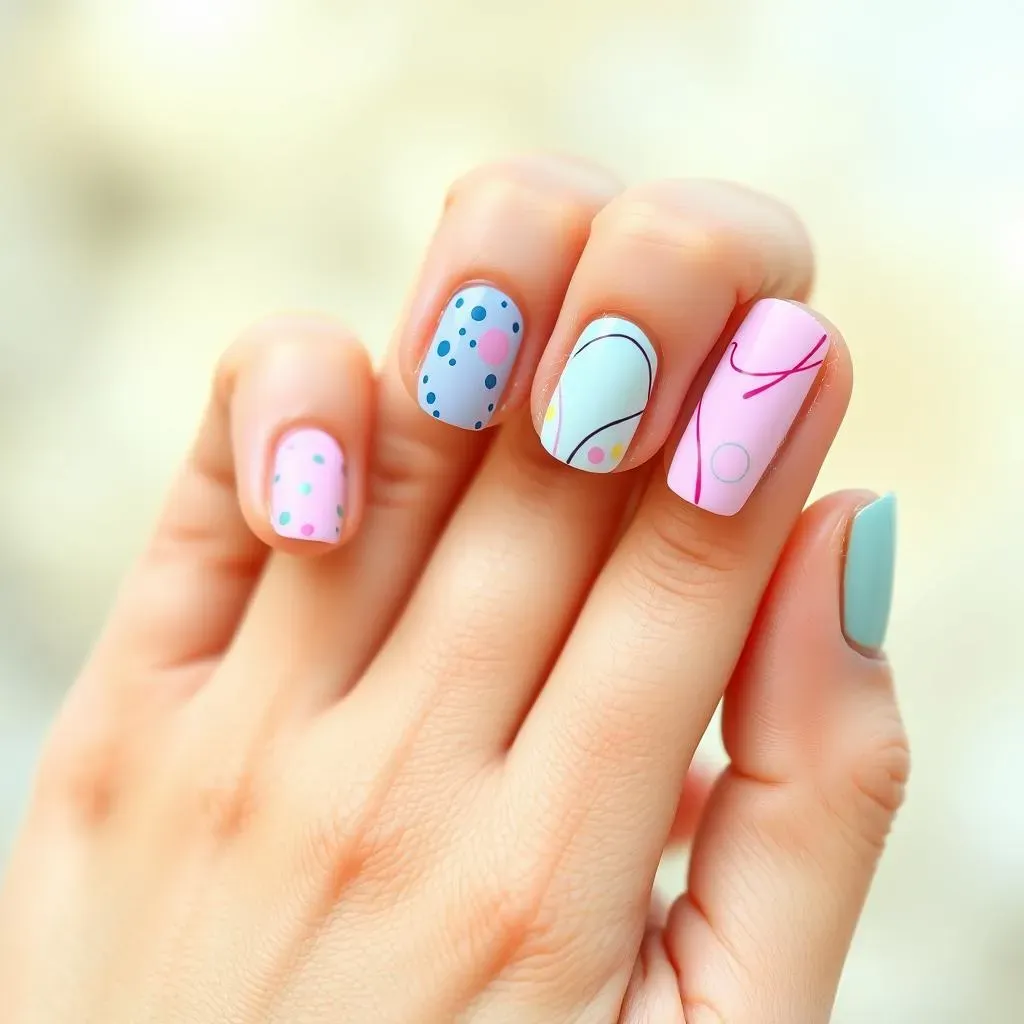
Abstract Art: Easy and Chic
Abstract nail art is having a major moment, and it's surprisingly easy to create a stylish look. Forget intricate floral designs; this trend is all about playful shapes, colors, and textures. Start with a base coat of a neutral color, then use different pastel shades to create simple shapes like dots, lines, or swirls. You can use a toothpick, dotting tool, or even a thin brush to create these shapes.
Don't be afraid to experiment with different color combinations and patterns. A mix of pastel pinks, blues, and greens creates a lovely spring vibe. You can also add a touch of glitter or shimmer for extra sparkle. For more ideas on simple abstract designs, check out our guide to easy nail art ideas.
- Choose your base coat and accent colors.
- Use a toothpick, dotting tool, or brush to create shapes.
- Experiment with different patterns and textures.
- Seal with a top coat.
Chromatic Nails: A Rainbow of Pastels
Chromatic nails are all about showcasing a gradient of colors, creating a beautiful, rainbow-like effect. For a spring twist, use a pastel color palette. Start with a light shade at the base of your nail and gradually blend into darker shades towards the tip. You can use a sponge or a brush to blend the colors seamlessly. This creates a soft, dreamy look that's perfect for the season.
To make it even easier, use pre-made gradient nail polish strips. These strips are designed to create a perfect gradient with minimal effort. Simply apply the strip to your nail and seal it with a top coat. For more inspiration on pretty pastel designs, explore our collection of easy pretty nail designs.
Color Combination | Description | Difficulty |
|---|---|---|
Pink to Purple | Soft pink transitioning into lavender | Easy |
Blue to Green | Light blue blending into mint green | Easy |
Yellow to Orange | Pale yellow fading into peach | Easy-Medium |
Minimalist Designs: Less is More
Minimalist nail art is all the rage, and it's ideal for those who want a chic look without the fuss. This trend focuses on simplicity and clean lines. You can achieve a minimalist look with just a single accent nail featuring a simple design, such as a small dot or a thin line. Keep the rest of your nails a solid pastel color for a sophisticated and understated style.
Another minimalist approach is to use negative space. This involves leaving parts of the nail unpainted, creating a modern and elegant look. For example, you could paint half of your nail a pastel color and leave the other half bare. Or, you could create simple geometric shapes using negative space. For more ideas on simple nail designs for short nails, check out our short nail designs collection.
- Choose a simple design element (dot, line, geometric shape).
- Select 1-2 pastel colors.
- Use negative space for a modern look.
- Finish with a top coat.