Table of Contents
Ready to ditch expensive salon visits and unleash your inner nail artist? This article is your ultimate guide to achieving stunning results with easy designs for nails at home. Forget complicated techniques and shaky hands – we'll walk you through simple, step-by-step tutorials that anyone can master. First, we'll cover the essential tools and techniques you'll need to get started, ensuring you have everything you need for a successful at-home manicure. Then, prepare to be amazed as we dive into a collection of easy designs for nails at home, from classic French manicures with a twist to trendy polka dots and eye-catching stripes. Each design comes with clear instructions and helpful tips to help you achieve a salon-worthy finish. Finally, we'll explore more advanced yet still achievable designs, expanding your nail art horizons and inspiring your creativity. By the end of this article, you'll be confident in your ability to create beautiful, professional-looking manicures from the comfort of your own home, saving time and money while expressing your unique style.
Mastering Simple Nail Art: Easy Designs for Nails at Home
Mastering Simple Nail Art: Easy Designs for Nails at Home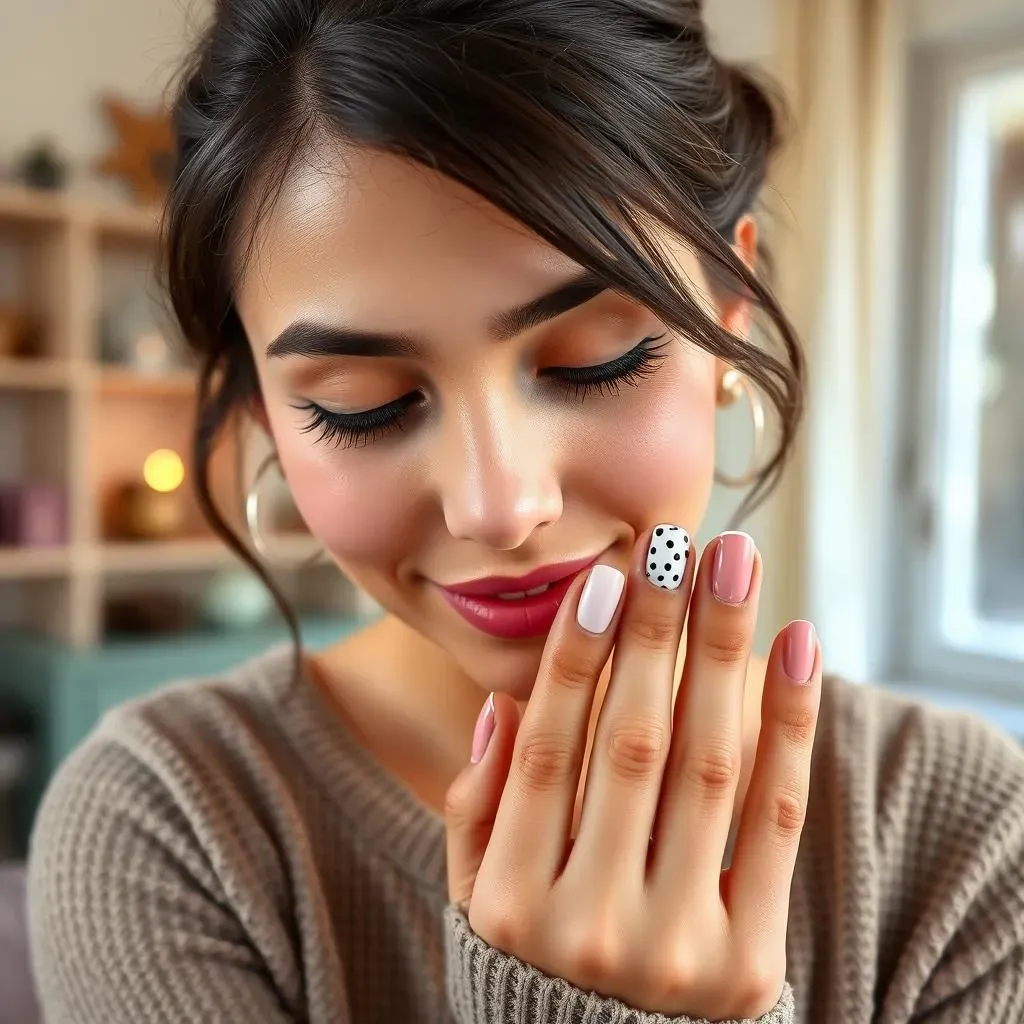
Getting Started: Simple is Stunning
Let's be honest, sometimes the most striking nail art is the simplest. Think clean lines, subtle color combinations, and a few strategically placed accents. You don't need a PhD in nail design to create a gorgeous manicure. A simple red manicure can be elevated with just a few carefully placed dots, transforming it from basic to chic. Or try a classic French manicure but with a twist – use a different color for the tips, or try a diagonal line instead of a straight one! The key is to start small, experiment with different techniques, and find what works best for you. Remember, practice makes perfect, and even small improvements can make a big difference. For more inspiration, check out our post on simple nail art in red for some amazing ideas!
Don't underestimate the power of a well-executed basic manicure. A perfectly polished, single-color look can be just as impressive as an intricate design. It's all about the details: neat edges, smooth application, and a shiny top coat. Sometimes, less is more! And if you're feeling adventurous, try experimenting with different shades of the same color for a subtle ombre effect. You might be surprised at how easy it is to create a professional-looking manicure at home, even with simple techniques. For more simple yet effective designs, explore our collection of easy at-home nail designs.
Design Idea | Difficulty | Tools Needed |
|---|---|---|
Solid Color | Beginner | Base coat, polish, top coat |
French Manicure (classic or twisted) | Beginner-Intermediate | Base coat, two polishes, striping tape (optional), top coat |
Polka Dots | Beginner | Base coat, two polishes, dotting tool or toothpick, top coat |
Embrace Imperfection: It's Part of the Charm
Don't be afraid to experiment! Nail art is a creative outlet, and part of the fun is seeing what happens when you try something new. A slightly imperfect design can actually add to its unique charm. Think of it as abstract art – the irregularities become part of the overall aesthetic. Embrace those happy little accidents; they often lead to unexpected and beautiful results! Don’t worry if your lines aren’t perfectly straight or your dots aren’t uniformly sized. It's your unique creation, and that's what makes it special. For more cute and easy designs to try, you can find inspiration here: cute and easy nail designs.
Remember, the goal is to have fun and express your creativity. Don't put too much pressure on yourself to achieve perfection. The beauty of nail art lies in its ability to showcase your individuality, and a little bit of imperfection only adds to that unique character. Plus, if you make a mistake, you can always start over or try a different technique. You'll find that the process is just as rewarding as the final product. If you're looking for more inspiration for easy and fun nail art, check out our post on easy summer nail art designs—perfect for any season!
- Don't be afraid to make mistakes.
- Experiment with different colors and techniques.
- Have fun and express your creativity!
Easy Designs for Nails at Home: Tools and Techniques You'll Need
Easy Designs for Nails at Home: Tools and Techniques You'll Need
Easy Designs for Nails at Home: Tools and Techniques You'll Need
So, you're ready to tackle some easy designs for nails at home? Awesome! But before you dive into the colorful world of nail art, let's talk tools. You don't need a mountain of equipment, just a few key items. First, you'll need a good base coat. This protects your nails and helps your polish adhere better. Then, gather your polishes – choose colors that excite you! A top coat is crucial for a long-lasting, shiny finish. Finally, you might want a few extra bits depending on the design: striping tape for clean lines, a dotting tool for those adorable polka dots, or even a simple toothpick if you're feeling resourceful. For more inspiration on tools and techniques, check out our guide on easy nail art without tools!
Beyond the basics, there are a few handy tools that can seriously elevate your nail art game. A good quality nail art brush can help you create intricate designs with ease, and a small container of acetone is perfect for cleaning up any mistakes. Consider nail stickers for super easy designs! These are a great option for beginners and can add a unique touch to your manicure. Want to explore more advanced techniques? Our guide on easy nail art pen designs can help you take your nail art to the next level.
Tool | Purpose | Alternatives |
|---|---|---|
Base Coat | Protects nails, improves adhesion | Clear polish |
Top Coat | Provides shine and durability | N/A |
Stripping Tape | Creates clean lines | Scotch tape |
Dotting Tool | Creates dots and other small details | Toothpick |
Nail Art Brush | For intricate designs | Fine-tipped paintbrush |
Remember, preparation is key for a successful manicure. Start with clean, dry nails. Gently push back your cuticles, but don't cut them. This helps prevent infections and makes your nails look neater. If your nails are long, consider filing them to your preferred shape before you begin painting. And don't forget to apply a thin layer of base coat before applying your chosen polish. This will help protect your nails and will allow for better color payoff. For more tips on achieving a perfect base, check out our guide on simple nail art designs.
Once your base coat is dry, apply two thin coats of your chosen polish, letting each coat dry completely before applying the next. This prevents smudging and ensures a smooth, even finish. Finish with a top coat to seal everything in place and add extra shine. A good top coat can also help your manicure last longer. If you're looking for specific designs for shorter nails, take a look at our post on cute designs for short nails!
- Clean and dry nails are essential.
- Apply thin coats of polish to avoid smudging.
- Always use a top coat for shine and durability.
StepbyStep Tutorials: Effortless Nail Art for Beginners
StepbyStep Tutorials: Effortless Nail Art for Beginners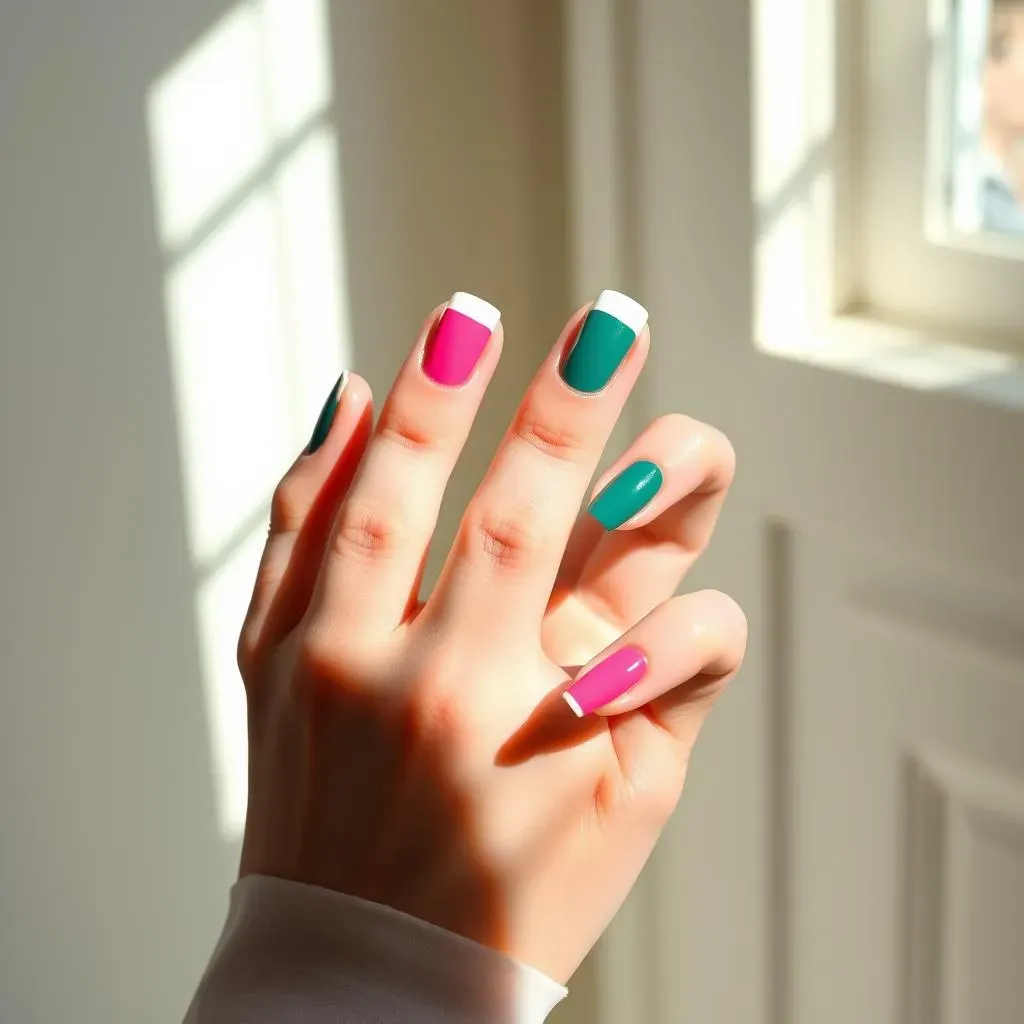
The Classic French Manicure: A Modern Twist
Let's start with a timeless classic: the French manicure. But we're adding a modern twist! Instead of the traditional white tips, try a bright, bold color. Think vibrant pink, sunny yellow, or even a deep emerald green. The process is simple: apply a base coat, then your chosen nail color as the base. Once dry, use striping tape (or even carefully placed pieces of scotch tape) to create a clean line at the tip of your nail. Apply your accent color to the tip, carefully removing the tape while the polish is still wet for a crisp line. Finish with a top coat. It's that easy! For more ideas on French manicures, check out our post on simple nail art designs.
Want to go even further? Try a diagonal French manicure for a more edgy look! Simply angle your tape or use a thin brush to create a diagonal line across the tip of your nail, instead of a straight line. Experiment with different angles and colors to find your perfect style. Don't be afraid to get creative and play around with different color combinations! For more inspiration on unique French manicure variations, take a peek at our easy at-home nail designs article.
- Apply base coat
- Apply base color
- Apply tape for clean lines
- Apply tip color
- Remove tape carefully
- Apply top coat
Polka Dots and Stripes: Fun and Easy Designs
Next up: polka dots and stripes – two incredibly versatile and easy nail art designs. For polka dots, simply use a dotting tool (or a toothpick!) to create small dots in various colors. Experiment with different sizes and arrangements of dots for a unique look. You can even create patterns, such as a gradient effect by gradually changing the color of the dots. Need inspiration? Our collection of cute and easy nail designs is full of amazing ideas!
Stripes are just as simple. Use striping tape to create clean, straight lines, or use a thin brush for more free-flowing, abstract stripes. Experiment with different widths and colors of stripes, and don't be afraid to mix and match! For example, try combining stripes with polka dots for a fun, playful look. If you want to see more easy stripe ideas, check out our article on easy summer nail art designs – perfect for any time of year!
Design | Tools | Tip |
|---|---|---|
Polka Dots | Dotting tool or toothpick | Vary dot sizes and spacing |
Stripes | Striping tape or thin brush | Experiment with different widths and angles |
Beyond the Basics: More Easy Designs for Nails at Home to Try
Beyond the Basics: More Easy Designs for Nails at Home to Try
Geometric Mania: Adding Angles and Shapes
Once you've mastered the basics, it's time to play with shapes! Geometric nail art is surprisingly easy and incredibly chic. Start with a solid base color, then use striping tape or a thin brush to create triangles, squares, or other geometric patterns. You can even combine different shapes and colors for a truly unique look. For instance, try creating a half-moon shape at the base of your nail and adding a contrasting triangle at the tip. The possibilities are endless! For more inspiration on geometric designs, check out our post on easy pretty designs.
Remember, don't be afraid to mix and match! Geometric designs work well with other techniques, like adding small dots or using a metallic accent color. You can even incorporate negative space for a modern, minimalist look. For more inspiration on easy geometric nail art, check out our collection of cute and easy designs for short nails.
- Use striping tape or a thin brush to create shapes.
- Experiment with different color combinations.
- Incorporate negative space for a minimalist look.
Floral Fantasies: Delicate Blooms on Your Nails
Feeling a little more whimsical? Floral nail art is a beautiful and surprisingly easy technique to master. Start with a base coat and your chosen base color. Then, use a small brush to paint tiny flowers on your nails. Keep the flowers simple—a few petals and a small center are all you need. You can use different colors for each flower to create a vibrant, colorful effect. For more simple floral designs, check out our post on easy spring nail designs.
Don't be afraid to get creative with your floral designs! You can create different flower shapes, add leaves, or even paint a whole garden scene on your nails. If you're not confident in your painting abilities, you can always use nail stickers to create a similar effect. For more easy and fun floral designs, check out our article on easy Disney nail designs—they're perfect for adding a touch of whimsy!
Flower Type | Color Palette | Placement |
|---|---|---|
Daisies | Yellow, white, pink | Scattered across the nail |
Roses | Red, pink, burgundy | Clustered together |
Tulips | Orange, yellow, purple | Along the cuticle |
Ombre Effects and Gradient Colors: A Smooth Transition
Ombre nail art is all about creating a seamless transition between two or more colors. This technique creates a soft, dreamy look. There are a couple of ways to achieve this. One method involves using a sponge to blend the colors together. Another involves using a thin brush to create a gradual fade. Both techniques are relatively easy and produce beautiful results. For a simple ombre design, check out our article on easy everyday nail designs.
Experiment with different color combinations to find your perfect ombre look. Pastel shades work beautifully together, creating a soft, romantic feel, while brighter colors can create a more bold and vibrant effect. You can even try using metallic shades for a touch of glamour. For more inspiration on ombre designs, take a look at our post on easy nail designs for long nails.
- Use a sponge or thin brush to blend colors.
- Experiment with different color combinations.
- Use metallic shades for extra glamour.