Table of Contents
Spring has sprung, and Easter's just around the corner! Are you ready to celebrate with some seriously cute nails? This article is your one-stop shop for discovering the cutest and easiest Easter nail designs. Whether you're a nail art newbie or a seasoned pro, we've got something for you. We'll start with super simple designs perfect for beginners, guiding you through the basics of achieving a polished look without needing advanced skills or fancy tools. Next, we'll explore the world of pastel perfection, showing you how to create stunning Easter-themed manicures using only a few pastel shades. Feeling a little less ambitious? No problem! We'll also showcase easy easter nail designs that use pre-made nail stickers and decals, providing a quick and fun way to elevate your Easter look. Finally, we'll offer a treasure trove of inspiration, featuring a range of easy easter nail designs to spark your creativity. Get ready to unleash your inner artist and create a manicure that's as unique and beautiful as you are! So grab your polish and let's get started on some seriously egg-cellent nail art!
Simple Easter Nail Designs for Beginners
Simple Easter Nail Designs for Beginners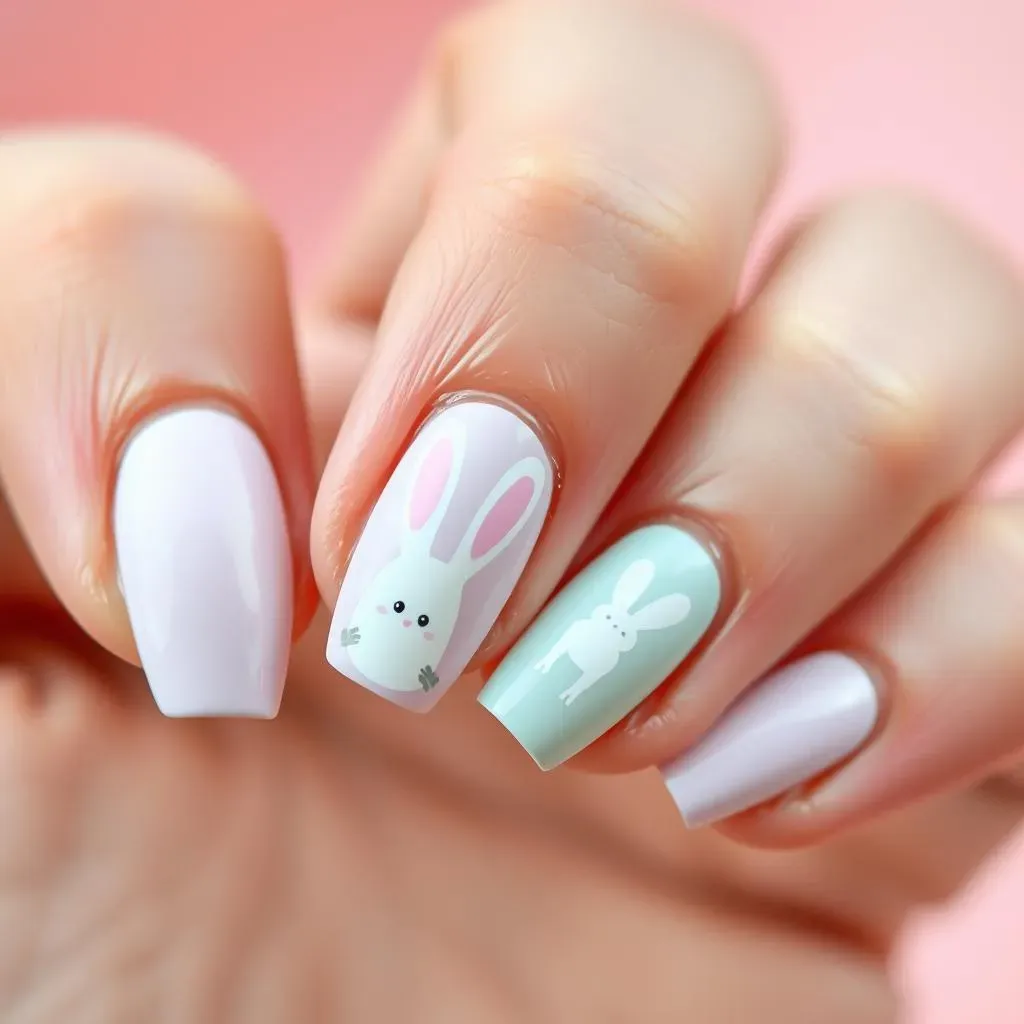
Solid Pastel Colors
Let's start with the easiest Easter nail design ever: solid pastel colors! Grab your favorite pastel polishes – think soft pinks, baby blues, sunny yellows, and delicate lavenders. Two coats of your chosen color on each nail is all it takes! It’s a classic look that's perfect for any age and skill level. Plus, it's incredibly versatile; you can pair it with any outfit for Easter brunch or an egg hunt. For extra shine, finish with a top coat. Looking for more simple nail designs? Check out our guide on best easy nail designs for more inspiration.
This simple technique is a great way to practice your nail painting skills and get comfortable with applying polish evenly. Remember, patience is key! Let each coat dry completely before applying the next one to prevent smudging. For a fun twist, try using different pastel shades on each nail for a rainbow effect! Or, stick to a single shade for an elegant and sophisticated look. Need some more inspiration? We've got tons of easy nail design ideas that you can try!
Color | Easter Vibe |
|---|---|
Baby Pink | Sweet & Delicate |
Light Blue | Fresh & Springy |
Pale Yellow | Cheerful & Sunny |
Simple Easter Egg Designs
Next up: a simple Easter egg design! Start with a base coat of white polish. Once it’s dry, use a thin brush or a toothpick to create a simple egg shape on each nail using a pastel color. It doesn’t have to be perfect – a slightly imperfect look adds charm. You can also add some small dots or lines around the egg for extra detail. This design is super easy and looks incredibly festive! Want to try something different for your toes? Check out our easy toenail designs!
For even easier application, try using nail striping tape to create clean lines. Simply place the tape on your nail in the desired pattern, paint over the tape, then carefully remove it once the polish is dry. This is a great way to make your design look more polished without needing perfect freehand skills. If you’re feeling creative, try different pastel color combinations or add small, simple embellishments like glitter or tiny rhinestones. Need some ideas for special occasions? We've got you covered with easy nail designs for special occasions.
- Pastel base coat
- Different colored eggs
- Add small details
Bunny Nail Art
For a touch of whimsy, try a simple bunny design! This is easier than you think. Start with a base coat of your favorite pastel. Then, using a white polish and a thin brush, paint two small circles for the bunny's ears on one corner of each nail. Add two tiny dots for the eyes and a small line for the nose. It's a super cute and simple design that's perfect for Easter. If you're looking for more cute nail art, you should check out our cute and easy nail designs collection!
Alternatively, you could use tiny bunny nail stickers or decals for an even faster and easier approach. Simply apply the stickers to your nails after applying your base coat and seal them with a top coat. This method eliminates the need for precise painting, making it ideal for beginners. Looking for something a little more elaborate? We have awesome cute easy nail art designs that are just a bit more challenging!
Easy Easter Nail Art: Pastel Perfection
Easy Easter Nail Art: Pastel Perfection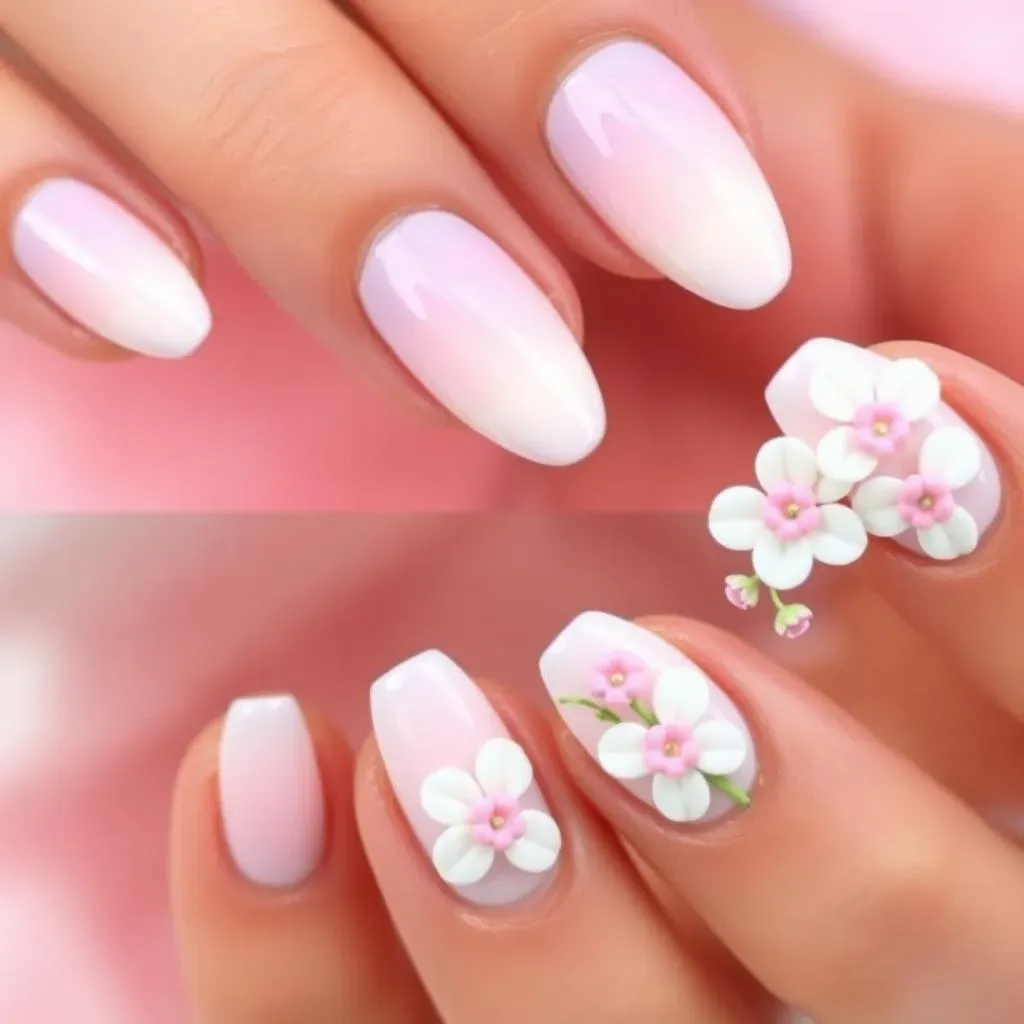
Ombre Pastel Nails
Let's create a dreamy ombre effect! This technique involves a gradual blending of colors, creating a soft, ethereal look. Start with a light pastel shade as your base coat. Then, using a sponge, apply a slightly darker shade of the same color, blending it gently towards the tips of your nails. You can repeat this process with even darker shades to create a beautiful gradient. This technique is surprisingly easy to master, and the final result is stunningly elegant. For more tips and tricks on achieving the perfect ombre look, check out our guide on easy nail design ideas!
For a more dramatic ombre, you could experiment with contrasting pastel shades, such as a soft pink fading into a light blue or a pale yellow transitioning into a lavender. Remember, the key is to blend the colors seamlessly. Don’t worry about making it perfect; embrace the slightly imperfect look for a more artistic feel. Looking for more inspiration for spring? Check out our easy summer nail art designs.
Step | Description |
|---|---|
1 | Apply base coat |
2 | Sponge on darker shade |
3 | Blend gently |
Floral Pastel Nail Art
Add a touch of springtime charm with delicate floral accents! Start with a pastel base coat – a soft pink or light blue works beautifully. Once dry, use a fine-tipped brush and white polish to create simple flower shapes. Add tiny dots in contrasting pastel shades for the center of each flower. This design is perfect for adding a touch of femininity and elegance to your Easter manicure. For more floral inspiration, explore our collection of easy autumn nail designs (they’re surprisingly adaptable!).
Alternatively, you can use small floral nail stickers or decals to create a similar effect with minimal effort. Simply apply the stickers to your nails after applying your base coat and seal them with a top coat. You can also combine solid pastel colors with floral accents for a more balanced look. For example, you could paint some nails with a solid pastel color and decorate others with the floral design. If you’re looking for something a little more detailed, we have awesome cute easy nail art designs for you!
- Pastel base coat
- White flowers
- Pastel center dots
Cute Easter Nail Designs Using Stickers & Decals
Cute Easter Nail Designs Using Stickers & Decals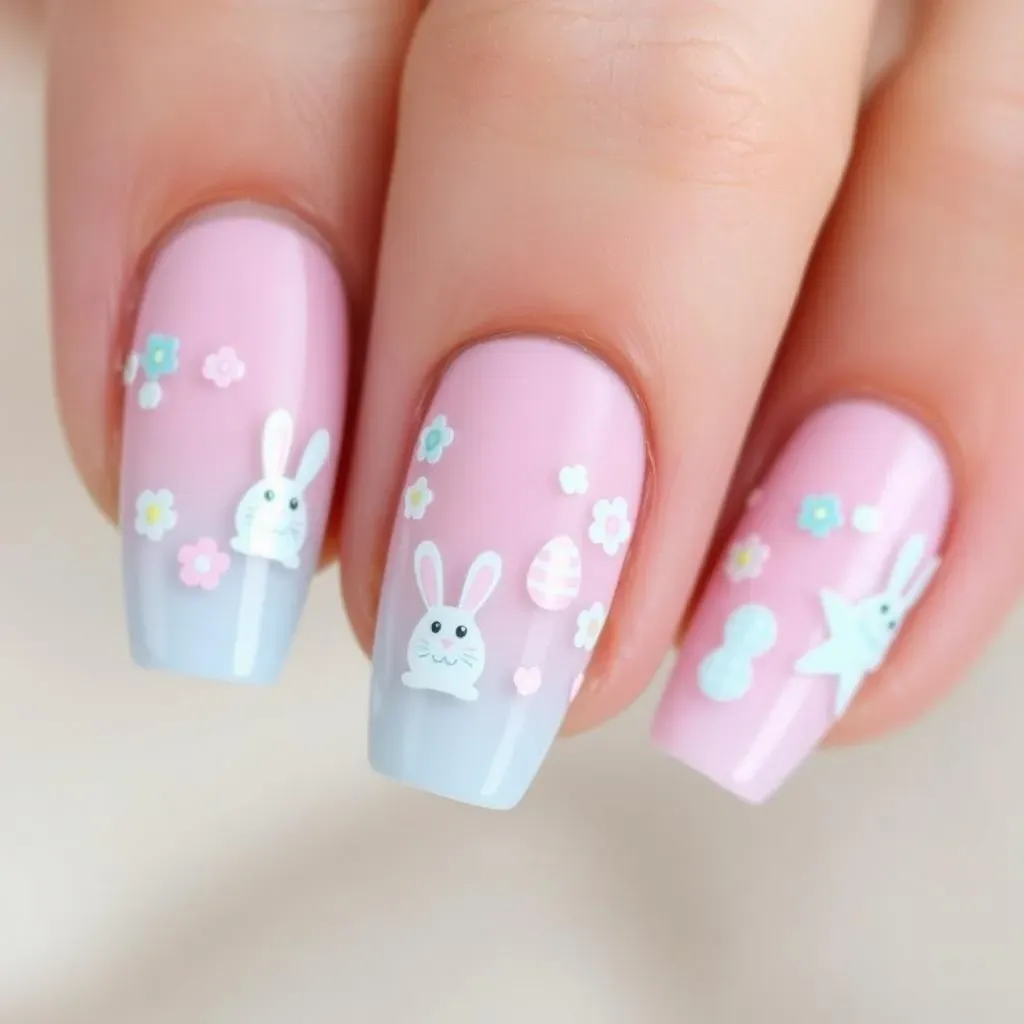
Bunny & Egg Nail Stickers
Let's face it, sometimes you just want a super quick and easy Easter mani. That's where nail stickers come in! You can find adorable bunny, chick, and Easter egg stickers at most beauty supply stores or online. Simply apply your favorite pastel base coat, let it dry completely, then carefully place the stickers onto your nails. Seal everything with a top coat for extra shine and longevity. It's that simple! Want to explore more cute and easy designs? Check out our awesome cute and easy nail designs.
Experiment with different sticker placements for a unique look. Try clustering several small stickers together or alternating between different designs on each nail. You can even layer stickers for a more complex design. Don’t be afraid to get creative and have fun with it! Looking for more nail art inspiration for beginners? See our easy nail art designs for beginners.
Sticker Type | Easter Theme |
|---|---|
Bunnies | Playful & Cute |
Eggs | Classic & Festive |
Flowers | Springy & Delicate |
Floral & Pastel Decals
For a more sophisticated look, try using floral or pastel-colored decals. These offer a more refined aesthetic compared to cartoonish stickers. Many online retailers offer a wide variety of Easter-themed decals, from delicate floral patterns to elegant geometric designs. Apply these in the same way as the stickers – base coat, decal placement, top coat. It’s a simple way to add a touch of elegance to your Easter look. If you prefer a more minimalist approach, our simple nail designs in pink are a great starting point.
Remember to choose decals that complement your outfit and personal style. If you're wearing a pastel dress, for instance, consider using decals in coordinating colors. Or, if you prefer a bold statement, choose decals with vibrant colors and patterns. Looking for something more unique? Our easy Hawaiian nail designs might give you some ideas!
- Choose a pastel base coat
- Select your decals carefully
- Apply and seal with top coat
More Easy Easter Nail Designs Ideas & Inspiration
More Easy Easter Nail Designs Ideas & Inspiration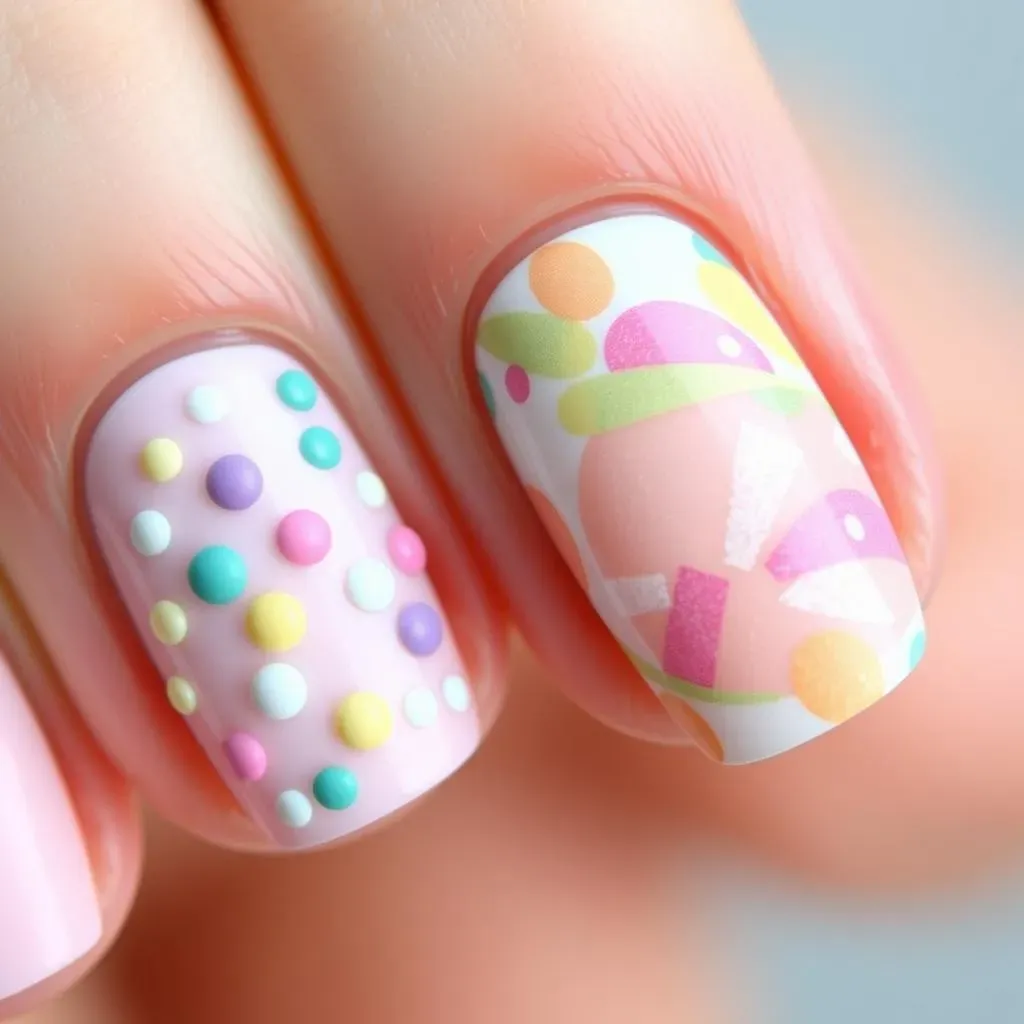
Easter Egg Hunt Nail Art
Let's get creative with an "Easter egg hunt" theme! This design involves painting several small, colorful eggs across your nails, scattered like they've been hidden for a fun Easter egg hunt. Start with a pastel base coat. Then, using various pastel shades, create tiny egg shapes on each nail. Some can be solid colors, while others can have simple patterns. This design is super playful and fun, perfect for those who love a bit of whimsy. For more inspiration on cute and easy designs, check out our collection of awesome cute and easy nail designs.
To make this design even more unique, try using different shapes and sizes for your eggs. You can also add tiny details like dots, lines, or even miniature bunny faces to make your eggs even more special. Remember, the key is to have fun and let your creativity flow! Don't worry about making it perfect; a slightly imperfect look adds to the charming, carefree feel of this design. For more ideas on easy nail art for beginners, check out our easy nail art designs for beginners.
- Pastel base coat
- Various pastel egg shapes
- Add small details (optional)
Abstract Easter Designs
Feeling adventurous? Try an abstract Easter design! This involves using various pastel shades and techniques to create a unique, artistic look. You can use a sponge to create a textured effect, use a toothpick to add small dots or swirls, or even use a fine-tipped brush to create delicate lines and shapes. The possibilities are endless! This design allows you to truly express your creativity and individuality. If you’re looking for more inspiration for parties, check out our easy nail designs for parties.
Don't be afraid to experiment with different color combinations and techniques. You can create a mesmerizing blend of pastels, using multiple shades to create a visually stunning effect. Remember, there's no right or wrong way to do this; the beauty of abstract art lies in its spontaneity and freedom of expression. For more unique nail art ideas, check out our easy Hawaiian nail designs page.
Technique | Effect |
|---|---|
Sponge | Textured |
Toothpick | Dots & Swirls |
Fine Brush | Lines & Shapes |