Table of Contents
Ready to embrace the cozy vibes of autumn with a stunning manicure? Forget complicated nail art tutorials that leave you frustrated! This article is your ultimate guide to easy fall nail art designs, perfect for beginners and busy individuals alike. We'll explore a range of simple yet chic designs, from classic autumnal colors to playful patterns, all achievable with minimal effort and skill. Whether you're a complete novice or looking to refresh your nail art skills, we've got you covered. First, we'll dive into the basics, showing you how to create several easy fall nail art designs using readily available tools and polishes. Then, we'll step things up a notch, showcasing more intricate yet still manageable designs to inspire your creativity. Finally, we’ll even touch on some slightly more advanced techniques, but rest assured, they’re still totally achievable with a little patience and practice. So, ditch the salon appointment and get ready to unleash your inner artist with these easy fall nail art designs. Let's transform your nails into a miniature autumn masterpiece!
Easy Fall Nail Art Designs for Beginners
Easy Fall Nail Art Designs for Beginners
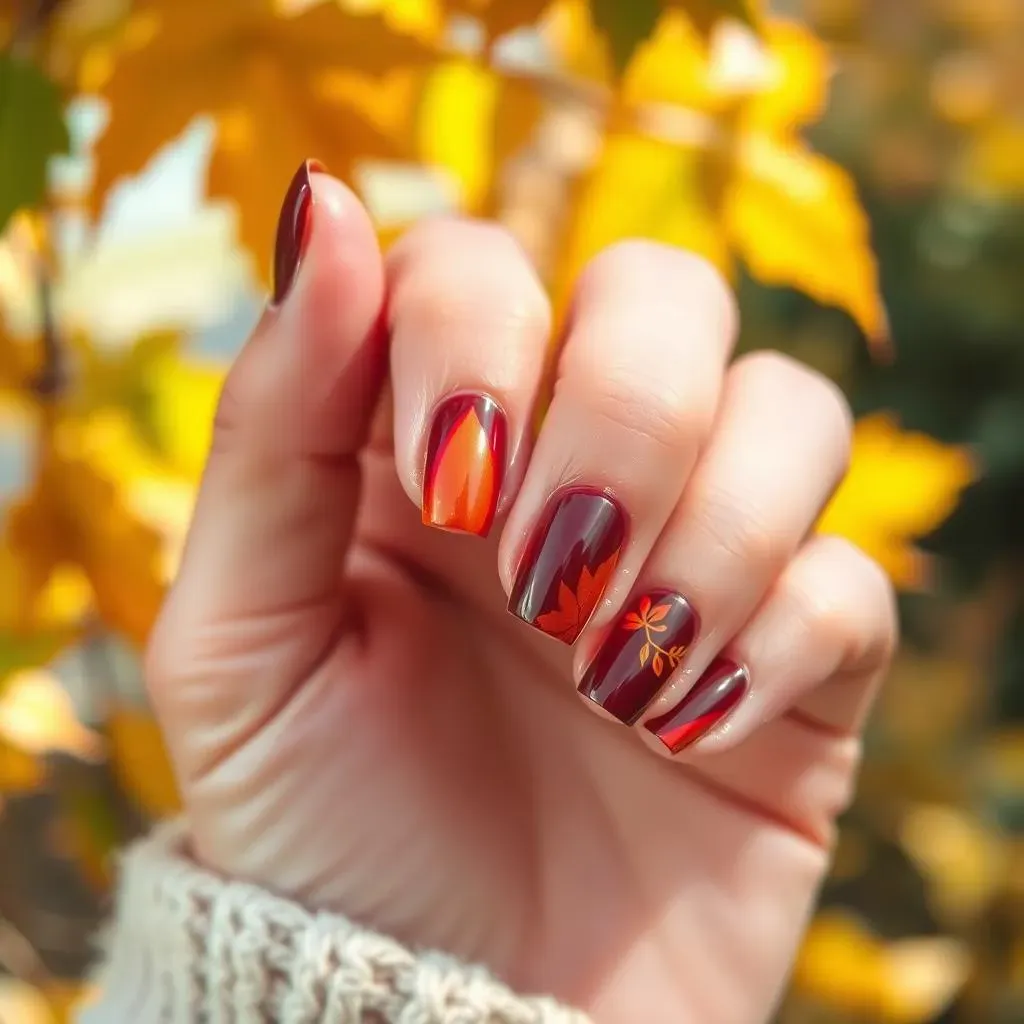
Let's kick things off with some super simple designs, perfect for those just starting their nail art journey! Think classic autumnal colors like warm reds, burnt oranges, and deep browns. A simple solid color manicure is a great starting point, and you can easily elevate it with some subtle details. For instance, try a gradient effect by blending two shades together, or add some metallic accents using a fine-tipped brush and gold or silver polish. For a touch of autumnal flair, you could add some simple leaf decals or use a striping tape to create neat lines and patterns. Remember, practice makes perfect, so don't be afraid to experiment and have fun with it! Check out some easy cute nail designs for more inspiration!
Design | Difficulty | Materials |
|---|---|---|
Solid color with metallic accent | Beginner | Nail polish in autumn shades, fine-tipped brush, metallic polish |
Gradient effect | Beginner | Two nail polishes in autumn shades, sponge |
Leaf decals | Beginner | Nail polish, leaf decals, top coat |
Another super easy idea is to try a classic French manicure with a twist. Instead of the traditional white tip, use a warm, autumnal shade like a deep burgundy or a rich chocolate brown. This adds a sophisticated touch while still being incredibly easy to achieve. You can even experiment with different shapes for the tip, such as a V-shape or a squiggly line, to personalize your look. For extra sparkle, consider adding a little bit of glitter to the tip or to the base of your nail. If you're feeling adventurous, you could also try a half-moon manicure, which is equally simple and stylish. For more simple nail art, have a look at our simple nail designs!
- Solid color manicure
- French manicure with autumnal tip
- Half-moon manicure
"Keep it simple, but make it chic." - Unknown (but wise) nail artist.
Simple Yet Stunning: More Easy Fall Nail Art Designs
Simple Yet Stunning: More Easy Fall Nail Art Designs
Subtlety and Chic: Exploring Negative Space
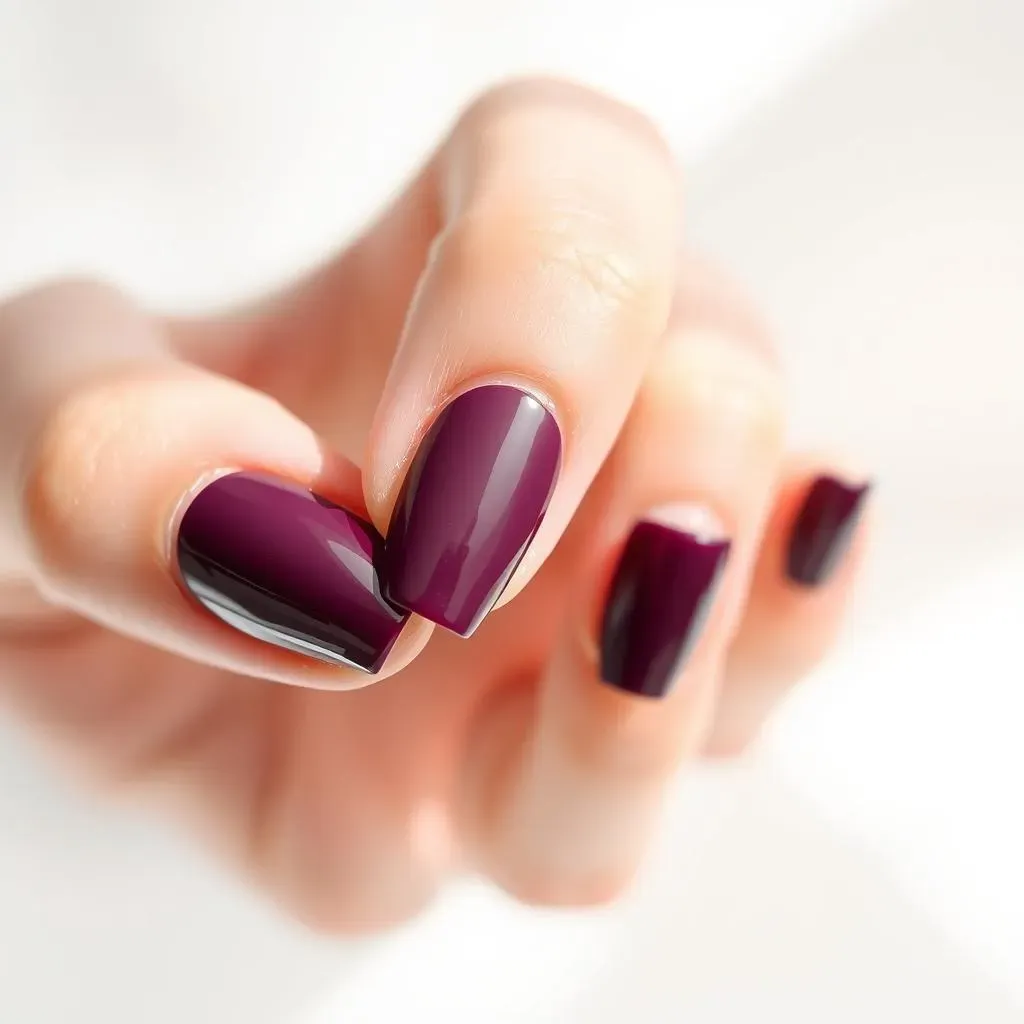
Let's move on to designs that use negative space cleverly. Think of negative space as the blank canvas around your design – it’s just as important as the design itself! A simple way to incorporate this is with a half-moon manicure, but instead of a solid color, try leaving a crescent-shaped area at the base of your nail bare. You can then paint the rest of your nail a beautiful autumnal shade, like a deep plum or a warm terracotta. This creates a sophisticated and modern look without requiring intricate brushstrokes. For even more inspiration on negative space designs, check out our easy nail art designs!
- Half-moon manicure with autumnal color
- Simple geometric shapes with negative space
- Accent nail with negative space design
Adding Texture and Dimension: Easy Stamping Techniques
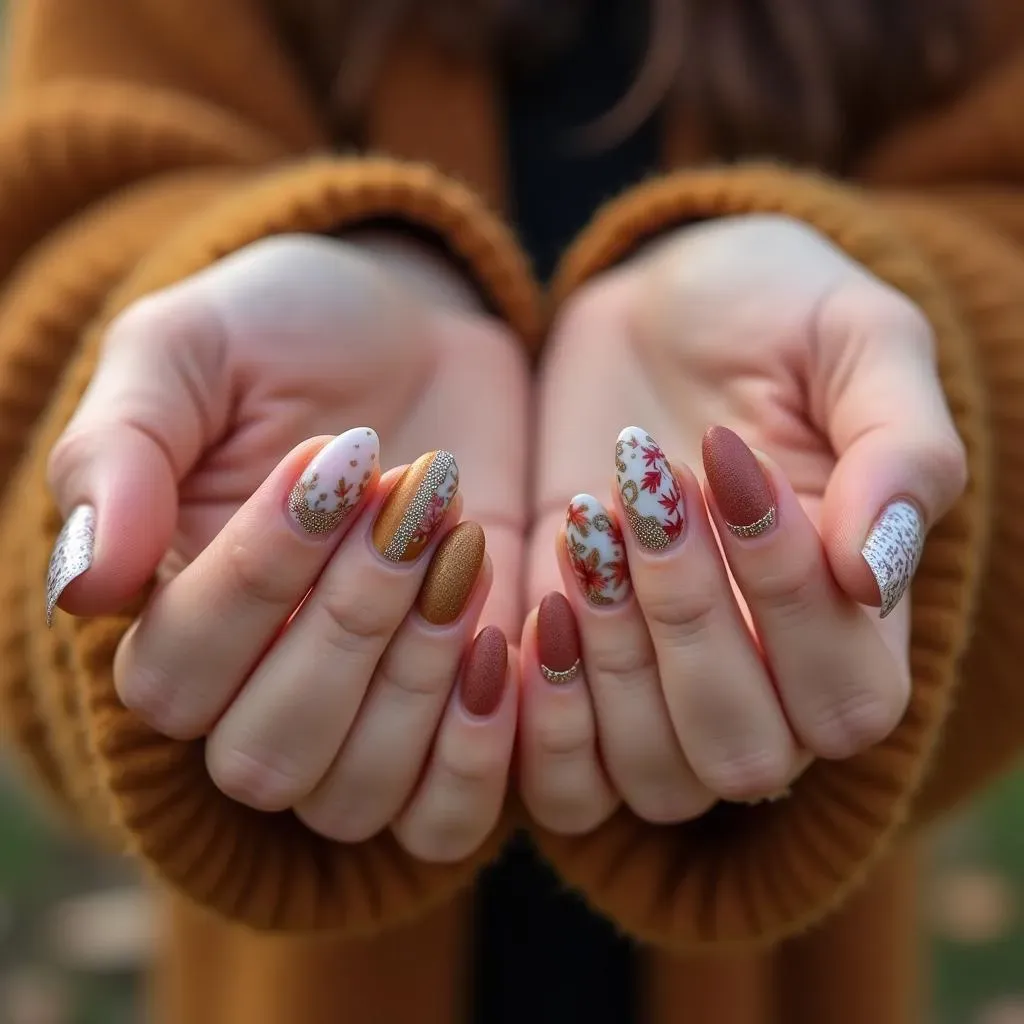
Nail stamping is a fantastic way to add intricate detail without needing advanced painting skills. There are tons of affordable stamping kits available online and in beauty stores. All you need is a stamping plate with a fall-themed design (leaves, pumpkins, etc.), a scraper, and a stamper. Apply your chosen polish to the plate, scrape off the excess, and carefully press the stamper onto the design. Then, transfer the design to your nail. This method allows you to create stunning fall patterns quickly and easily. You can use this technique to add accents to a solid-color manicure or create a more elaborate design. For more ideas using stamping plates, see our easy nail art ideas page.
Step | Action |
|---|---|
1 | Apply base coat |
2 | Apply polish to stamping plate |
3 | Scrape excess polish |
4 | Stamp design onto nail |
5 | Apply top coat |
Advanced Easy Fall Nail Art Designs: Stepping Up Your Game
Advanced Easy Fall Nail Art Designs: Stepping Up Your Game
Watercolor Effects: A Touch of Autumnal Ambiance
Let's explore adding some subtle watercolor effects to your fall nails. This technique creates a soft, dreamy look, perfect for those who prefer a more delicate aesthetic. You don't need special watercolor paints; regular nail polish will work just fine! The key is to use a light hand and blend the colors smoothly. Start with a base coat of a light neutral shade, such as a creamy beige or a pale pink. Then, using a fine-tipped brush, apply small dabs of different autumnal shades – think warm oranges, rusty reds, and golden yellows. Blend the colors together using a clean brush or a dotting tool, creating a soft, diffused effect. Don't worry about making it perfect; a slightly imperfect, slightly messy look adds to the watercolor charm. For more inspiration on achieving beautiful watercolor effects, check out our guide to easy autumn nail designs.
Remember, the beauty of watercolor lies in its imperfection. Embrace the soft, blended look, and don't be afraid to experiment with different color combinations. A touch of shimmer or glitter can also add extra dimension to your watercolor manicure.
- Choose a light neutral base color.
- Apply dabs of autumnal shades with a fine brush.
- Blend colors smoothly using a clean brush or dotting tool.
- Add shimmer or glitter for extra dimension (optional).
Geometric Designs: Precision and Playfulness
Geometric designs are another fantastic way to elevate your nail art game without needing extensive skills. Using striping tape or a fine-tipped brush, you can create clean lines and shapes that add a modern and sophisticated touch to your manicure. Start with a base coat of your chosen color. Then, apply striping tape to create various geometric shapes – stripes, triangles, chevrons, or even simple squares. Apply a contrasting shade of nail polish over the tape. Once the polish is dry, carefully remove the tape to reveal your sharp geometric design. You can also use a fine-tipped brush to freehand simple geometric patterns if you're feeling confident. For even more nail art using lines and geometric shapes, check out our collection of easy line designs for nails.
Experiment with different color combinations and geometric shapes to create unique and eye-catching designs. You can even add a touch of glitter or metallic polish to certain areas for extra sparkle and dimension.
Step | Action |
|---|---|
1 | Apply base coat |
2 | Apply striping tape to create shapes |
3 | Apply contrasting polish over tape |
4 | Remove tape once dry |
5 | Apply top coat |