Table of Contents
Ready to ditch expensive salon visits and unleash your inner artist? This article is your ultimate guide to mastering easy nail art designs to do at home. Forget complicated tutorials and frustrating fails – we're focusing on simple techniques and stunning results you can achieve with minimal effort. Whether you're a complete beginner or just looking to refresh your at-home mani game, we've got you covered. We'll walk you through basic nail art techniques, showing you how to create impressive designs using everyday household items. Then, we'll level up with some more advanced (but still surprisingly easy!) ideas to take your nail art to the next level. Get ready to transform your nails into miniature masterpieces, all from the comfort of your own home. Prepare to be amazed at how simple it is to achieve professional-looking results without spending a fortune or needing years of experience. Let's dive in and discover the joy of creating beautiful, personalized nail art!
Simple Nail Art Techniques for Beginners
Simple Nail Art Techniques for Beginners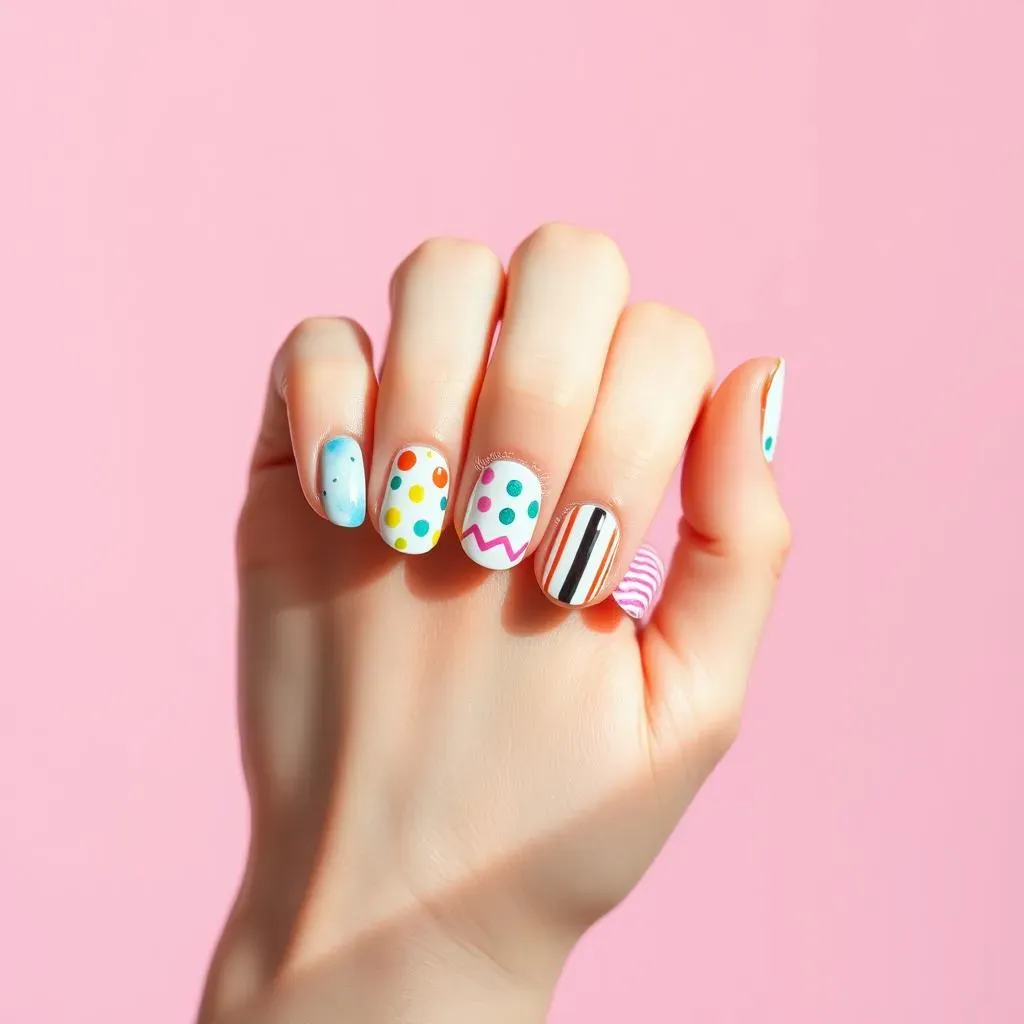
Let's start with the basics! Think of your nails as a tiny canvas, ready for your artistic touch. One of the easiest techniques is using dots. Grab a toothpick or a dotting tool (you can even find cheap ones at craft stores!), dip it in your nail polish, and create tiny dots to make flowers, polka dots, or even animal prints. It's super simple, but the results can be surprisingly cute! For inspiration, check out some cute and easy nail designs we've got on the site. Don't be afraid to experiment with different colors and sizes of dots – it’s all about having fun!
Technique | Tools | Example Design |
|---|---|---|
Dotting | Toothpick, dotting tool | Polka dots, flowers |
Next up: stripes! Stripes are another incredibly easy way to add some pizzazz to your nails. You can use striping tape (easily found online or in beauty supply stores) for perfectly straight lines, or you can freehand them with a thin brush. If you're feeling adventurous, try creating different patterns like diagonal stripes, vertical stripes, or even a combination of both! For those who love a classic look, black and white nail designs with stripes are always a winner. Remember, practice makes perfect, so don't worry if your first few attempts aren't flawless.
- Use striping tape for perfect lines.
- Freehand stripes with a thin brush for a more artistic look.
- Experiment with different colors and stripe widths.
Another super simple technique is using a sponge to create an ombre effect. This involves blending two or more colors together for a gradient look. All you need is a makeup sponge, some nail polish, and a bit of patience. Apply a base coat, then dab different shades onto the sponge and gently blot it onto your nails. You'll be surprised at how professional this can look! If you're into pastel shades, check out some amazing simple pink nail designs that use this technique. It's a great way to create a soft, dreamy look.
Finally, don't underestimate the power of simple shapes! Triangles, squares, and other geometric shapes can be easily created with a thin brush or a nail art pen. You can use these shapes to create intricate patterns or just as simple accents. For a fun and festive look, why not try some easy Valentine's Day nail art that incorporates hearts or other simple shapes? The possibilities are endless!
Stunning Nail Art Designs Using Household Items
Stunning Nail Art Designs Using Household Items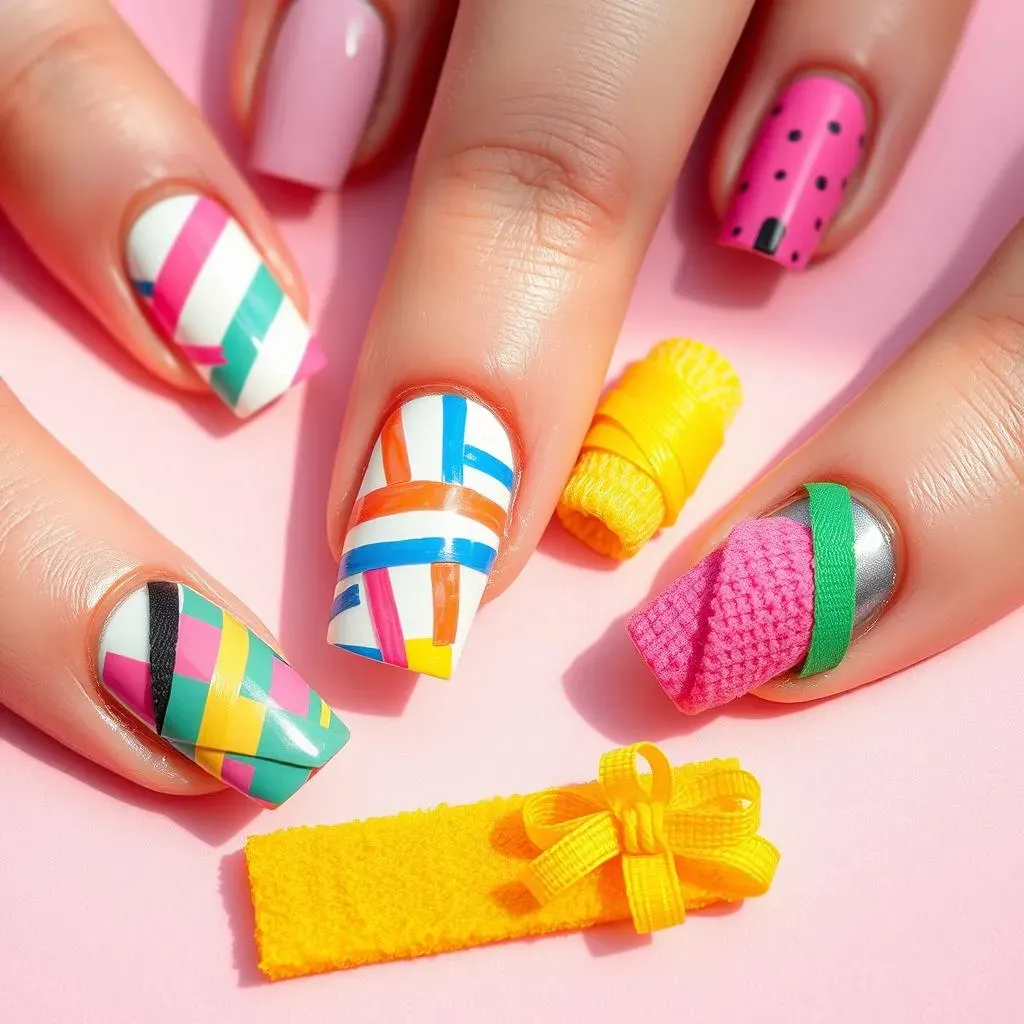
Nail Art with Tape
Believe it or not, simple masking tape can be your secret weapon for creating amazing nail art! Cut small shapes – hearts, stars, stripes – from the tape and stick them onto your freshly painted nails. Then, paint over the tape with a contrasting color. Once it’s dry, peel off the tape to reveal perfectly crisp lines and shapes. It's like magic! For some extra inspiration, check out our easy French tip designs – they’re surprisingly easy to achieve with tape!
- Use different colored tapes for a variety of looks.
- Experiment with different shapes and sizes.
- Use thin tape for intricate designs.
Using Rubber Bands for Texture
Who knew rubber bands could be so artistic? Wrap a rubber band around your finger, creating a textured surface. Then, paint the nail with a base color. Once it’s dry, paint over it with a contrasting color. When you remove the rubber band, you’ll have a cool, textured design. This works particularly well with metallic polishes for a really striking look. For similar textured effects, you might enjoy our easy acrylic nail designs – they offer a lot of textural possibilities.
Household Item | Technique | Effect |
|---|---|---|
Rubber Band | Wrapping and Painting | Textured Design |
The Power of Sponges and Paper Towels
Don't toss out that old makeup sponge or paper towel just yet! These are fantastic tools for creating unique nail art effects. Dip a small piece of sponge or paper towel into your nail polish, and then dab it onto your nails for a textured, splatter effect. You can create amazing abstract designs this way, and it's incredibly forgiving. A quick dab here and there, and you've got a one-of-a-kind design. For more ideas on using simple tools, check out our easy nail art designs without tools guide.
Advanced (But Still Easy!) Nail Art Ideas
Advanced (But Still Easy!) Nail Art Ideas
Watercolor Nail Art
Let's move on to something a little more artistic: watercolor nail art! Don't worry, it's easier than it sounds. You'll need some water-based nail polishes (look for those labeled "watercolor" or "water-based"). Apply a base coat, then use a small brush to create delicate washes of color on your nails. Blend the colors together for a soft, dreamy effect. Remember, less is more with watercolor – you want soft, translucent layers, not thick, opaque ones. For some inspiration, check out our easy blue nail art designs – many use a watercolor effect.
The key is to let each layer dry slightly before applying the next. Experiment with different colors and techniques to create your own unique designs. You can even add some glitter or other embellishments for extra sparkle! And if you’re feeling really adventurous, why not try some easy Hawaiian nail designs using watercolor techniques for a tropical vibe?
- Use thin brushes for delicate designs.
- Let each layer dry before adding more.
- Experiment with different color combinations.
Negative Space Nail Art
Negative space nail art is all about leaving some of your nail bare. It’s a modern and chic look that’s surprisingly easy to achieve. Start with a base coat, then use tape or a thin brush to create shapes or patterns on your nails. Paint the remaining areas with your chosen color, leaving the original nail color as the "negative space." It's a minimalist approach that can create a big impact. For a simple yet sophisticated look, consider some simple nail designs for short nails that incorporate negative space.
This technique works well with bold colors and geometric shapes. You can create simple lines, triangles, or even more complex designs. The key is to keep it clean and precise. Remember, imperfections can add to the charm! And for those who love a classic look, negative space is amazing with easy French tip designs.
Technique | Tools | Example |
|---|---|---|
Negative Space | Tape, thin brush | Geometric shapes, half-moon mani |
Adding Embellishments
Finally, let's talk about embellishments! Adding small details can elevate your nail art to the next level. You can use anything from tiny jewels and rhinestones to glitter, metallic foils, or even dried flowers. The possibilities are endless! Start with a base coat and your chosen design, then carefully add your embellishments using a toothpick or tweezers. A little glue can help secure them in place. For some festive ideas, check out our easy Thanksgiving nail designs – they often use embellishments.
Don't be afraid to experiment with different textures and colors. You can create a cohesive look by using similar colors or textures, or you can mix and match for a more eclectic style. Remember, it’s your nail art, so have fun with it! And don’t forget to seal everything with a top coat to make your masterpiece last longer. For more inspiration on adding that extra touch, see our awesome easy nail design ideas gallery.