Table of Contents
Ready to ditch the salon and achieve salon-worthy nails from the comfort of your own home? This article is your ultimate guide to mastering easy nail designs french tips. We'll take you from the classic, elegant French manicure to fun, modern twists, all with simple steps and clear instructions. Whether you're a nail art newbie or looking to refresh your skills, we've got you covered. Forget complicated techniques and expensive tools – we focus on making chic, stylish nails accessible to everyone. Get ready to explore a world of easy nail designs french tips, from perfecting that crisp white tip to adding dazzling embellishments. We’ll cover everything you need to know, from choosing the right tools and polishes to mastering those perfectly shaped tips. So grab your favorite nail polish, and let's get started on creating stunning, easy nail designs french tips that will turn heads!
Mastering the Classic French Manicure: Tips and Tricks
Mastering the Classic French Manicure: Tips and Tricks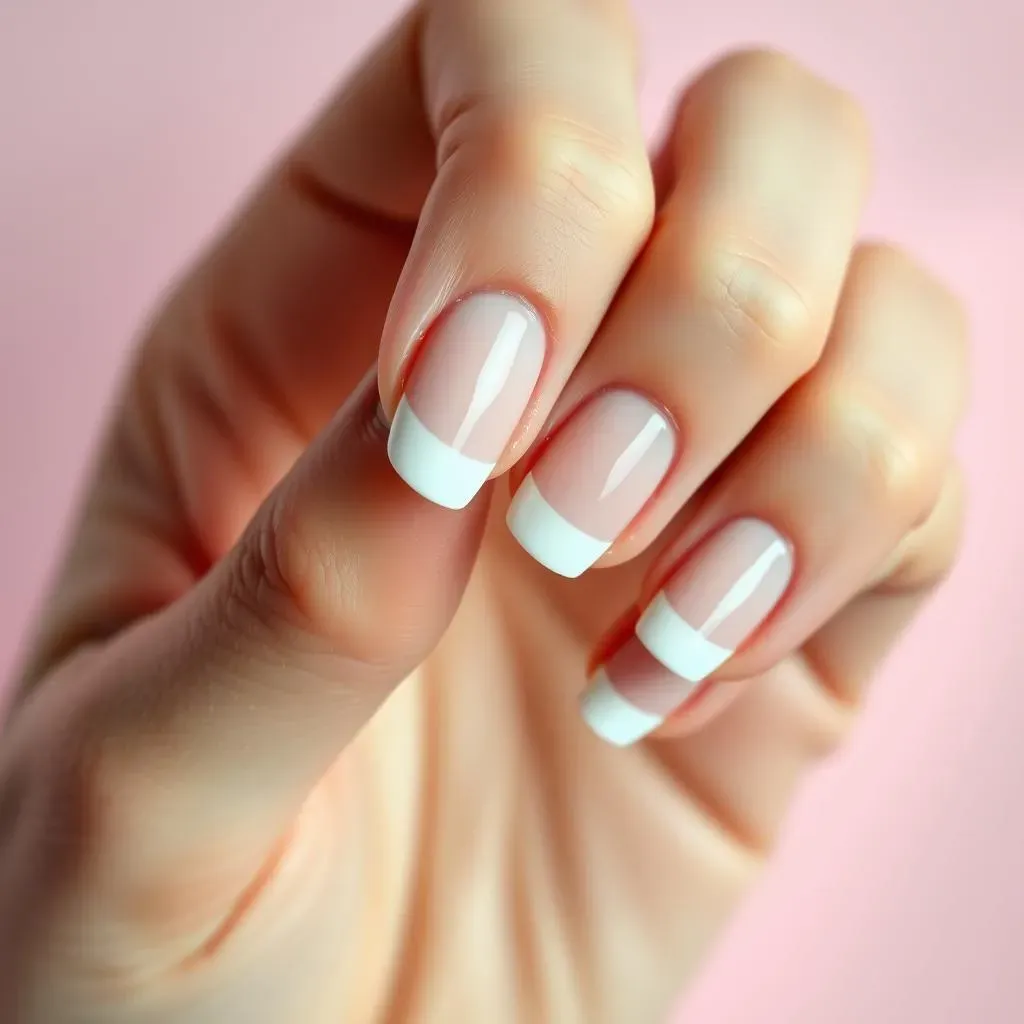
Prep Work: The Foundation for Perfect French Tips
Before you even think about polish, nail prep is key! Start by gently pushing back your cuticles. Don't cut them – you risk infection. Next, file your nails into your desired shape. A classic oval or square shape works beautifully with a French manicure. For a super smooth surface, buff your nails lightly. This helps the polish adhere better and gives you a more professional finish. Remember to clean your nails with nail polish remover to remove any oils or dust. This ensures that your polish will stick and not chip easily.
Now, let's talk base coat. A good base coat protects your nails from discoloration and helps your polish last longer. Apply a thin, even layer and let it dry completely. This might seem like a small detail, but it's crucial for that long-lasting, flawless finish. A good base coat is like the foundation for a building. You can't build a house without a strong foundation!
- Gently push back your cuticles
- File your nails into your desired shape
- Buff your nails lightly
- Apply a thin, even layer of base coat
The Perfect White Tip: Techniques and Tools
Time for the iconic white tip! Using a thin nail art brush or striping tape, carefully paint a smile line across the tip of your nail. If you're using tape, apply it carefully, ensuring there are no gaps or creases. For a cleaner line, use a thin brush and multiple coats rather than one thick coat. Let each coat dry completely before applying the next. This prevents smudging and ensures that your tip is crisp and clean. If you're feeling artistic, you can try creating different smile line shapes, such as a curved or squared-off look. Check out these easy nail art designs for long nails for inspiration!
Once your white tips are dry, apply your top coat. This seals everything in and adds shine and protection. Two thin coats are better than one thick coat – it prevents the top coat from becoming sticky or bubbly. It's the finishing touch that elevates your manicure from good to great. For extra shine and longevity, consider a quick-drying top coat. And there you have it – a classic French manicure, effortlessly achieved. You can find more easy nail art designs to add some fun to your look.
Step | Description |
|---|---|
1 | Apply white tip using a brush or tape |
2 | Let each coat dry completely |
3 | Apply two thin coats of top coat |
Beyond the Basic: Creative Twists on French Tips
Beyond the Basic: Creative Twists on French Tips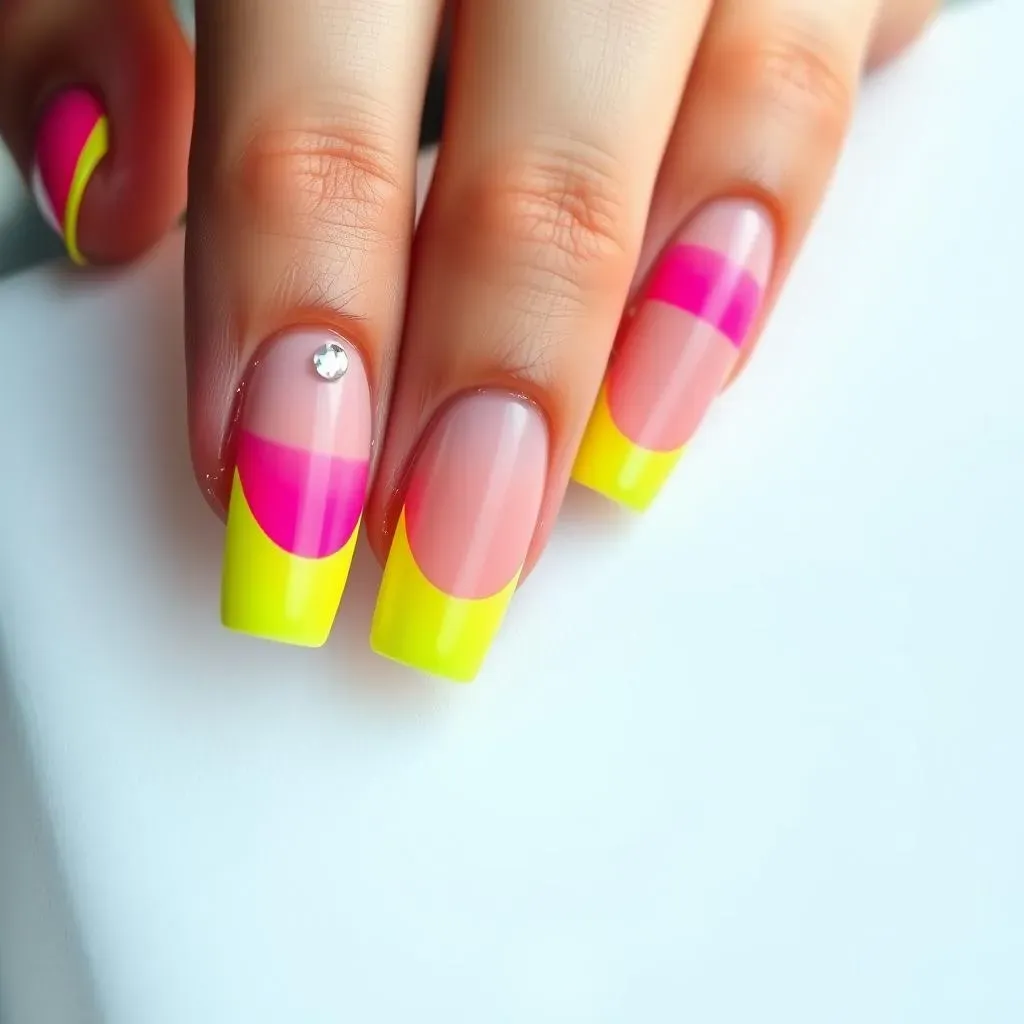
Color Blocking: A Pop of Personality
Let's ditch the classic white! Experiment with different colors for your tips. Think bold neon pinks, sunny yellows, or deep jewel tones. You can even try a color gradient for a more unique look. The possibilities are endless! For a fun twist, try alternating colors on each nail for a playful, mismatched manicure. Don't be afraid to express your individuality!
For inspiration, check out these simple nail designs for ideas on how to incorporate different colors into your French manicure. Remember, it's your nails, so have fun with it!
- Try neon colors
- Experiment with gradients
- Alternate colors on each nail
Adding Some Sparkle: Glitter and Glam
Want to add some extra sparkle to your French manicure? Incorporate glitter! You can use glitter polish, glitter flakes, or even small gems. Apply glitter to the tips for a subtle shimmer, or go all out and create a glitter gradient. For a more sophisticated look, add a thin line of glitter along the smile line. It's a simple way to elevate your manicure.
Looking for more festive designs? Check out our easy nail designs for parties for inspiration. Remember, a little sparkle goes a long way!
Glitter Type | Application Tip |
|---|---|
Glitter Polish | Apply like regular polish |
Glitter Flakes | Use a sticky base coat to adhere |
Gems | Use nail glue for secure placement |
Artistic Accents: Designs and Details
Feeling creative? Add some nail art to your French tips! Try simple designs like dots, stripes, or flowers. You can use a dotting tool, striping tape, or even a toothpick for simple designs. If you're feeling more adventurous, try adding small decals or water decals for intricate designs. For beginners, start with simple designs and gradually work your way up to more complex ones. Practice makes perfect!
Need some easy-to-follow instructions? Check out our step-by-step nail art tutorials. With a little practice, you'll be amazed at what you can create!
- Dots
- Stripes
- Flowers
- Decals
Easy French Tip Nail Art for Every Skill Level: StepbyStep Tutorials
Easy French Tip Nail Art for Every Skill Level: StepbyStep Tutorials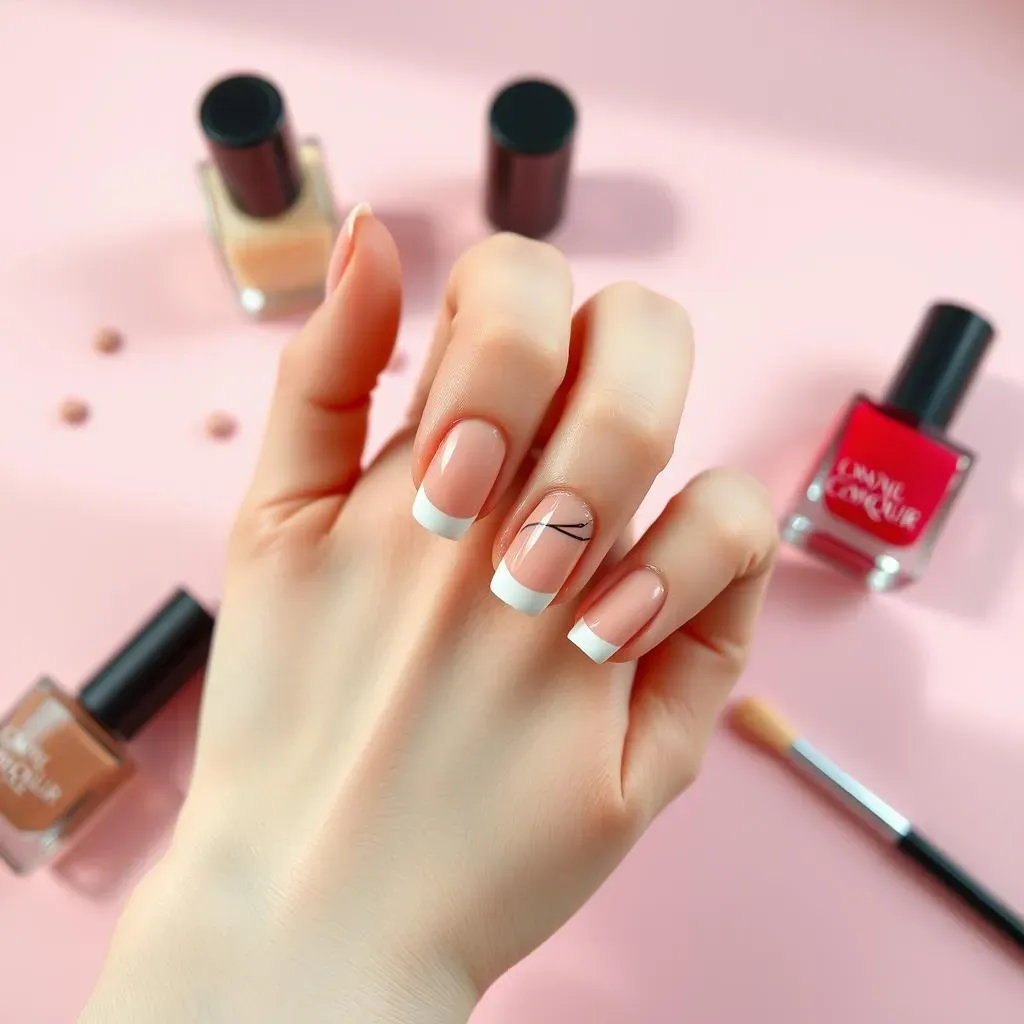
Beginner-Friendly French Manicure
Let's start with the absolute basics! This tutorial is perfect if you're a complete nail art newbie. We'll focus on achieving a clean, classic French manicure using simple techniques. First, prep your nails as described earlier. Then, grab a simple, wide brush and your favorite white polish. Instead of trying to paint a perfect smile line in one go, try this: paint a slightly thicker line than your desired smile line. Once dry, carefully clean up any excess polish with a cotton swab dipped in nail polish remover. This gives you more control and prevents mistakes. For the final touch, apply two thin coats of your chosen nude or pink polish and a topcoat. It's that easy!
Need more inspiration for simple designs? Check out these easy and cute nail designs for some fun ideas to add to your look. Remember, practice makes perfect, so don't get discouraged if your first attempt isn't perfect. Just keep practicing!
- Prep your nails
- Paint a slightly thicker white line
- Clean up excess with a cotton swab
- Apply nude/pink polish and topcoat
Intermediate French Manicure with a Twist
Ready to level up your French manicure game? This tutorial introduces a simple design element. Start with your perfectly prepped nails and your classic French manicure base. Once your white tips are dry, use a thin nail art brush and a contrasting color (like a bold blue or a deep red) to paint thin lines along the edge of your white tips. This creates a subtle yet stylish accent that elevates the classic look. Finish with your top coat for a long-lasting, polished finish. It's a great way to add a touch of personality to your manicure.
Looking for more ideas for nail art? Our black and white nail art designs are a great place to start. Remember, the key is to keep it simple and fun!
Step | Description |
|---|---|
1 | Complete a classic French manicure |
2 | Add thin lines with a contrasting color |
3 | Apply topcoat |
Advanced French Tip Nail Art: Embellishments and Detailing
For those who are ready for a challenge, let's explore adding more intricate details. Start with the classic French manicure as your base. Then, using small embellishments like tiny gems, glitter, or even miniature decals, carefully add details along the smile line or at the base of your nail. Use a good quality nail glue to keep your embellishments in place. For a cohesive look, stick to a color scheme that complements your base colors. This is a fantastic way to express your creativity and design truly unique nails.
Explore more advanced nail art techniques with our easy DIY nail designs for inspiration and step-by-step guides. Don't be afraid to experiment and have fun!
- Choose your embellishments (gems, glitter, decals)
- Apply a thin layer of nail glue
- Place embellishments carefully
- Seal with a topcoat