Table of Contents
Ready to unleash your inner nail artist without the fuss? This article is your passport to a world of stunning, yet surprisingly simple, nail designs. Forget complicated techniques and expensive tools – we're diving headfirst into the realm of "extremely easy nail designs" that even the most nail-art-challenged beginner can master. We'll walk you through essential nail prep, guiding you towards a flawless base for your creations. Then, get ready to explore a treasure trove of designs you can achieve with nothing more than polish and a steady hand. For those who want to level up, we'll introduce easy-to-use tools that will unlock even more creative possibilities. Finally, we'll explore how to adapt these basic techniques to create seasonal and themed looks, ensuring your nails are always on point, no matter the occasion. So grab your favorite nail polish, let's get started, and transform your nails into miniature masterpieces!
Mastering the Basics: Simple Nail Prep and Polish Application
Mastering the Basics: Simple Nail Prep and Polish Application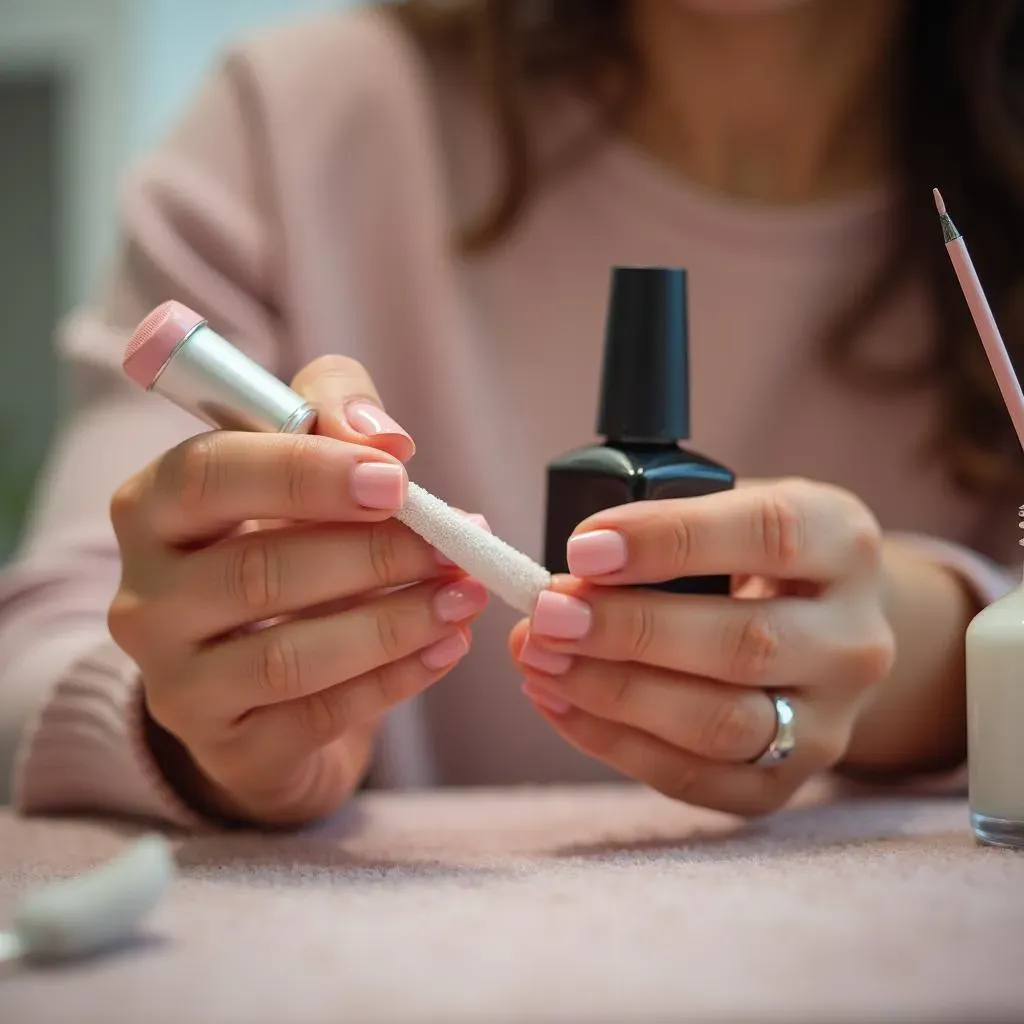
Getting Started: Clean Nails are Happy Nails
Before you even think about pretty colors, prepping your nails is key. Think of it like building a house – you wouldn't start without a solid foundation, right? First, gently push back your cuticles using a cuticle pusher. Avoid cutting them, as this can lead to infection. Then, give your nails a quick buff with a nail buffer to smooth out any ridges. This helps your polish go on smoothly and last longer. Finish by washing your hands to remove any dust or oils. Now your nails are a blank canvas, ready for your masterpiece!
Next, it's all about the base coat. A base coat protects your nails from staining and helps your polish stick better. Think of it as insurance for your manicure. Apply a thin, even layer, letting it dry completely before moving on to the next step. This might sound tedious, but trust me, it makes a huge difference. A good base coat is the secret weapon of long-lasting nail polish. Want more ideas for easy nail designs? Check out our guide to easy nail art without tools!
Step | Action | Why It Matters |
|---|---|---|
1 | Push back cuticles | Prevents infection and creates a cleaner look |
2 | Buff nails | Creates a smooth surface for even polish application |
3 | Wash hands | Removes oils and dust for better adhesion |
4 | Apply base coat | Protects nails and improves polish longevity |
Polishing Perfection: The Art of the Application
Now for the fun part – the polish! Start with a thin coat to avoid bubbles and clumping. Apply the polish in three strokes: one down the middle, and then one on each side. Don't worry about perfection; it's about getting an even coat. Let the first coat dry completely before applying a second coat. This prevents smudging and ensures a vibrant, even finish. Two thin coats are always better than one thick coat, believe me!
Finally, finish with a top coat. A top coat protects your manicure and gives it a beautiful shine. It's like putting a finishing touch on a painting. Again, apply a thin, even layer. A top coat will extend the life of your manicure and keep those chips at bay. For some cute and easy ideas, check out our collection of cute designs for short nails!
- Apply thin coats of polish to avoid bubbles.
- Let each coat dry completely before applying the next.
- Use three strokes for even coverage.
- Finish with a top coat for protection and shine.
Easy Nail Art Designs You Can Do at Home: No Tools Needed
Easy Nail Art Designs You Can Do at Home: No Tools Needed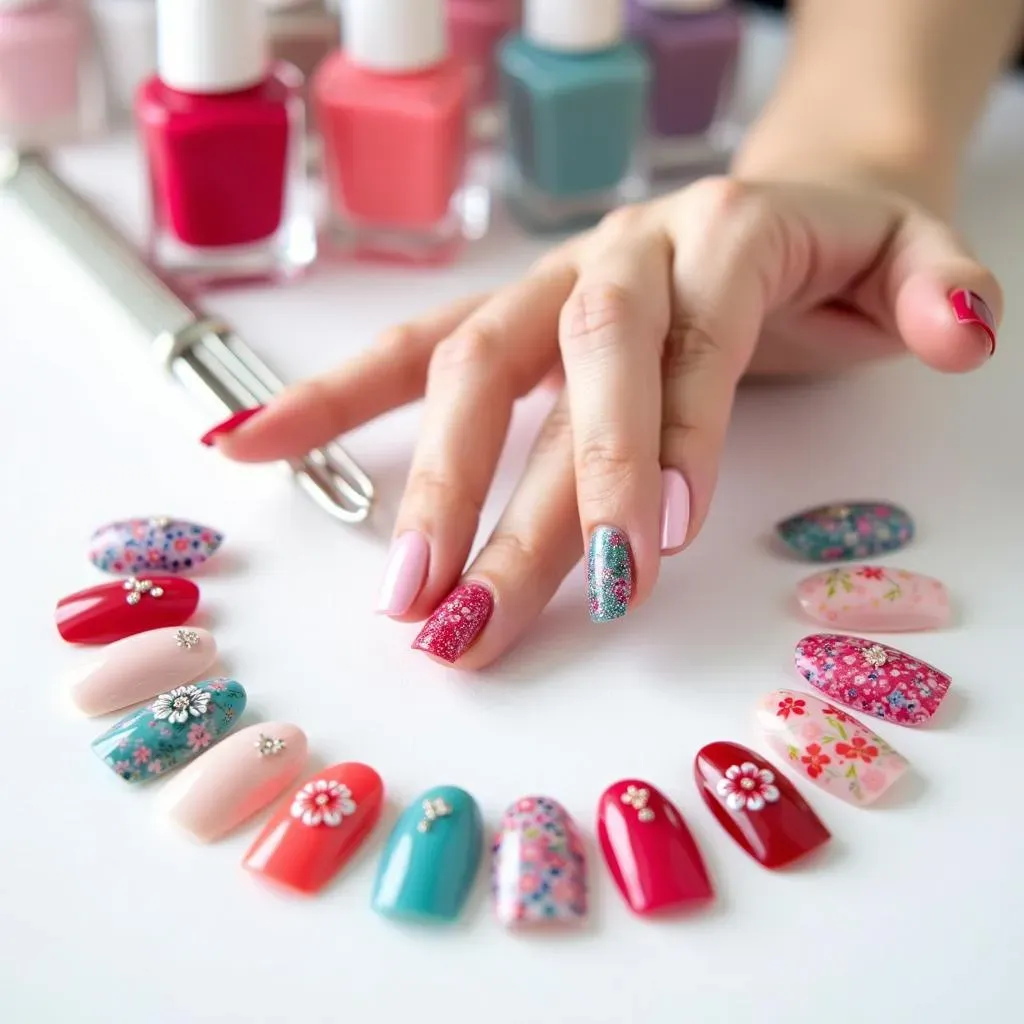
Simple Stripes and Dots: The Classic Combo
Let's start with the absolute easiest nail art: stripes and dots! Grab two contrasting colors. For stripes, simply paint vertical or horizontal lines using a toothpick or the tip of a bobby pin. For dots, use the end of a toothpick or a pen cap to create tiny dots – experiment with different sizes and spacing for a unique look. You can even combine stripes and dots for a fun, playful design. It's that simple! Remember, practice makes perfect, so don't be afraid to experiment.
Need some inspiration? Check out our amazing collection of easy floral nail designs for more ideas! These designs are surprisingly easy to recreate at home, even without special tools. Once you master stripes and dots, you can use them as a base for more complex designs. The possibilities are endless!
- Use a toothpick or bobby pin for stripes.
- Use the end of a pen cap or toothpick for dots.
- Experiment with different colors and patterns.
- Combine stripes and dots for a unique look.
Negative Space Magic: Less is More
Negative space nail art is all the rage, and it's incredibly easy to do! Simply paint a single color on part of your nail, leaving the rest bare. You can create simple shapes like half-moons or triangles, or get creative with more abstract designs. It's all about letting the natural nail show through for a chic, minimalist look. Remember, even simplicity can be stunning.
For more beginner-friendly ideas, explore our guide to easy nail art for beginners. This guide will take you through a variety of simple yet stylish designs. You’ll be amazed at how much you can achieve with just a few colors and a little creativity! Negative space designs are particularly flattering on shorter nails, so don't be shy to give it a try!
Design | Description | Tip |
|---|---|---|
Half-moon | Paint the lower half of the nail | Use painter's tape for clean lines |
Triangle | Paint a triangle shape on the nail | Start with a small triangle and build up |
Abstract | Experiment with different shapes and colors | Don't be afraid to make mistakes! |
StepUp Your Game: Easy Nail Art Designs Using Basic Tools
StepUp Your Game: Easy Nail Art Designs Using Basic Tools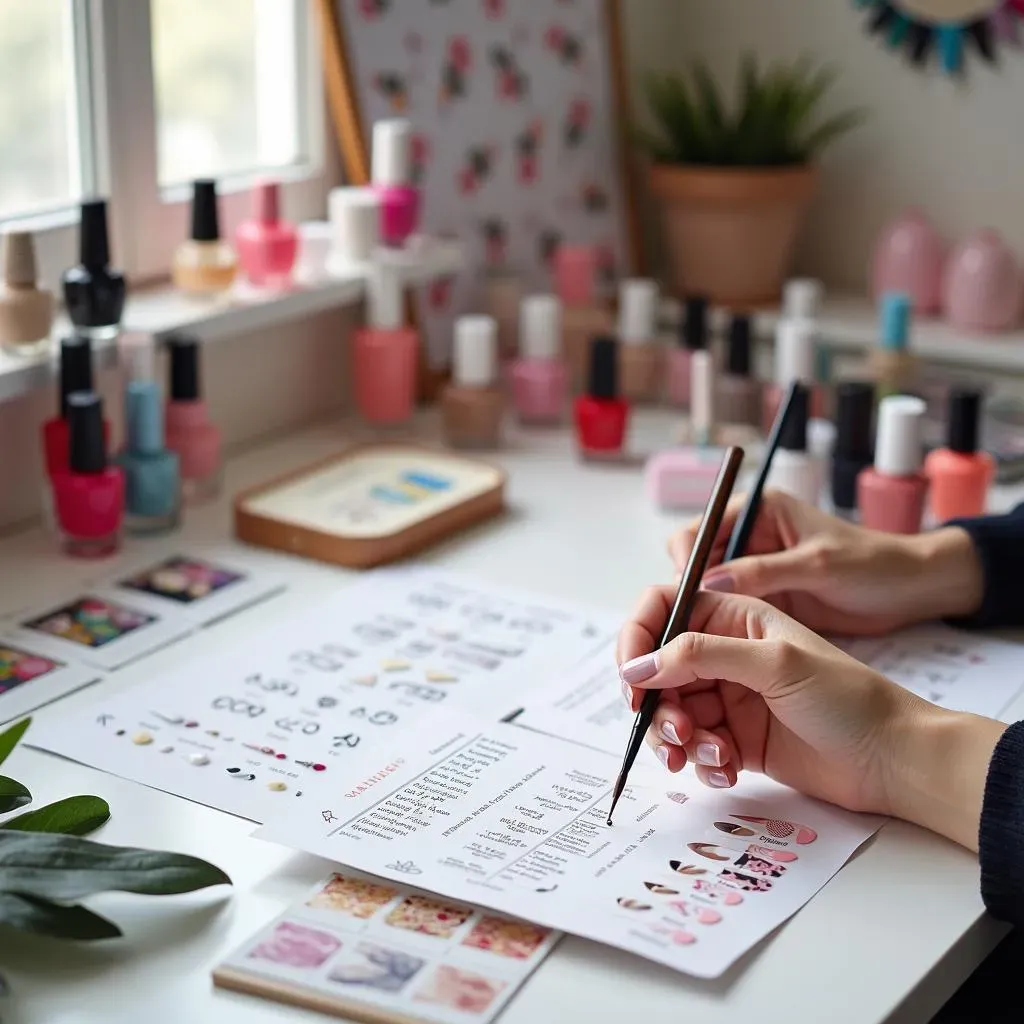
Level Up Your Nail Art: Simple Tools, Stunning Results
Okay, so you've mastered the no-tools techniques. Now let's talk about taking your nail art to the next level with a few basic tools. These aren't expensive, fancy gadgets; we're talking about things you might already have around the house or can easily pick up at a drugstore. A thin detail brush, for example, opens up a whole new world of possibilities. You can create super-fine lines, intricate designs, and delicate details that add a touch of elegance to your manicures. Think of it as upgrading your paintbrushes from finger-painting to watercolor masterpieces!
Another game-changer? Dotting tools! These come in various sizes and allow for precise dot placement. They're perfect for creating intricate patterns, polka dots, or even tiny flowers. Plus, cleaning them is a breeze. Need more inspiration? Check out our easy nail art designs for beginners for ideas on how to use these tools effectively. These inexpensive tools will significantly enhance your nail art skills!
- Detail brush: For fine lines and intricate designs
- Dotting tools: For creating dots and patterns
- Striper brush: For creating thin stripes and lines
Easy Designs with Basic Tools: Unleash Your Creativity
With a detail brush, you can create amazing things! Try painting tiny flowers, delicate swirls, or even simple geometric patterns. The key is to start small, practice your strokes, and don't be afraid to experiment. Think of it as learning calligraphy – the more you practice, the better you'll become. The possibilities are endless! Remember, even simple designs can look amazing with the right tools and techniques. For some inspiration, take a peek at our easy nail art line designs for more ideas.
Using dotting tools, you can create everything from simple polka dots to complex patterns. Try creating a gradient effect by using different sized dots and blending colors together. You can also use dotting tools to create floral designs, animal prints, or even abstract art. The possibilities are truly endless. For more inspiration, check out our easy at-home nail art designs collection.
Tool | Design Ideas | Tip |
|---|---|---|
Detail Brush | Flowers, swirls, geometric patterns | Practice your strokes on paper first |
Dotting Tools | Polka dots, gradients, floral designs | Use different sized dots for variety |
Seasonal and Themed Nail Art: Easy Designs for Every Occasion
Seasonal and Themed Nail Art: Easy Designs for Every Occasion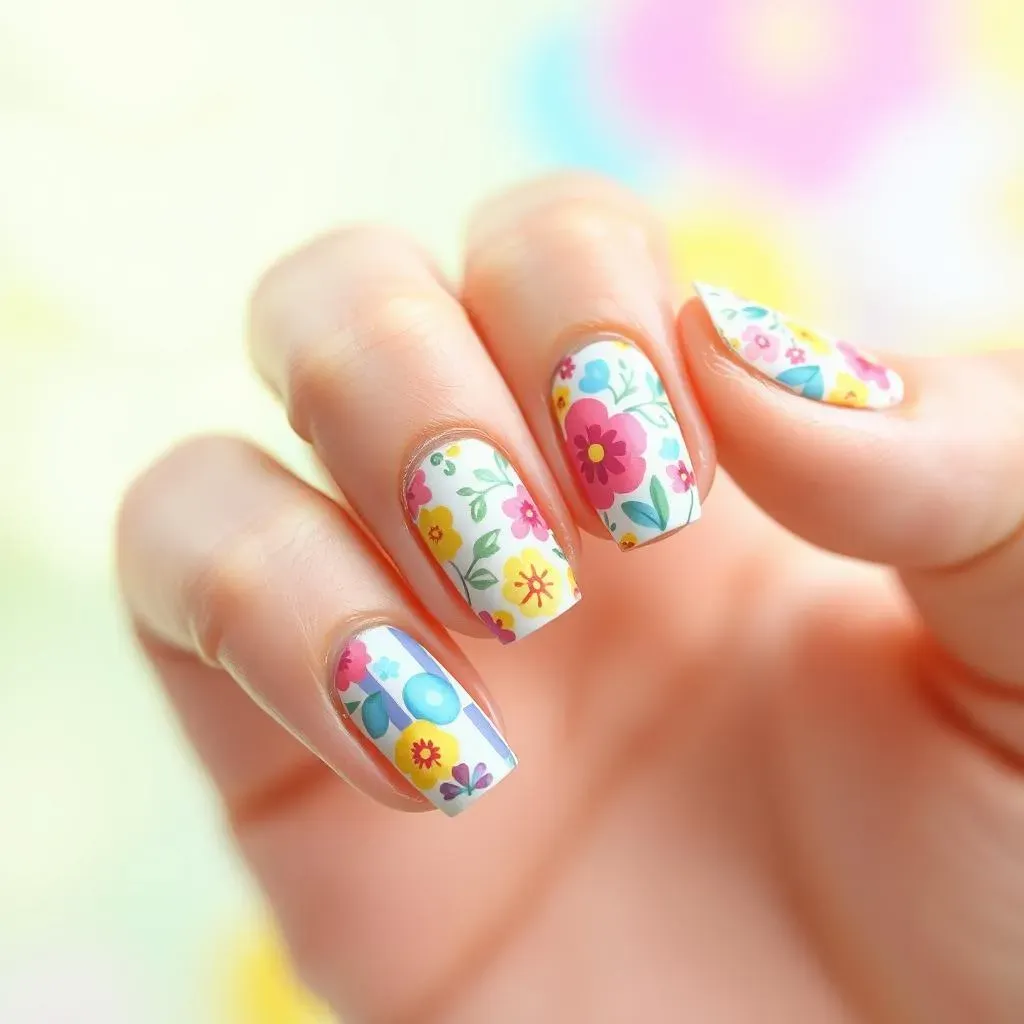
Spring into Color: Pastel Perfection
Spring is all about fresh starts and vibrant colors! Think pastel pinks, sunny yellows, and delicate blues. You can easily create a spring-themed manicure by using these colors to create simple stripes, dots, or even a gradient effect. A few strategically placed flowers (drawn with a detail brush, of course!) add an extra touch of springtime charm. Keep it simple, keep it pretty, and let your nails reflect the season's beauty.
For more inspiration, check out our easy spring nail art designs. You'll find tons of ideas to help you create a manicure that's as cheerful as the season itself. Remember, the key is to have fun and experiment with different colors and patterns. Don't be afraid to mix and match!
- Use pastel shades of pink, yellow, and blue.
- Create simple stripes, dots, or a gradient.
- Add small floral accents for extra charm.
Summer Fun in the Sun: Bright and Bold
Summer calls for bright, bold colors! Think vibrant oranges, sunny yellows, and deep blues. These colors are perfect for creating a fun and playful manicure. Try using different colors on each nail, or create a simple geometric pattern using painter's tape. You can also add some playful accents, like tiny seashells or starfish (drawn with a detail brush). Let your nails reflect the carefree spirit of summer!
Looking for more summery ideas? Browse through our easy nail designs for special occasions – many of them are perfect for summer celebrations. Summer is the perfect time to experiment with bolder colors and more playful designs. So, go ahead, have some fun with it!
Color | Design Idea | Tip |
|---|---|---|
Bright Orange | Solid color with a small flower | Use a thin brush for detail |
Sunny Yellow | Stripes with a negative space accent | Use painter's tape for clean lines |
Deep Blue | Dots with a gradient effect | Use dotting tools for precise placement |
Autumn Hues: Warm and Cozy
Autumn is all about warm, cozy colors! Think burnt oranges, deep reds, and golden yellows. These colors are perfect for creating a sophisticated and elegant manicure. Try using these colors to create a simple ombre effect, or paint delicate leaves using a detail brush. You can also add some subtle metallic accents for an extra touch of glamour. Let your nails reflect the beauty of the fall season.
For more autumn-inspired designs, check out our easy autumn nail designs for more inspiration. Autumn is a wonderful time to use rich, earthy tones and create a sophisticated look. Consider using a mix of matte and glossy polishes for added texture and depth.
- Use warm colors like burnt orange, deep red, and golden yellow.
- Create a simple ombre effect or paint delicate leaves.
- Add subtle metallic accents for extra glamour.