Table of Contents
Ready to ditch the salon and unleash your inner artist? This guide is your passport to the world of easy hand-painted nail designs! Forget complicated techniques and frustrating fails; we're diving headfirst into simple, stunning nail art that even the most nail-polish-challenged among us can master. Whether you're a complete beginner or looking to refresh your skills, this article is packed with step-by-step tutorials, inspirational ideas, and clever tips to help you achieve salon-worthy results at home. We'll start with basic techniques like dotting and striping, perfect for creating cute and chic manicures. Then, we'll explore seasonal designs – think festive Christmas cheer, spring blossoms, or spooky Halloween vibes. Finally, we'll gently nudge you towards more advanced (but still easy!) techniques, helping you take your nail art game to the next level. So grab your favorite polishes, a steady hand (or a steady hand-holder!), and let's get started on creating those amazing easy hand painted nail designs you've always dreamed of!
Simple Nail Art for Beginners: Dotting, Stripes, and More
Simple Nail Art for Beginners: Dotting, Stripes, and More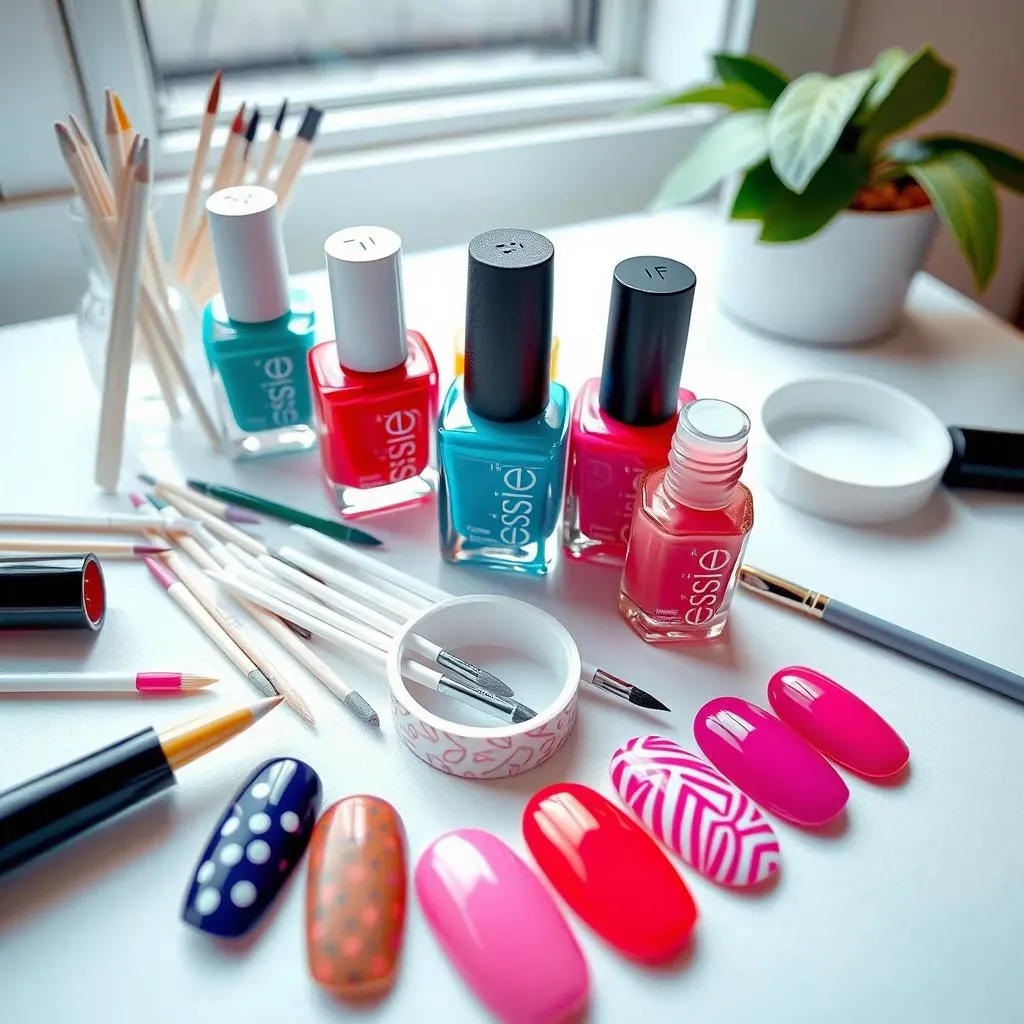
Mastering the Dotting Technique
Let's start with the easiest nail art technique ever: dotting! All you need is a few nail polishes in contrasting colors and a toothpick, a fine-tipped brush, or even a bobby pin. It's seriously that simple. Think polka dots, tiny flowers, or even abstract designs – the possibilities are endless! For example, try a base coat of a bright pink, then add white polka dots for a classic look. Or, go bold with a dark blue base and bright yellow dots for a playful touch. The key is to keep your dots consistent in size; practice makes perfect!
Don't be afraid to experiment! Try using different sized dots to create interesting patterns. For a more refined look, use a thin brush for tiny details. And remember, you can always wipe off any mistakes with nail polish remover. Check out some more simple nail designs for inspiration!
Design | Colors | Tools |
|---|---|---|
Polka dots | Pink & white | Toothpick |
Abstract dots | Blue, yellow, green | Fine-tipped brush |
Creating Chic Stripes
Next up: stripes! These are another super-easy nail art technique that can create a whole range of looks, from classic French manicures to bold geometric patterns. You can use striping tape for perfectly straight lines, or freehand it for a more relaxed, artistic vibe. If you're going freehand, try using a thin brush and steady hand. Remember, it’s okay if your lines aren’t perfectly straight – a slightly imperfect look can be super charming! For a fun twist, try using different widths of stripes to add visual interest. A simple yet elegant design could be a white base coat with thin, horizontal stripes of different pastel colors. Or, go for a more modern feel with thick, vertical stripes in contrasting shades.
Stripes are incredibly versatile. You can create subtle, elegant looks or bold, graphic statements. For inspiration, look up various simple nail designs with lines online. Don't be afraid to play around with different colors and patterns until you find a style you love! And remember, practice makes perfect – the more you try, the better you'll get.
- Use striping tape for perfectly straight lines.
- Freehand stripes for a more relaxed look.
- Experiment with different widths and colors.
Seasonal Nail Art: Festive Designs for Every Time of Year
Seasonal Nail Art: Festive Designs for Every Time of Year
Festive Christmas Nails
Christmas is the perfect time to unleash your creativity with festive nail art! Think classic red and green, sparkly snowflakes, or adorable little snowmen. For a simple yet effective design, try painting a base coat of deep red, then adding some white snowflakes using a toothpick or fine brush. You can add some glitter for extra sparkle! Or, for a more whimsical look, try painting tiny snowmen onto a white base coat. Remember, it's all about having fun and expressing your holiday spirit.
Don't be afraid to experiment with different colors and techniques. For more inspiration, check out these cute and easy Christmas nail designs! You can even add some small, festive charms for extra flair. Remember, even the simplest designs can look incredibly festive when done with care and attention to detail.
- Red and green are classic Christmas colors.
- Snowflakes are a simple yet elegant design.
- Add glitter for extra sparkle.
Springtime Blossoms
Spring is all about fresh colors and delicate designs. Think pastel shades, pretty flowers, and cheerful butterflies. An easy and charming design is to paint a pastel base coat, such as soft pink or lavender, and then add some simple flower details. You can use a toothpick or a thin brush to create tiny flower petals. Or, try using small dots to create a cute daisy design. The key is to keep your designs light and airy, reflecting the delicate beauty of springtime.
For a more sophisticated look, try using a gradient technique with pastel colors, creating a soft ombré effect. If you’re looking for more ideas, there are many easy spring nail art designs available online! Remember, springtime nail art is all about creating a fresh and cheerful look that reflects the season’s beauty. Don't be afraid to experiment with different colors and patterns to create your own unique designs.
Design | Colors | Tools |
|---|---|---|
Simple flowers | Pastel pink, white | Thin brush |
Daisies | Yellow, white | Toothpick |
Advanced Techniques: Taking Your Nail Art to the Next Level (with easy steps!)
Advanced Techniques: Taking Your Nail Art to the Next Level (with easy steps!)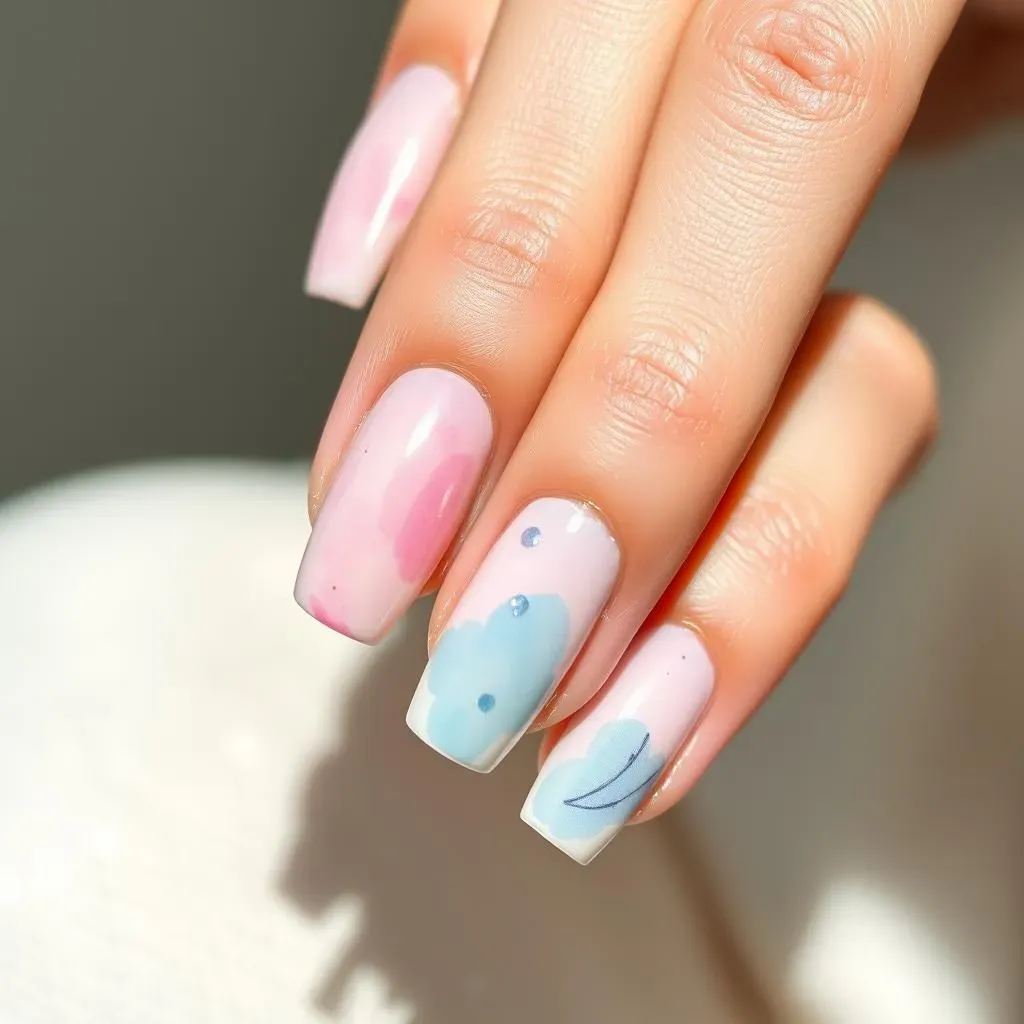
Watercolor Effects
Let's add some dreamy watercolor vibes to your nail art! This technique creates soft, blended colors that look super sophisticated, but it's easier than you think. You'll need some sheer nail polishes in coordinating colors – think pastels or even jewel tones. Start with a base coat, then apply a few drops of different colors onto the nail, blending them gently with a small brush or even a toothpick. Don't worry about being perfect; the slightly messy look adds to the charm.
The key here is to use sheer polishes so the colors blend beautifully, creating a soft, diffused look. You can layer the colors to adjust the intensity and create a unique design. For a more detailed approach, try adding some simple details like tiny dots or lines to accentuate the watercolor effect. Need more inspo? Check out these easy designs for nails at home!
- Use sheer polishes for best blending.
- Layer colors for depth and intensity.
- Add simple details for extra flair.
Negative Space Designs
Negative space designs are all about letting your natural nail shine through. It's a modern, minimalist look that's surprisingly easy to achieve. Start with a base coat of your favorite color, or even leave your nails bare. Then, use striping tape or freehand to create geometric shapes or abstract designs, leaving some of your natural nail exposed. Think half-moons, stripes, or even simple triangles – the possibilities are endless!
The beauty of negative space is in its simplicity. It allows your nail’s natural shape and color to play a key part in the design, creating a unique and modern look. Experiment with different shapes and patterns to find a style you love. You can find even more inspiration by looking at easy pretty nail designs for short nails online. Remember, less is often more when it comes to negative space designs.
Design | Colors | Tools |
|---|---|---|
Half-moon | Nude, white | Striping tape |
Geometric shapes | Black, white | Thin brush |