Table of Contents
Ready to transform your nails from drab to fab? This article is your ultimate guide to achieving stunning, easy and cute nail designs, even if you're a complete beginner! Forget complicated salon appointments and pricey manicures – we'll show you how to create salon-worthy looks right at home. We'll start by walking you through simple steps for achieving basic, yet beautiful, nail art. Then, we'll equip you with essential techniques and handy tips to elevate your skills and unleash your creativity. Finally, we'll explore a range of easy and cute nail design ideas perfect for any occasion, from casual days out to special events. Get ready to discover the joy of expressing your unique style with effortlessly chic manicures. Let's dive into the world of easy and cute nail designs and unlock your inner nail artist!
Easy and Cute Nail Designs: Simple Steps for Stunning Manicures
Easy and Cute Nail Designs: Simple Steps for Stunning Manicures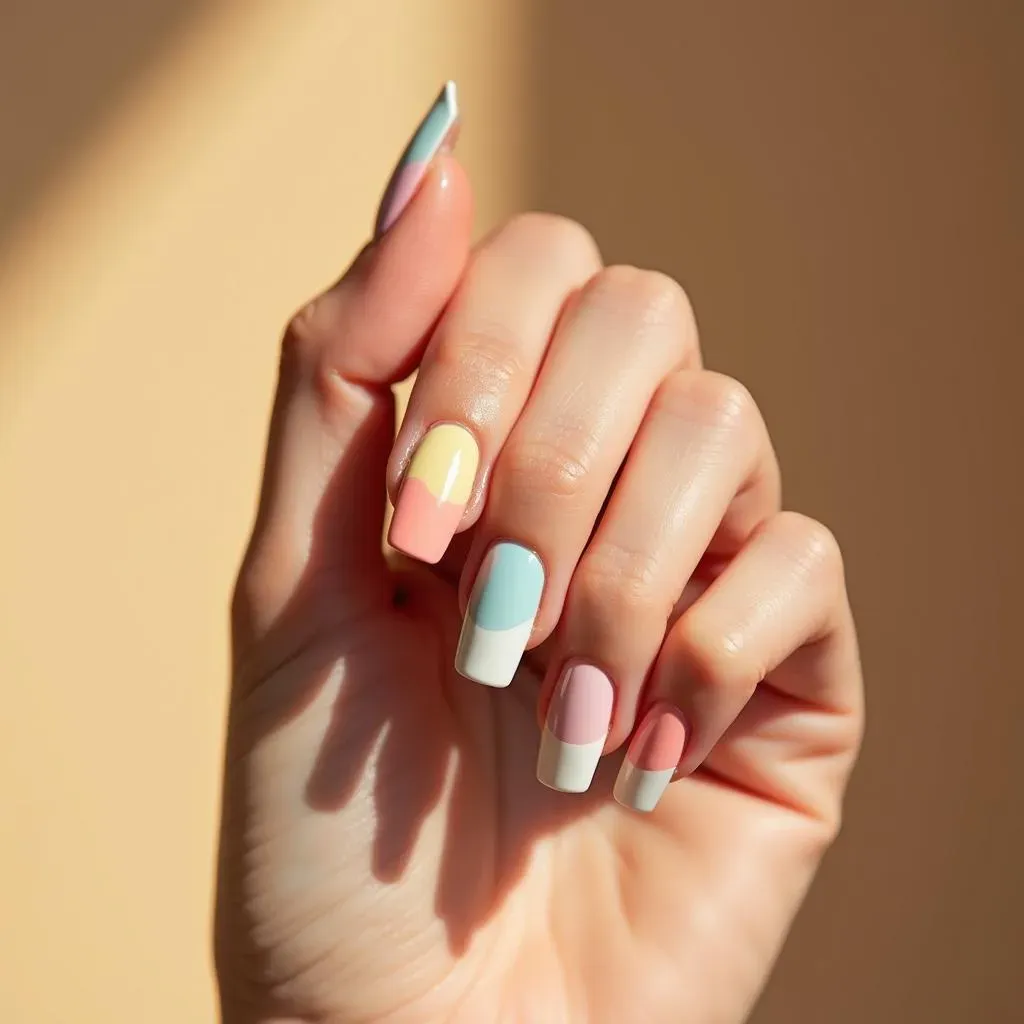
Prep Work: The Foundation for Flawless Nails
Before you even think about cute designs, you need a solid base. Start by cleaning your nails – no gunk allowed! Then, gently push back your cuticles. This isn't about removing them, just tidying things up. Next, apply a base coat. This protects your nails from staining and helps your polish last longer. Think of it as the foundation for a beautiful painting – you wouldn't skip that, would you? Once that's dry, you're ready for the fun part!
For extra nail care tips, check out our guide on easy nail art designs for long nails – it's got some great advice on keeping your nails healthy and strong. After all, a good base is key to any great manicure!
Step | Action |
|---|---|
1 | Clean your nails |
2 | Push back cuticles |
3 | Apply base coat |
Simple Color Blocking: A Beginner's Dream
One of the easiest and cutest nail designs involves color blocking. Simply choose two or three coordinating colors. Paint each nail a different color. You can create a rainbow effect, or stick to a more monochromatic scheme. It's completely up to you! For a more sophisticated look, try using a thin striping brush to create clean lines between the colors. Don't worry if your lines aren't perfect – a little imperfection adds character. This technique is incredibly versatile and looks great on any nail length. Want more simple ideas? Check out our post on awesome simple nail designs easy to do.
Remember to finish with a top coat to seal in your masterpiece and add shine. This extra step will protect your manicure and make it last longer. Plus, that glossy finish really elevates the look! For more inspiration, explore our collection of best and easy nail art designs for more ideas!
- Choose 2-3 colors
- Paint each nail a different color
- Use a striping brush for clean lines (optional)
- Finish with a top coat
Mastering Easy and Cute Nail Art Techniques: Tips and Tricks
Mastering Easy and Cute Nail Art Techniques: Tips and Tricks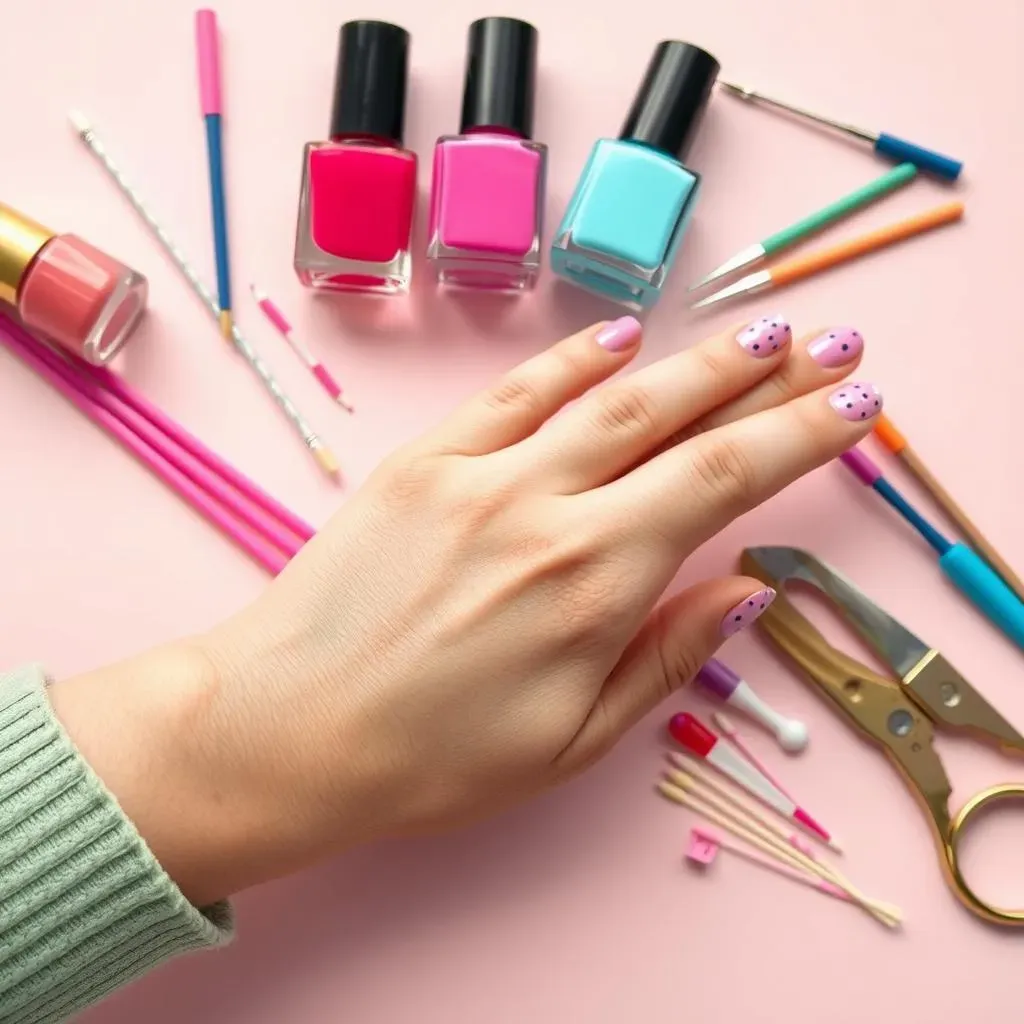
Choosing the Right Tools: Your Nail Art Arsenal
Let's talk tools! You don't need a fancy salon setup to create amazing nail art. A good quality base coat and top coat are essential. Then, grab some striping brushes for those perfect lines, and dotting tools for adorable polka dots. Toothpicks can also work wonders for creating intricate designs. Don't underestimate the power of simple tools – they're often the key to success. For more detailed instructions, check out our guide on easy nail art designs for beginners without tools.
Remember, practice makes perfect! Don't get discouraged if your first attempts aren't flawless. Keep experimenting, and you'll be amazed at how quickly your skills improve. Need some inspiration for short nails? Our cute easy nail designs for short nails post has some great ideas!
- Base coat
- Top coat
- Striping brush
- Dotting tool
- Toothpicks
Nail Polish Application: Techniques for a Perfect Finish
Applying polish neatly can seem tricky, but with a little practice, you'll be a pro! Start with thin coats – this helps prevent smudging and ensures even coverage. Let each coat dry completely before applying the next one. A quick-drying top coat can speed up the process, and it adds that extra shine. For extra tips on applying polish like a boss, take a peek at our amazing easy nail art designs for beginners guide – it's full of helpful hints!
Don't be afraid to experiment with different techniques. Try using a sponge to create an ombre effect, or a striping brush to make precise lines. Remember, even small details can make a big difference! Need more inspiration for easy designs? Check out our page on easy nail art ideas for more fun!
Technique | Description |
|---|---|
Thin coats | Prevent smudging, ensure even coverage |
Complete drying | Between coats for a smooth finish |
Quick-dry top coat | Speeds up the process, adds shine |
Maintaining Your Manicure: Tips for Longevity
So, you've created a masterpiece. Now, how do you keep it looking fabulous for as long as possible? The key is to protect your nails from harsh chemicals and excessive water exposure. Wear gloves when doing chores, and always use a base and top coat. These steps will significantly extend the life of your manicure. Looking for cute designs for special occasions? Take a look at our easy Thanksgiving nail designs – they're perfect for the holidays!
Another tip? Avoid picking or peeling your polish. This can damage your nails and leave them looking uneven. Instead, use nail polish remover to gently remove any chips. Remember, a little TLC goes a long way! Don't forget to check out our collection of easy Halloween nail art designs for spooky and fun inspiration.
- Wear gloves for chores
- Use base and top coats
- Avoid picking or peeling
- Gently remove chips with remover
Showcase Your Style: Easy and Cute Nail Design Ideas for Every Occasion
Everyday Chic: Simple Designs for Casual Days
For everyday wear, keep it simple and stylish! A classic French manicure is always a winner, but you can easily put a modern twist on it by using different colors or adding a subtle accent. Think pastel pinks and blues for a spring vibe, or deep reds and burgundies for autumn. You can even try a half-moon manicure, which involves painting a crescent shape at the base of your nail. It's surprisingly easy to do, and the results are chic and sophisticated.
Another great option is a solid color manicure. Choose your favorite shade and go for it! A bright, bold color can make a statement, while a neutral tone offers a more understated look. If you want something extra special, try adding a single accent nail with a slightly different color or a small design. For more simple ideas, check out our post on simple red nail designs.
- French manicure (classic or modern twist)
- Half-moon manicure
- Solid color manicure (bold or neutral)
- Accent nail with a different color/design
Festive Fun: Nail Art for Special Occasions
When it's time to celebrate, let your nails join the party! For holidays like Halloween, try spooky designs like ghosts, pumpkins, or spiderwebs. For Christmas, think snowflakes, candy canes, or festive colors like red and green. These designs are surprisingly easy to create using simple tools and a little imagination. Don't forget our amazing easy Easter nail art designs for spring celebrations!
For birthdays or other special events, you can get creative with glitter, rhinestones, or even small 3D embellishments. These add a touch of glamour and fun to any manicure. Remember to keep it balanced – you don't want to overdo it! A few strategically placed accents can make a big difference. Need some cute ideas for short nails? Our cute and easy nail art designs for short nails post has got you covered.
Occasion | Design Ideas |
|---|---|
Halloween | Ghosts, pumpkins, spiderwebs |
Christmas | Snowflakes, candy canes, red & green |
Birthdays | Glitter, rhinestones, 3D embellishments |
Trendy Touches: Keeping Up with the Latest Nail Art
Nail art trends are constantly evolving, but there are always some easy and cute designs that stay popular. One trend that's always in style is the use of negative space. This involves leaving parts of the nail unpainted, creating a modern and minimalist look. You can combine this with other designs, such as stripes or dots, for a unique twist. For more inspiration, check out our collection of simple nail designs for short nails.
Another popular trend is incorporating different textures. You can achieve this by using matte polish alongside glossy polish, or by adding a textured top coat. This adds depth and dimension to your manicure, making it look more interesting and sophisticated. Don't be afraid to experiment and find what works best for your style. Looking for some cool designs for toes? Check out our easy nail art designs for toes post for some fun ideas!
- Negative space designs
- Combination of matte and glossy polishes
- Textured top coats
- Incorporate trendy colors and patterns