Table of Contents
Ready to add some serious sparkle to your life? Then get ready to explore the dazzling world of easy rhinestone nail designs! This article is your ultimate guide to creating stunning, glamorous nails, even if you're a complete beginner. Forget complicated techniques and expensive salon visits – we'll show you how to achieve professional-looking results from the comfort of your own home. We'll cover simple rhinestone nail art ideas perfect for first-timers, demonstrating how to effortlessly incorporate rhinestones into various nail art styles, from classic French manicures to trendy ombre designs. You'll discover clever tips and tricks for seamless rhinestone application, ensuring your sparkly creations stay put and look fabulous for days. Whether you're looking for inspiration for a special occasion or just want to add a touch of glitz to your everyday look, our easy rhinestone nail designs will have you shining bright. So grab your nail polish, rhinestones, and let's get started on your next nail art masterpiece! Prepare to be amazed by how easy it is to achieve professional-looking results with our step-by-step guide to easy rhinestone nail designs.
Simple Rhinestone Nail Art Ideas for Beginners
Simple Rhinestone Nail Art Ideas for Beginners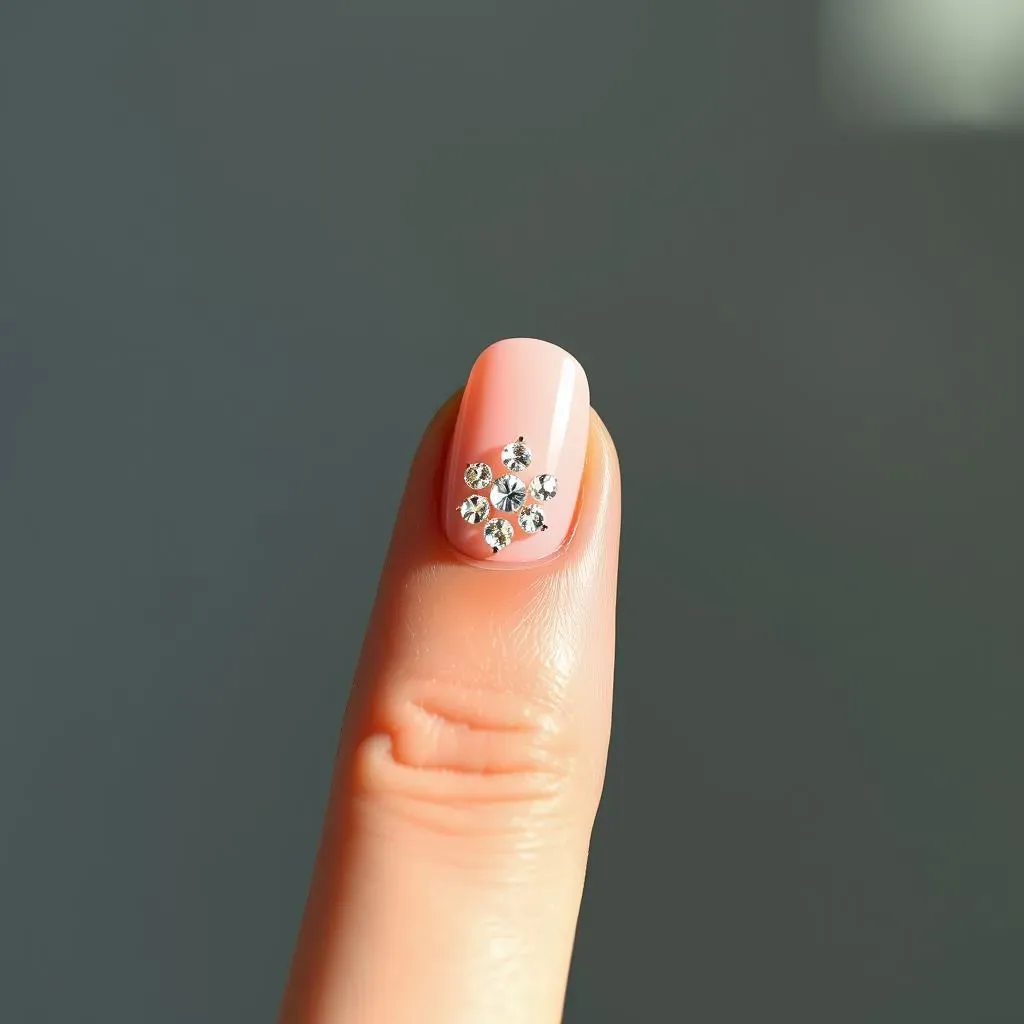
Accent Nail Sparkle
Let's start super simple! Pick one accent nail – your ring finger is always a good choice – and apply a base coat of your favorite color. Once dry, carefully place a few rhinestones in a simple design. A single line across the nail, a tiny cluster near the cuticle, or even just one large rhinestone in the center can look fantastic. This is perfect for testing the waters and getting comfortable with rhinestone placement. Don't worry about perfection; it's all about having fun! For more inspiration on easy nail designs, check out our guide to best easy nail designs.
Remember, less is more, especially when you're starting. A few strategically placed rhinestones can make a bigger impact than trying to cover your whole nail. Plus, it gives you a chance to practice your technique without a huge commitment. For those with short nails, check out our simple nail designs for short nails for more ideas.
- Choose a single accent nail.
- Apply a base coat.
- Place rhinestones in a simple design.
Rainbow Tip Rhinestones
Feeling a little more adventurous? Try a rainbow tip! Start with a clear or nude base coat. Then, paint the tips of your nails with different colors of nail polish, creating a rainbow effect. Once the polish is dry, add a line of small rhinestones along the edge of each colored tip. It's a pop of color and sparkle all in one! This design is surprisingly easy and looks incredibly chic. For more festive options, you might like our easy Christmas nail designs.
This technique lets you play with color and texture, making it perfect for showing off your personality. Experiment with different color combinations and rhinestone sizes to find your perfect rainbow. For beginners who want to explore more nail art without tools, visit our easy nail art designs without tools page.
Step | Description |
|---|---|
1 | Apply base coat |
2 | Paint rainbow tips |
3 | Add rhinestone line |
Adding Rhinestones to Different Nail Art Styles
Adding Rhinestones to Different Nail Art Styles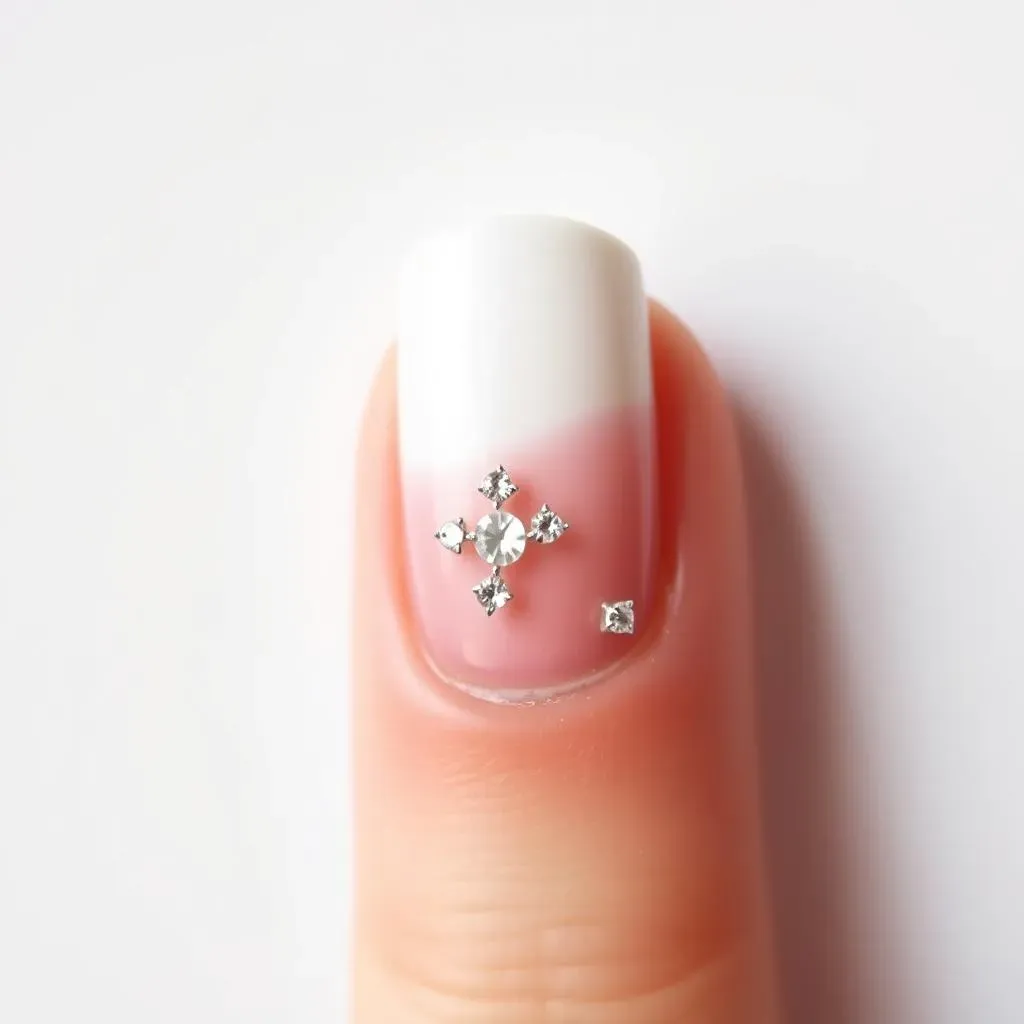
Adding Rhinestones to French Manicures
Let's elevate the classic French manicure! Instead of just a simple white tip, add a touch of sparkle. After applying your base coat and the classic white tip, carefully place small rhinestones along the edge of the white tip. You can create a continuous line, or space them out for a more subtle look. This adds a touch of modern flair to a timeless design. For more French manicure ideas, check out our easy gel nail designs page.
Experiment with different rhinestone colors to match your outfit or mood. Silver or gold rhinestones are always elegant, but you can also try colored rhinestones for a more playful look. Remember, the key is to keep it neat and evenly spaced. If you want to explore more simple designs, visit our page on simple nail designs for 2024.
- Apply base coat and classic French tip.
- Add rhinestones along the edge of the white tip.
- Experiment with different rhinestone colors.
Rhinestones on Ombre Nails
Ombre nails are already gorgeous, but adding rhinestones takes them to the next level! Create your ombre effect using two or more coordinating shades. Once dry, strategically place rhinestones along the gradient where the colors blend. This creates a beautiful, seamless transition between shades, and the rhinestones add a touch of extra dimension and shine. For more ombre inspiration, check out our easy fall nail art designs.
Consider using different sizes of rhinestones to add visual interest. Smaller rhinestones can be used to fill in gaps, while larger ones can be used as accents. Don't be afraid to experiment with placement; the beauty of ombre is its fluidity. If you're looking for more ideas for nail art at home, check out our easy nail art designs at home page.
Step | Description |
|---|---|
1 | Create ombre effect |
2 | Place rhinestones along gradient |
3 | Use varying rhinestone sizes |
Geometric Rhinestone Designs
Geometric designs are super trendy and easy to achieve with rhinestones. Start with a solid base color. Then, use tape or a dotting tool to create simple geometric shapes on your nails (like triangles, squares, or lines). Once the shapes are painted, fill them in with rhinestones. This creates a clean, modern look that's both stylish and surprisingly easy to do. If you want to try some other easy designs, check out our easy DIY nail designs page.
Play around with different geometric shapes and color combinations. You can even use different sizes and colors of rhinestones to create a more complex design. Don't forget to use a top coat to protect your beautiful creation! For more ideas on easy nail art for beginners, check out our easy gel nail designs for beginners.
- Apply base coat
- Create geometric shapes
- Fill shapes with rhinestones
- Apply top coat
Tips and Tricks for Easy Rhinestone Application
Tips and Tricks for Easy Rhinestone Application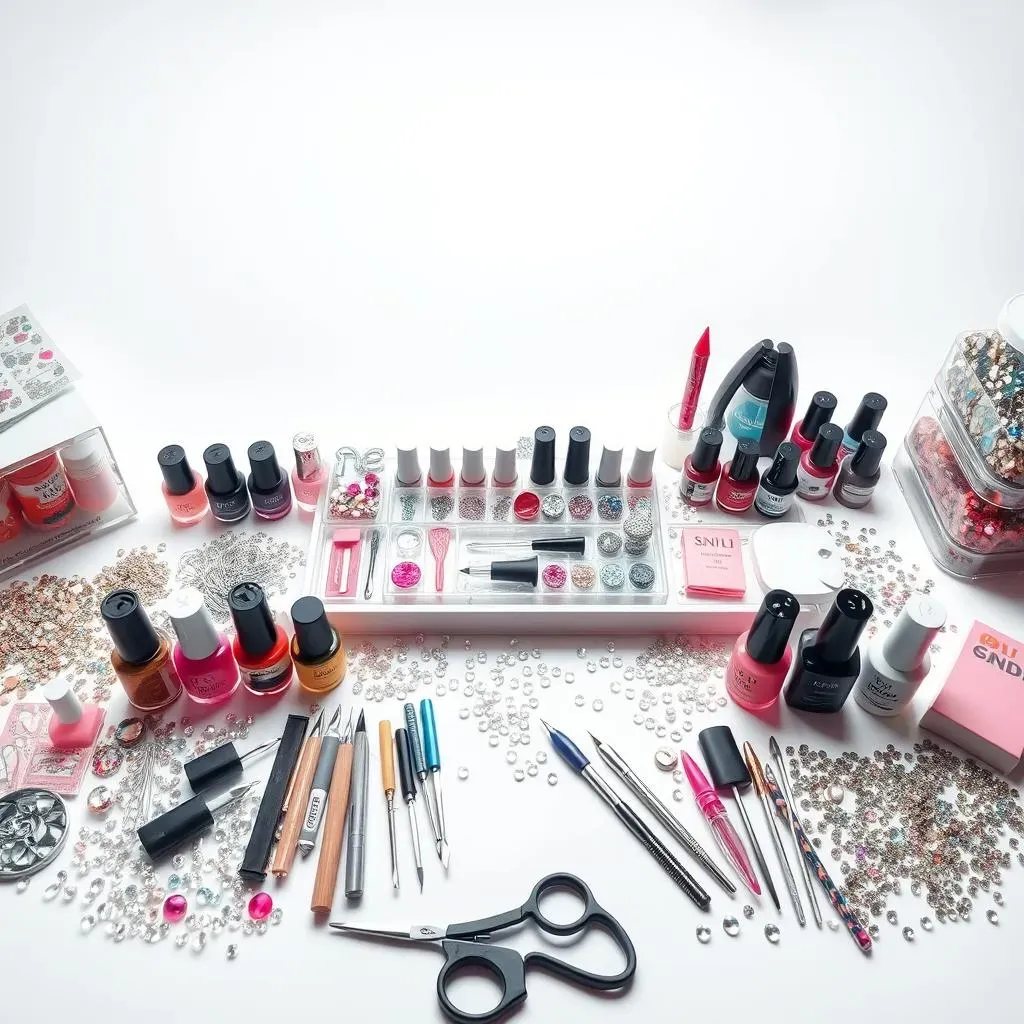
Prepping Your Nails for Success
Before you even think about sticking on those sparkly gems, make sure your nails are perfectly prepped. Start with a clean, dry surface. This means removing any old polish and gently pushing back your cuticles. A good base coat is your best friend here – it creates a smooth, even surface for the rhinestones to adhere to and prevents them from chipping or falling off prematurely. And don't forget a top coat at the end to seal everything in place for a longer-lasting, super-shiny manicure! For more tips on prepping your nails, check out our article on easy gel nail designs for beginners.
Think of your base coat as the foundation of a house – you wouldn't build a house without a solid foundation, right? Similarly, a good base coat ensures your rhinestone masterpiece lasts. A top coat is the finishing touch, protecting your hard work and adding that extra layer of shine. For more ideas on creating a solid base for your nail art, check out our easy nail art designs at home for beginners.
- Clean and dry nails
- Push back cuticles
- Apply a base coat
- Apply a top coat
Application Methods: Tweezers vs. Toothpick
Now for the fun part – applying the rhinestones! You have two main options: tweezers or a toothpick. Tweezers offer more precision, especially for smaller or more intricate designs. They allow for careful placement and help avoid accidentally smudging your polish. However, a toothpick can be surprisingly effective for larger rhinestones or when you want a more relaxed, less precise application. Experiment with both methods to see which works best for you! For more tips and tricks on nail art application, check out our guide on easy nail art designs with no tools.
Think of tweezers as your precision instruments, perfect for detailed work, while a toothpick is your go-to for a more free-flowing, artistic approach. The best method depends entirely on your personal preference and the complexity of your design. For more ideas on achieving different looks, check out our page on super easy nail art designs.
Tool | Pros | Cons |
|---|---|---|
Tweezers | Precision, control | Can be fiddly |
Toothpick | Easy, quick | Less precise |